We built the fence around our old deck around 10 years ago. We used an overlapping privacy pattern that blocked out everything including the breeze. Without any shelter in that area, it was too hot to have no ventilation. We took out every 5th board and ended up with this:
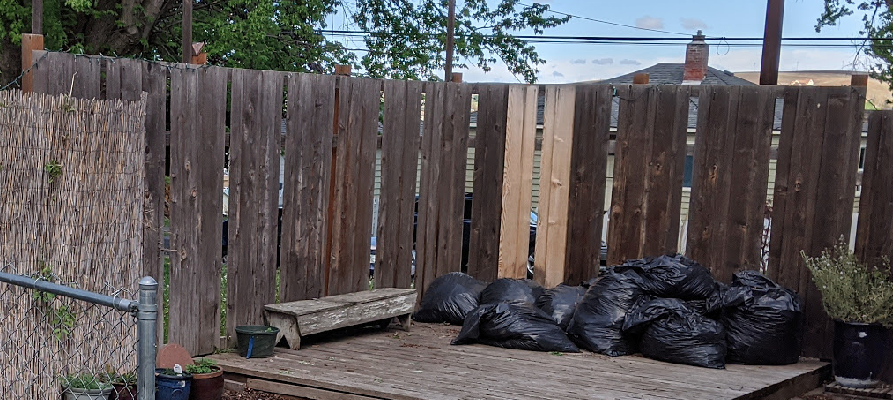
This “before” picture also illustrates how that raised deck area was an inviting space to stage bags of yard debris before taking them to the dump.
The fencing material we originally used came from one of those big home improvement stores and the quality was… lacking. They are cedar and are mostly 5.5 inches wide, but they are very thin and split way too easily. Side note: we later built a fence on the other side of our house and used cedar fencing from our local lumber yard and there was no comparison. The local stuff was much thicker and overall nicer wood.
At this point in our project we still didn’t know what we wanted to do with the “new” fence. You can see in previous pictures that we had removed the old fence but left up all of the posts, which are sunk in concrete. We had different ideas about what material to use, what type of design to use, and we wanted to incorporate some decorative fence panels.
We had done some idea-hunting online and both liked the idea of using some horizontal fencing. We settled on a plan to do alternate sections of horizontal and vertical fencing, and do it in a way that would allow us to use the original fencing material. Given the cost of the project so far we really didn’t want to get rid of all of that wood (over 80 fence boards) and buy all new cedar fencing. As you can see in the shot above the old wood was grey, dirty and not very appealing. We have some purple highlights on the base of our house and in the fence so we thought one option is to just paint it and not worry about keeping the natural wood color. Here’s a mock-up we created:
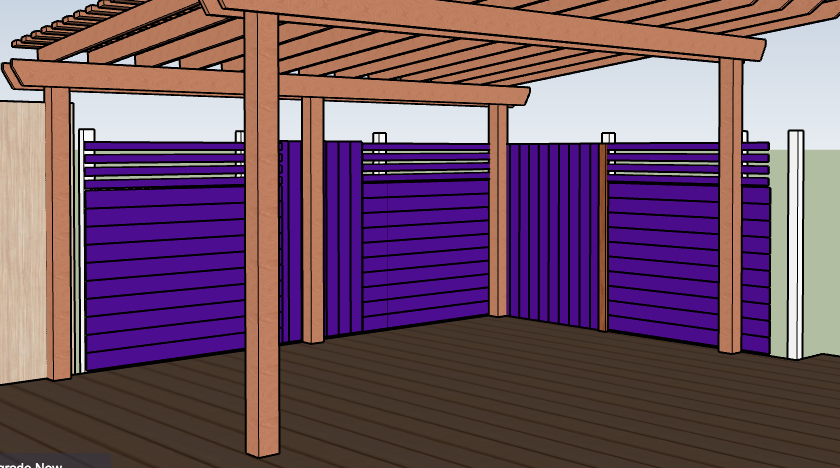
No, we really weren’t going to paint it that color of purple but you can see the idea. Next we started mocking it up in real life including painting one of the boards purple
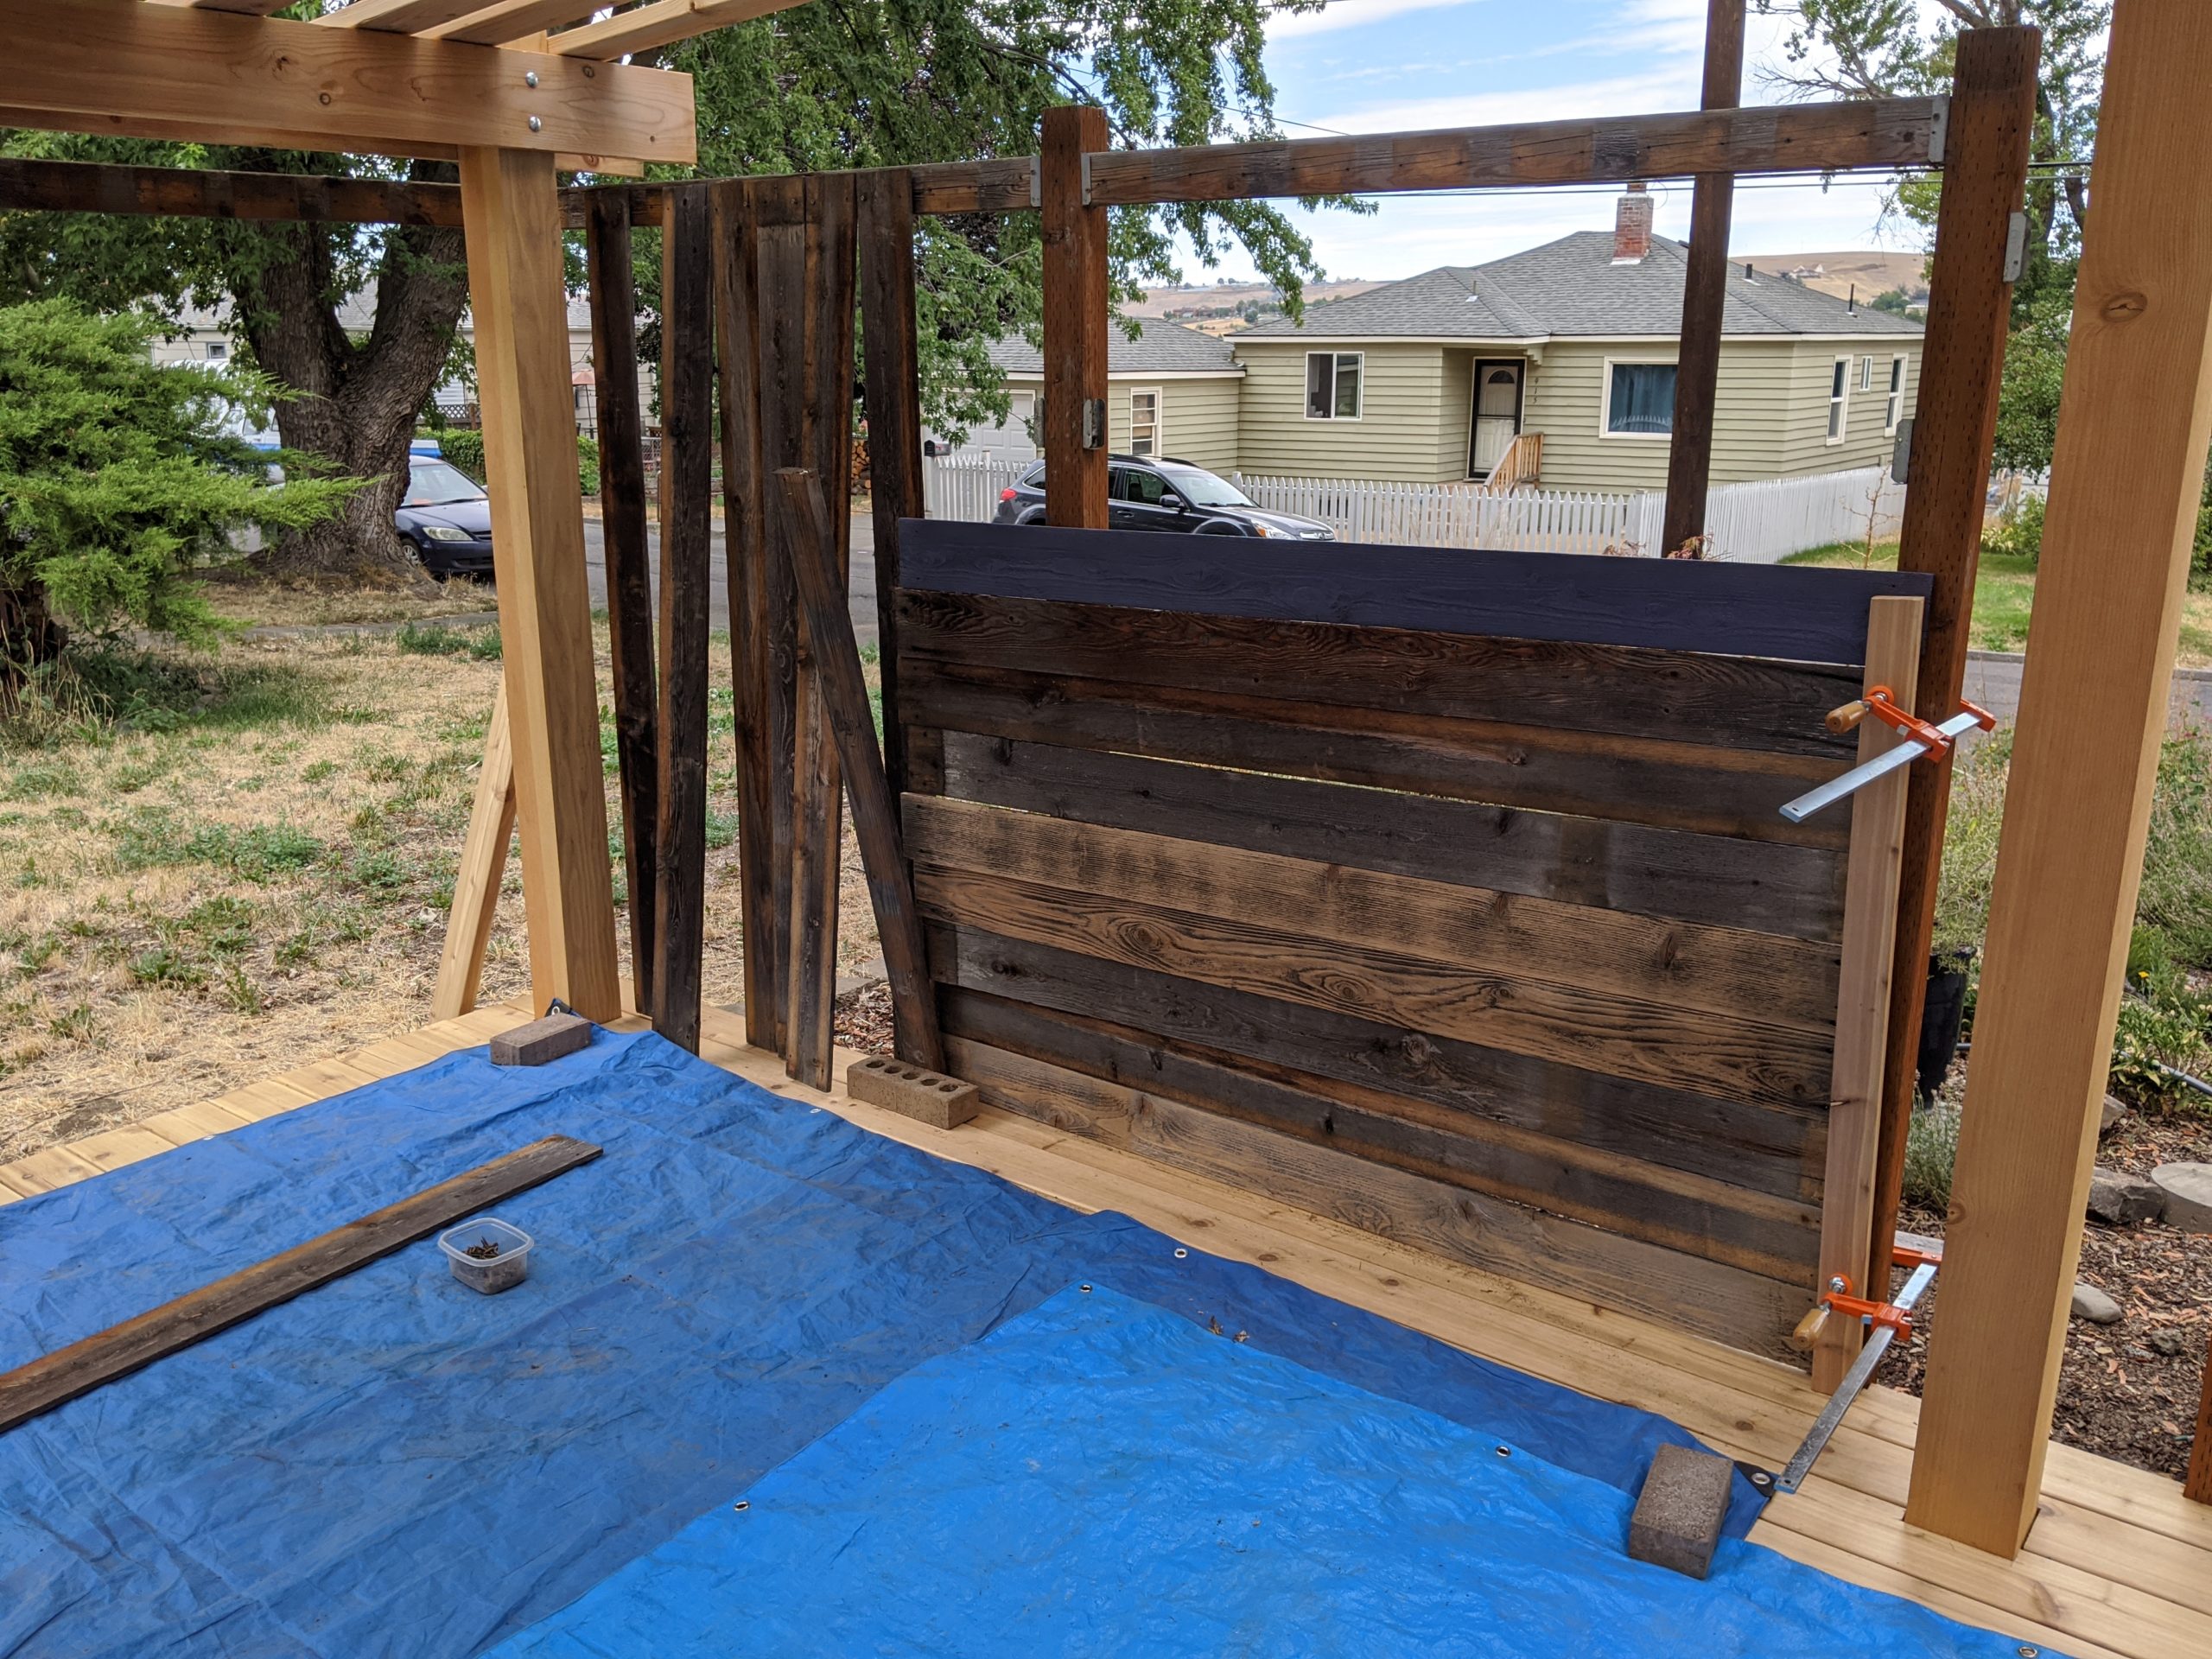

That gap at the top is where we were going to put in a decorative fence panel. Or use thinner strips of fencing as in the mock-up.
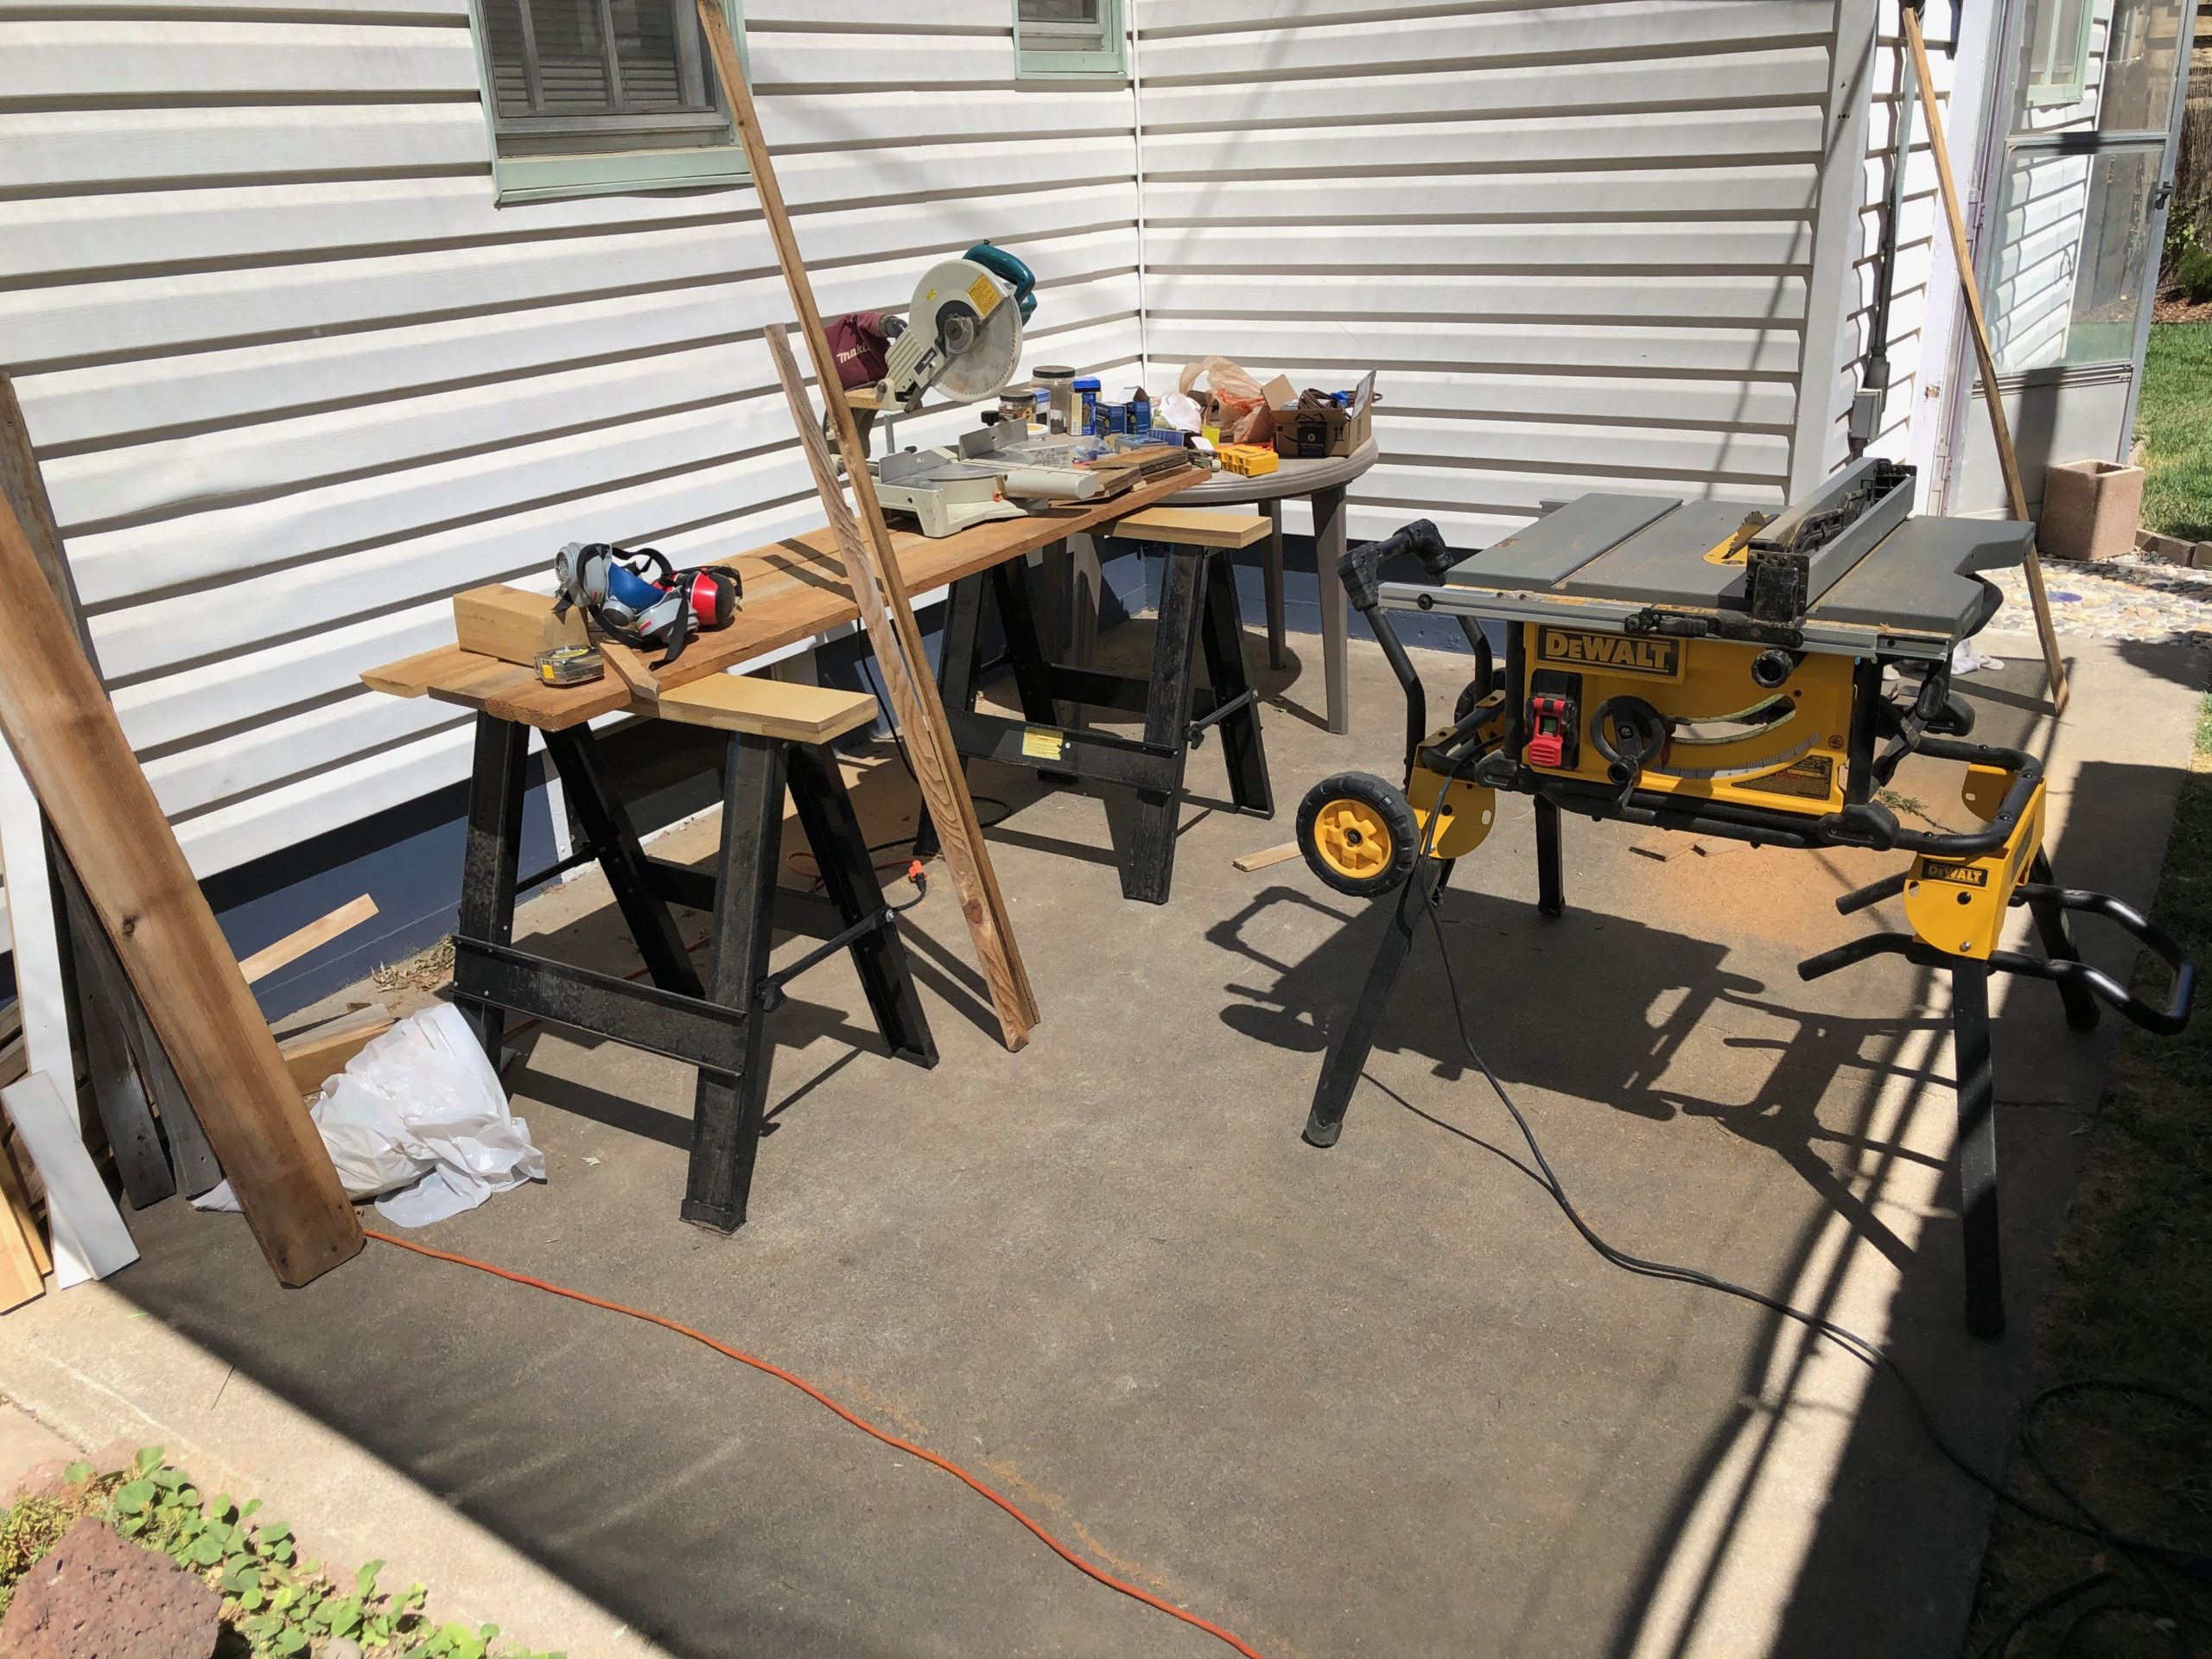
This definitely had a “corral” kind of vibe that neither of us were into. We tried to imagine the whole thing purple but weren’t sure how that would work either. We realized that whatever we did, paint or stain, the boards needed to be cleaned. We tried sanding a few and that did work, sort of, but didn’t get the grey and dirt out of the deep valleys of cedar grain. Fortunately our neighbor owns a pressure washer and let us borrow it!

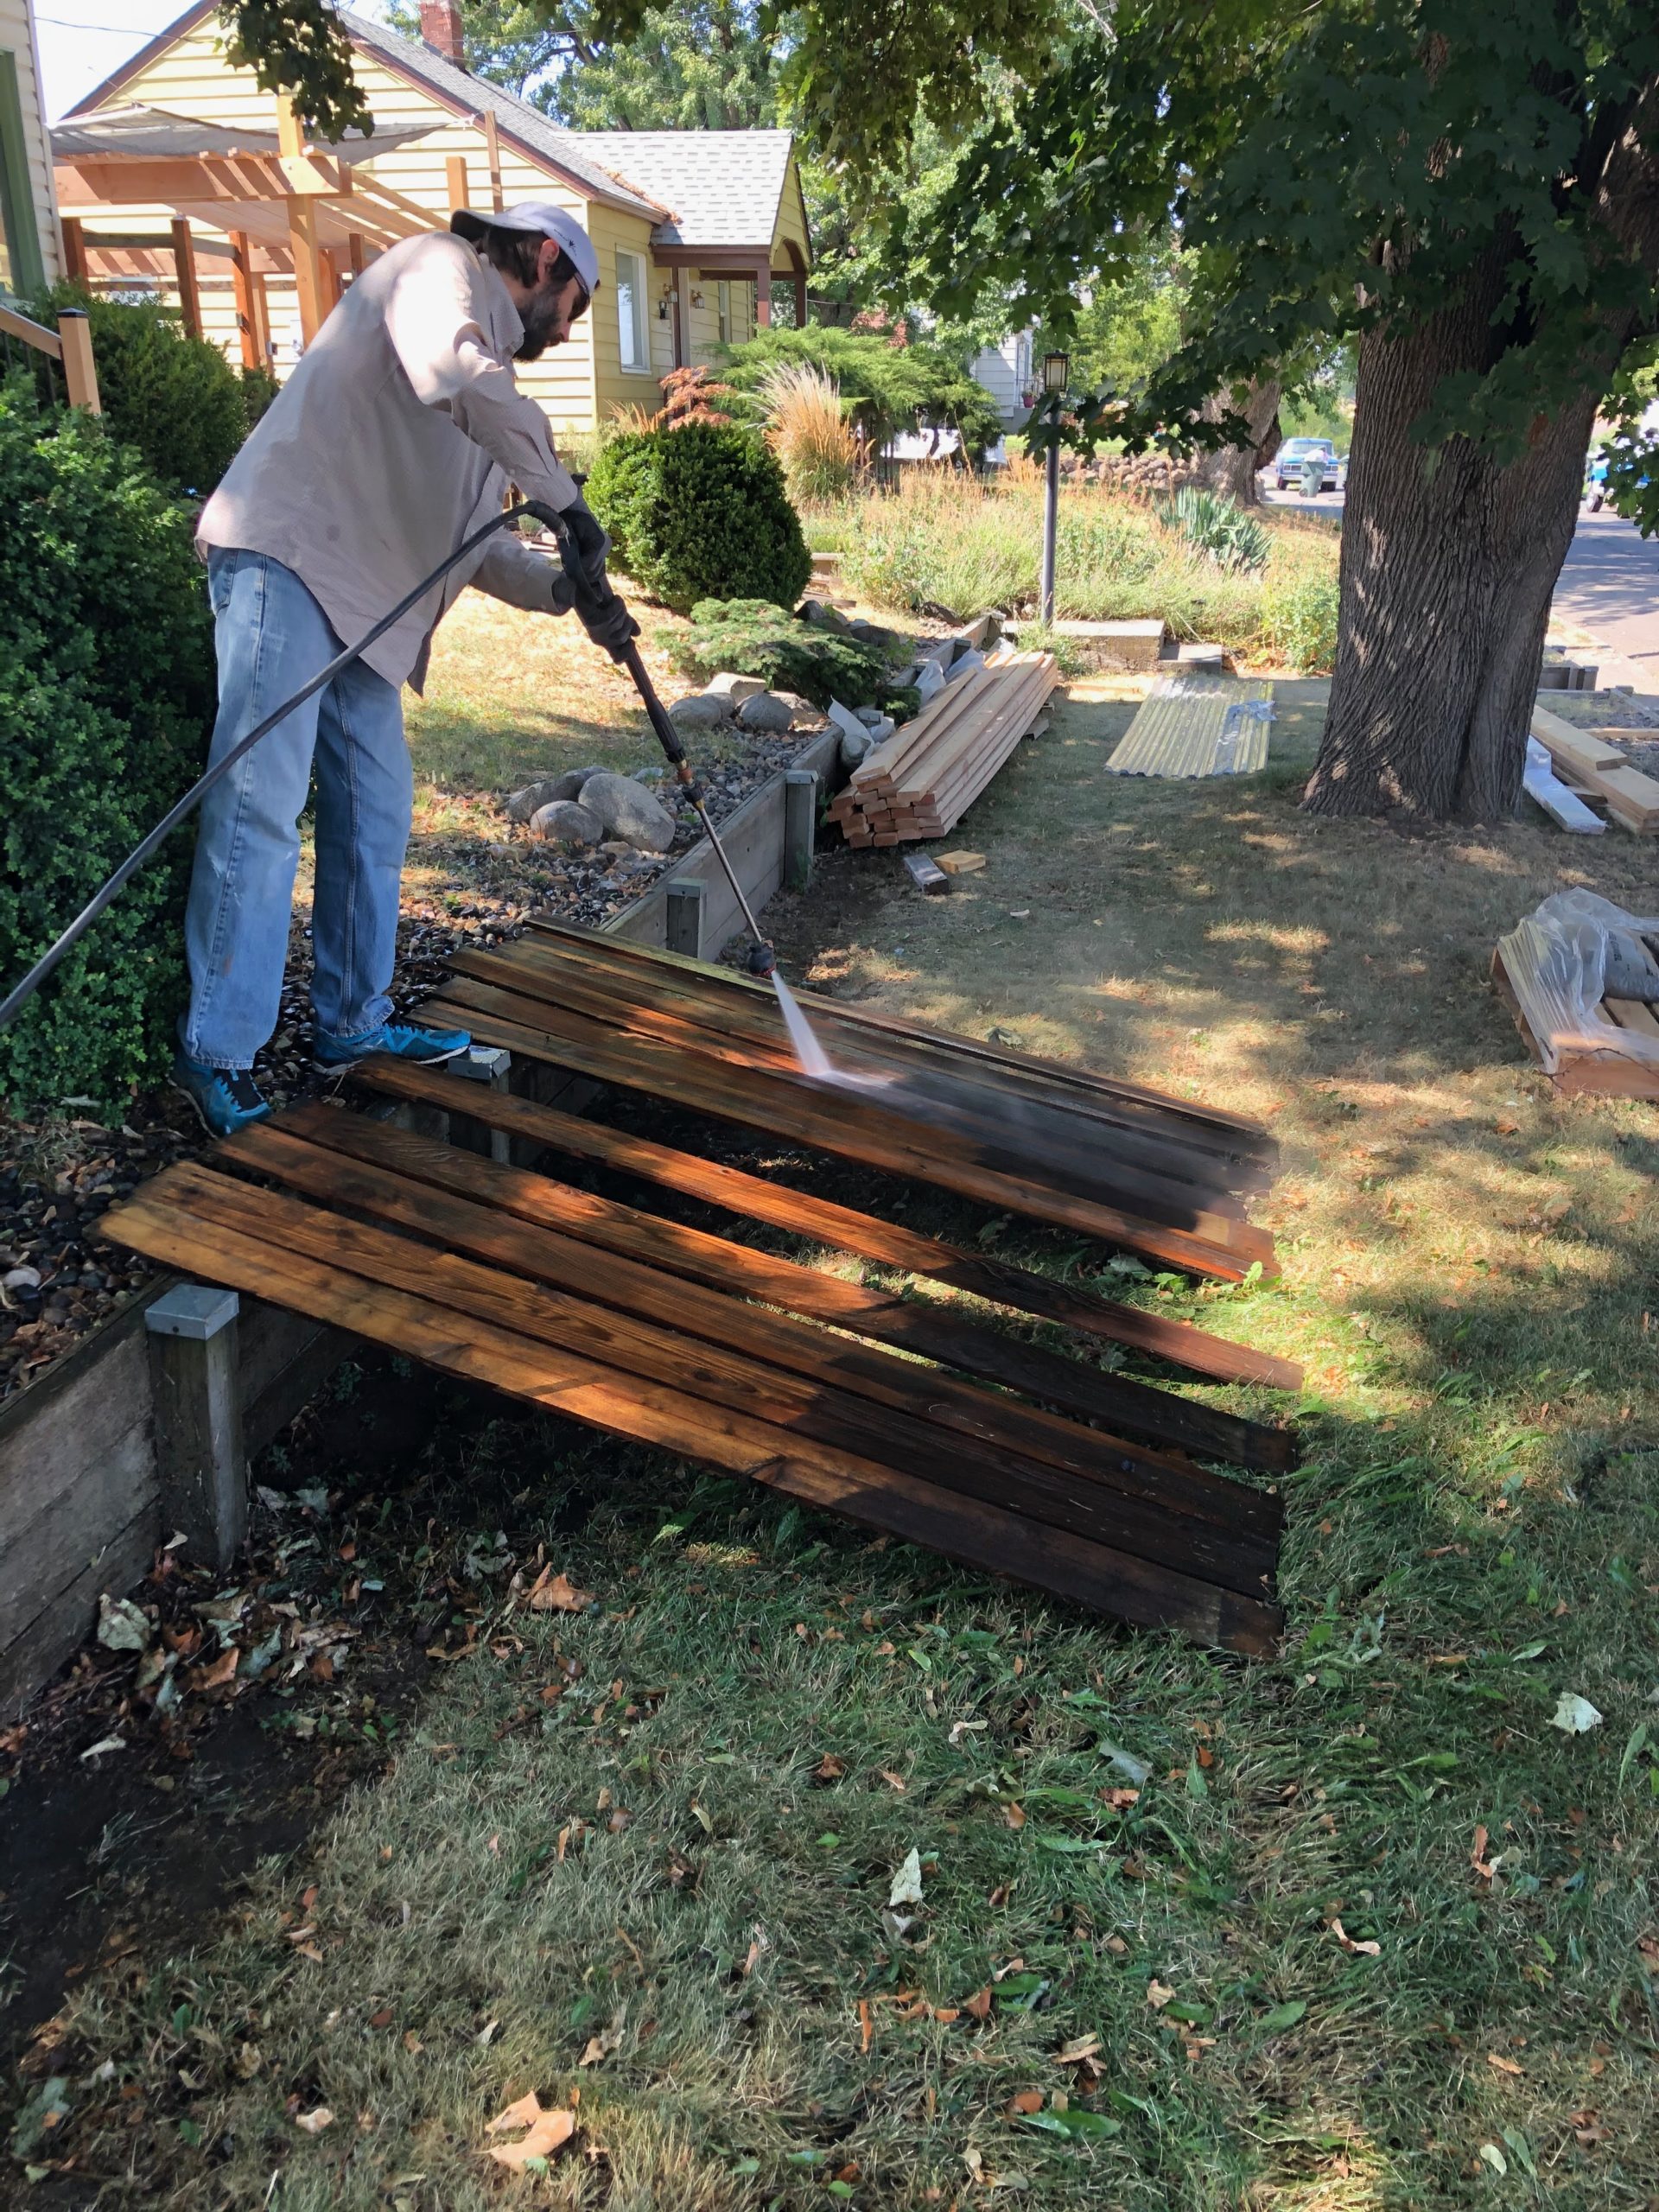
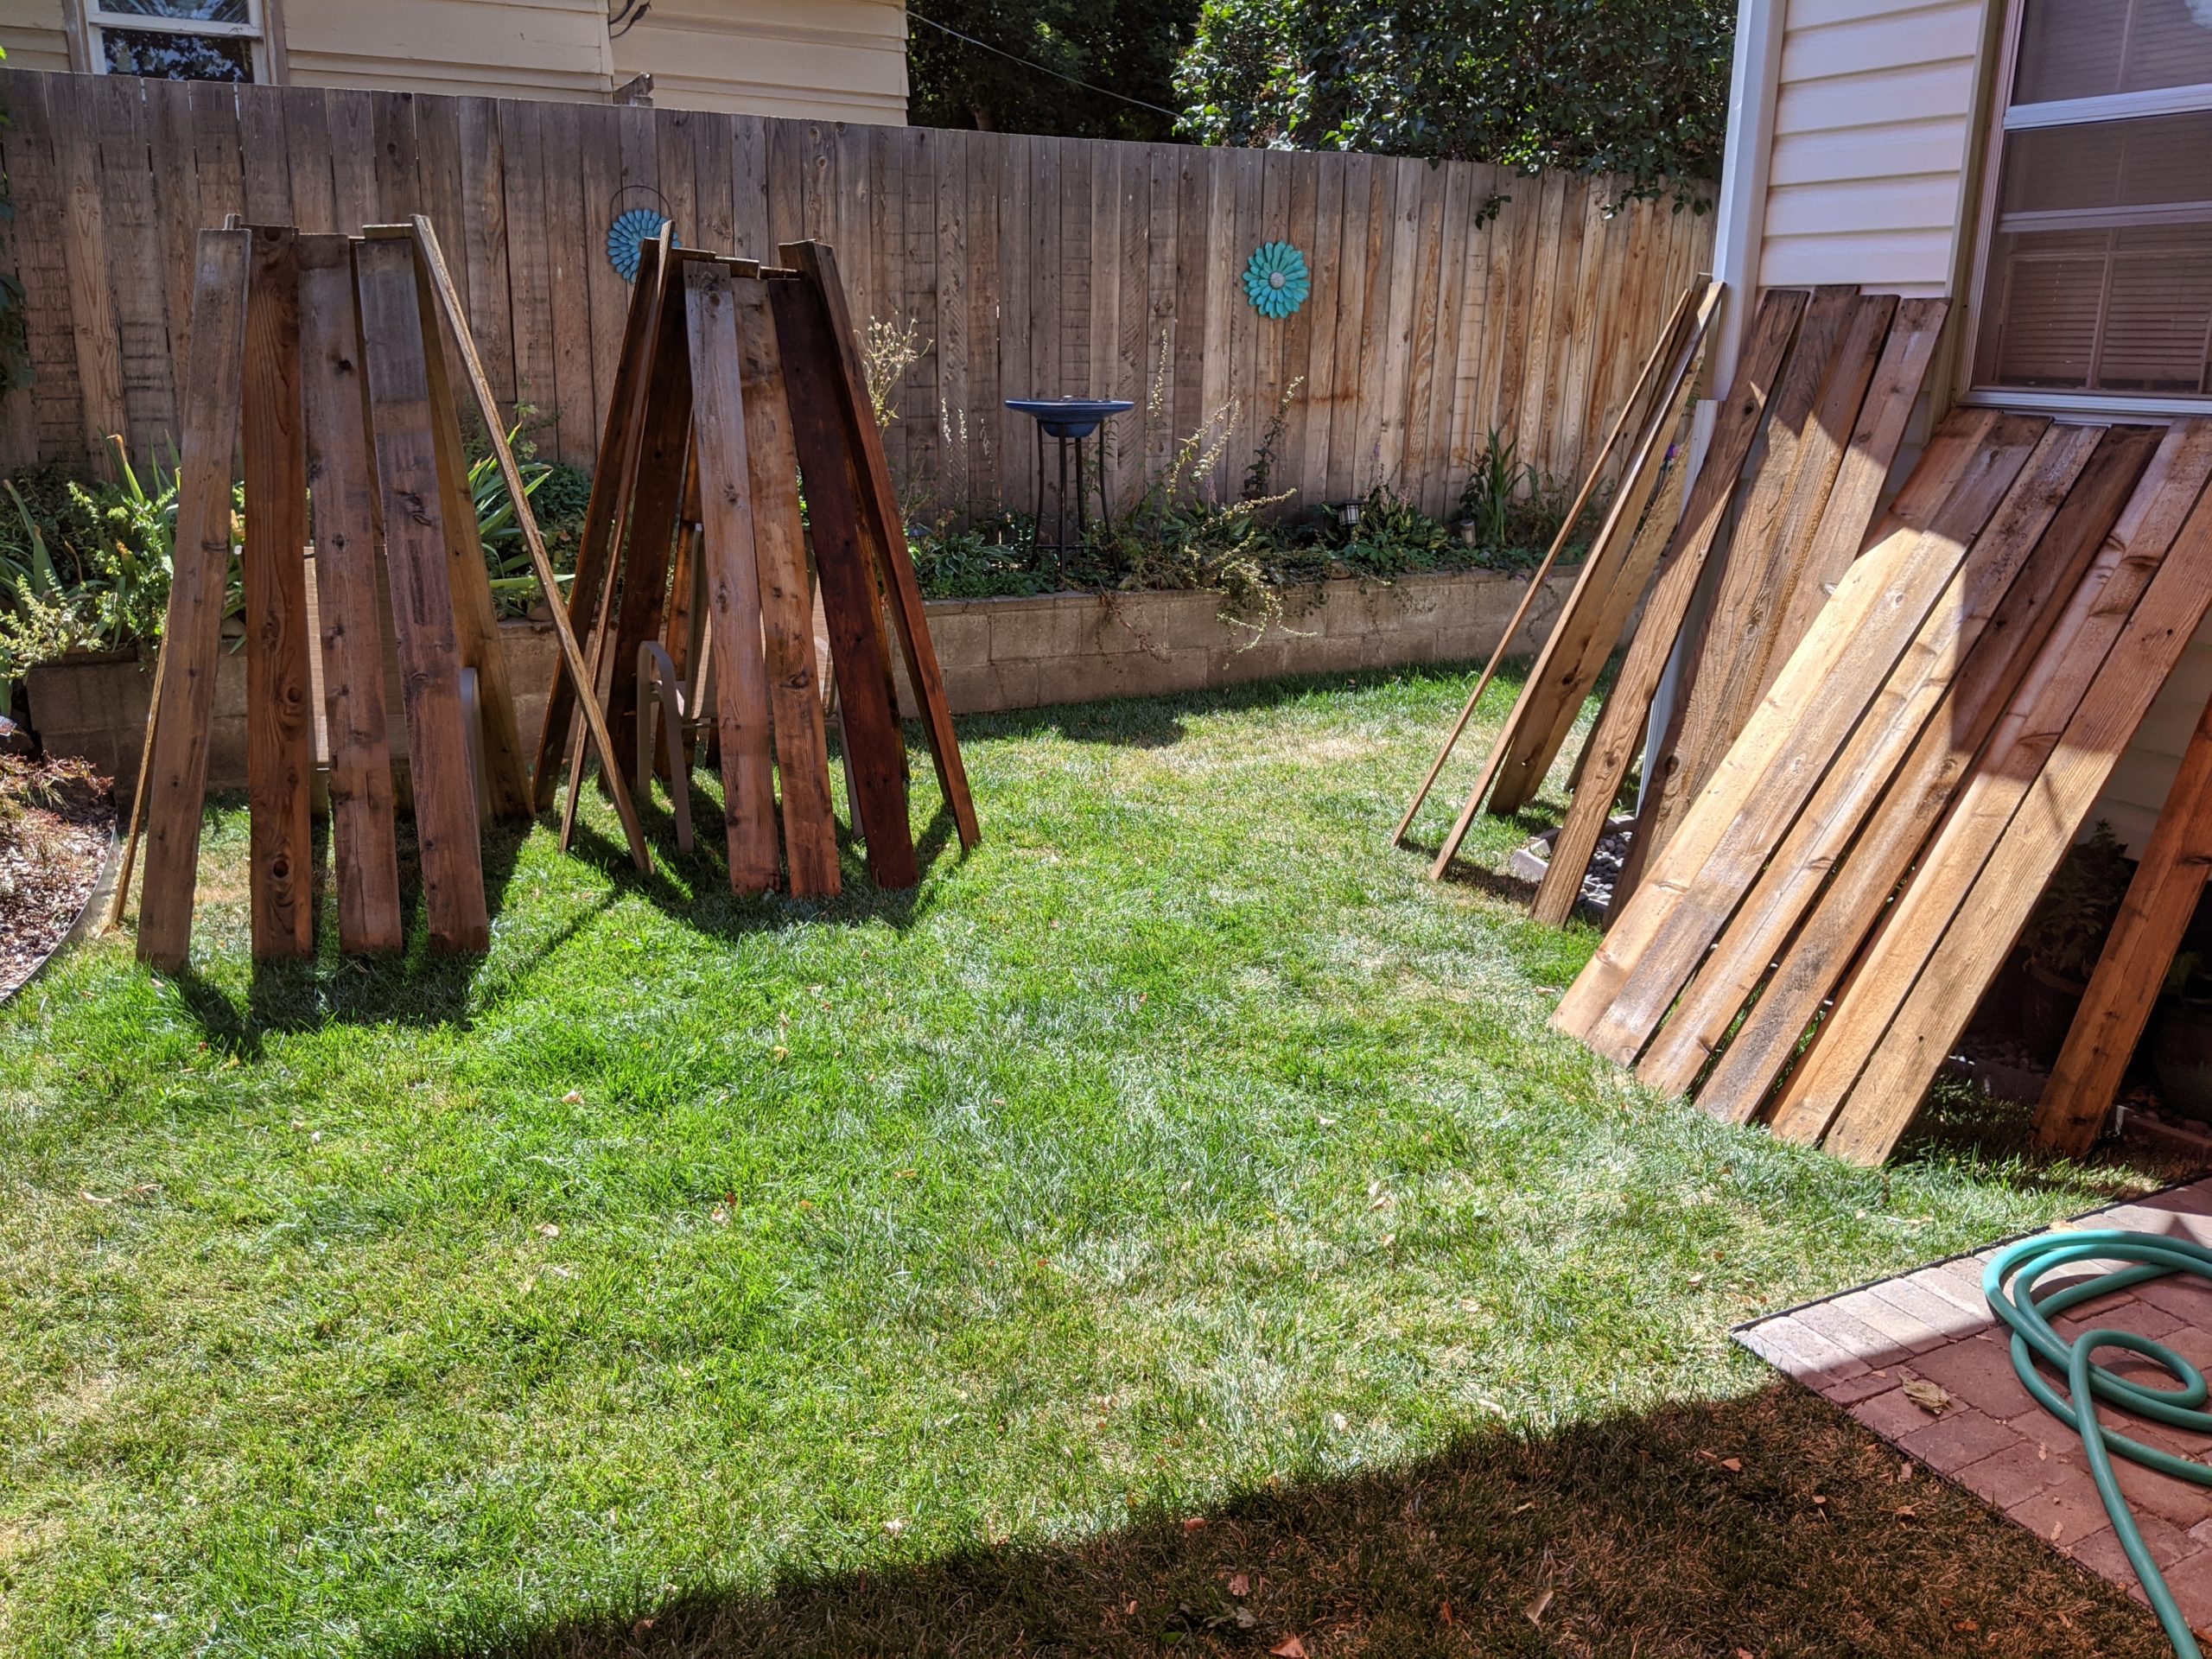
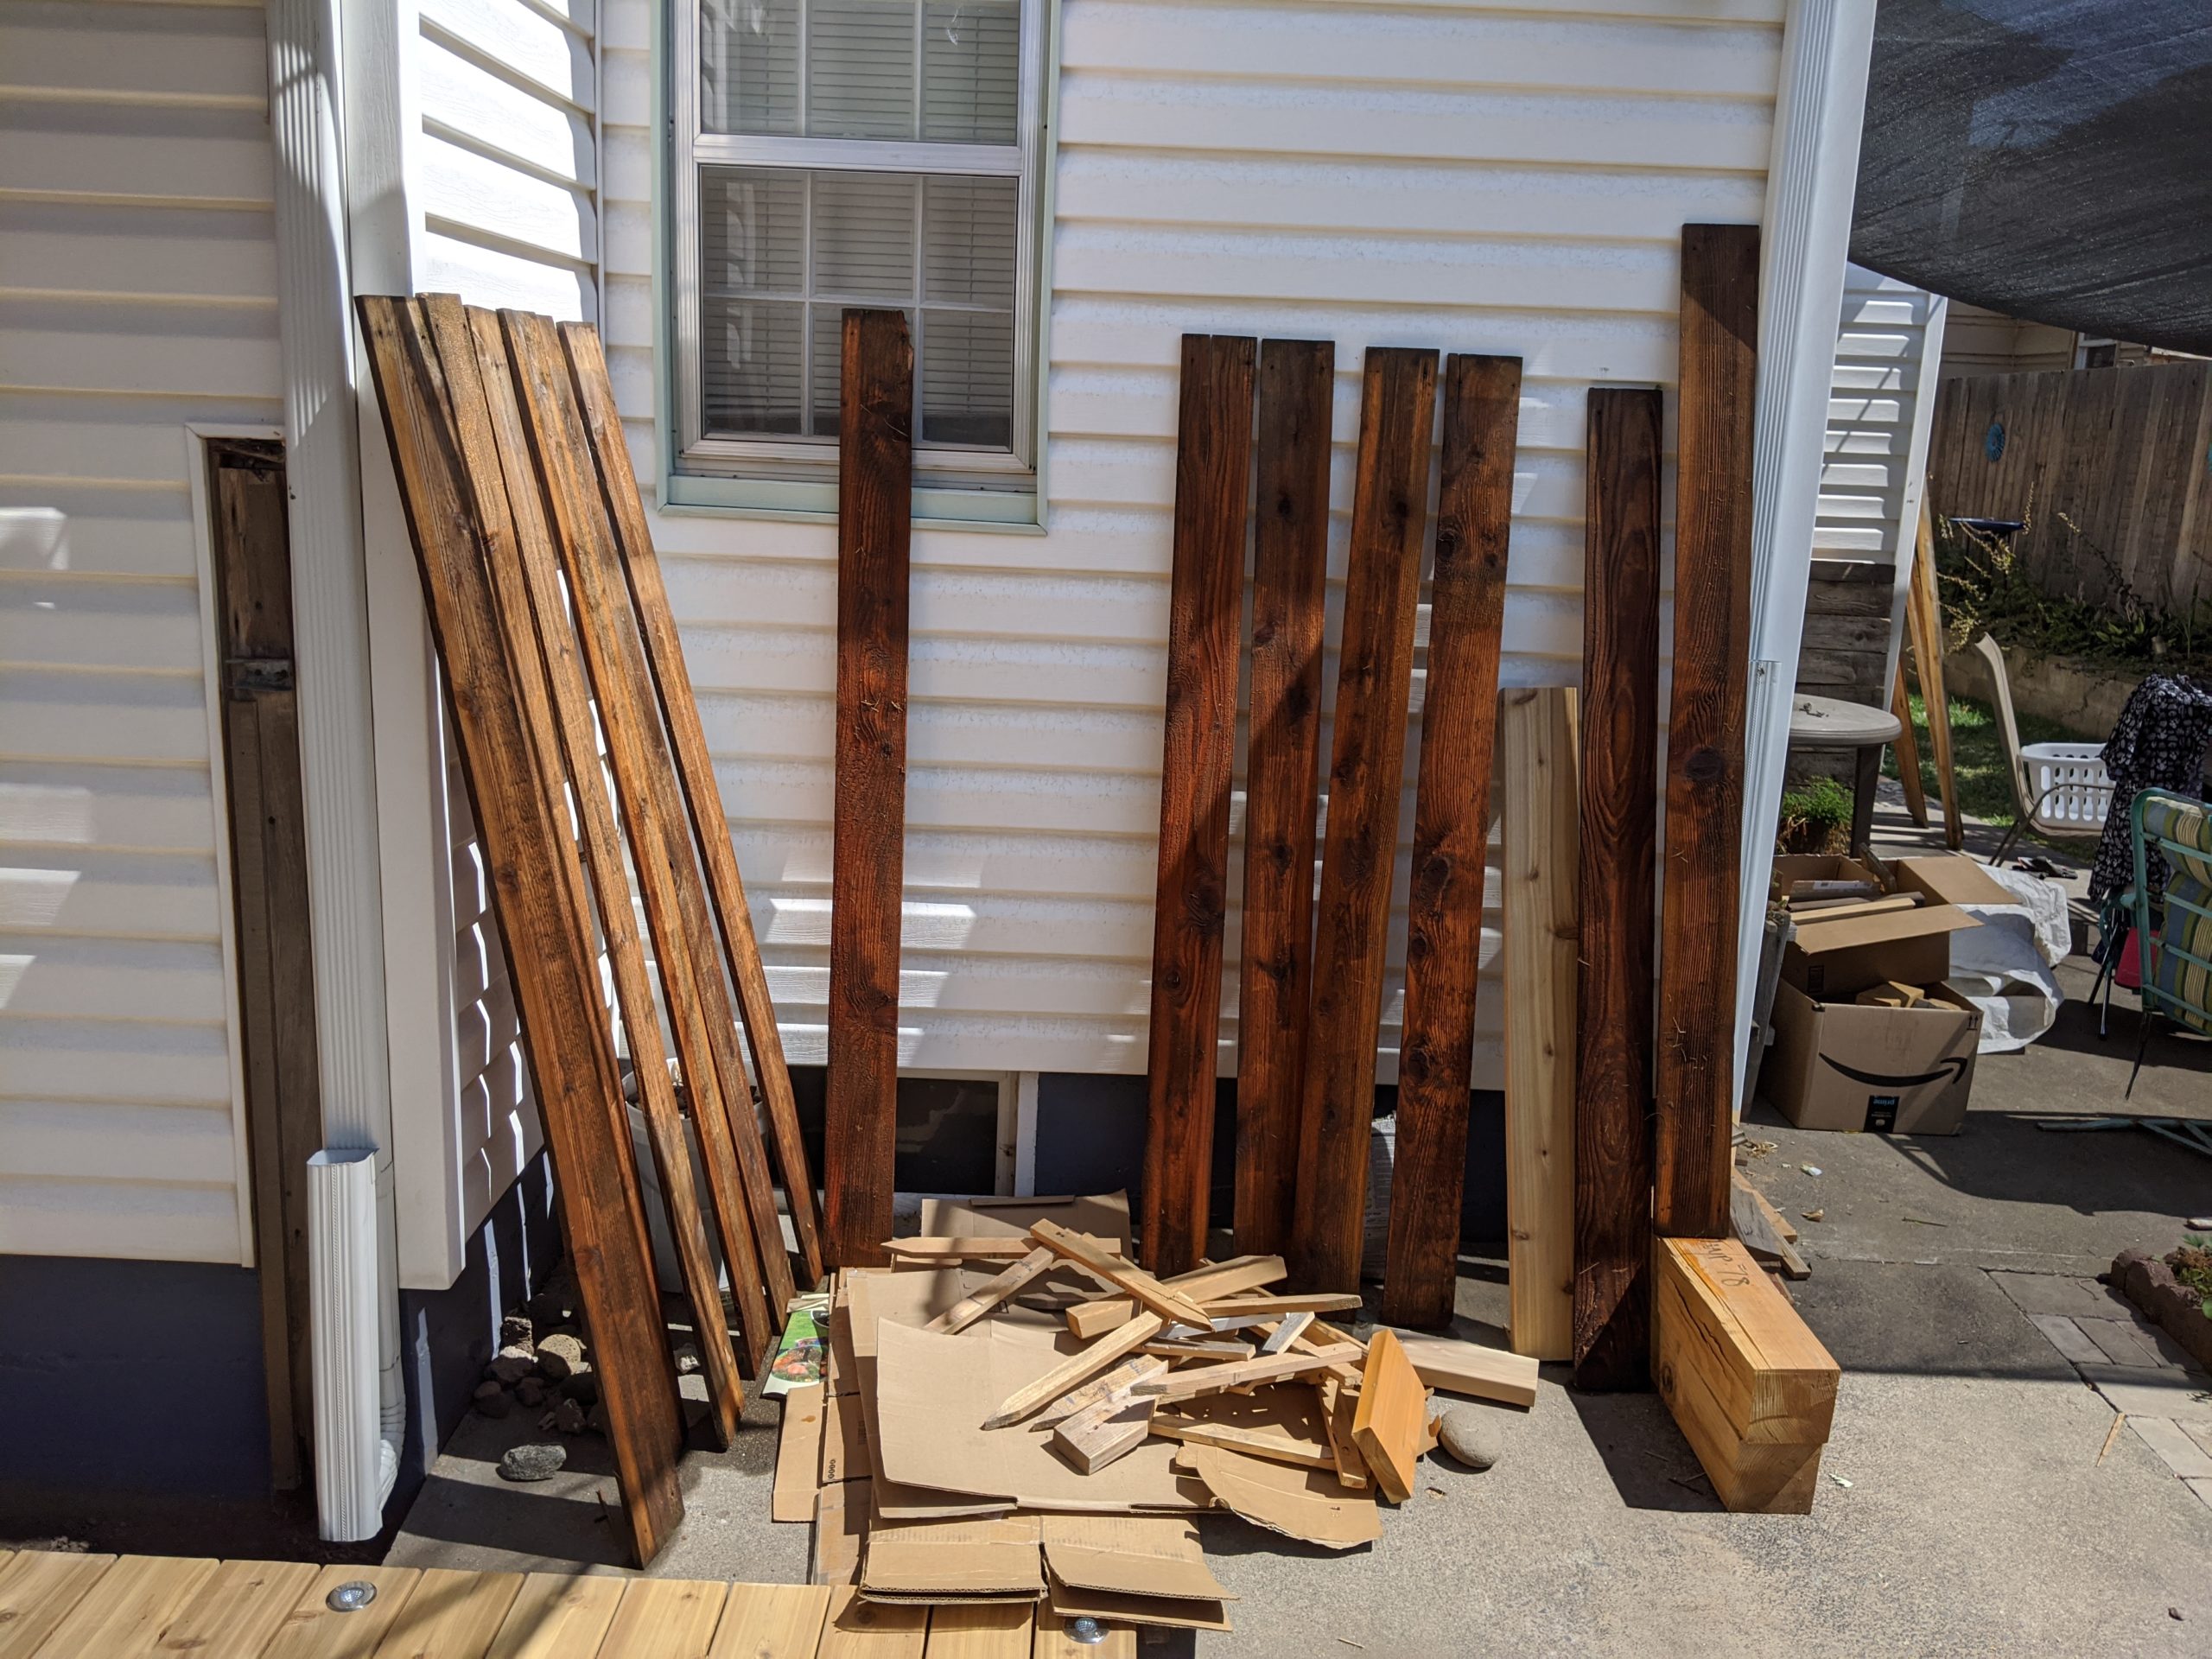
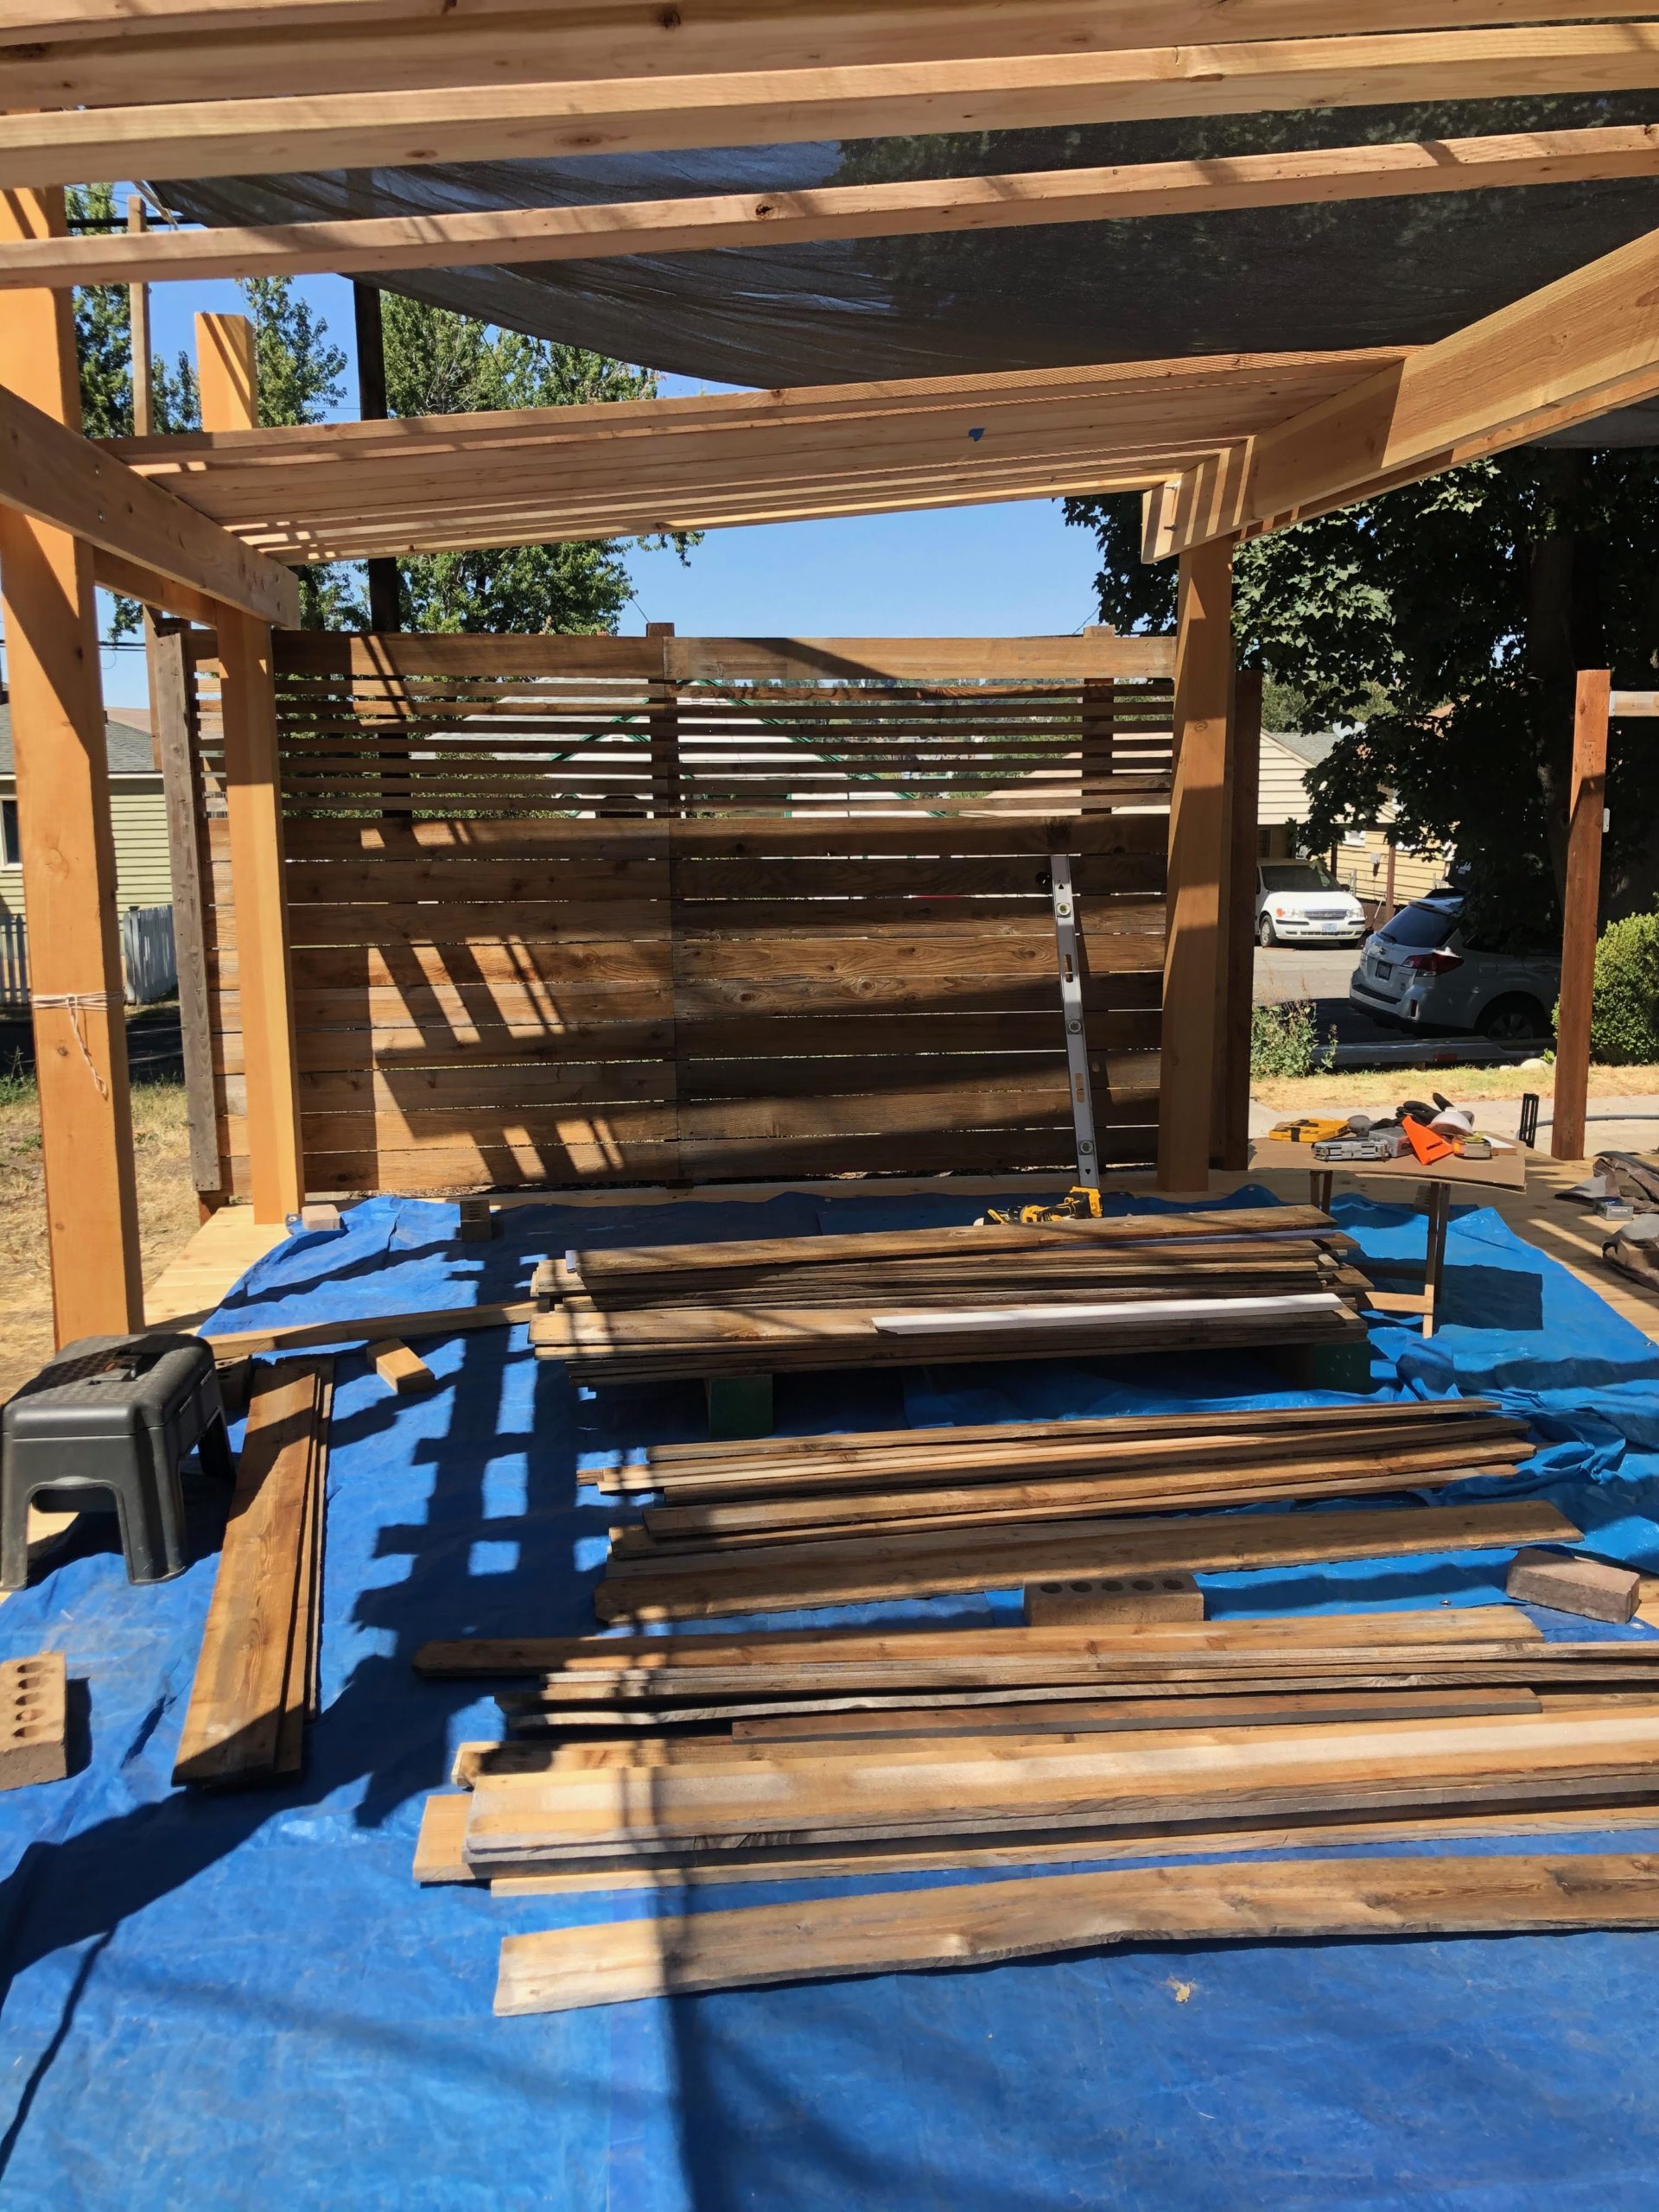
We wanted the boards to dry out quickly so set them up all over the yard in the sun:

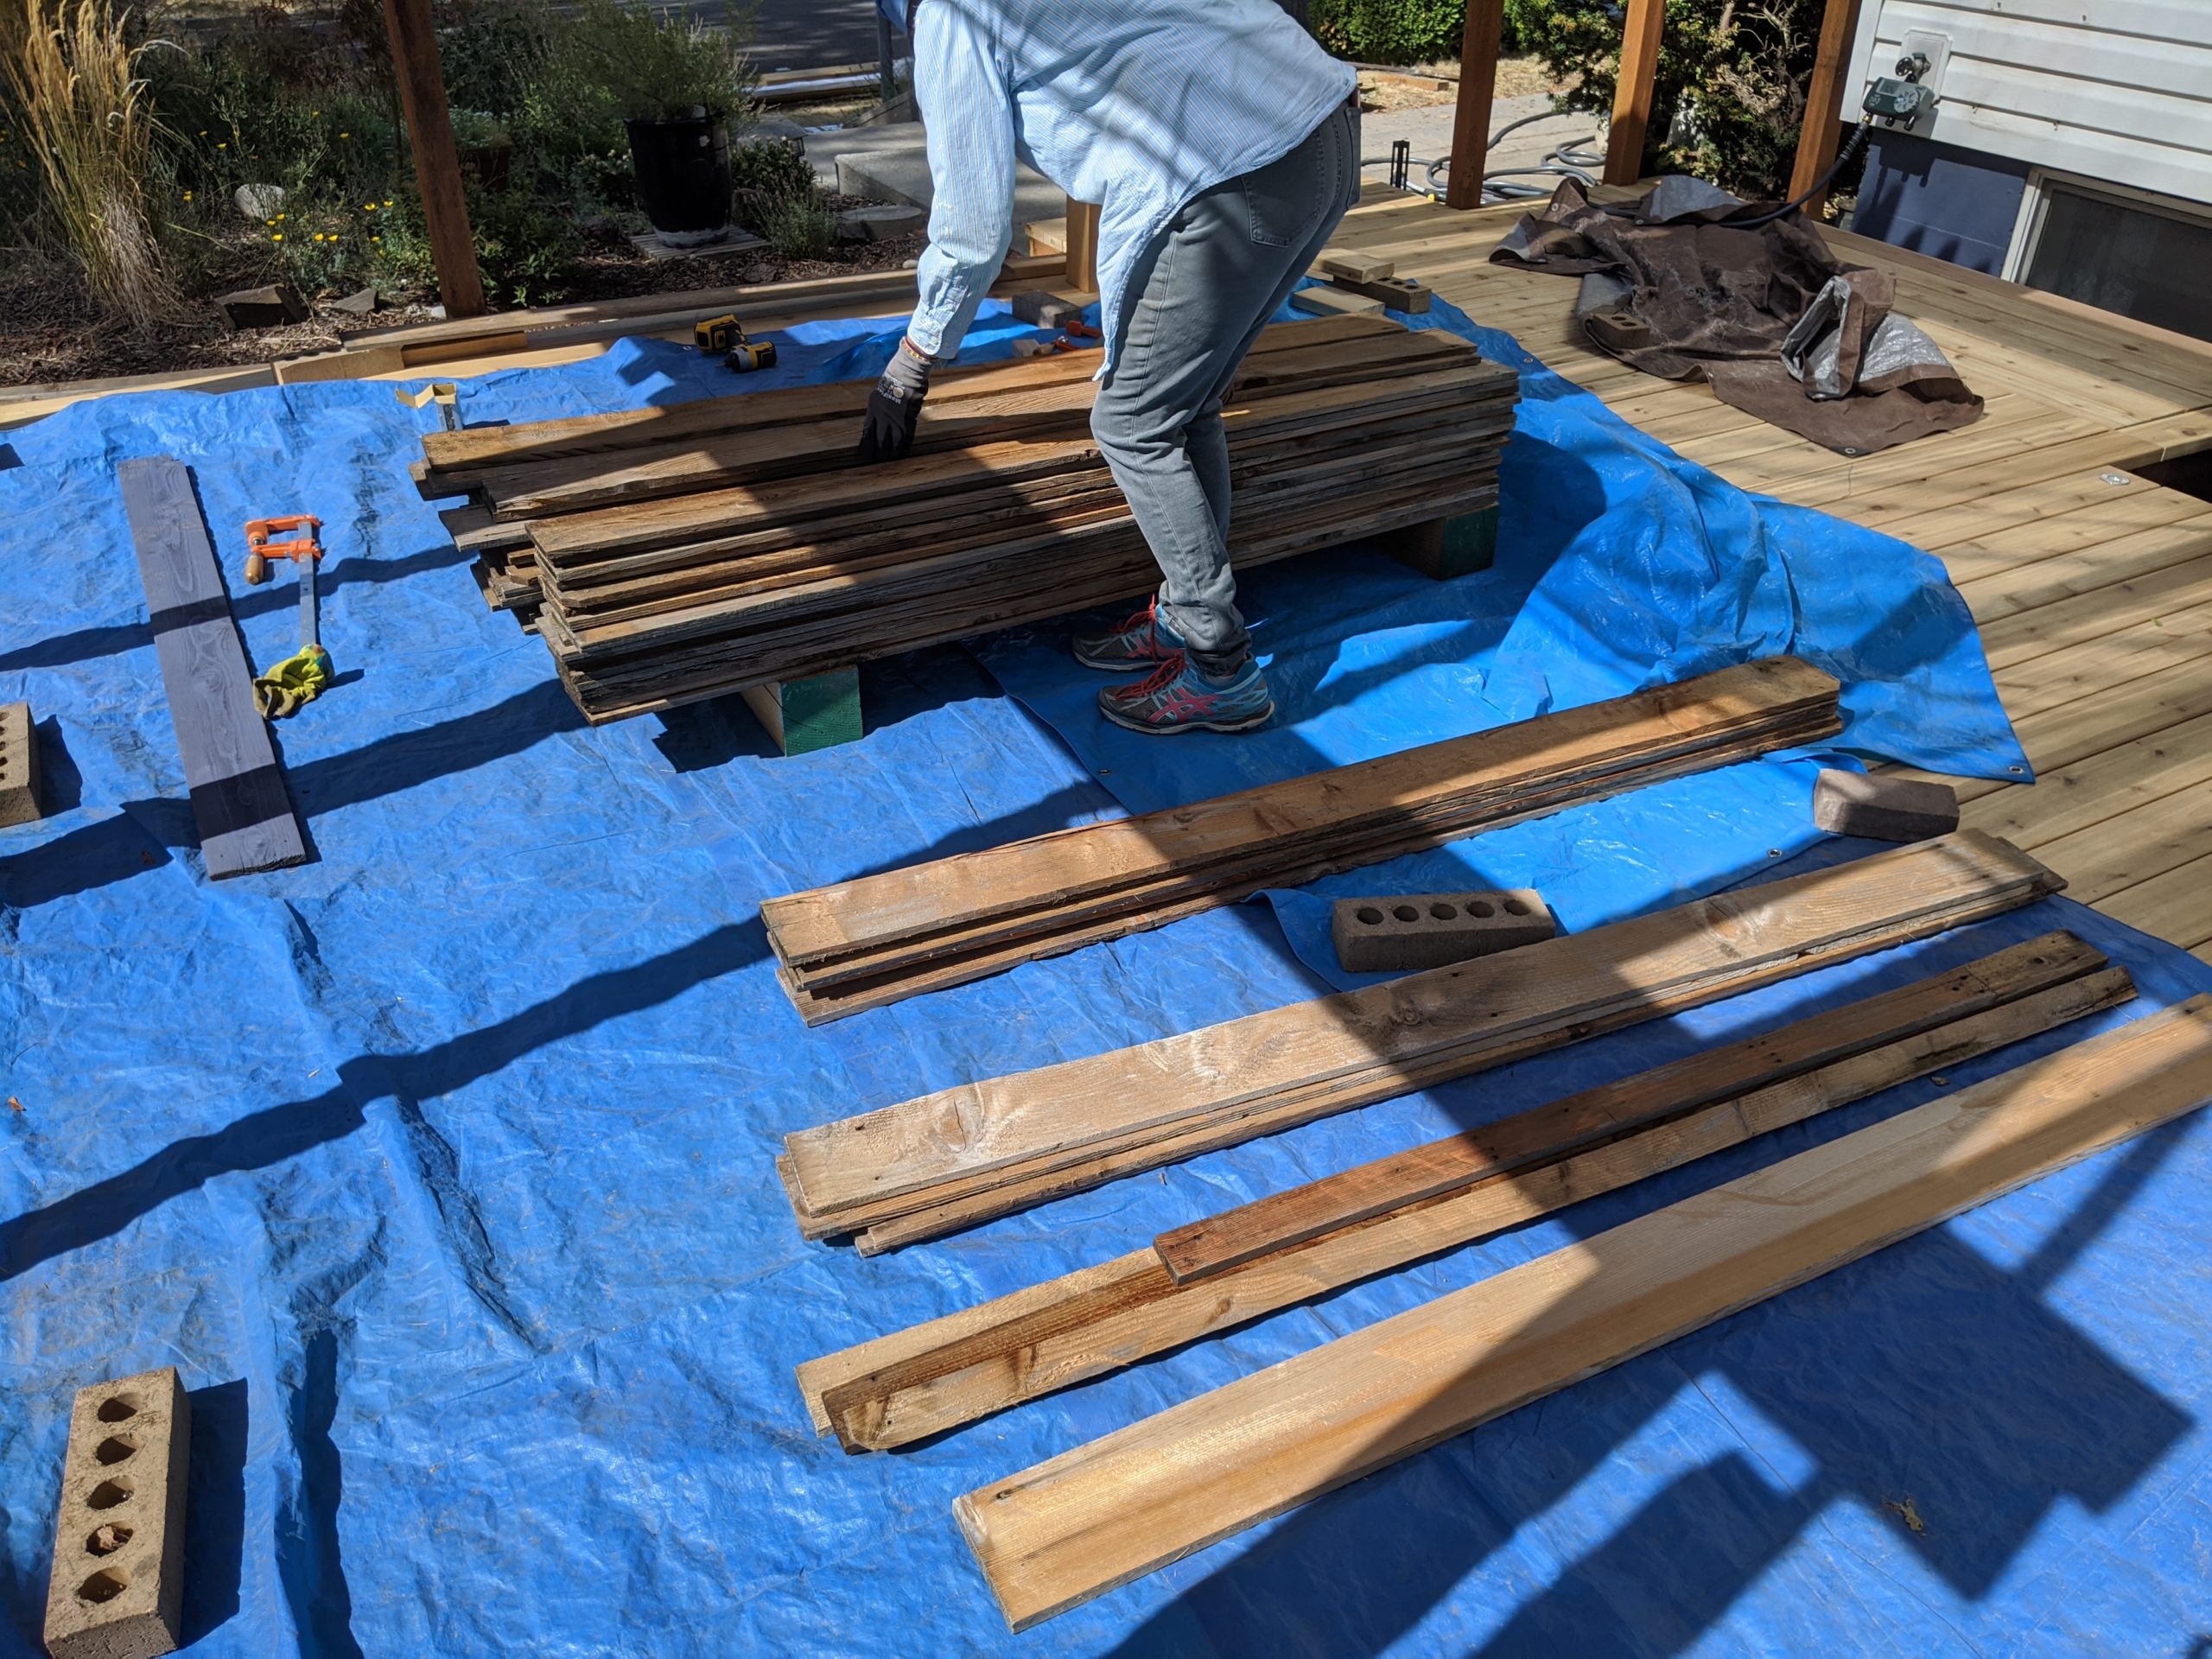
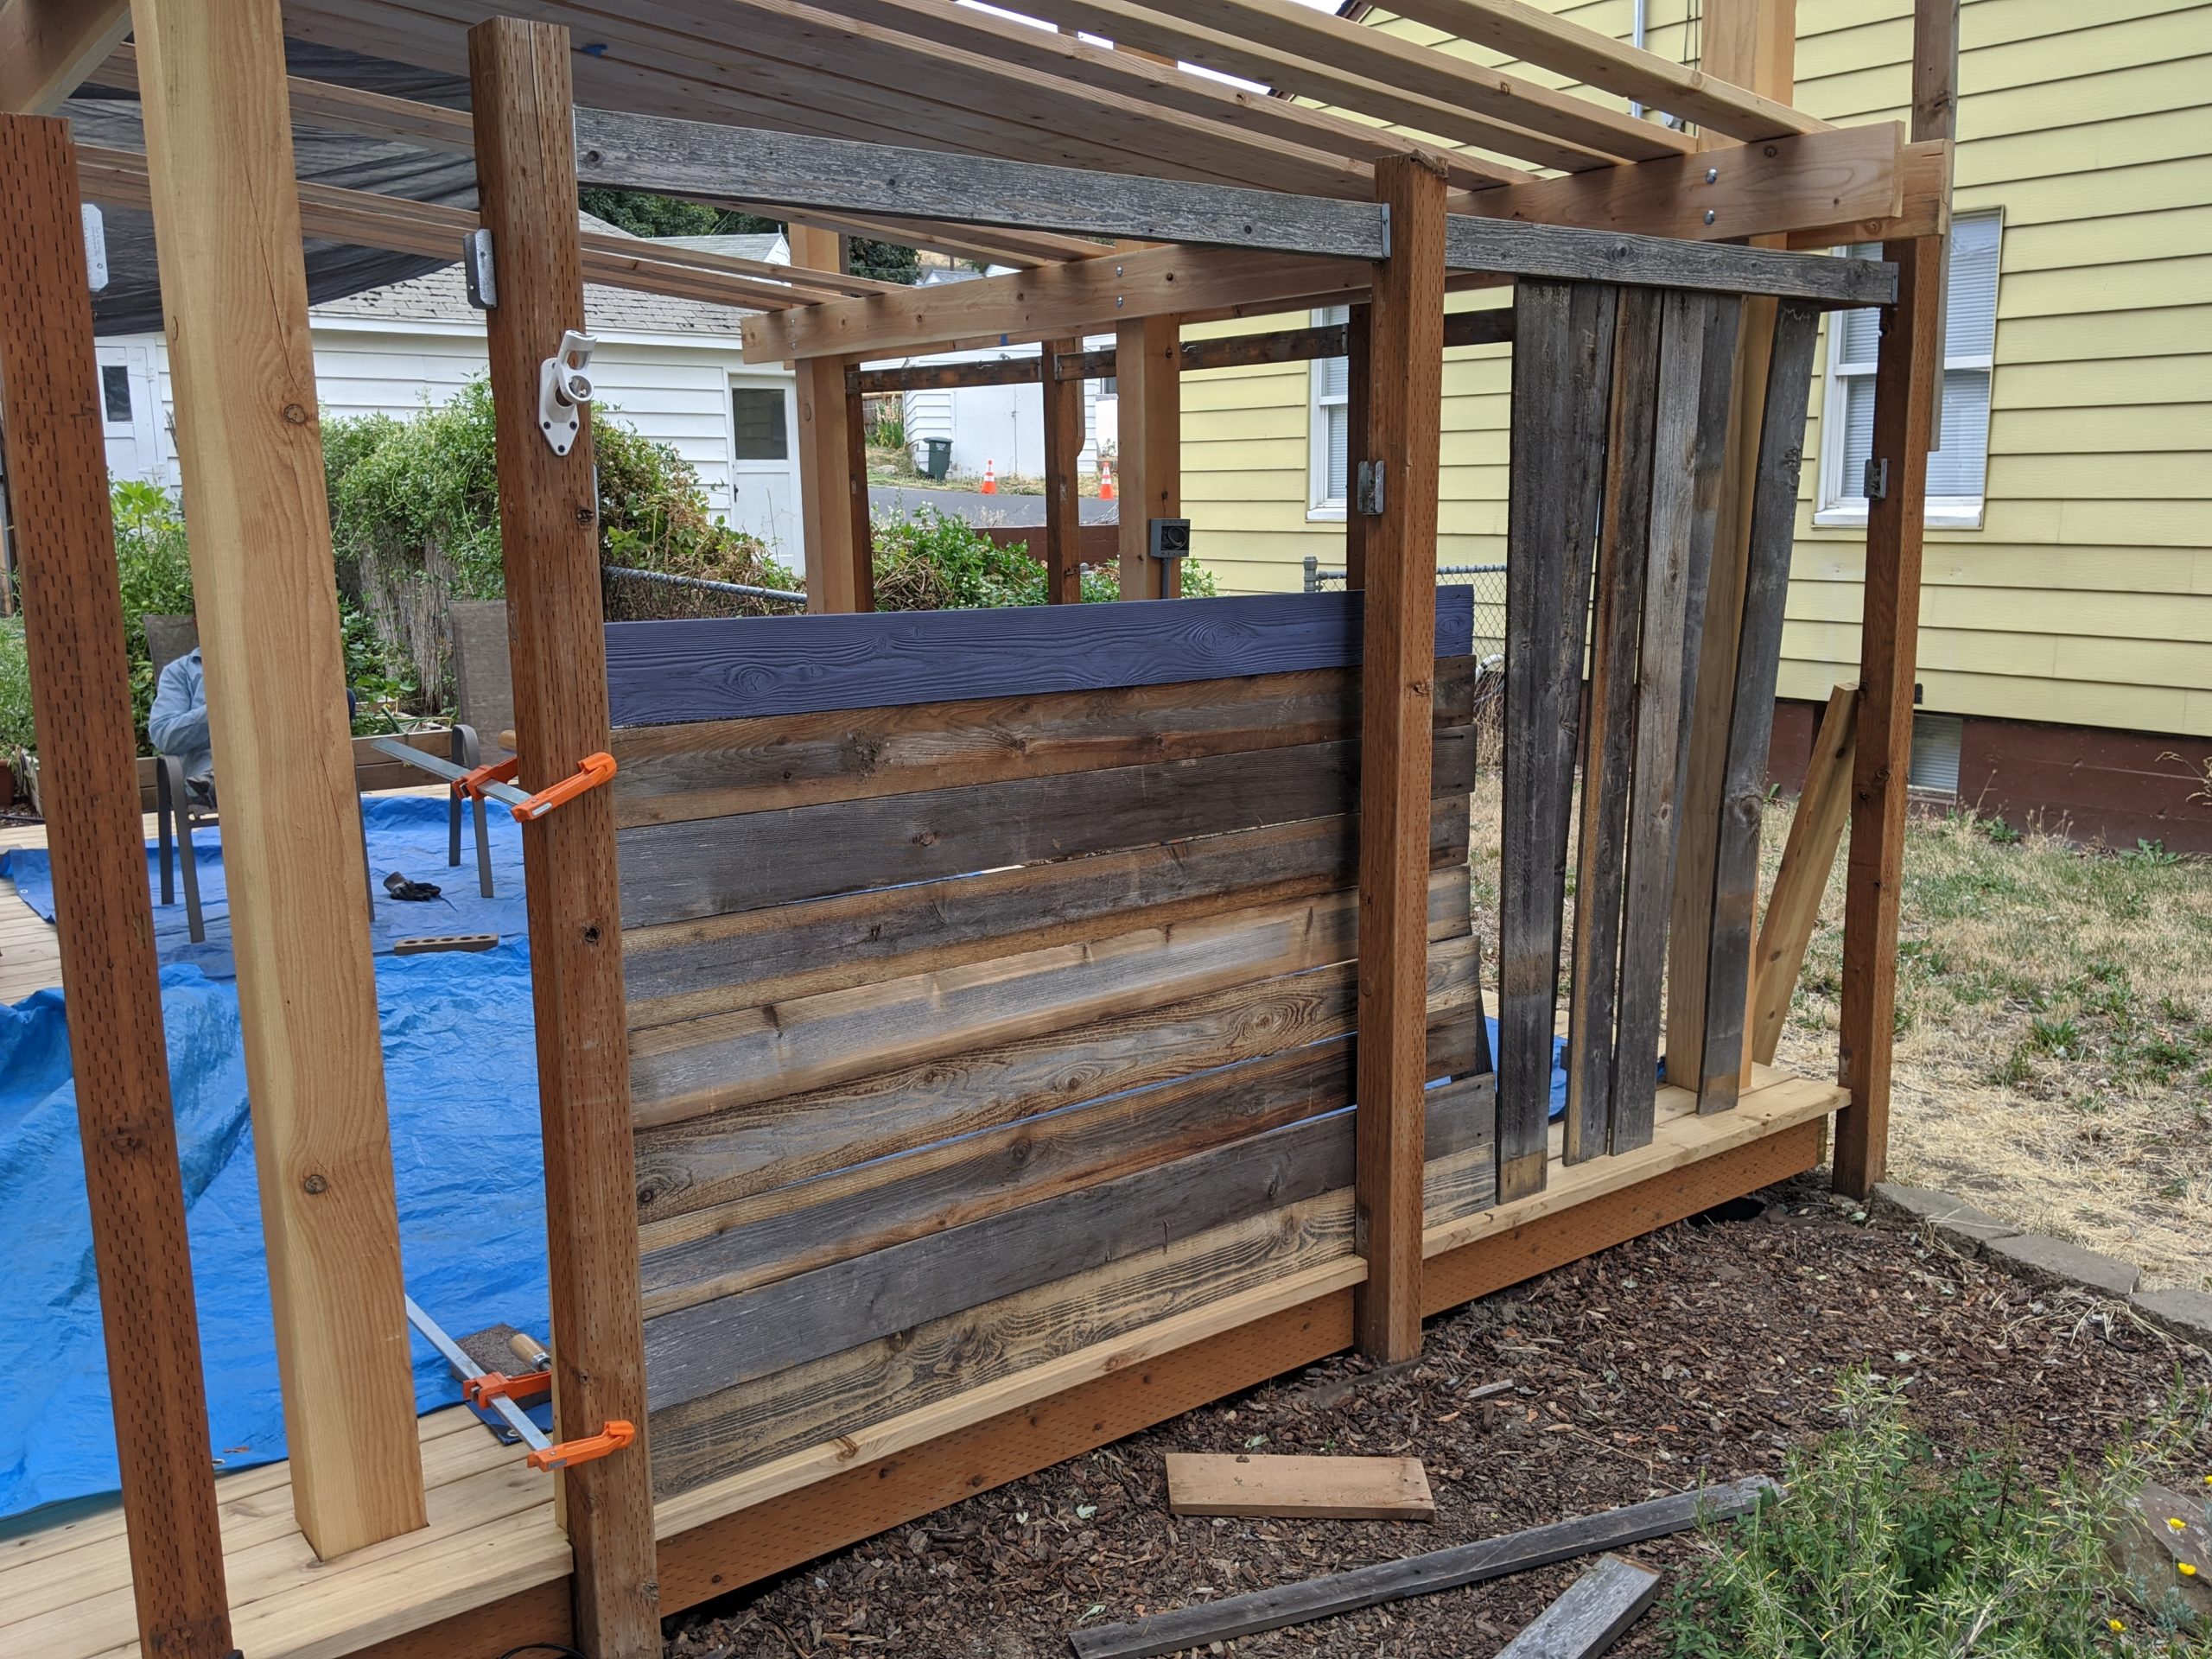
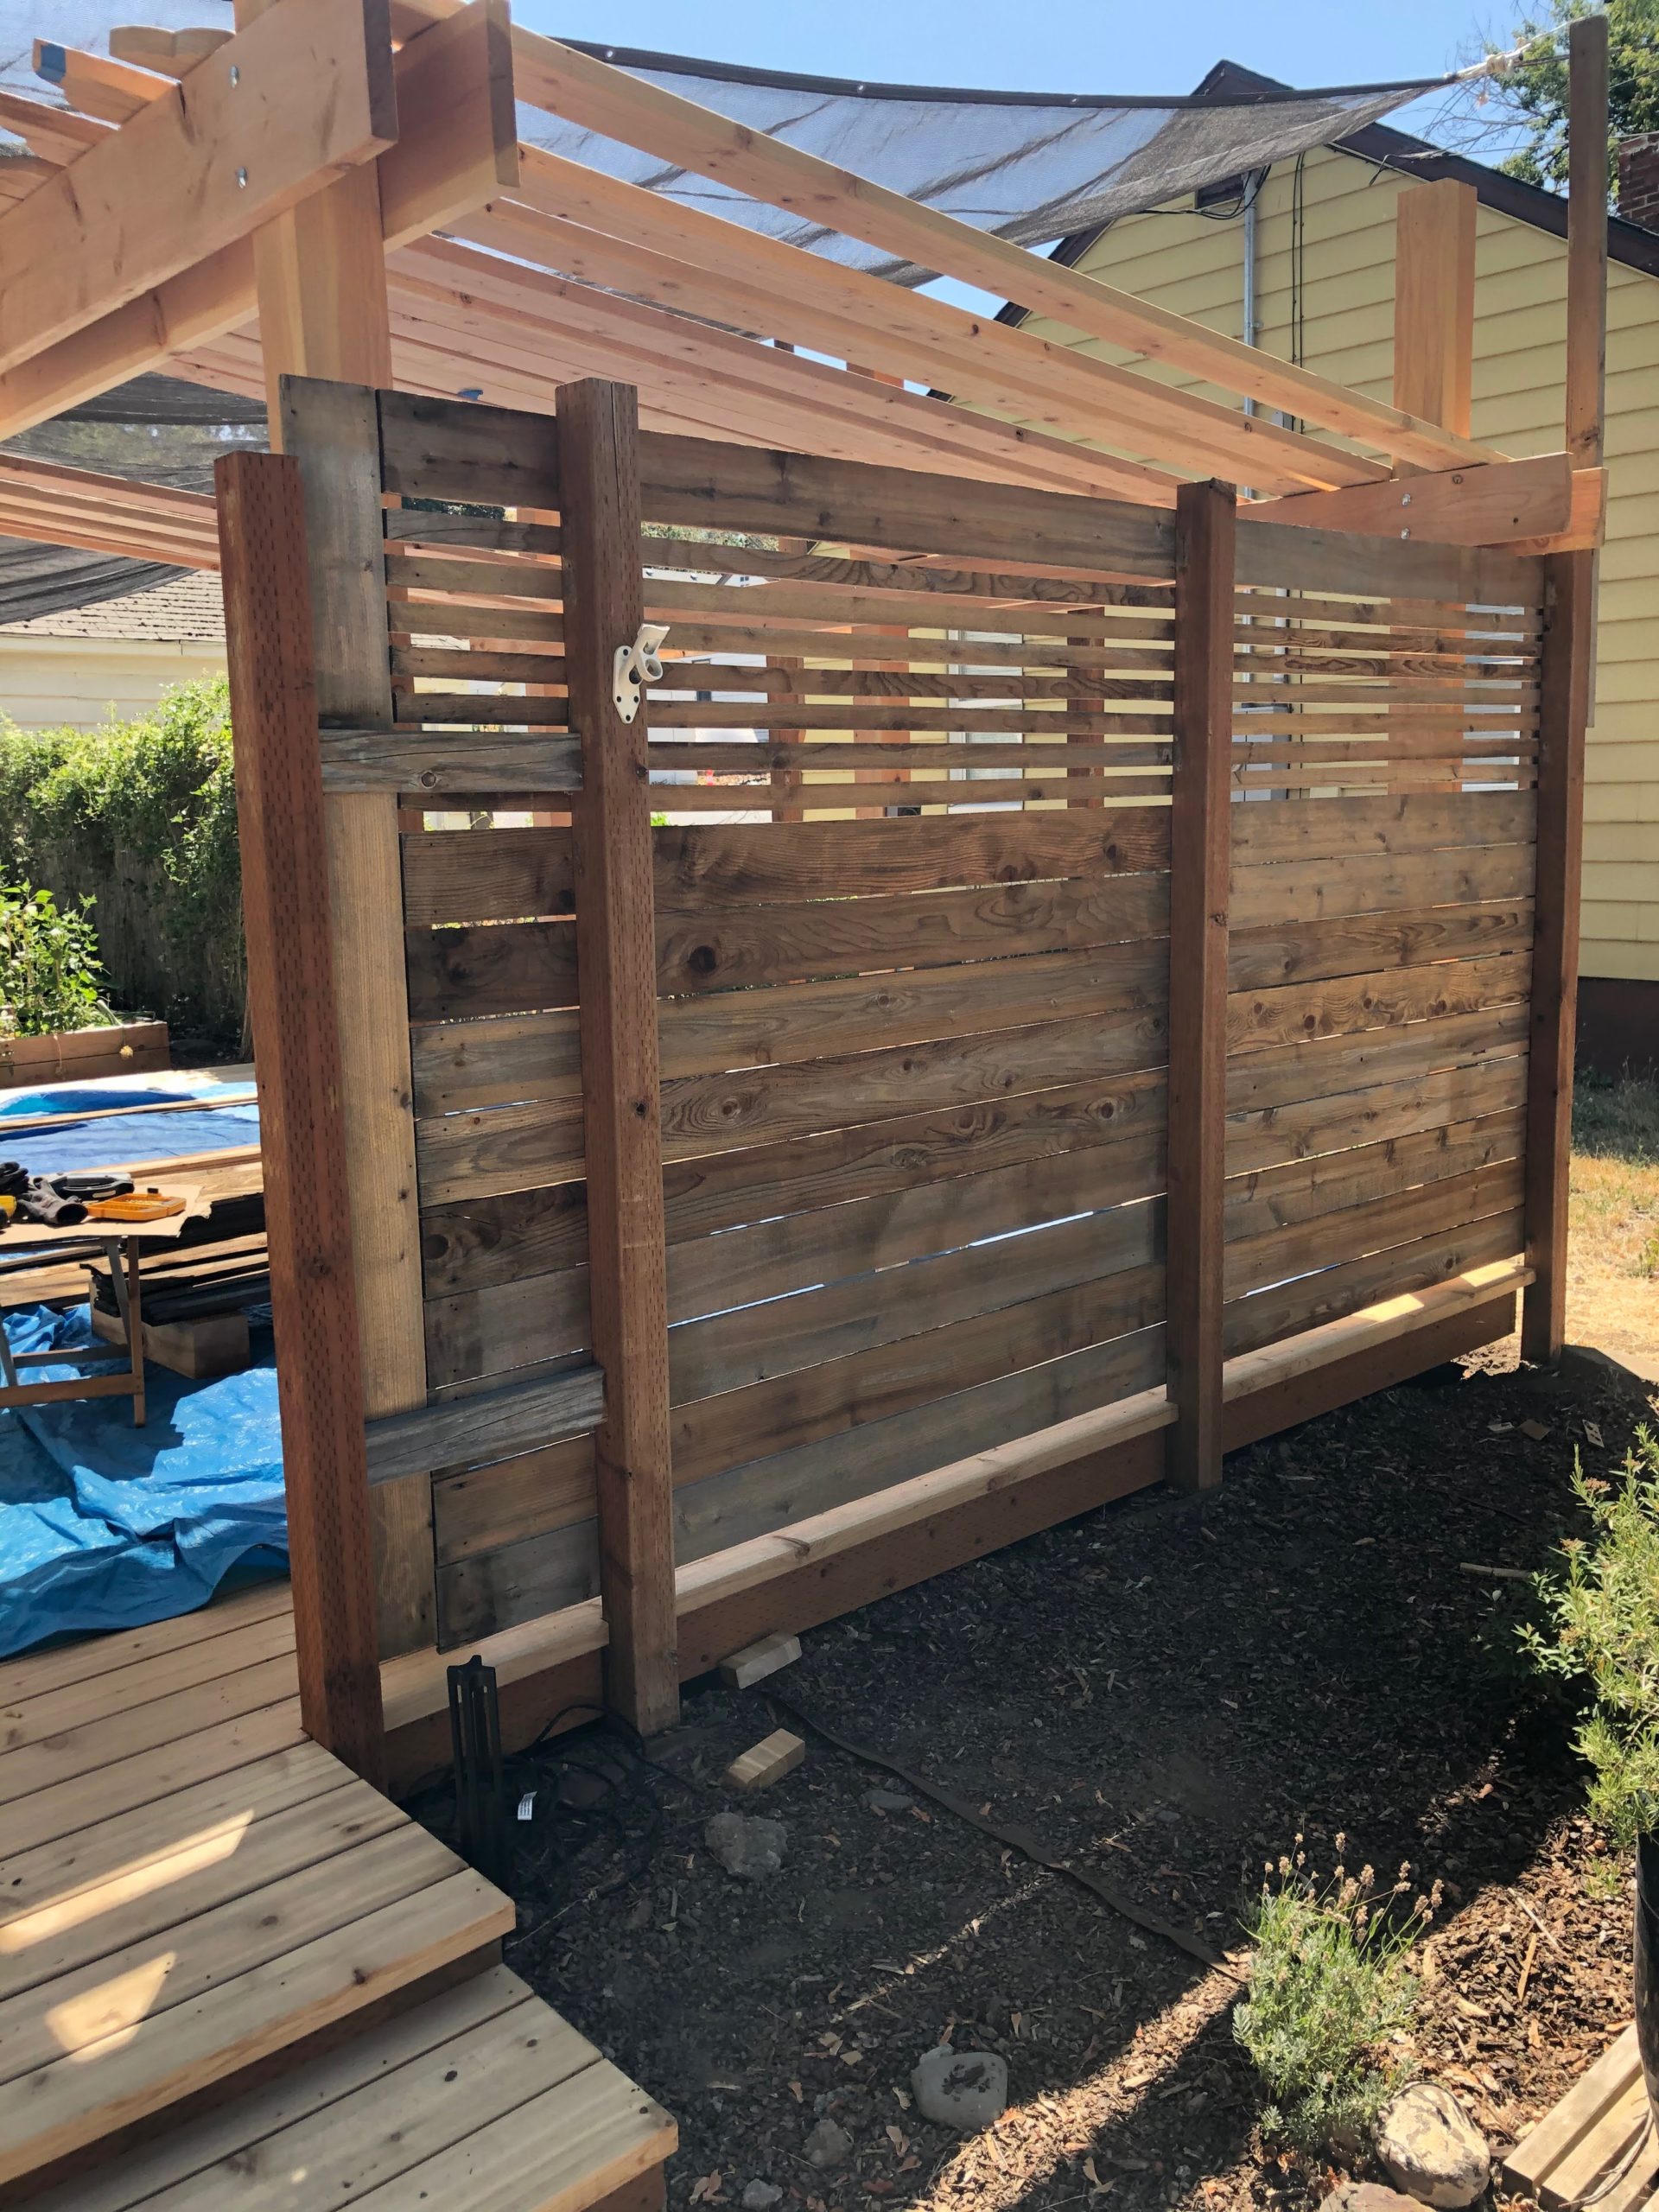
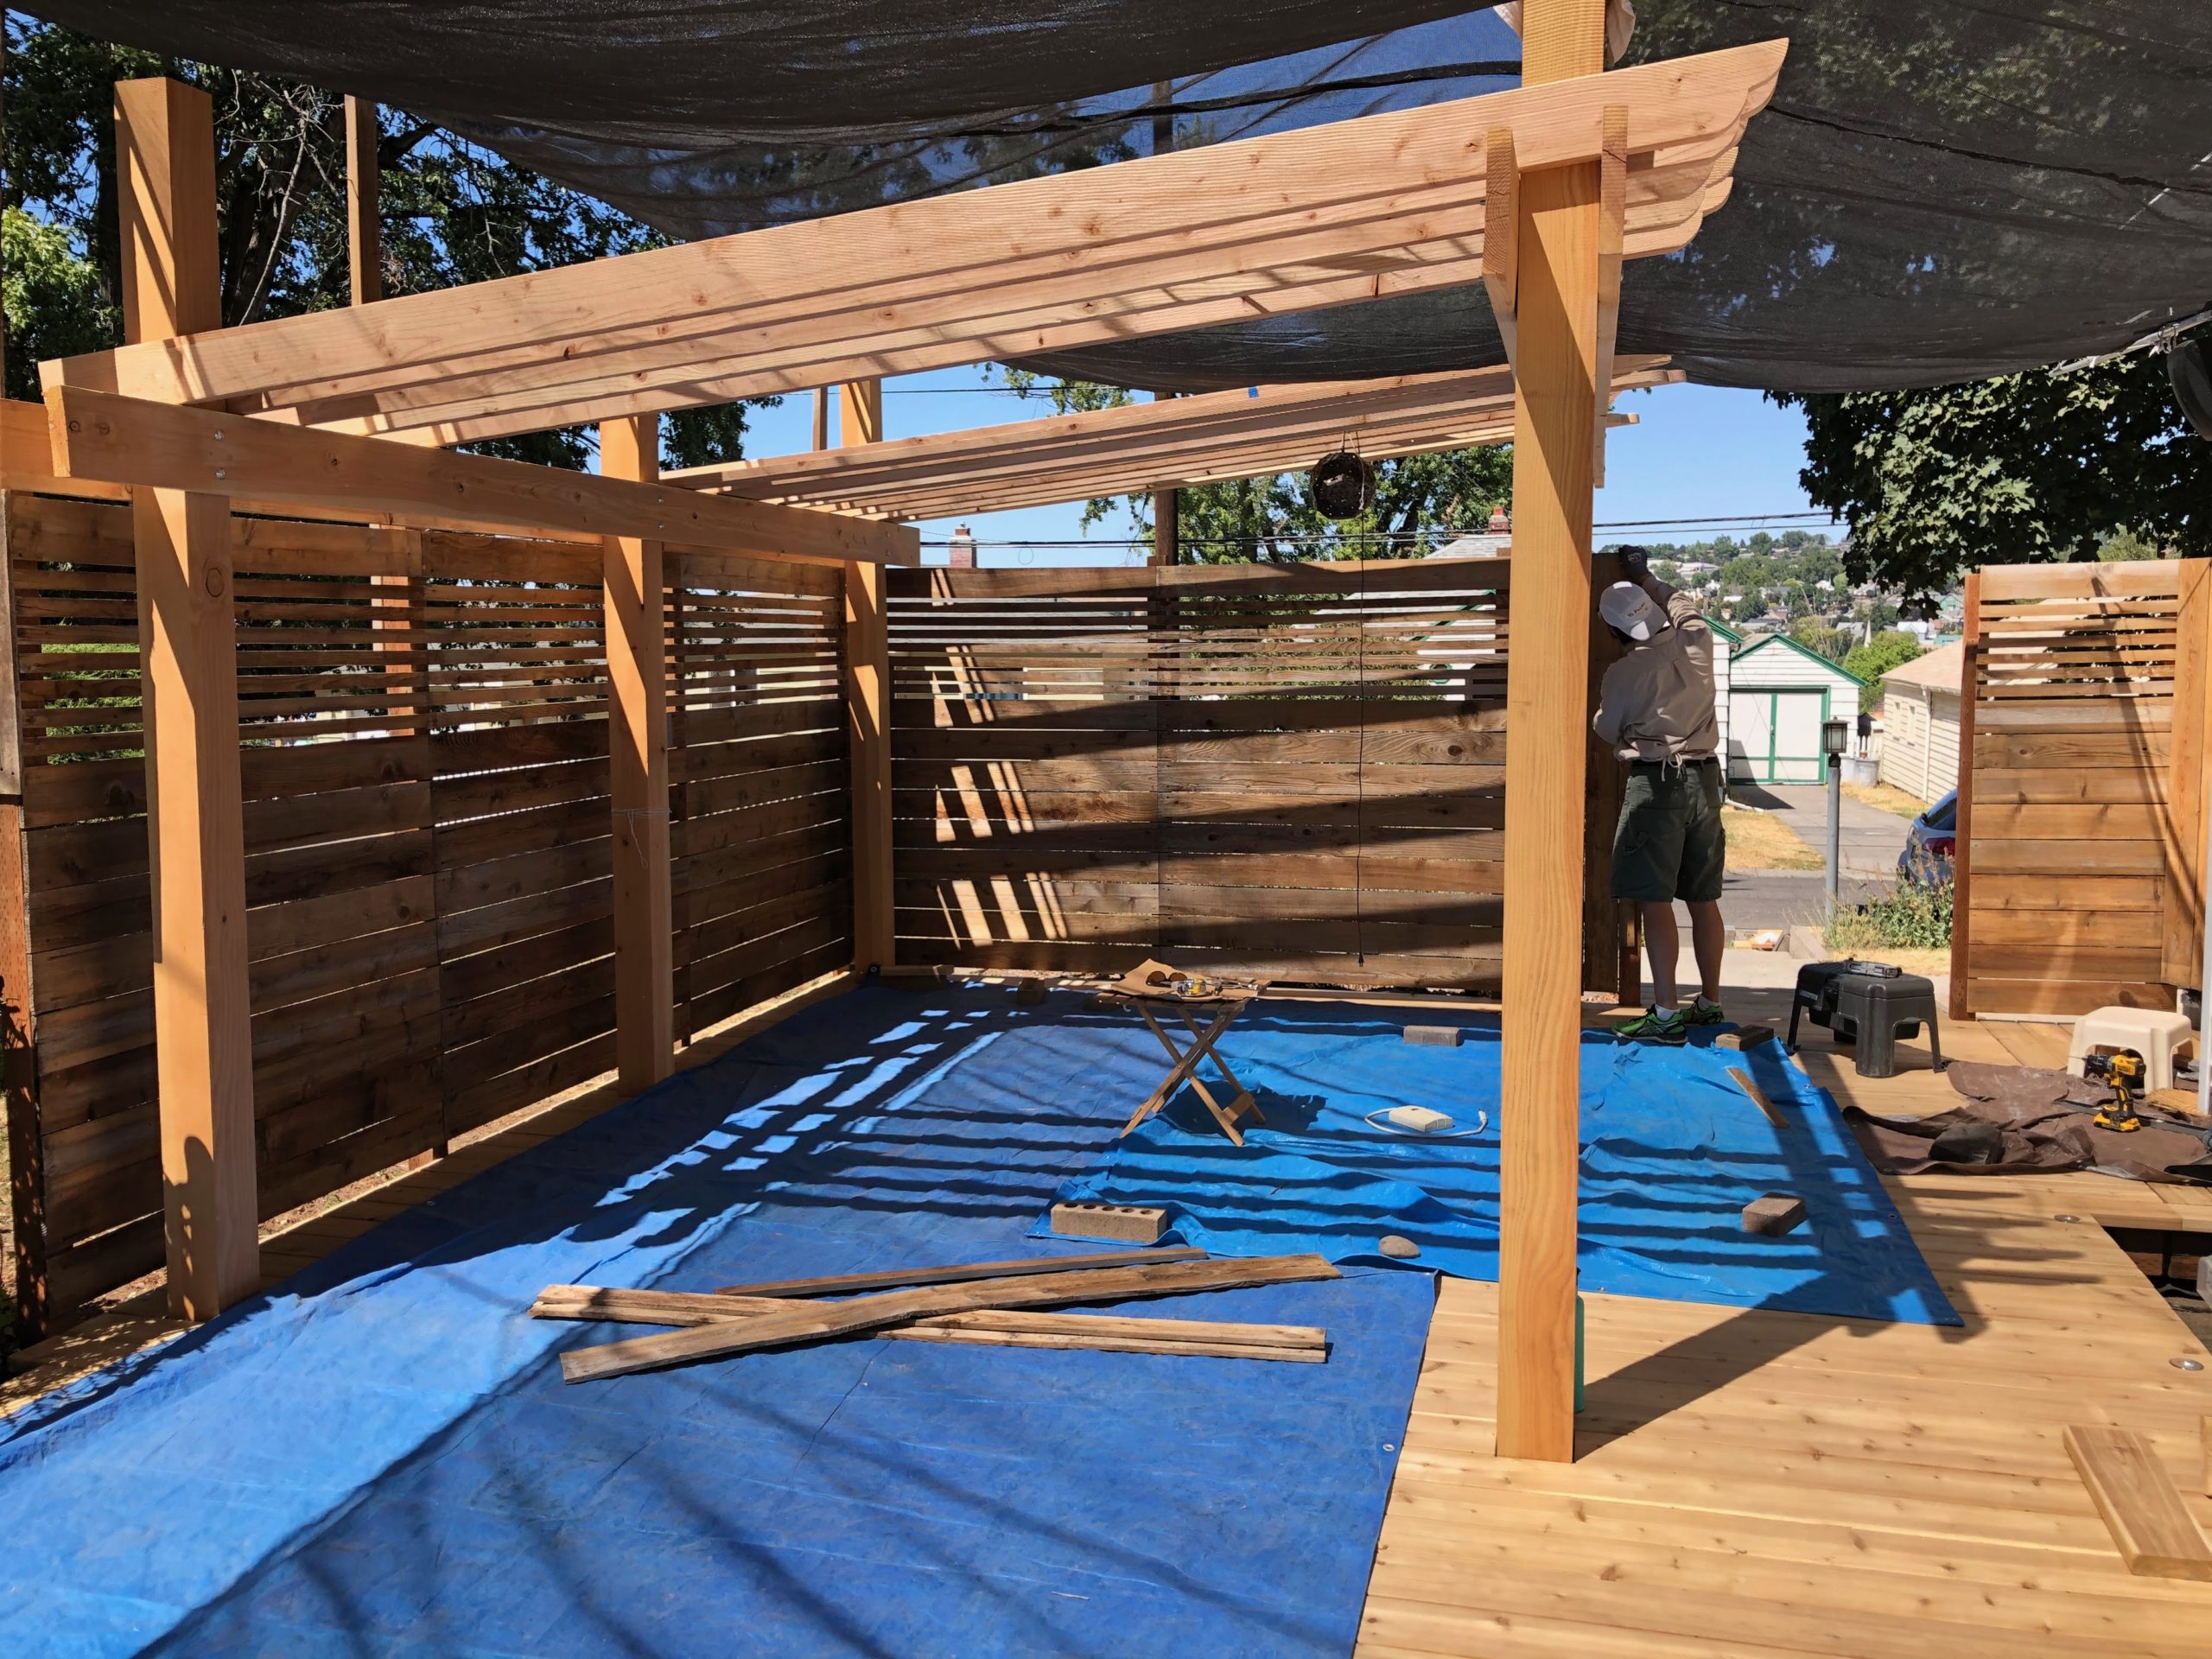
We let those dry out then got back to work installing them. We started by planning to use our horizontal/vertical pattern but once we got the first section in we changed our minds. We both decided that keeping it all horizontal would look better. We also decided to just attach them to each post which meant cutting them. We were really trying to avoid that but it was making the design more and more complicated. We did a quick calculation and counted our boards and decided we’d have enough, even with cutting them. We also decided to use full-width boards for part of the way up then switch to thinner boards spaced farther apart to allow for some ventilation. The thinner boards are a full board ripped into thirds. We also used our Camo tool (from the decking) for a 3/16″ space between the boards in the bottom section.
We discovered that this was a slow process. We cut all of the boards for each section together, then ripped 3 boards for the top part. We ended up using 10 full boards plus 7 thinner strips in each section.
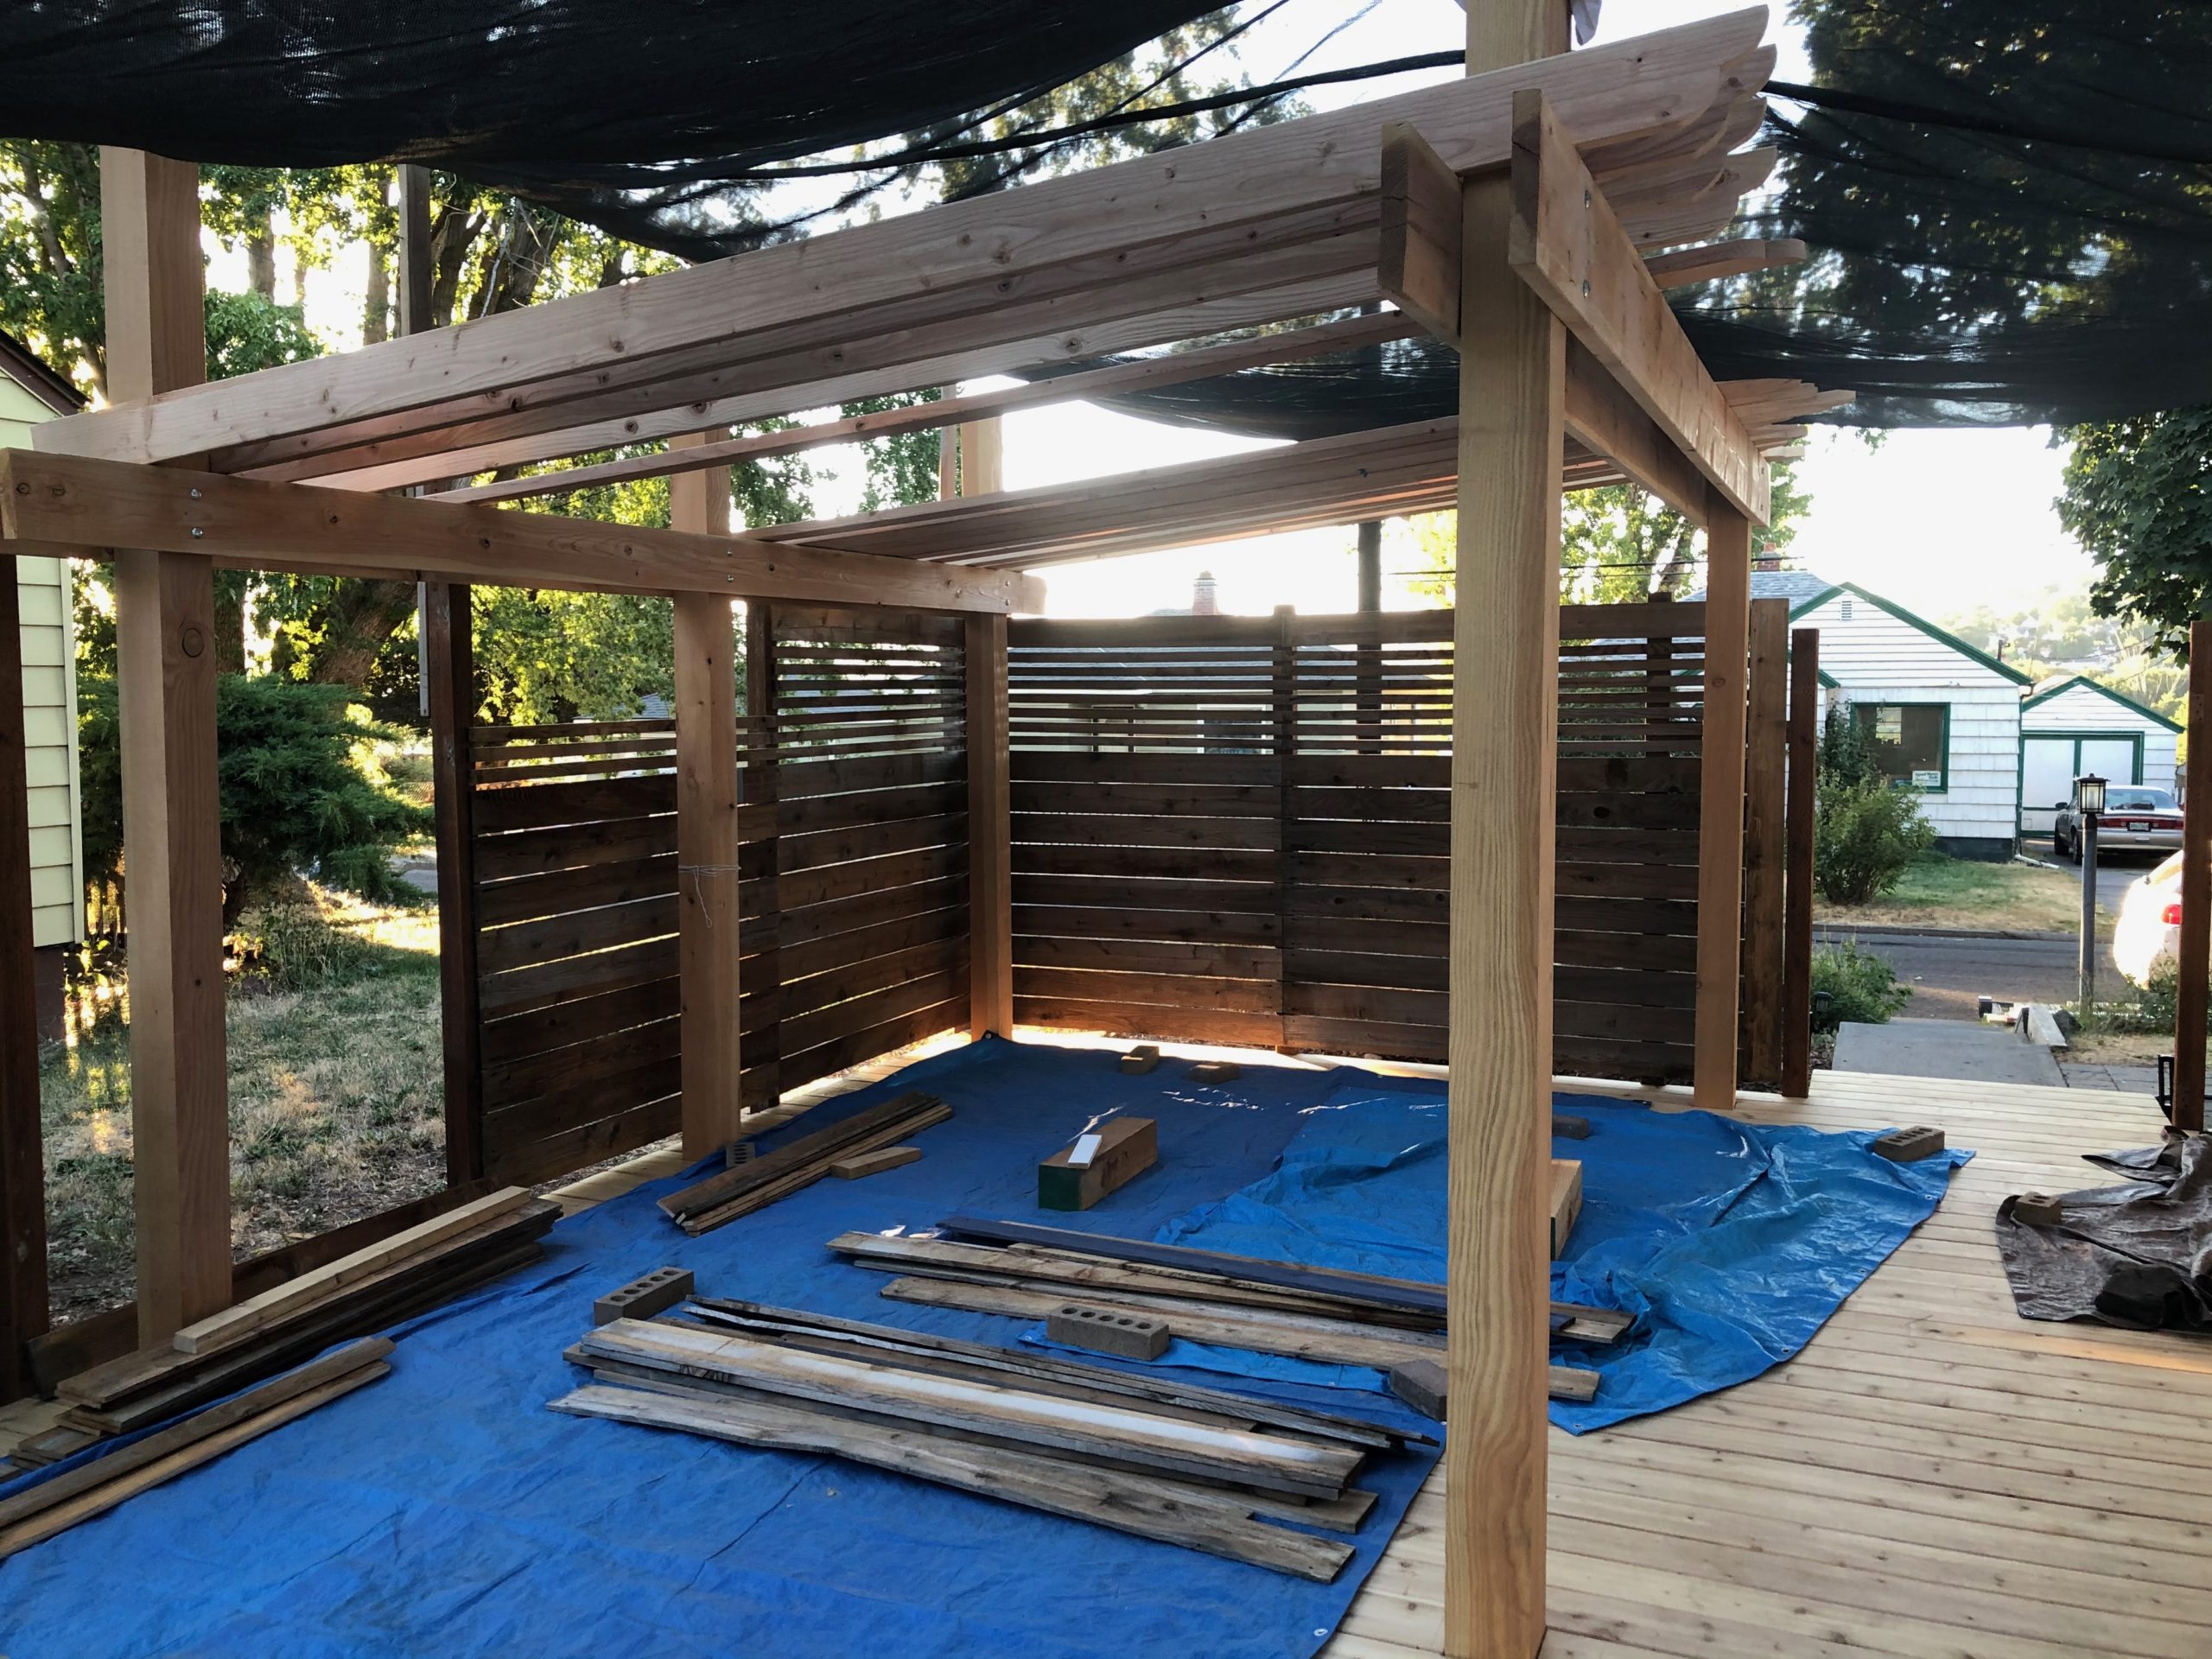
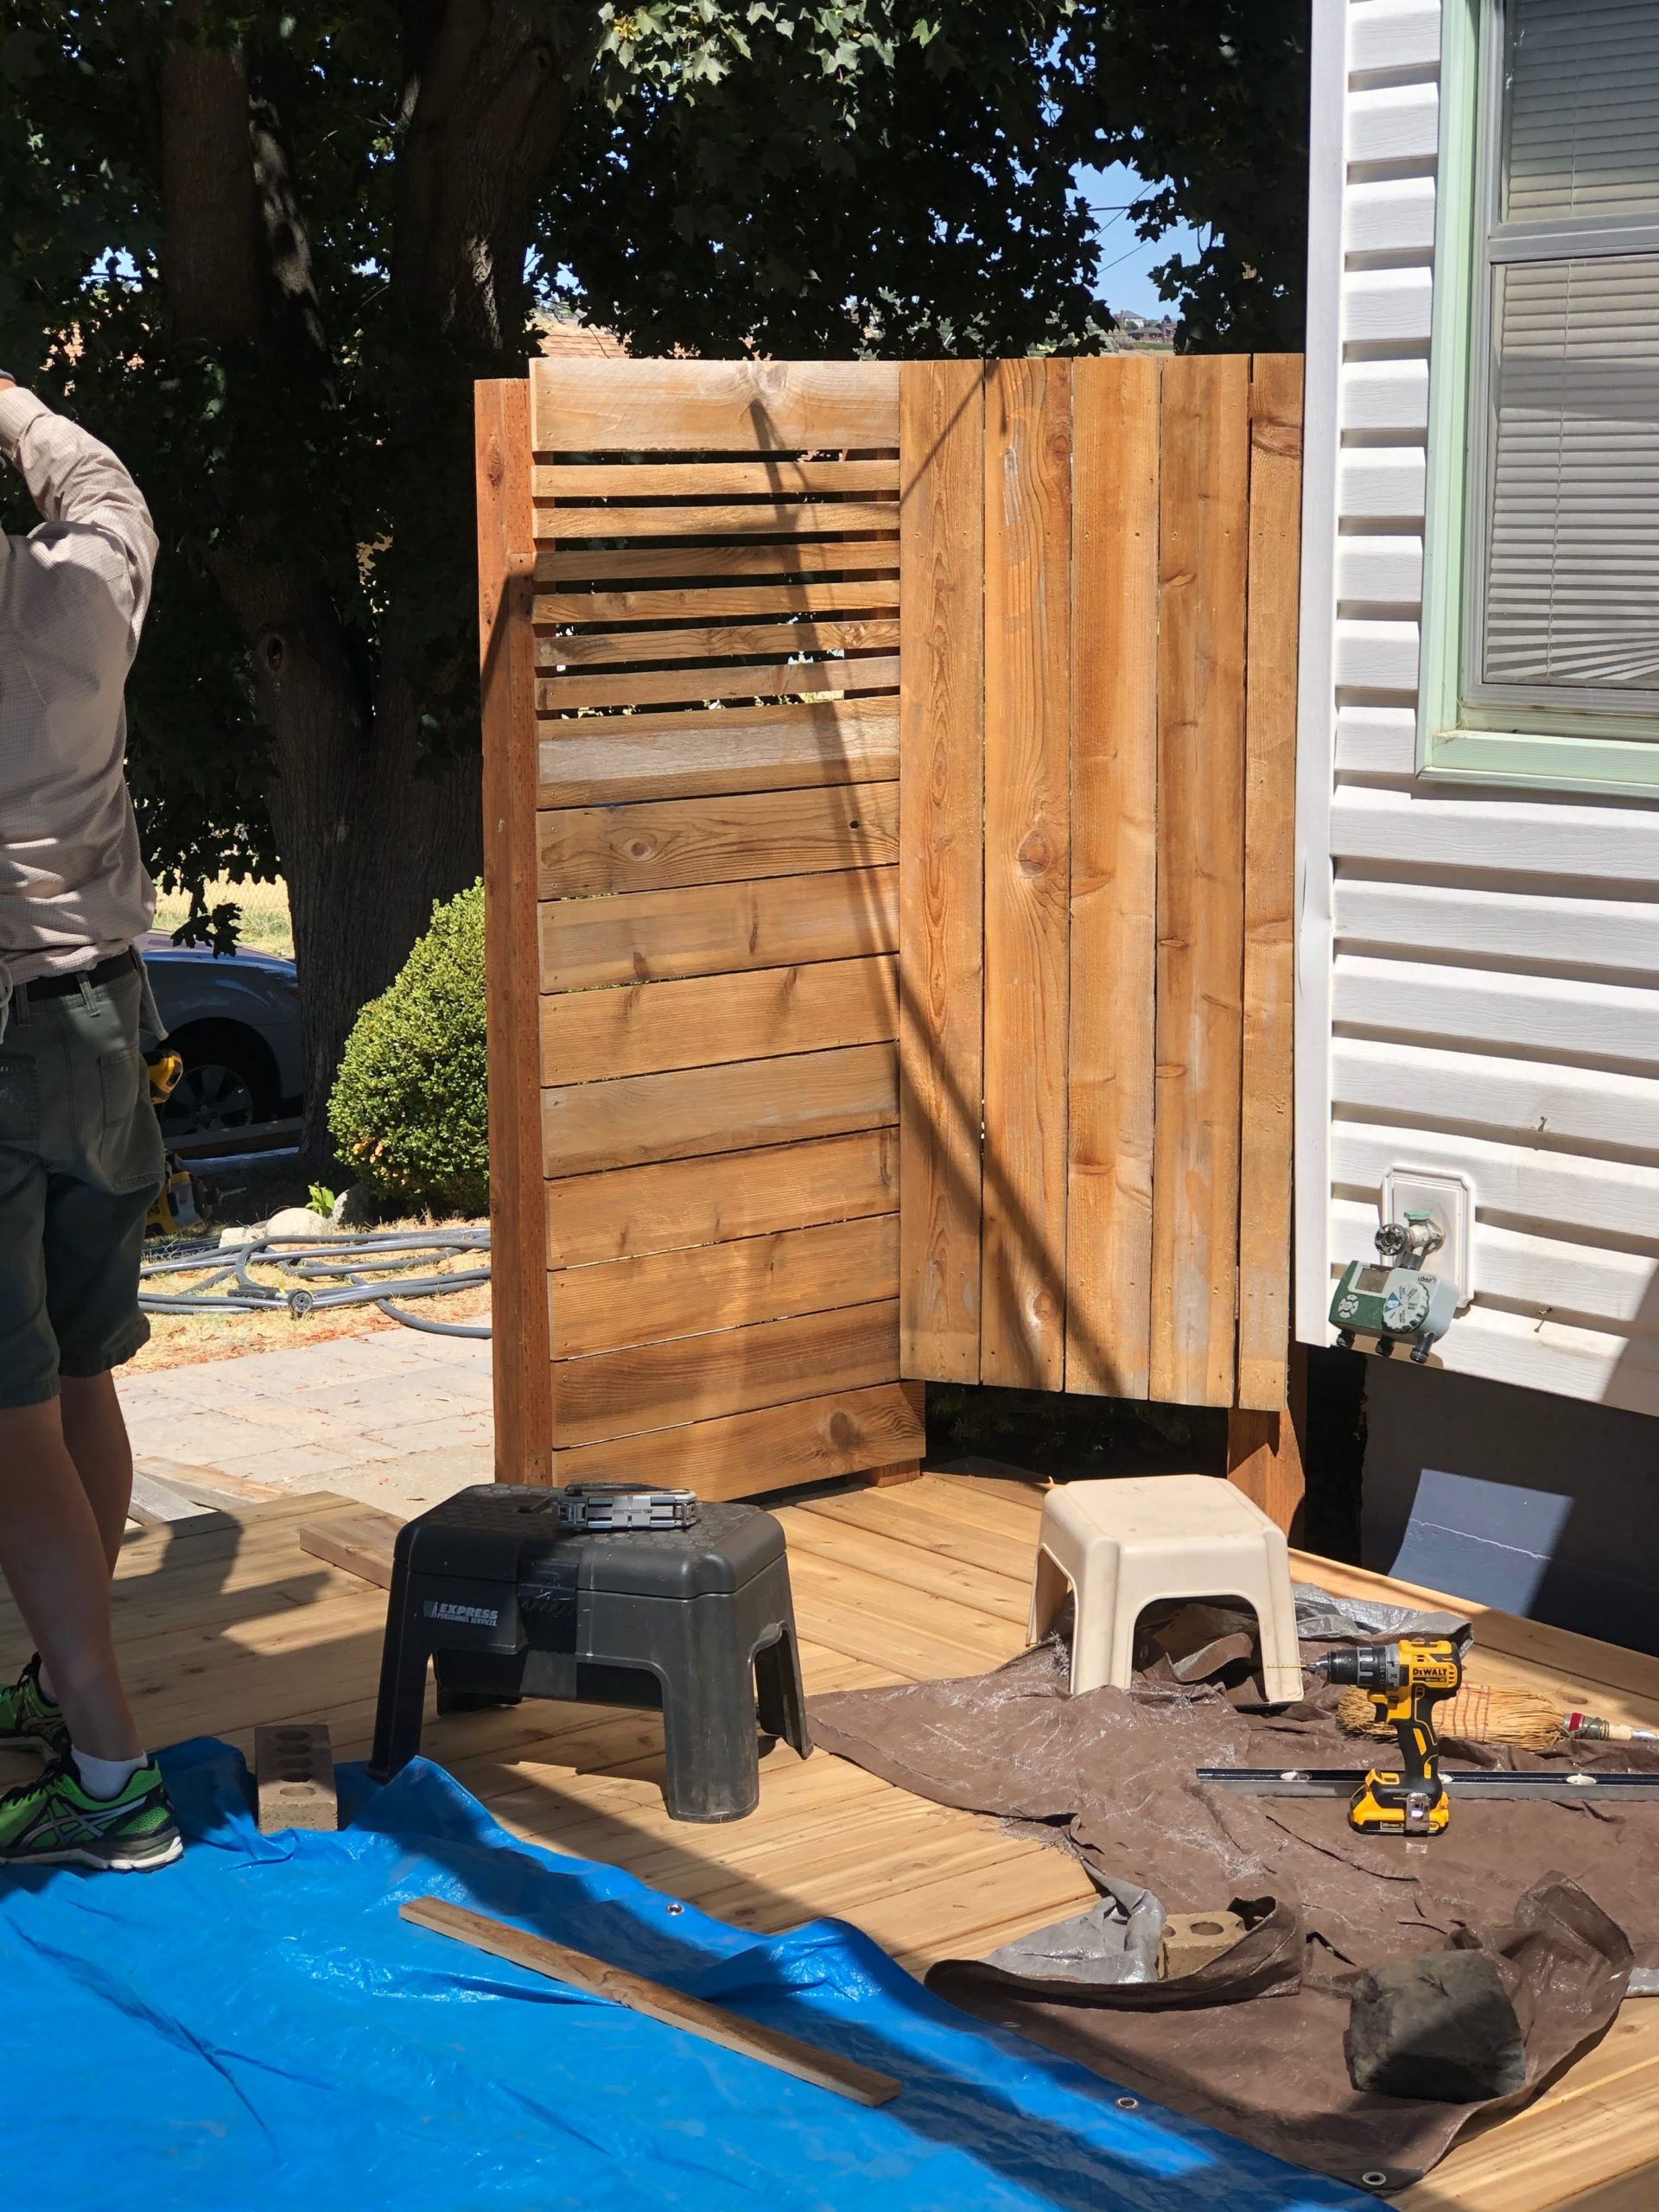
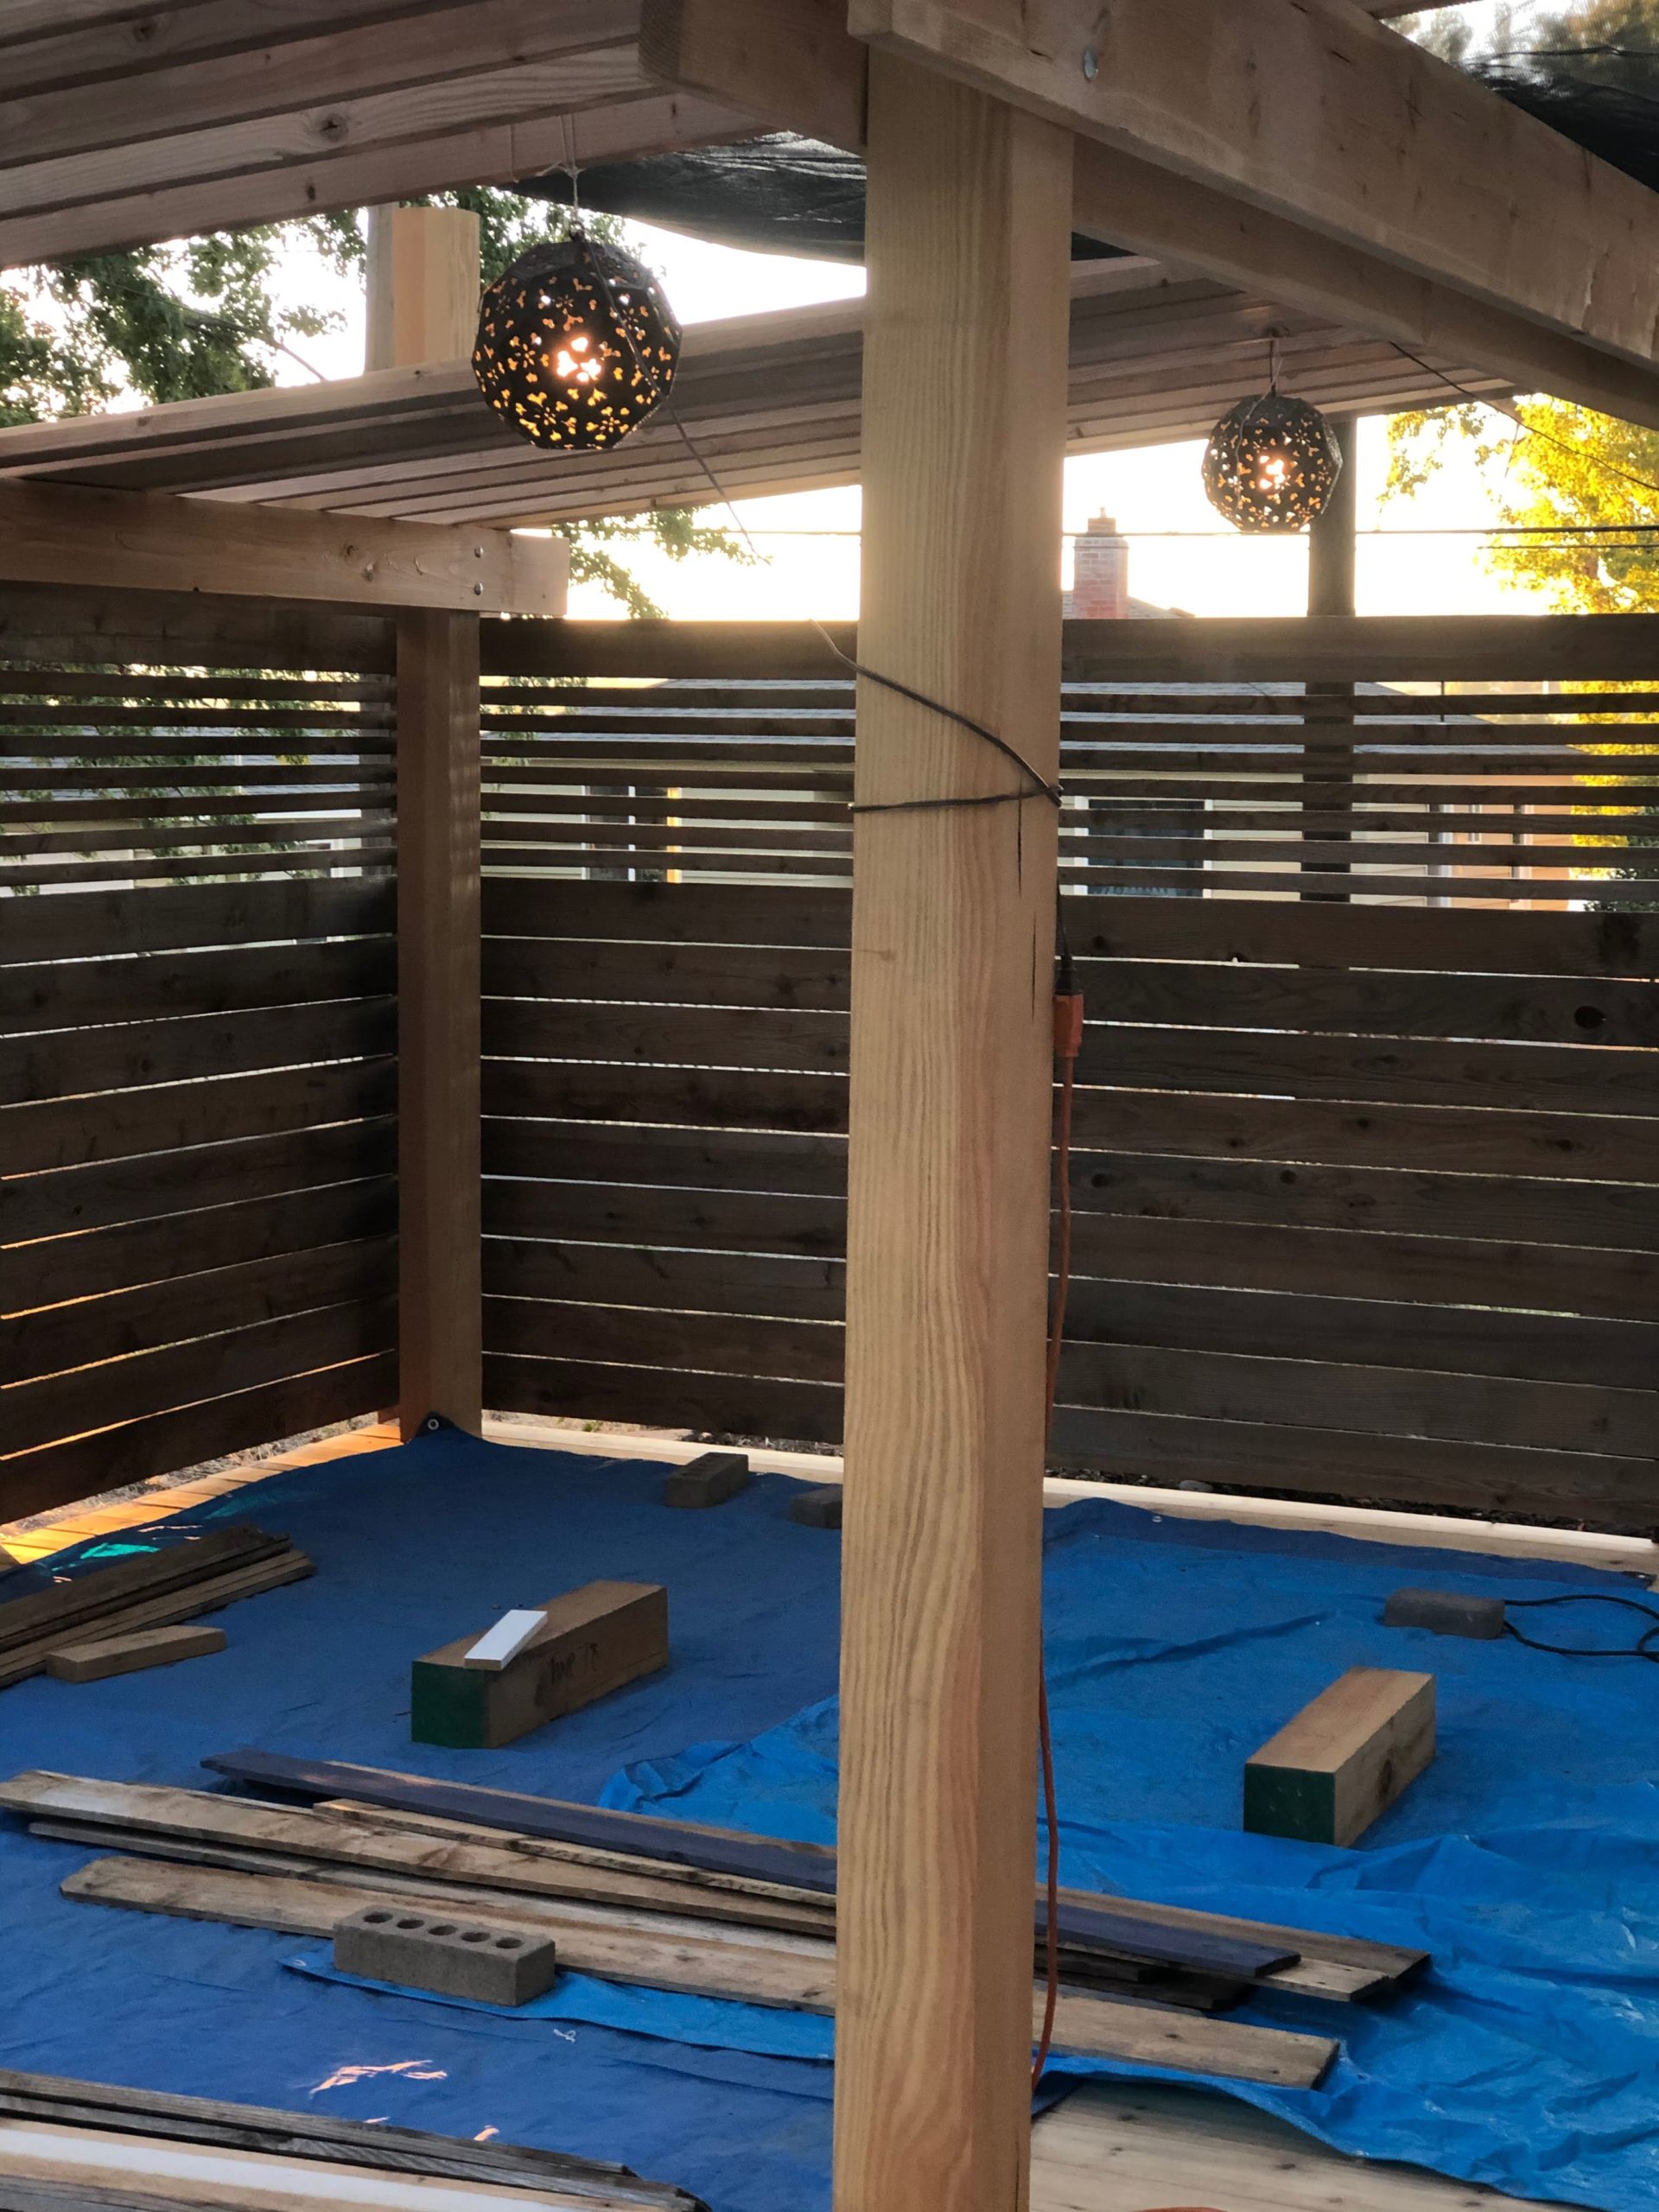
While we were working on the fence this day our new hanging lights came. We hooked them up with extension cords to see how the space looked. This shot also gives a good view of the spacing on the fence panels.
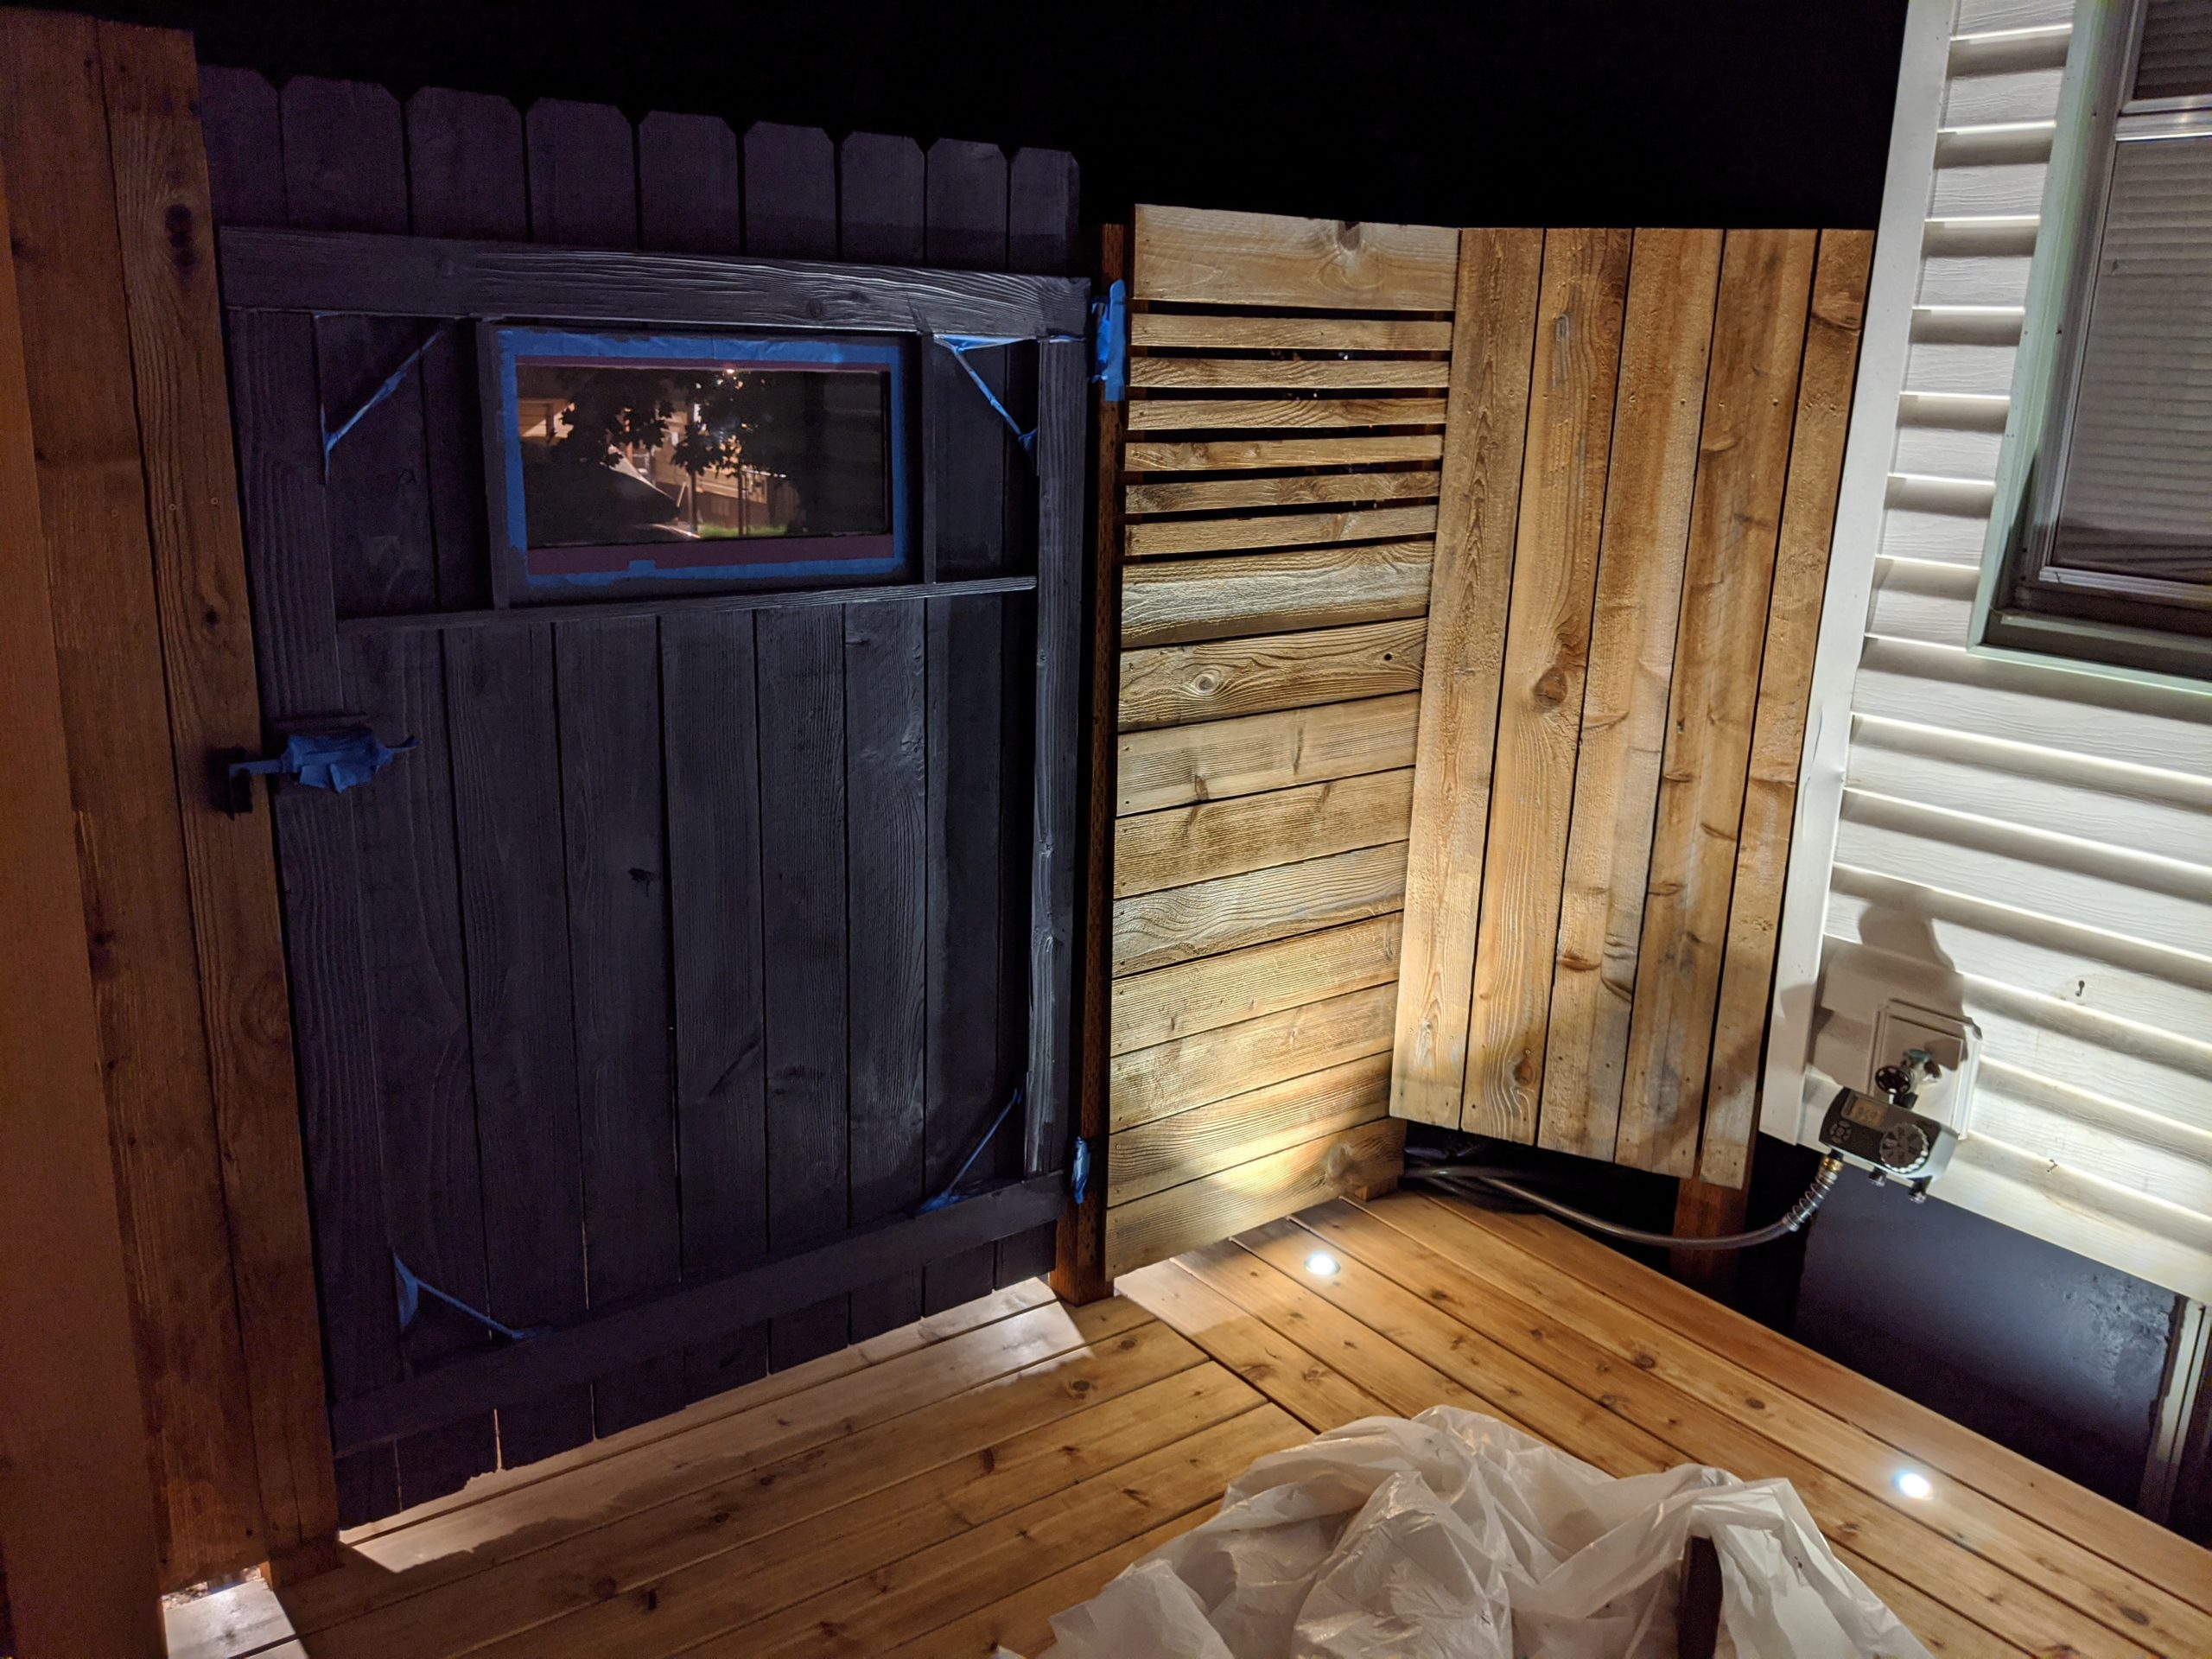
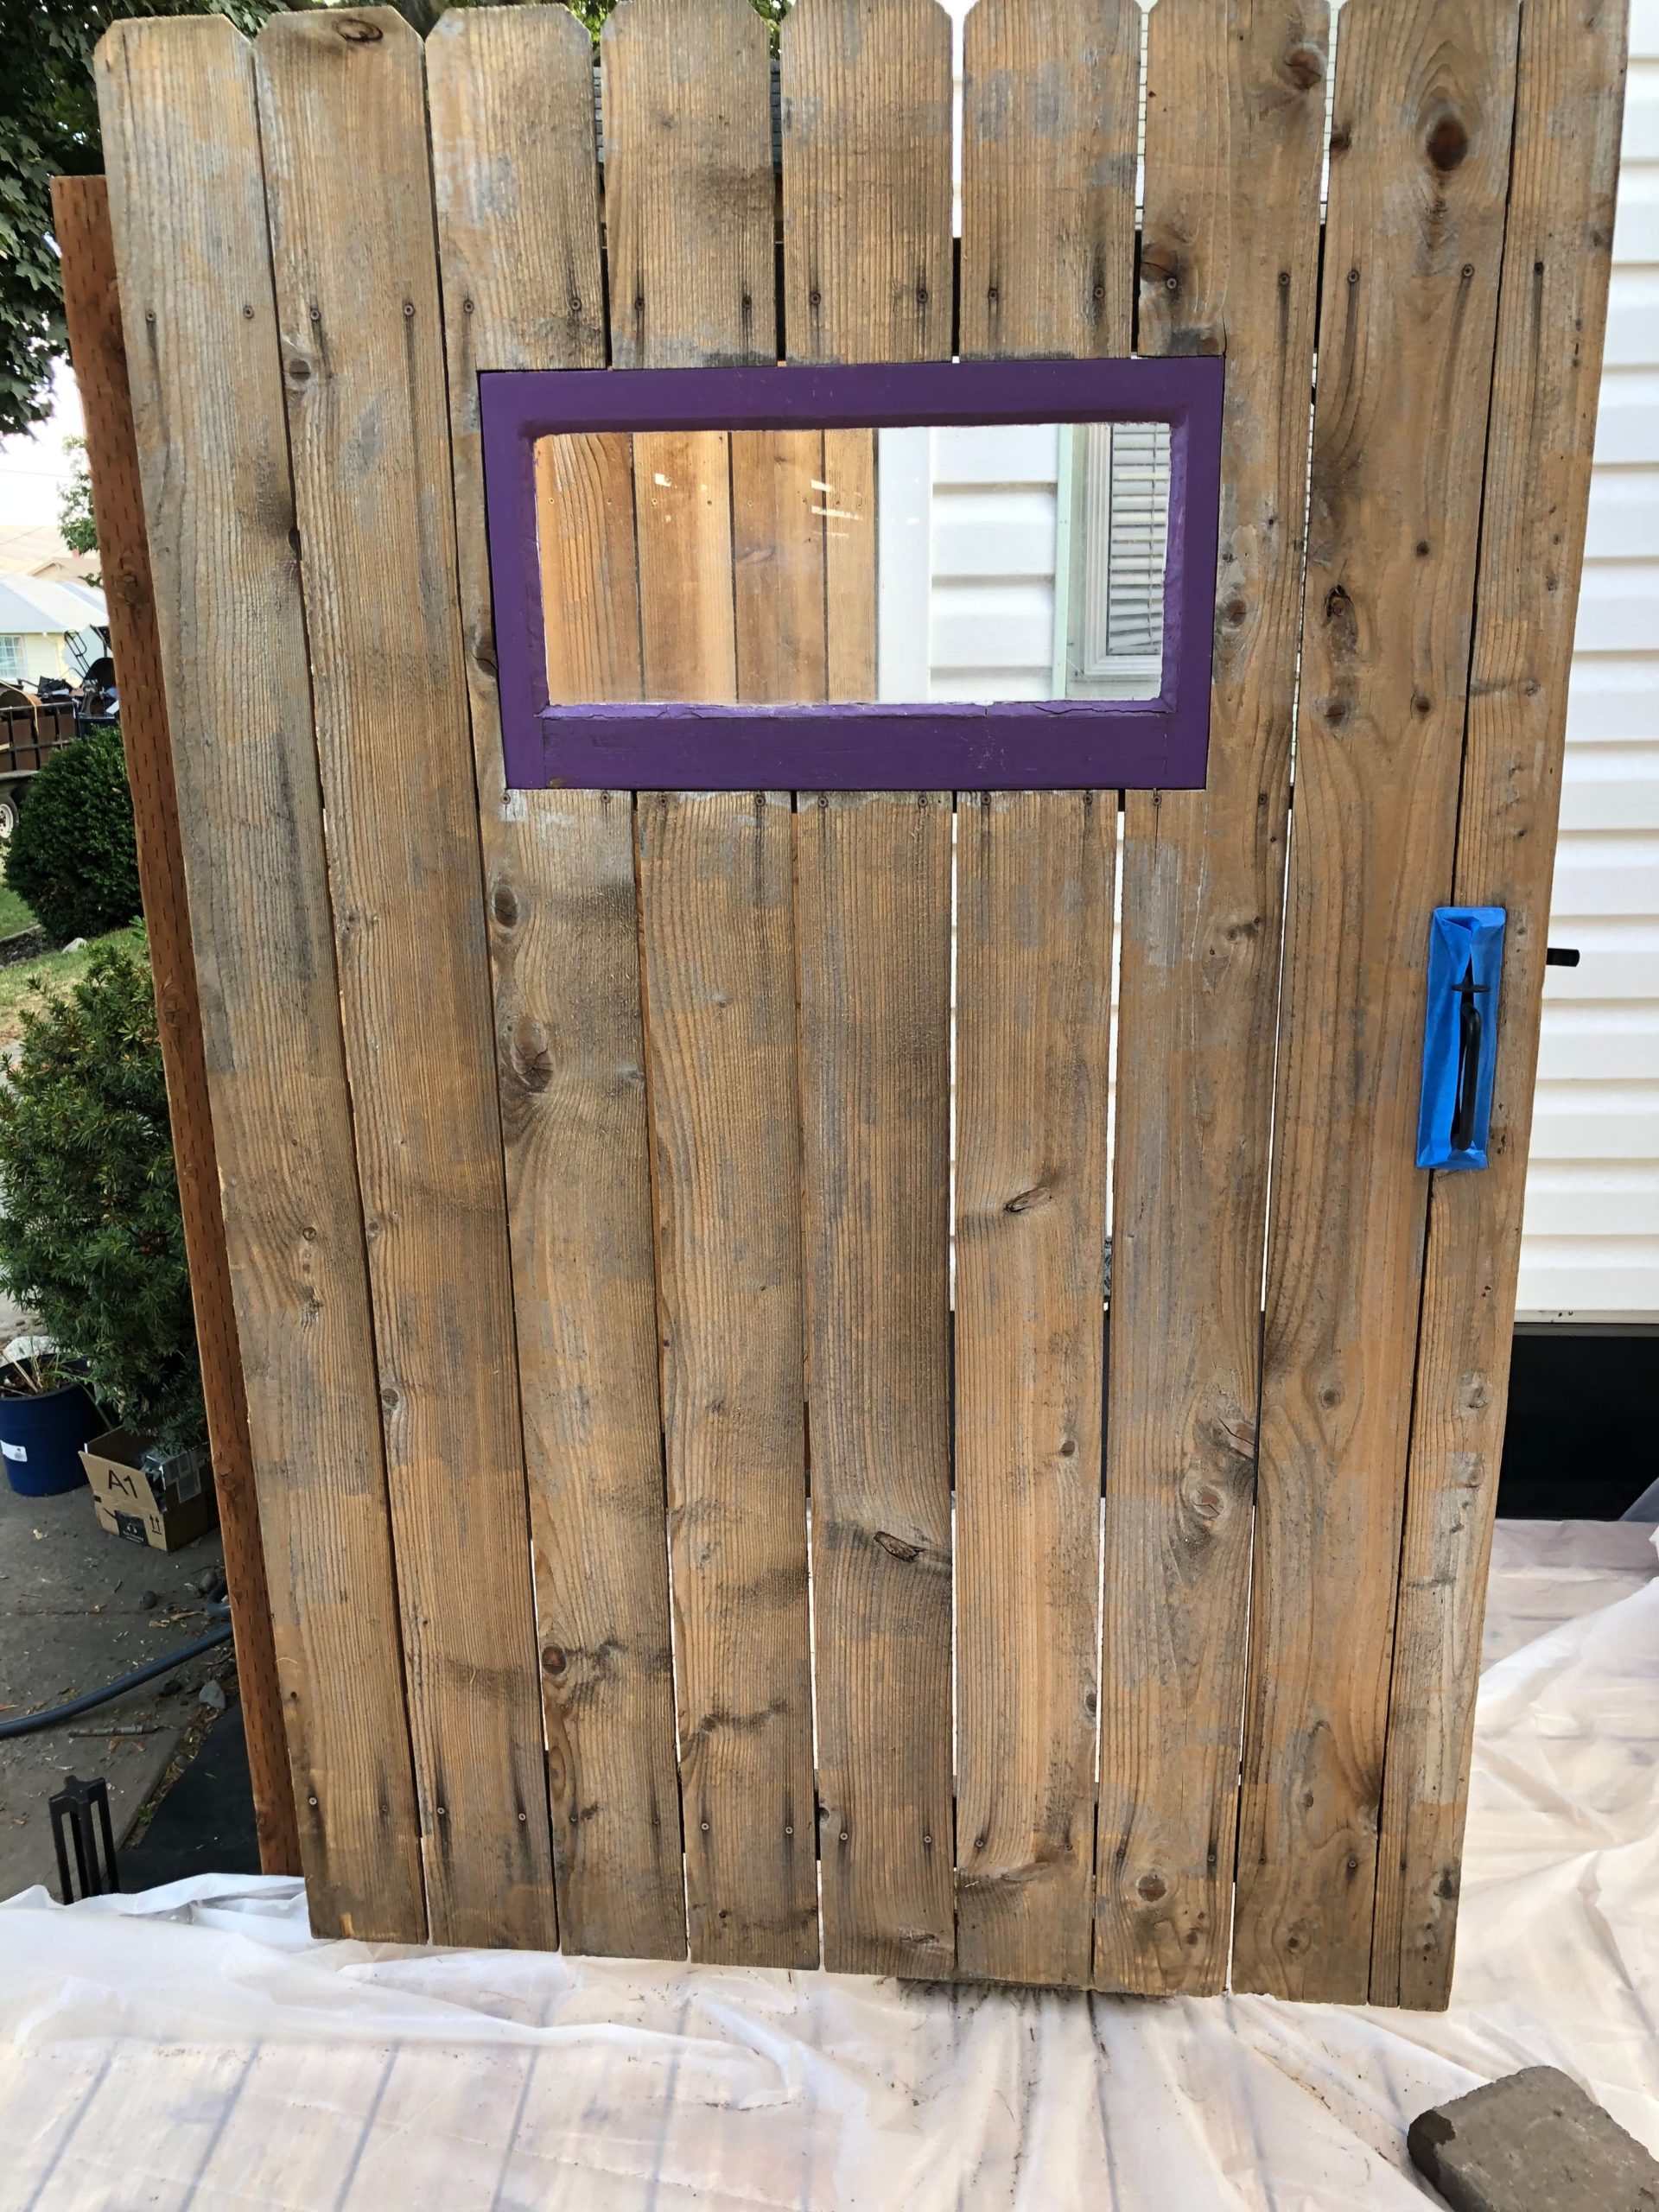
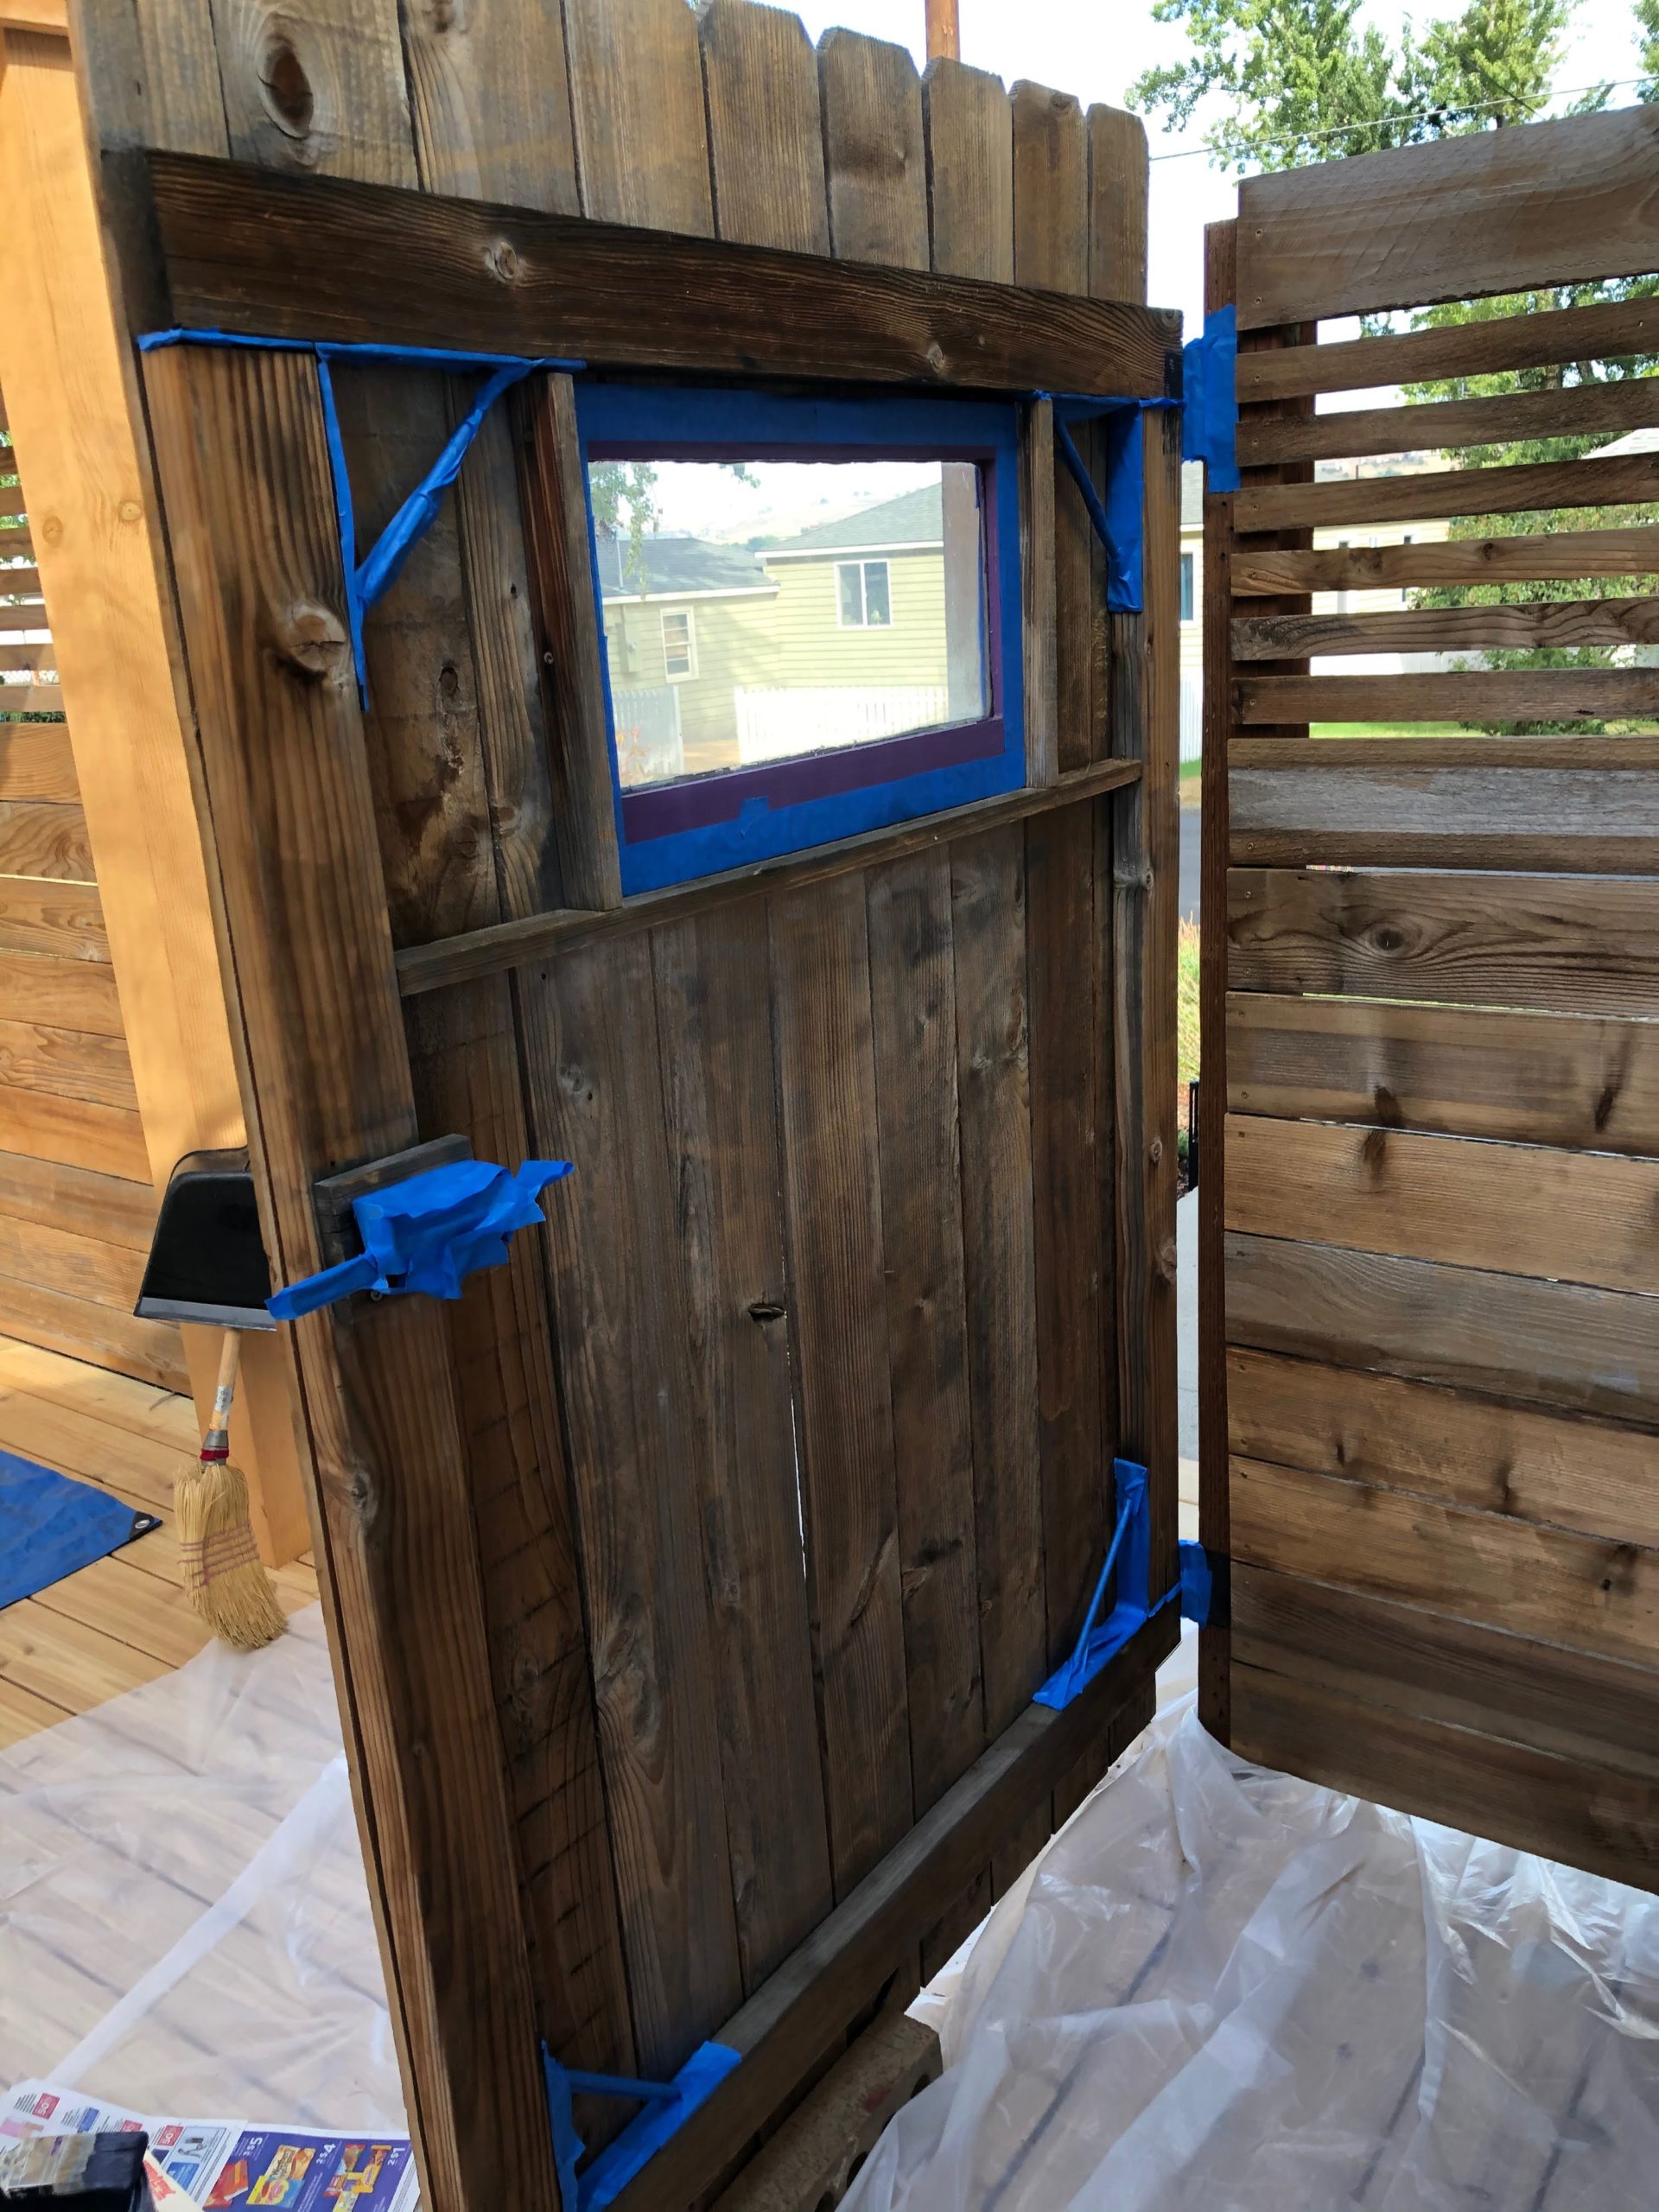
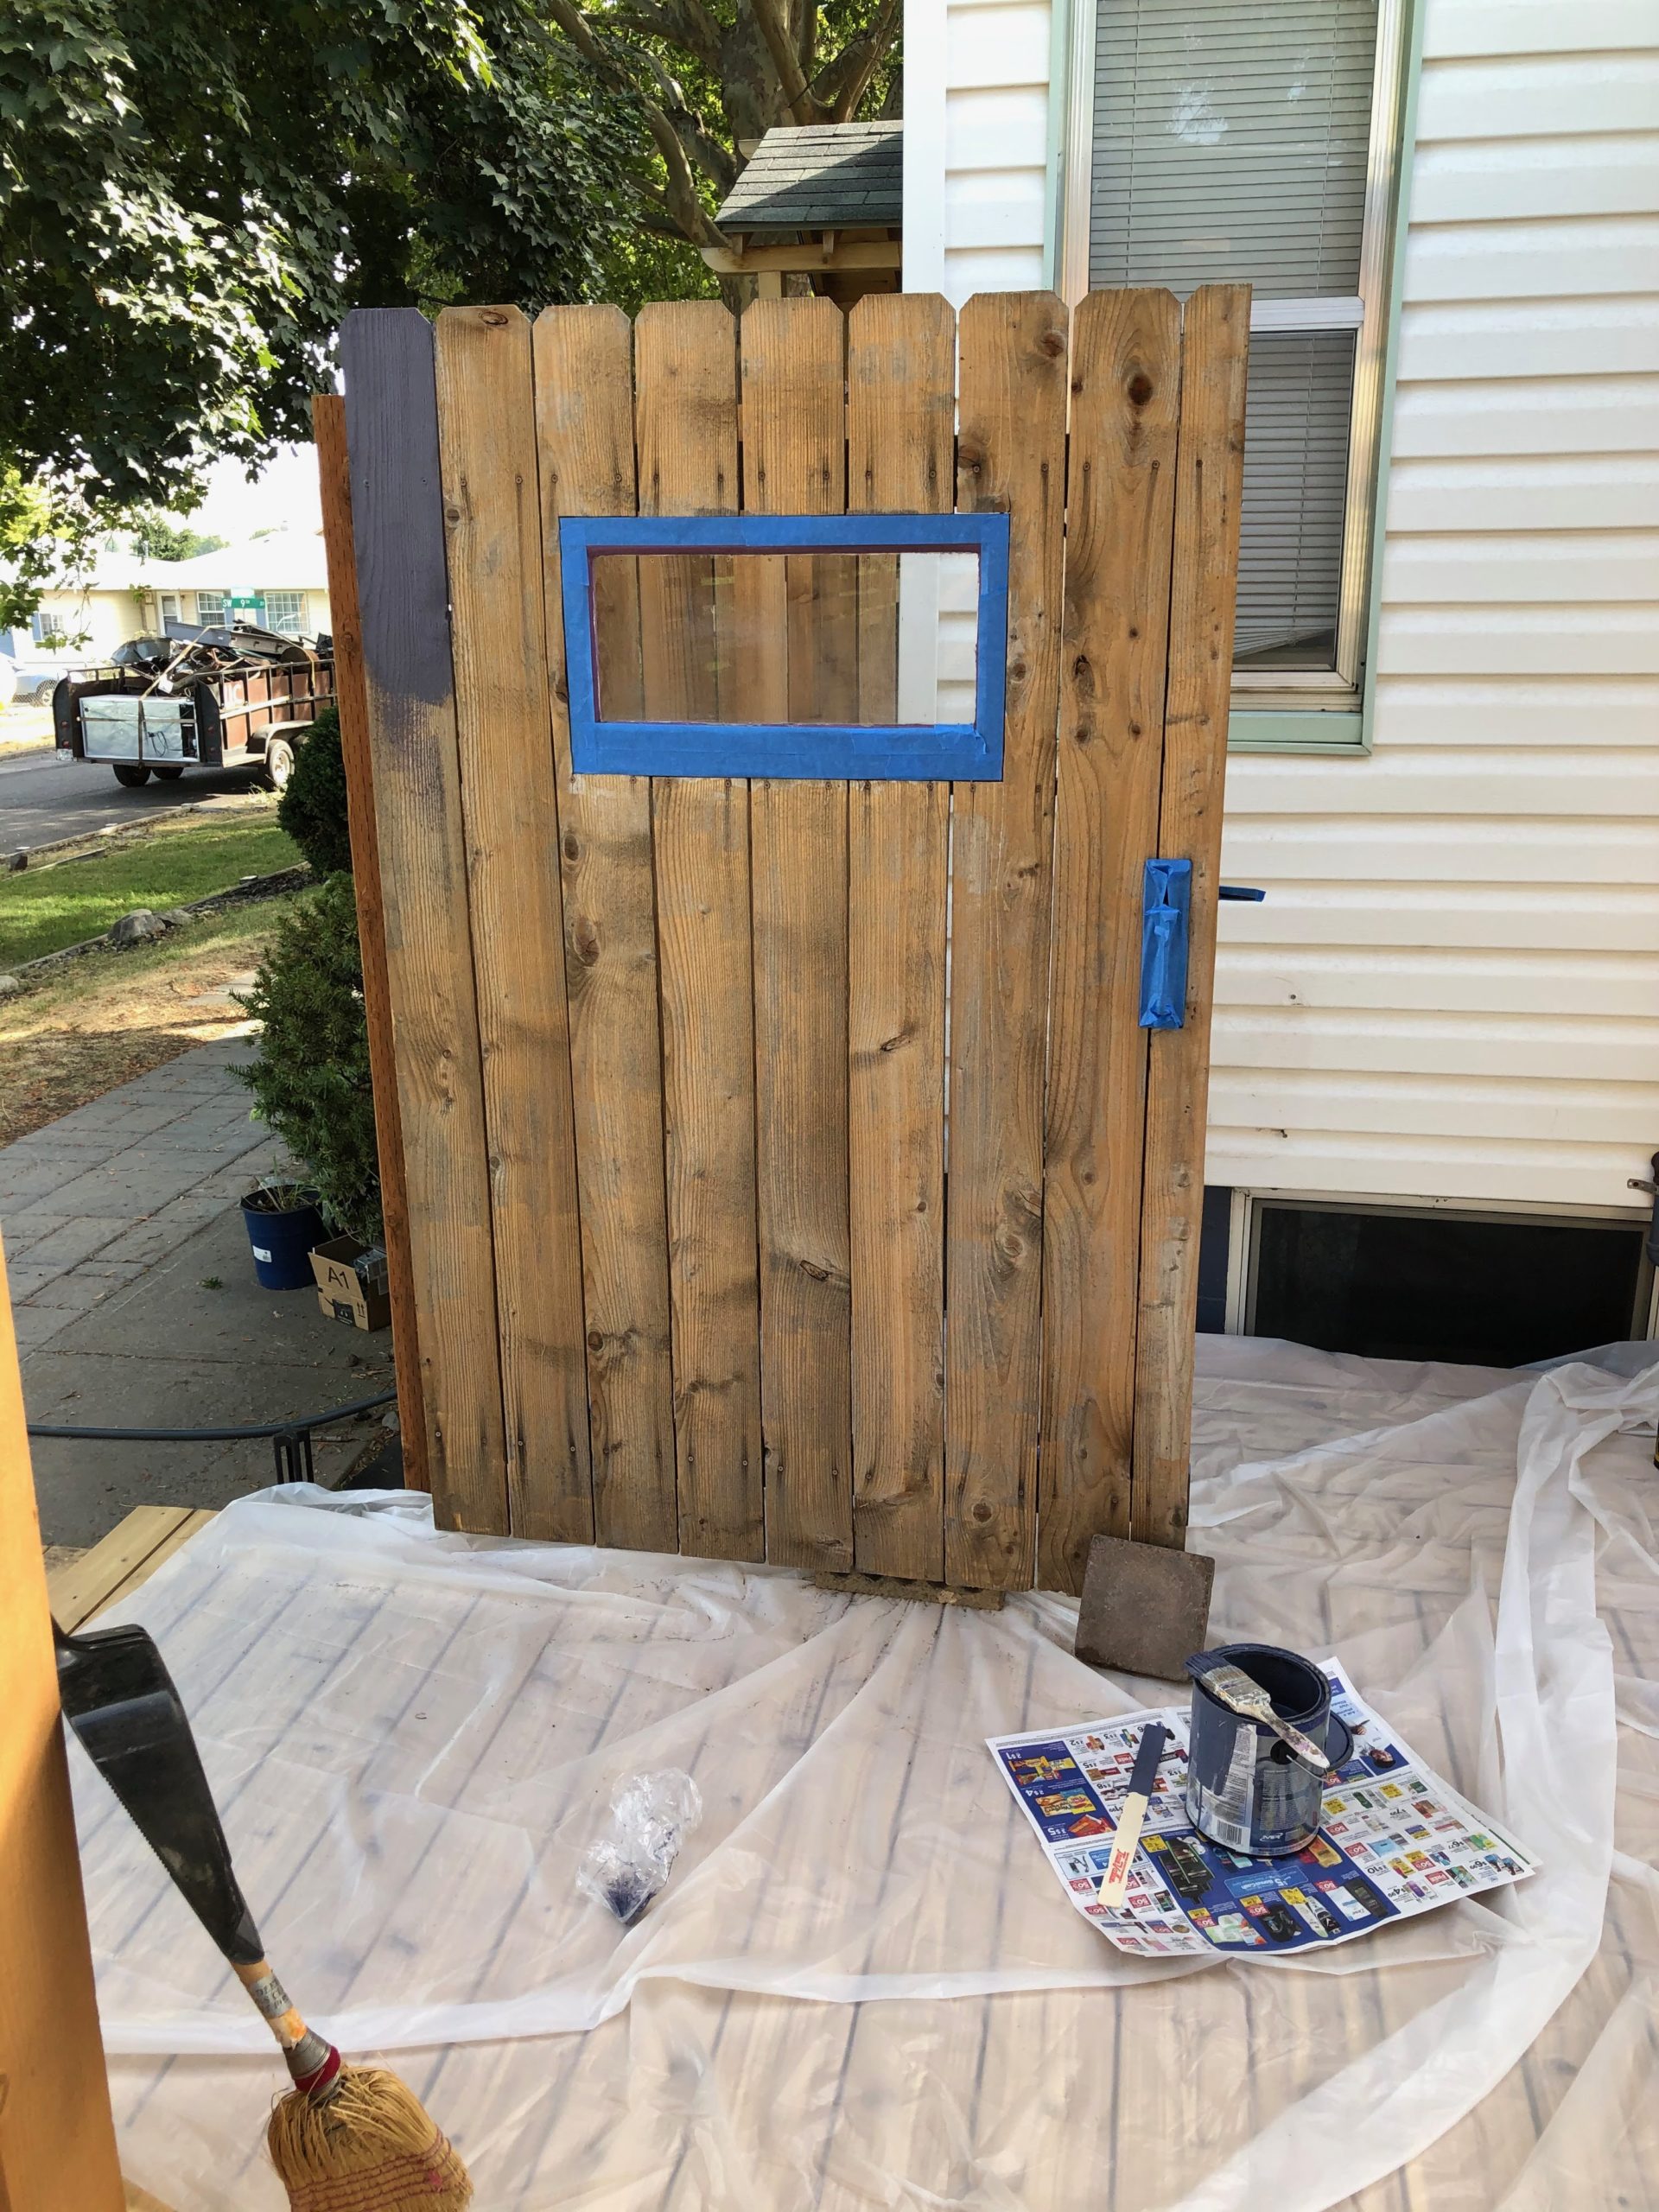
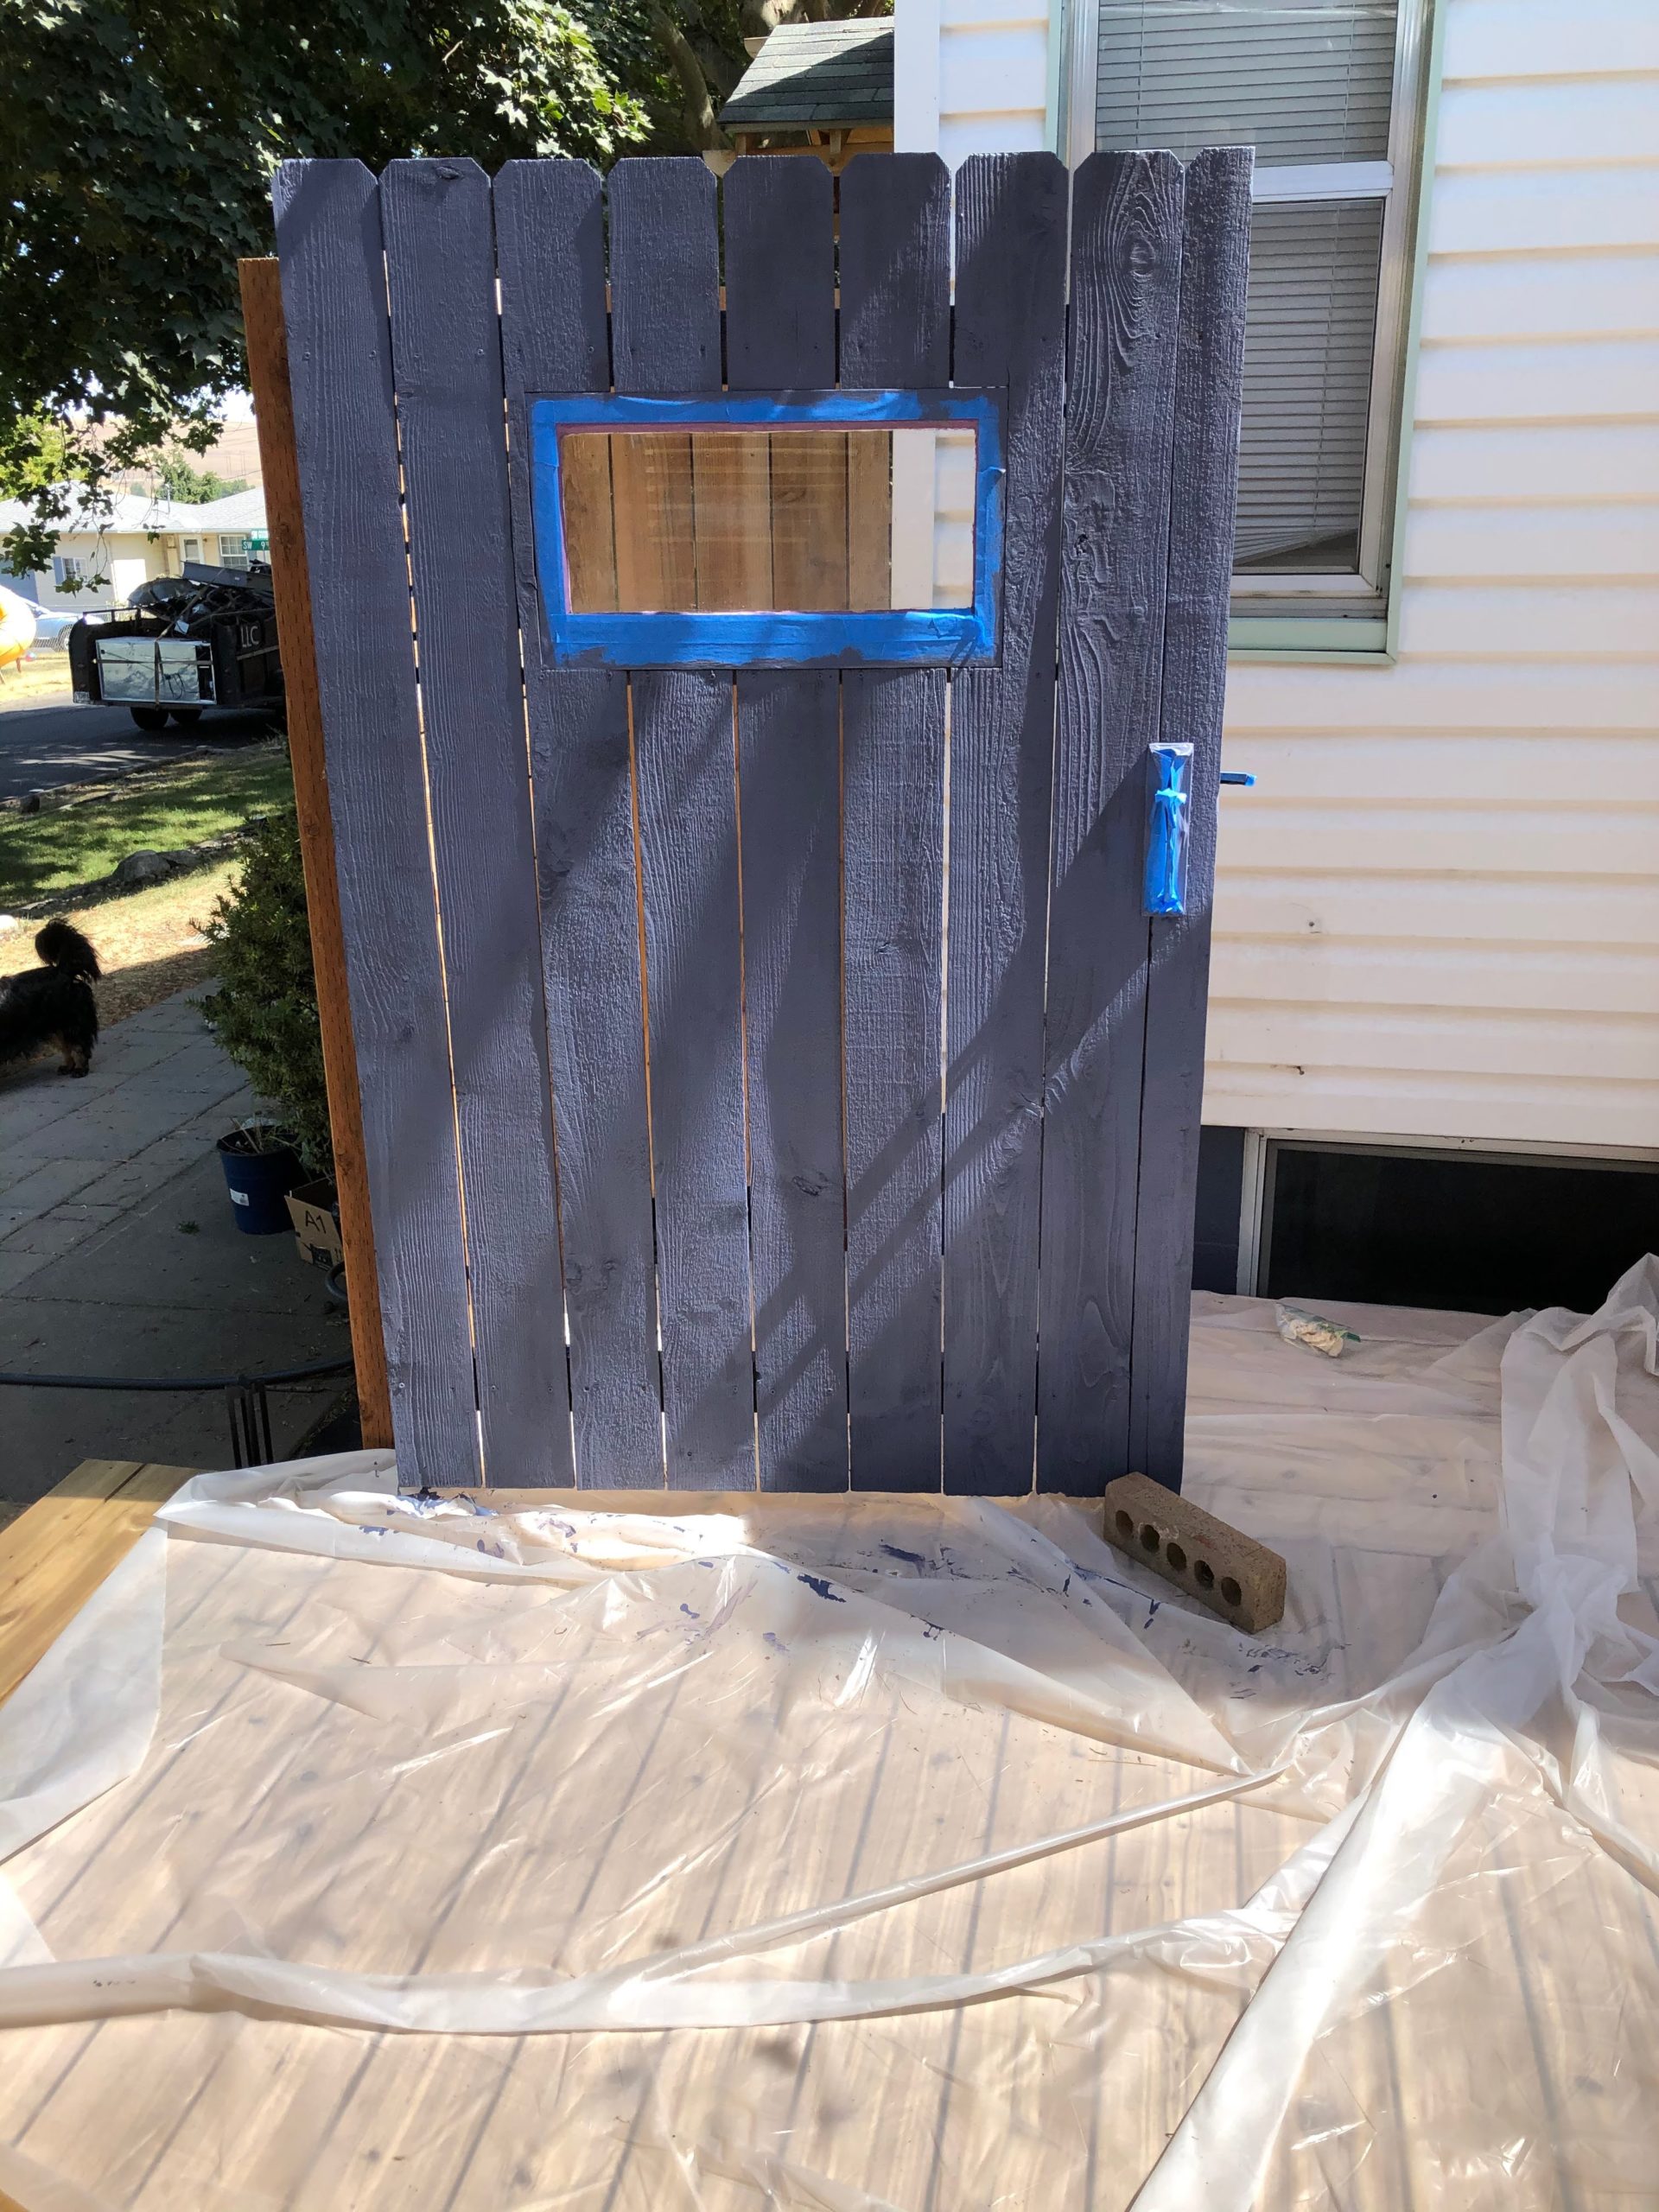
The final step for fence assembly is to install the old gate. We had forgotten to clean that so got the pressure washer back out and the gate cleaned up nicely. We are still thinking about what to do with the main part of the fence (paint or stain) but we both liked the idea of using our purple highlight on the gate. We had already included a purple window when we originally built it. Notice that the boards are vertical here. It was already built and didn’t want to take it apart and rebuild it.

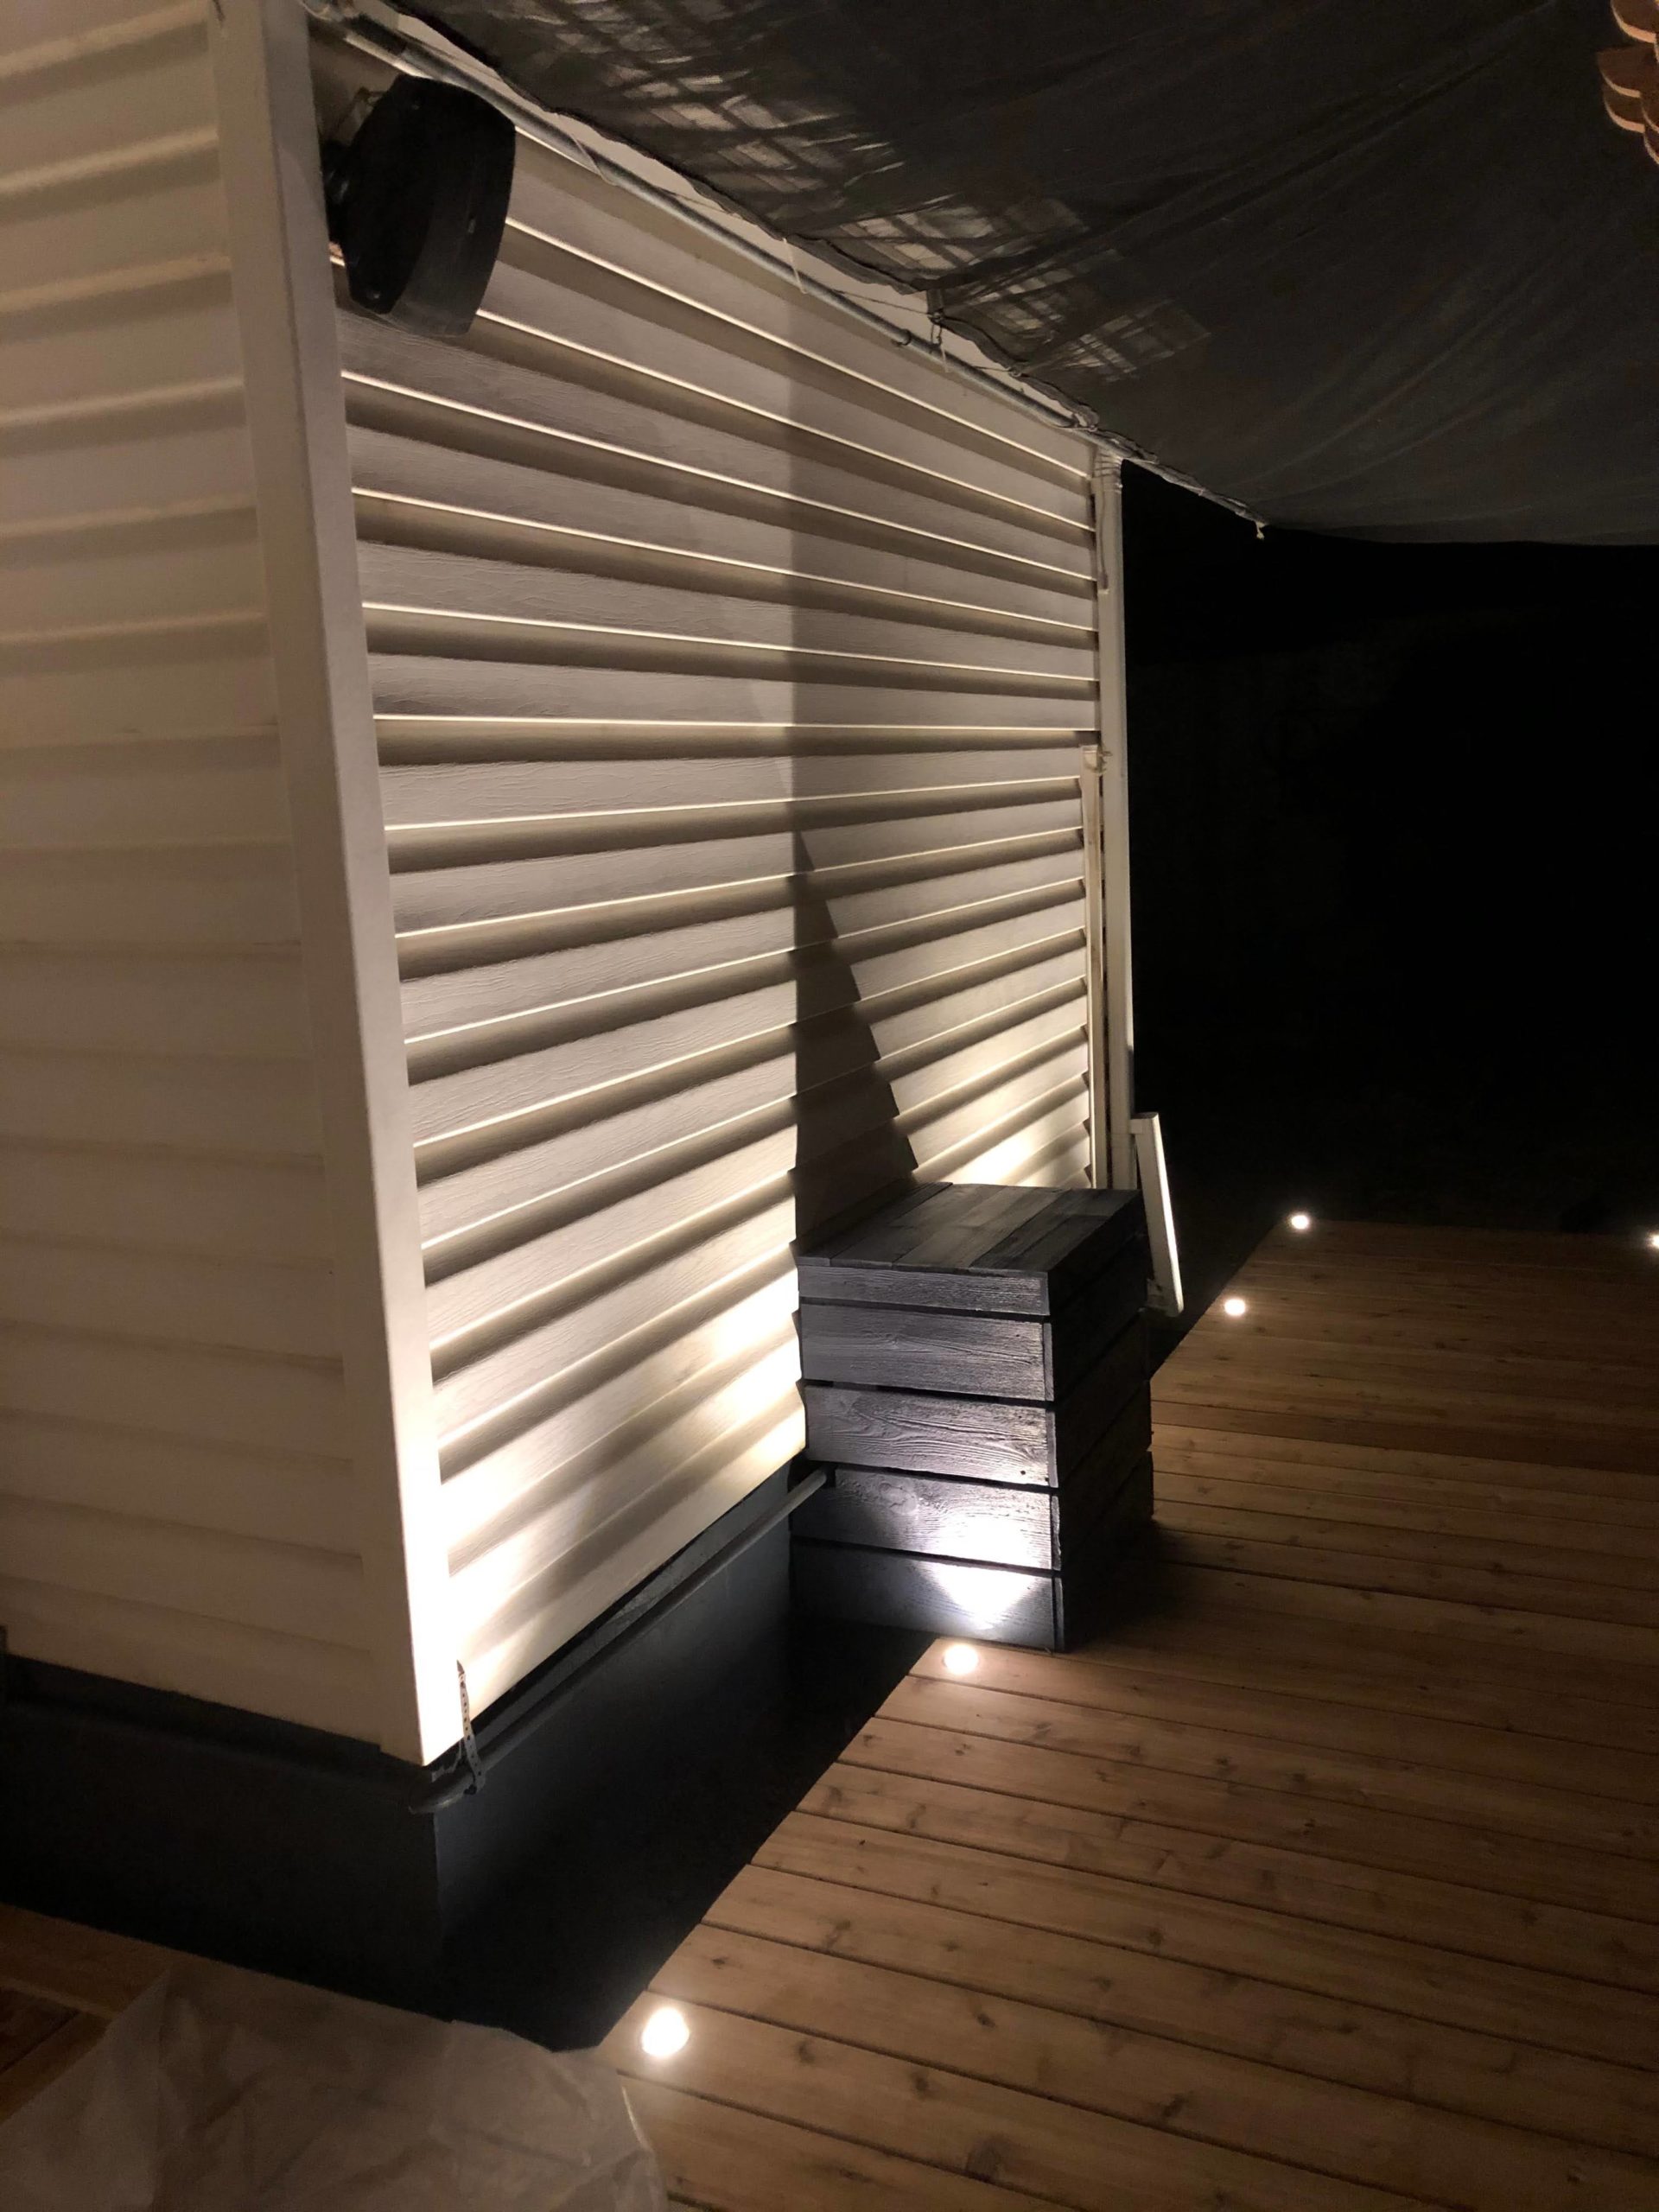
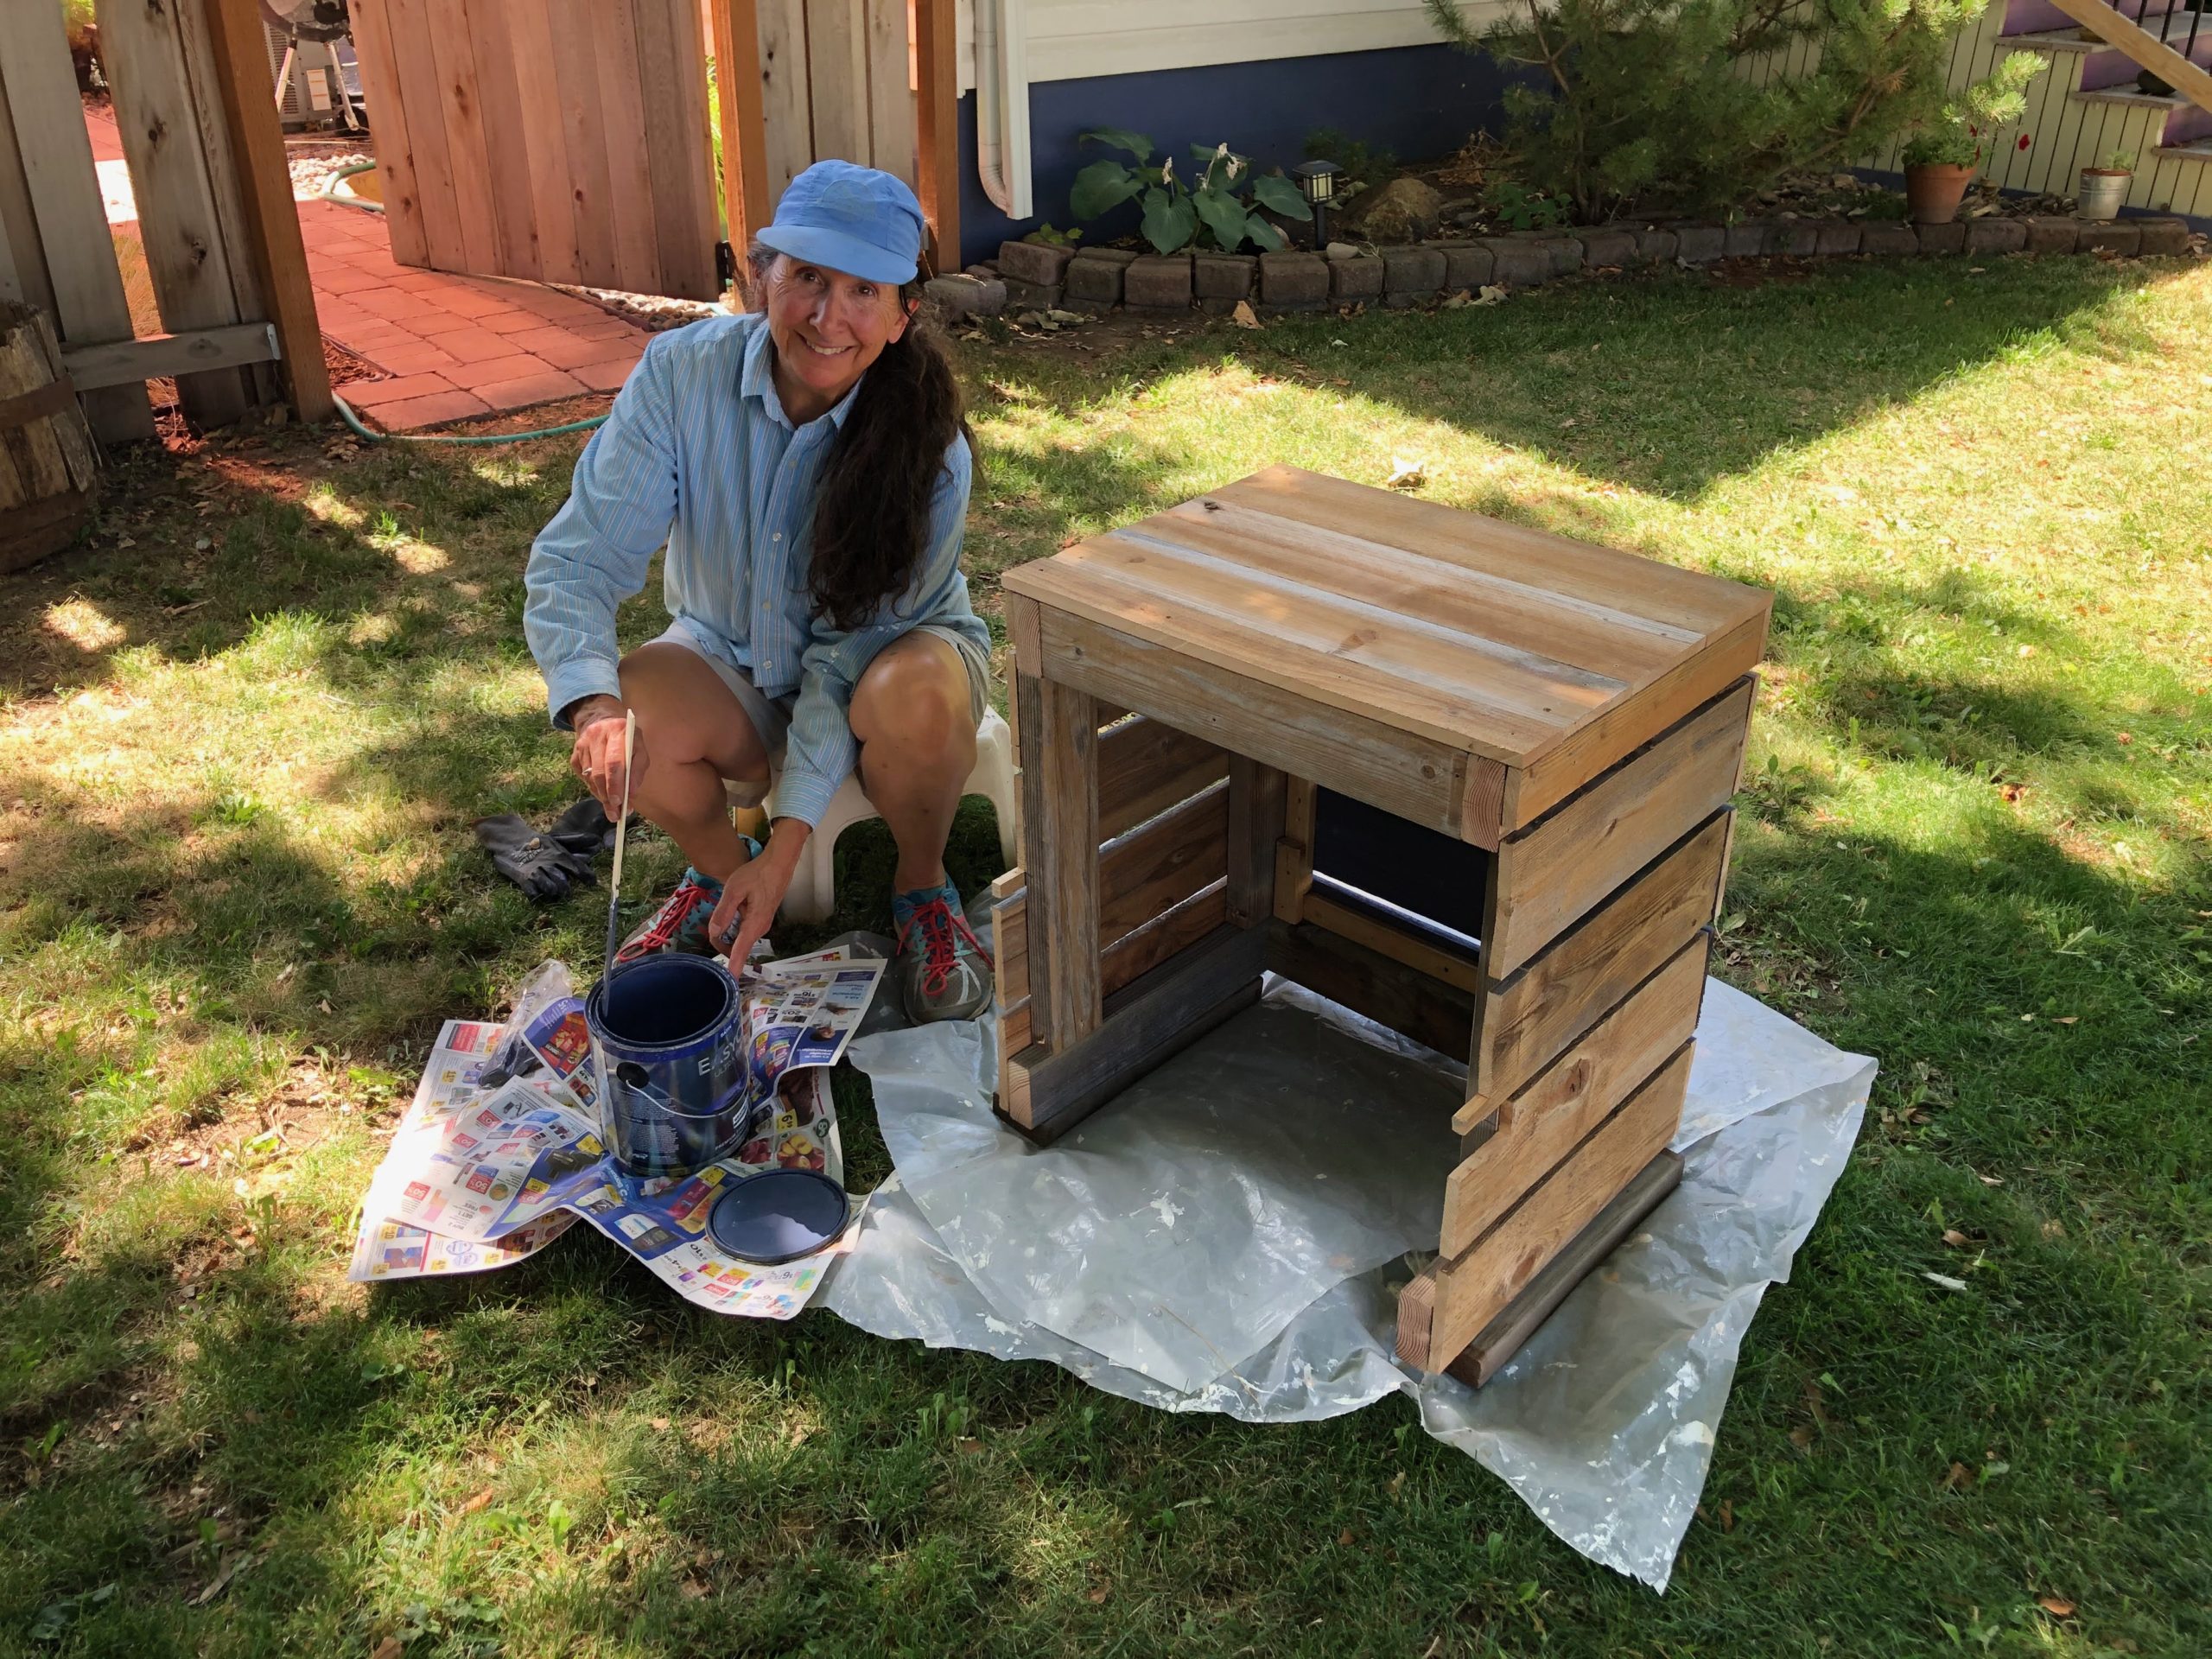
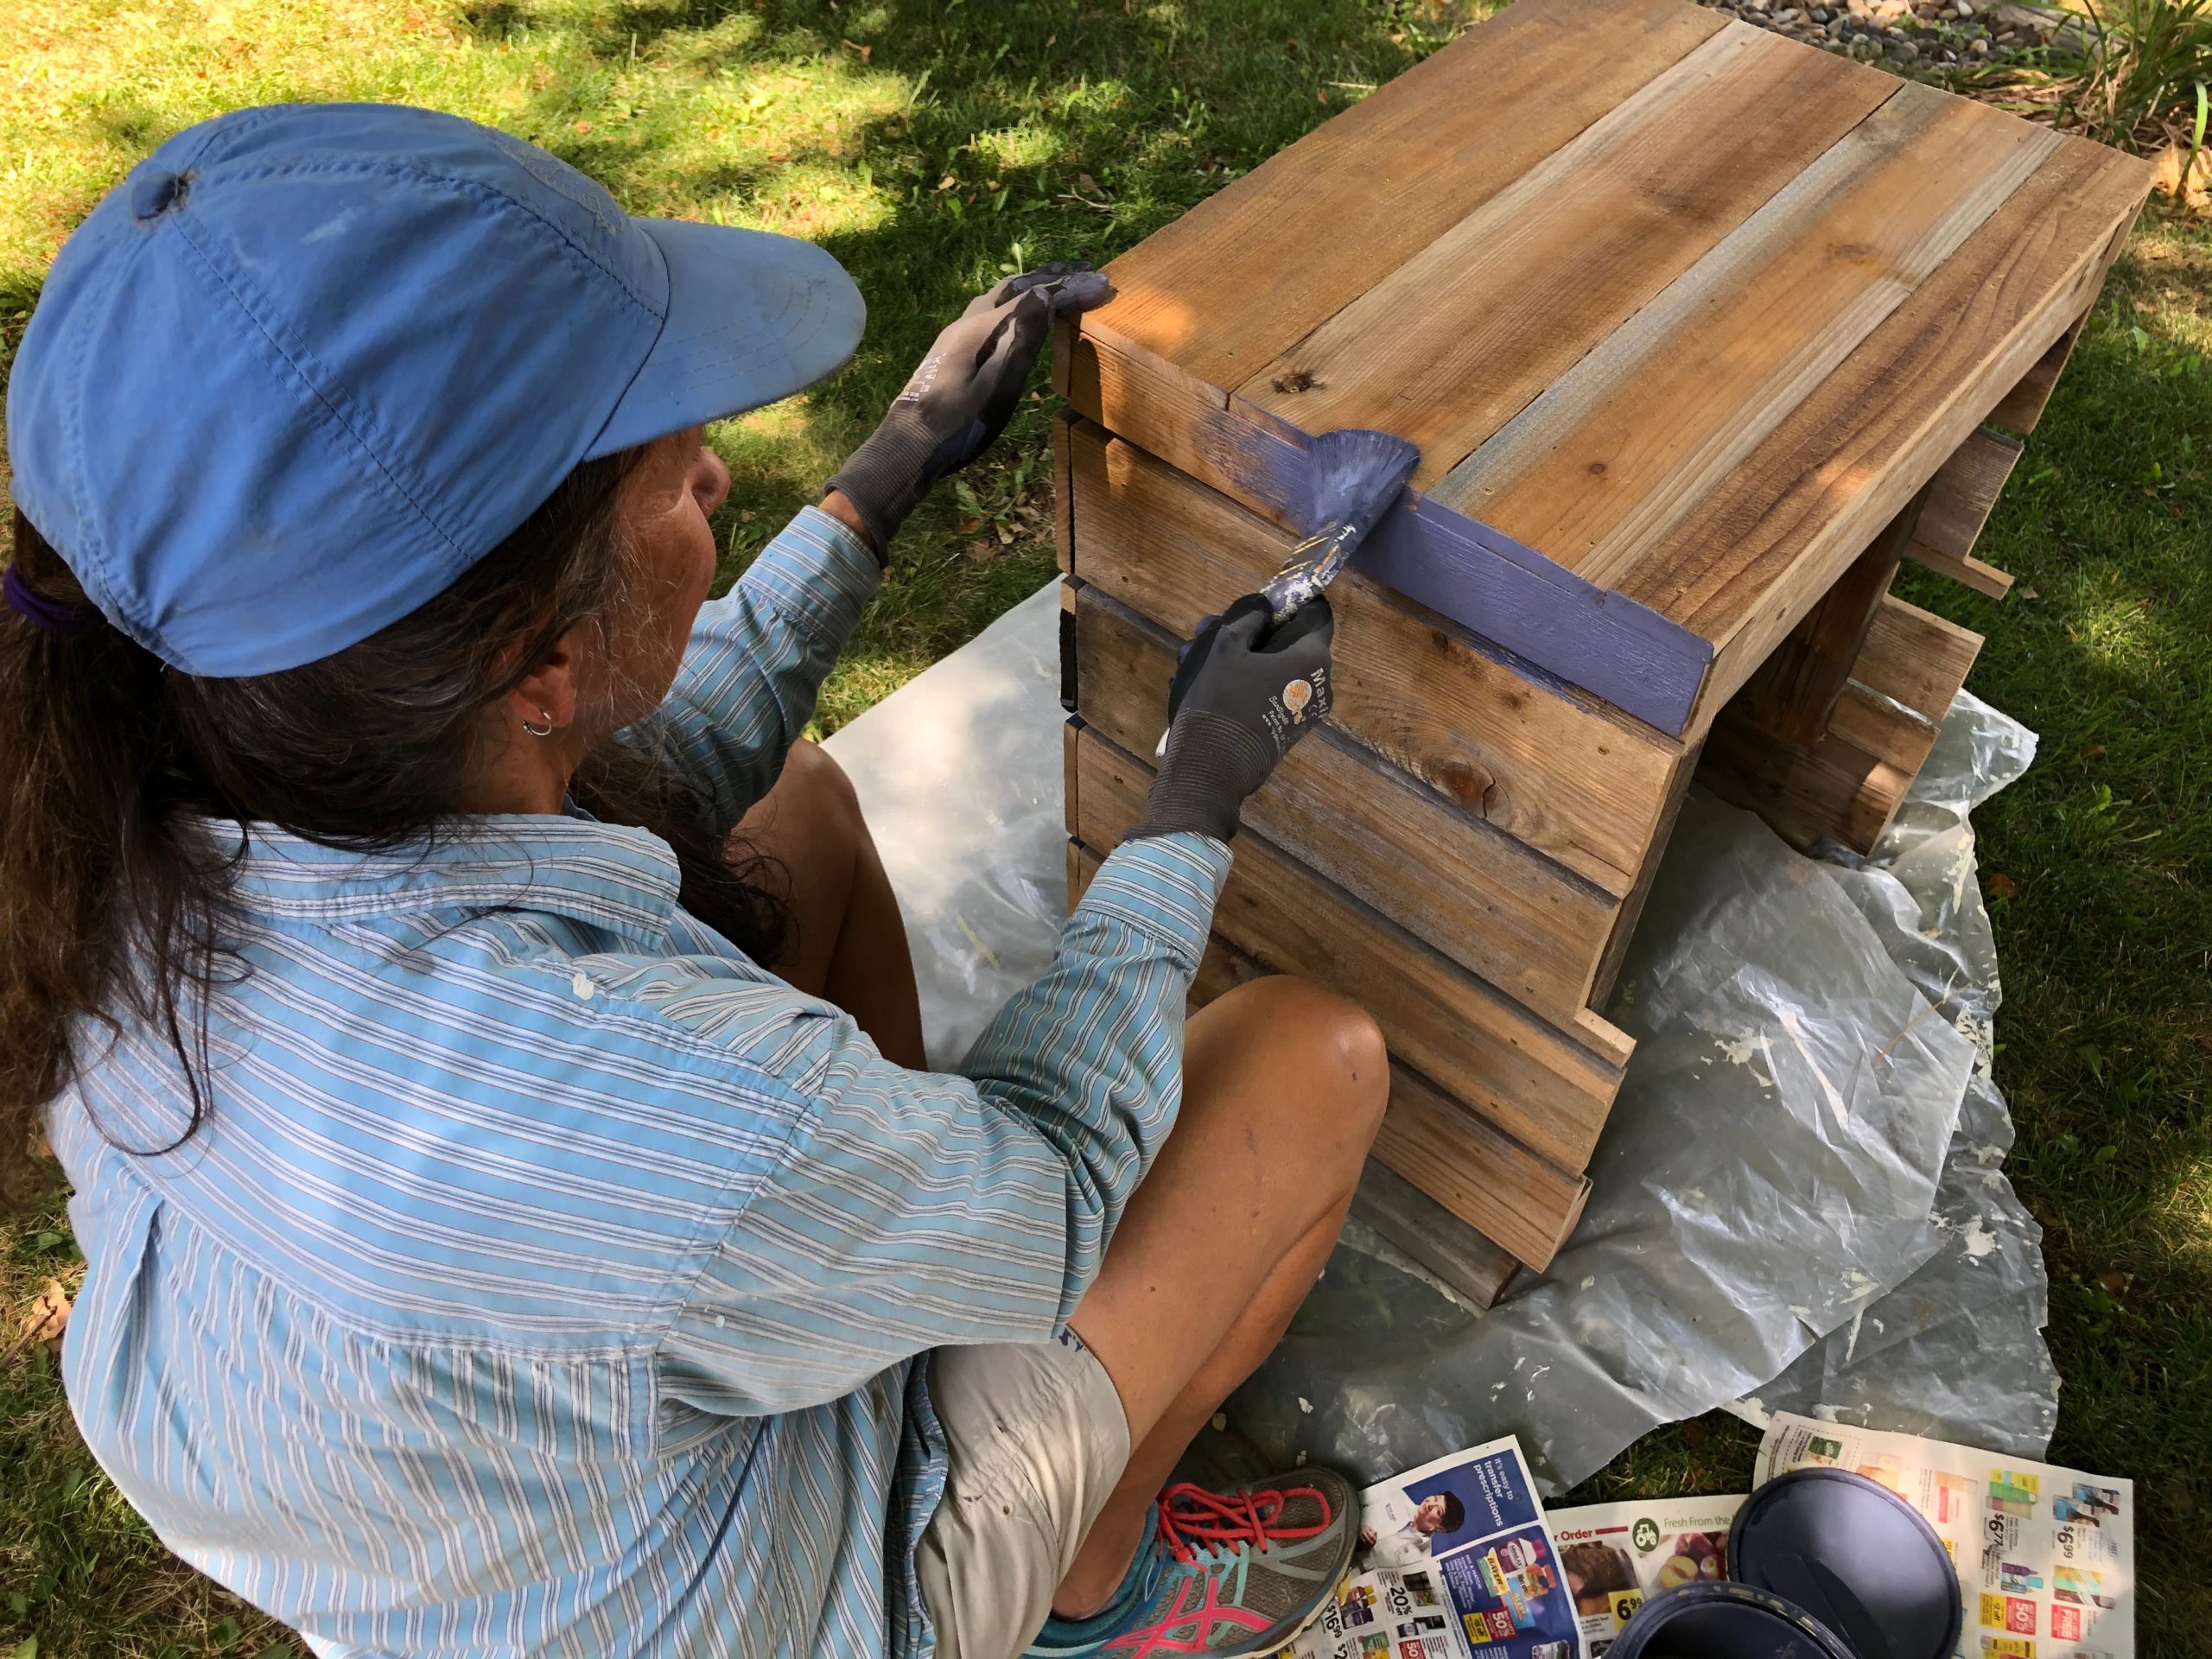
We also built a box using some of the extra fencing material to go around our gas meter. We decided to paint it purple to match the gate.
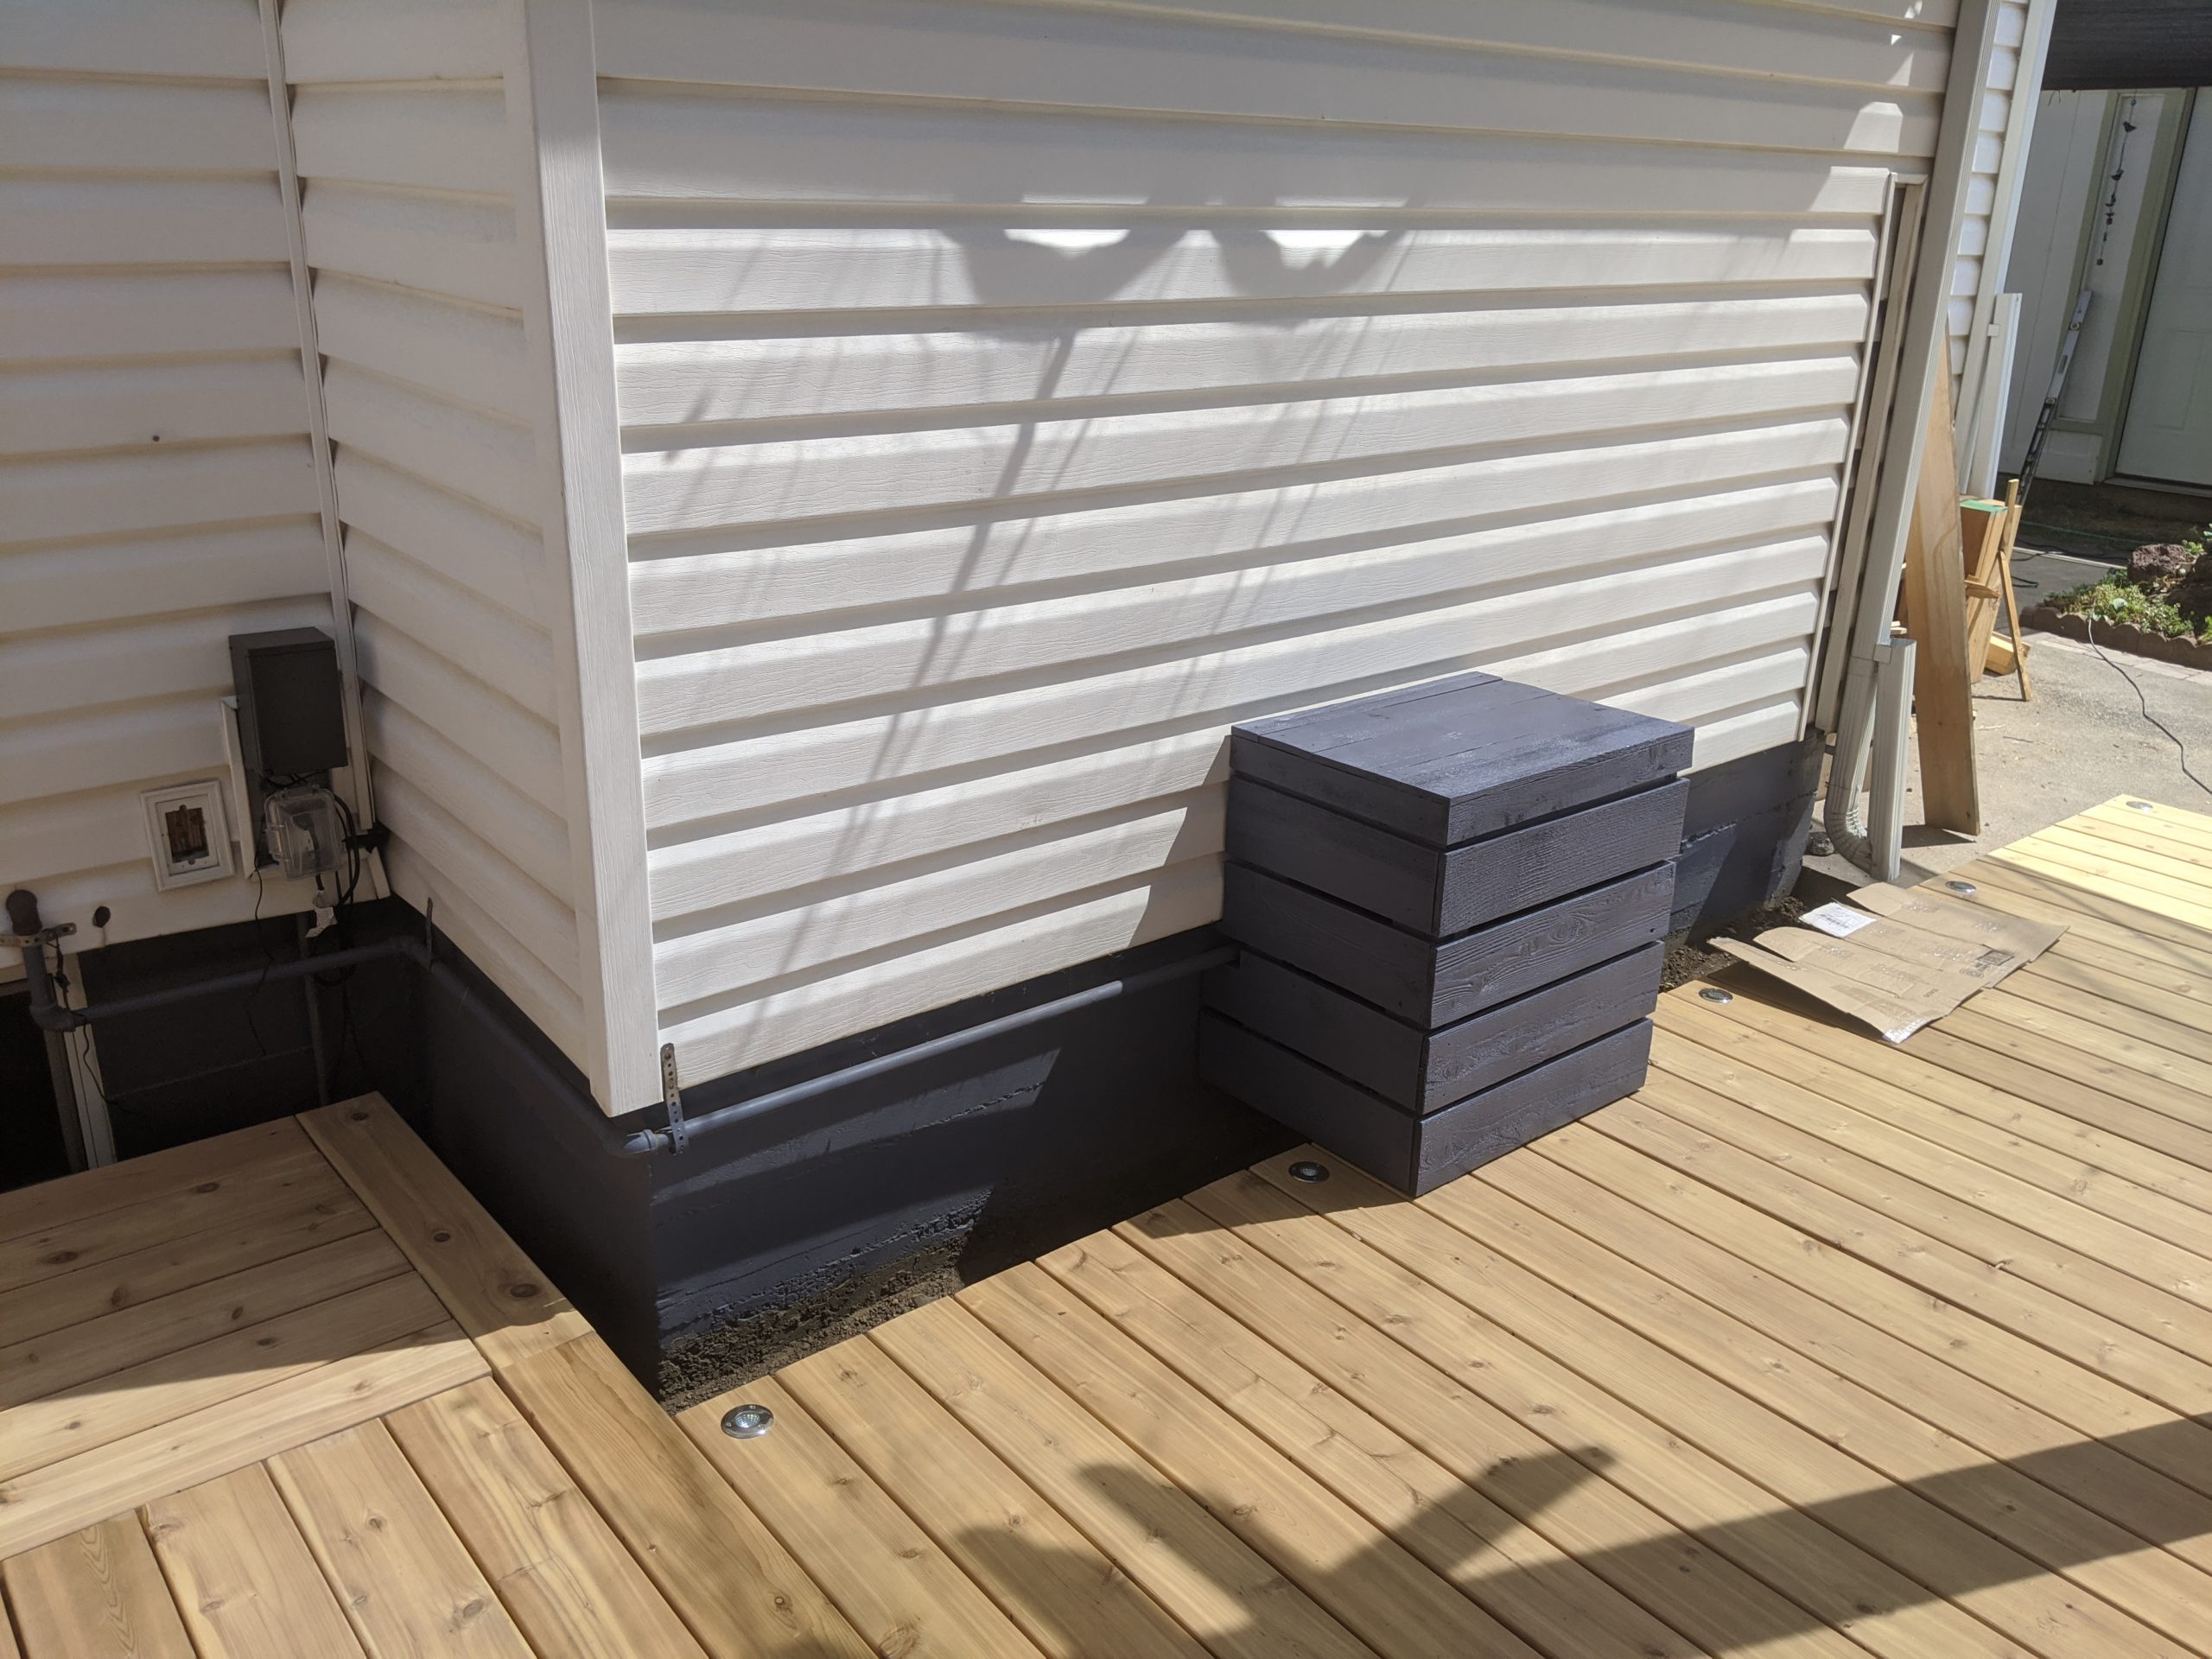
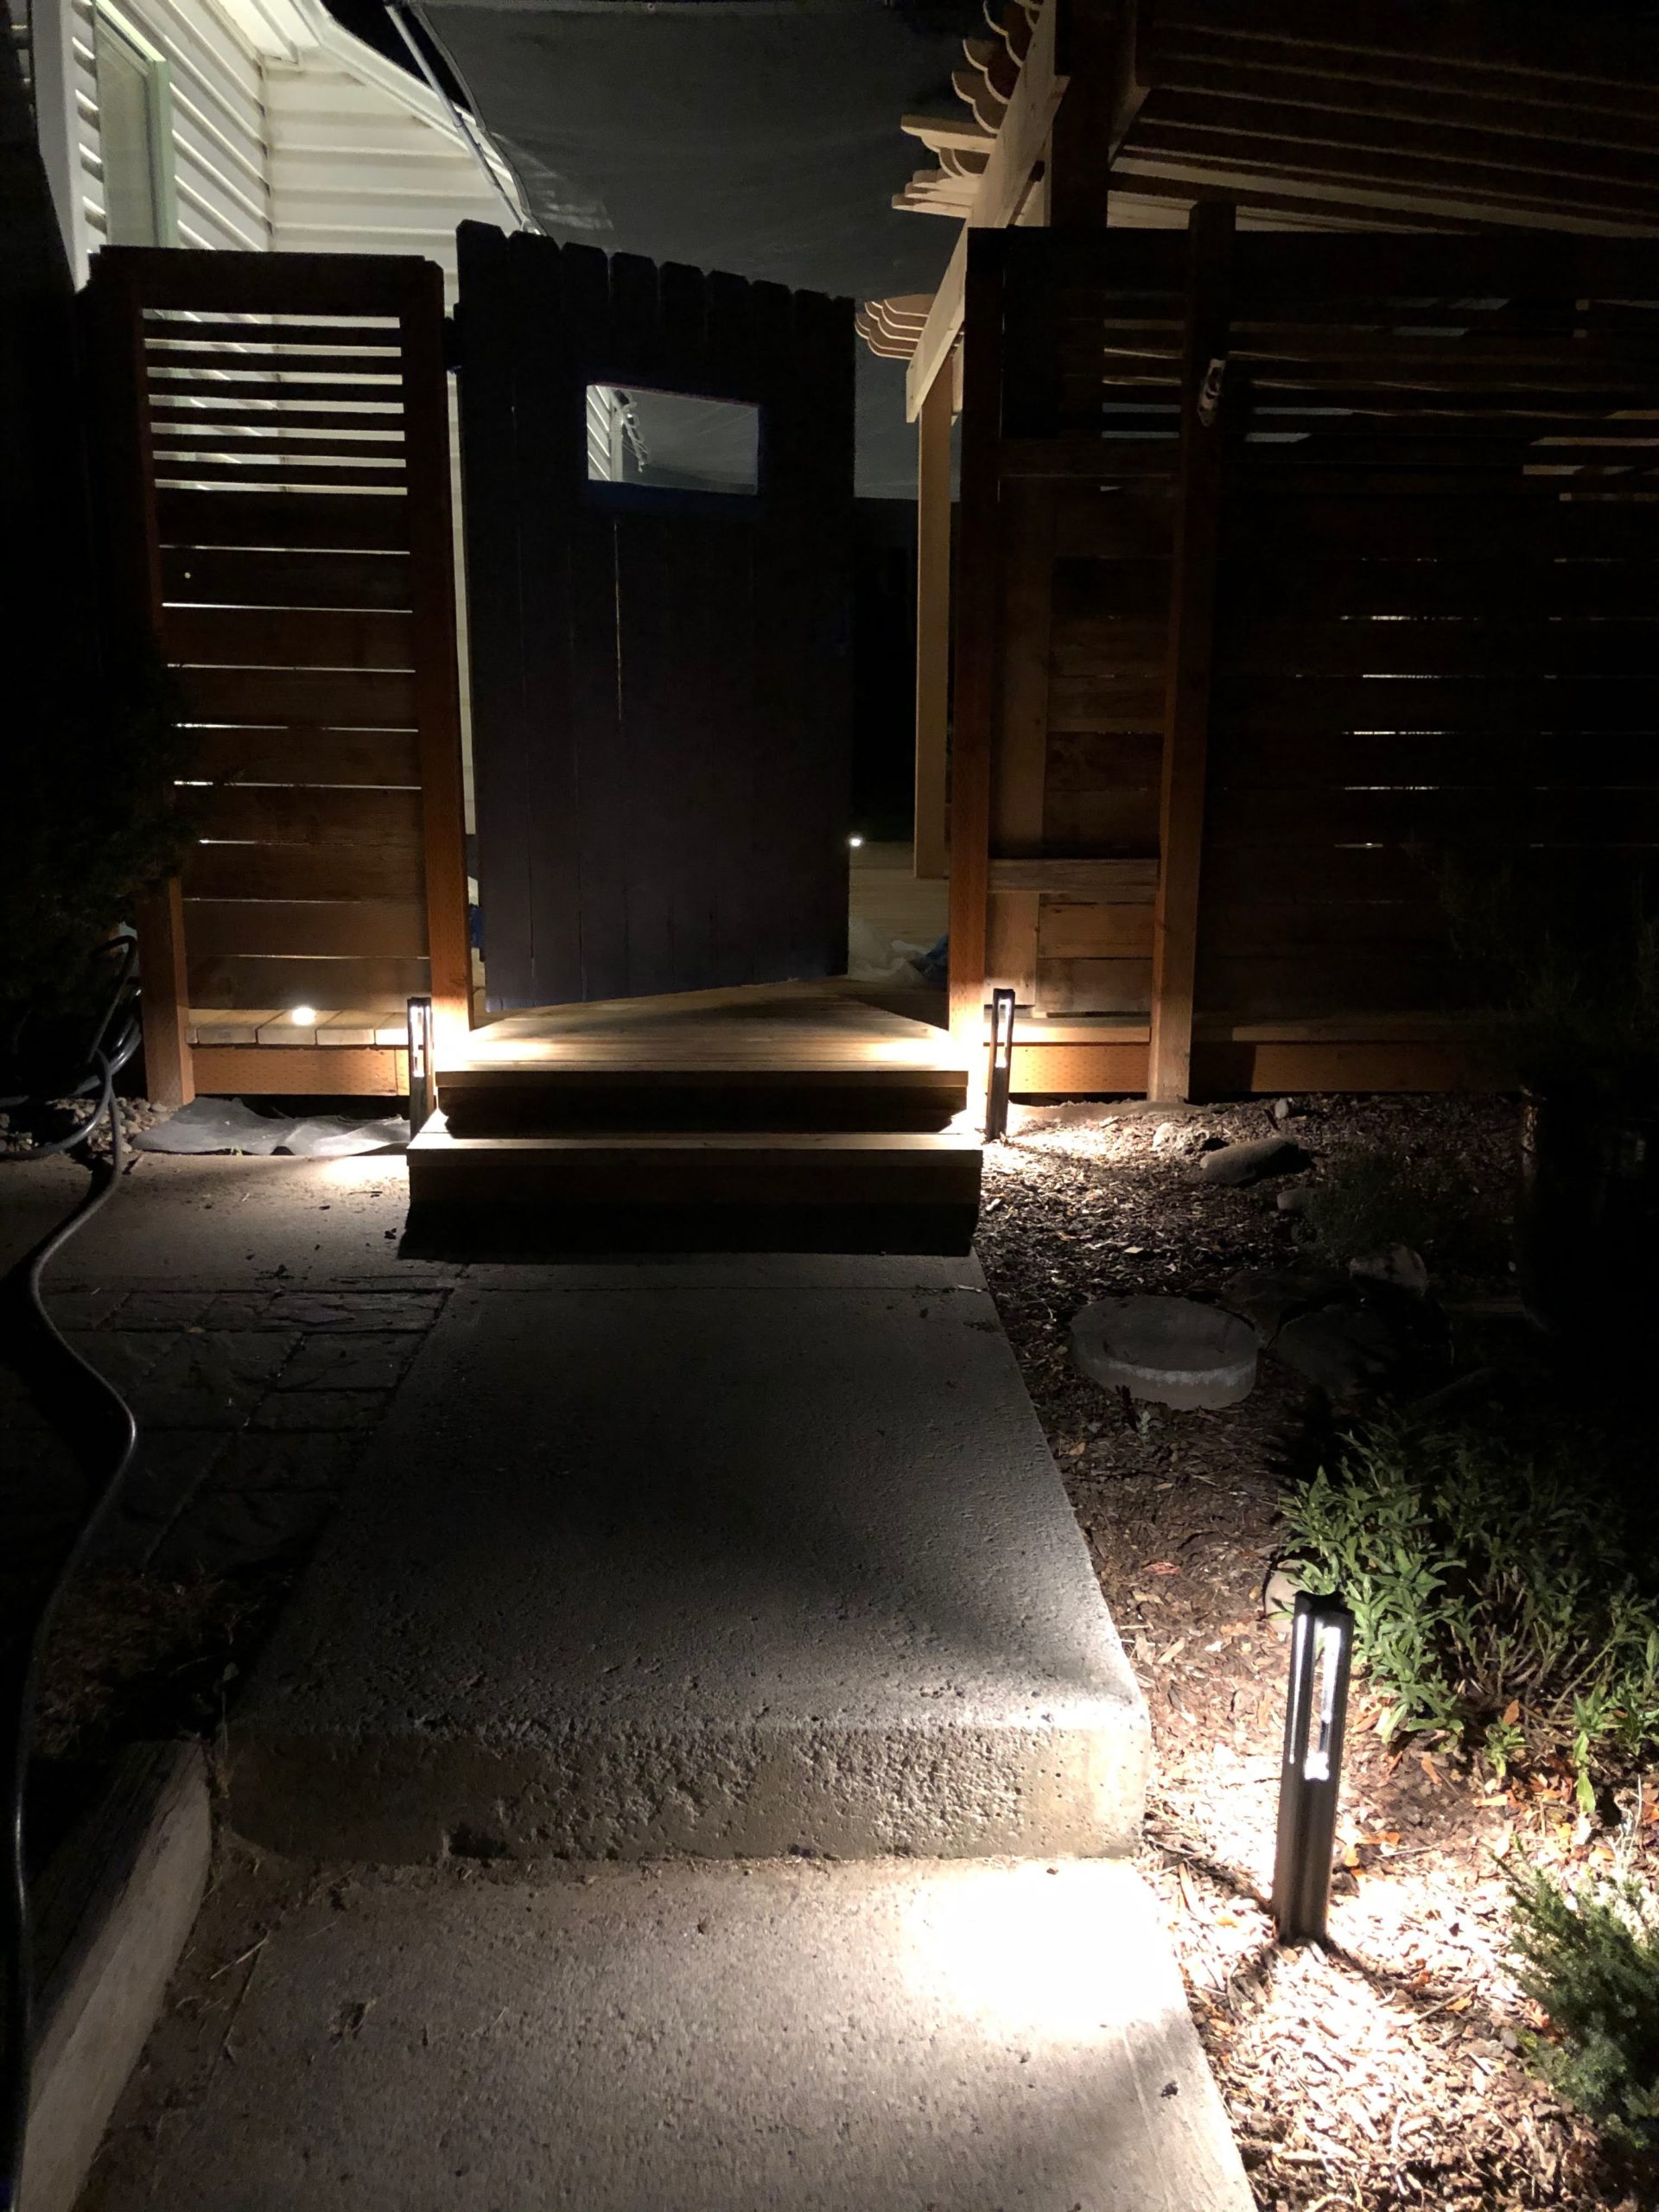
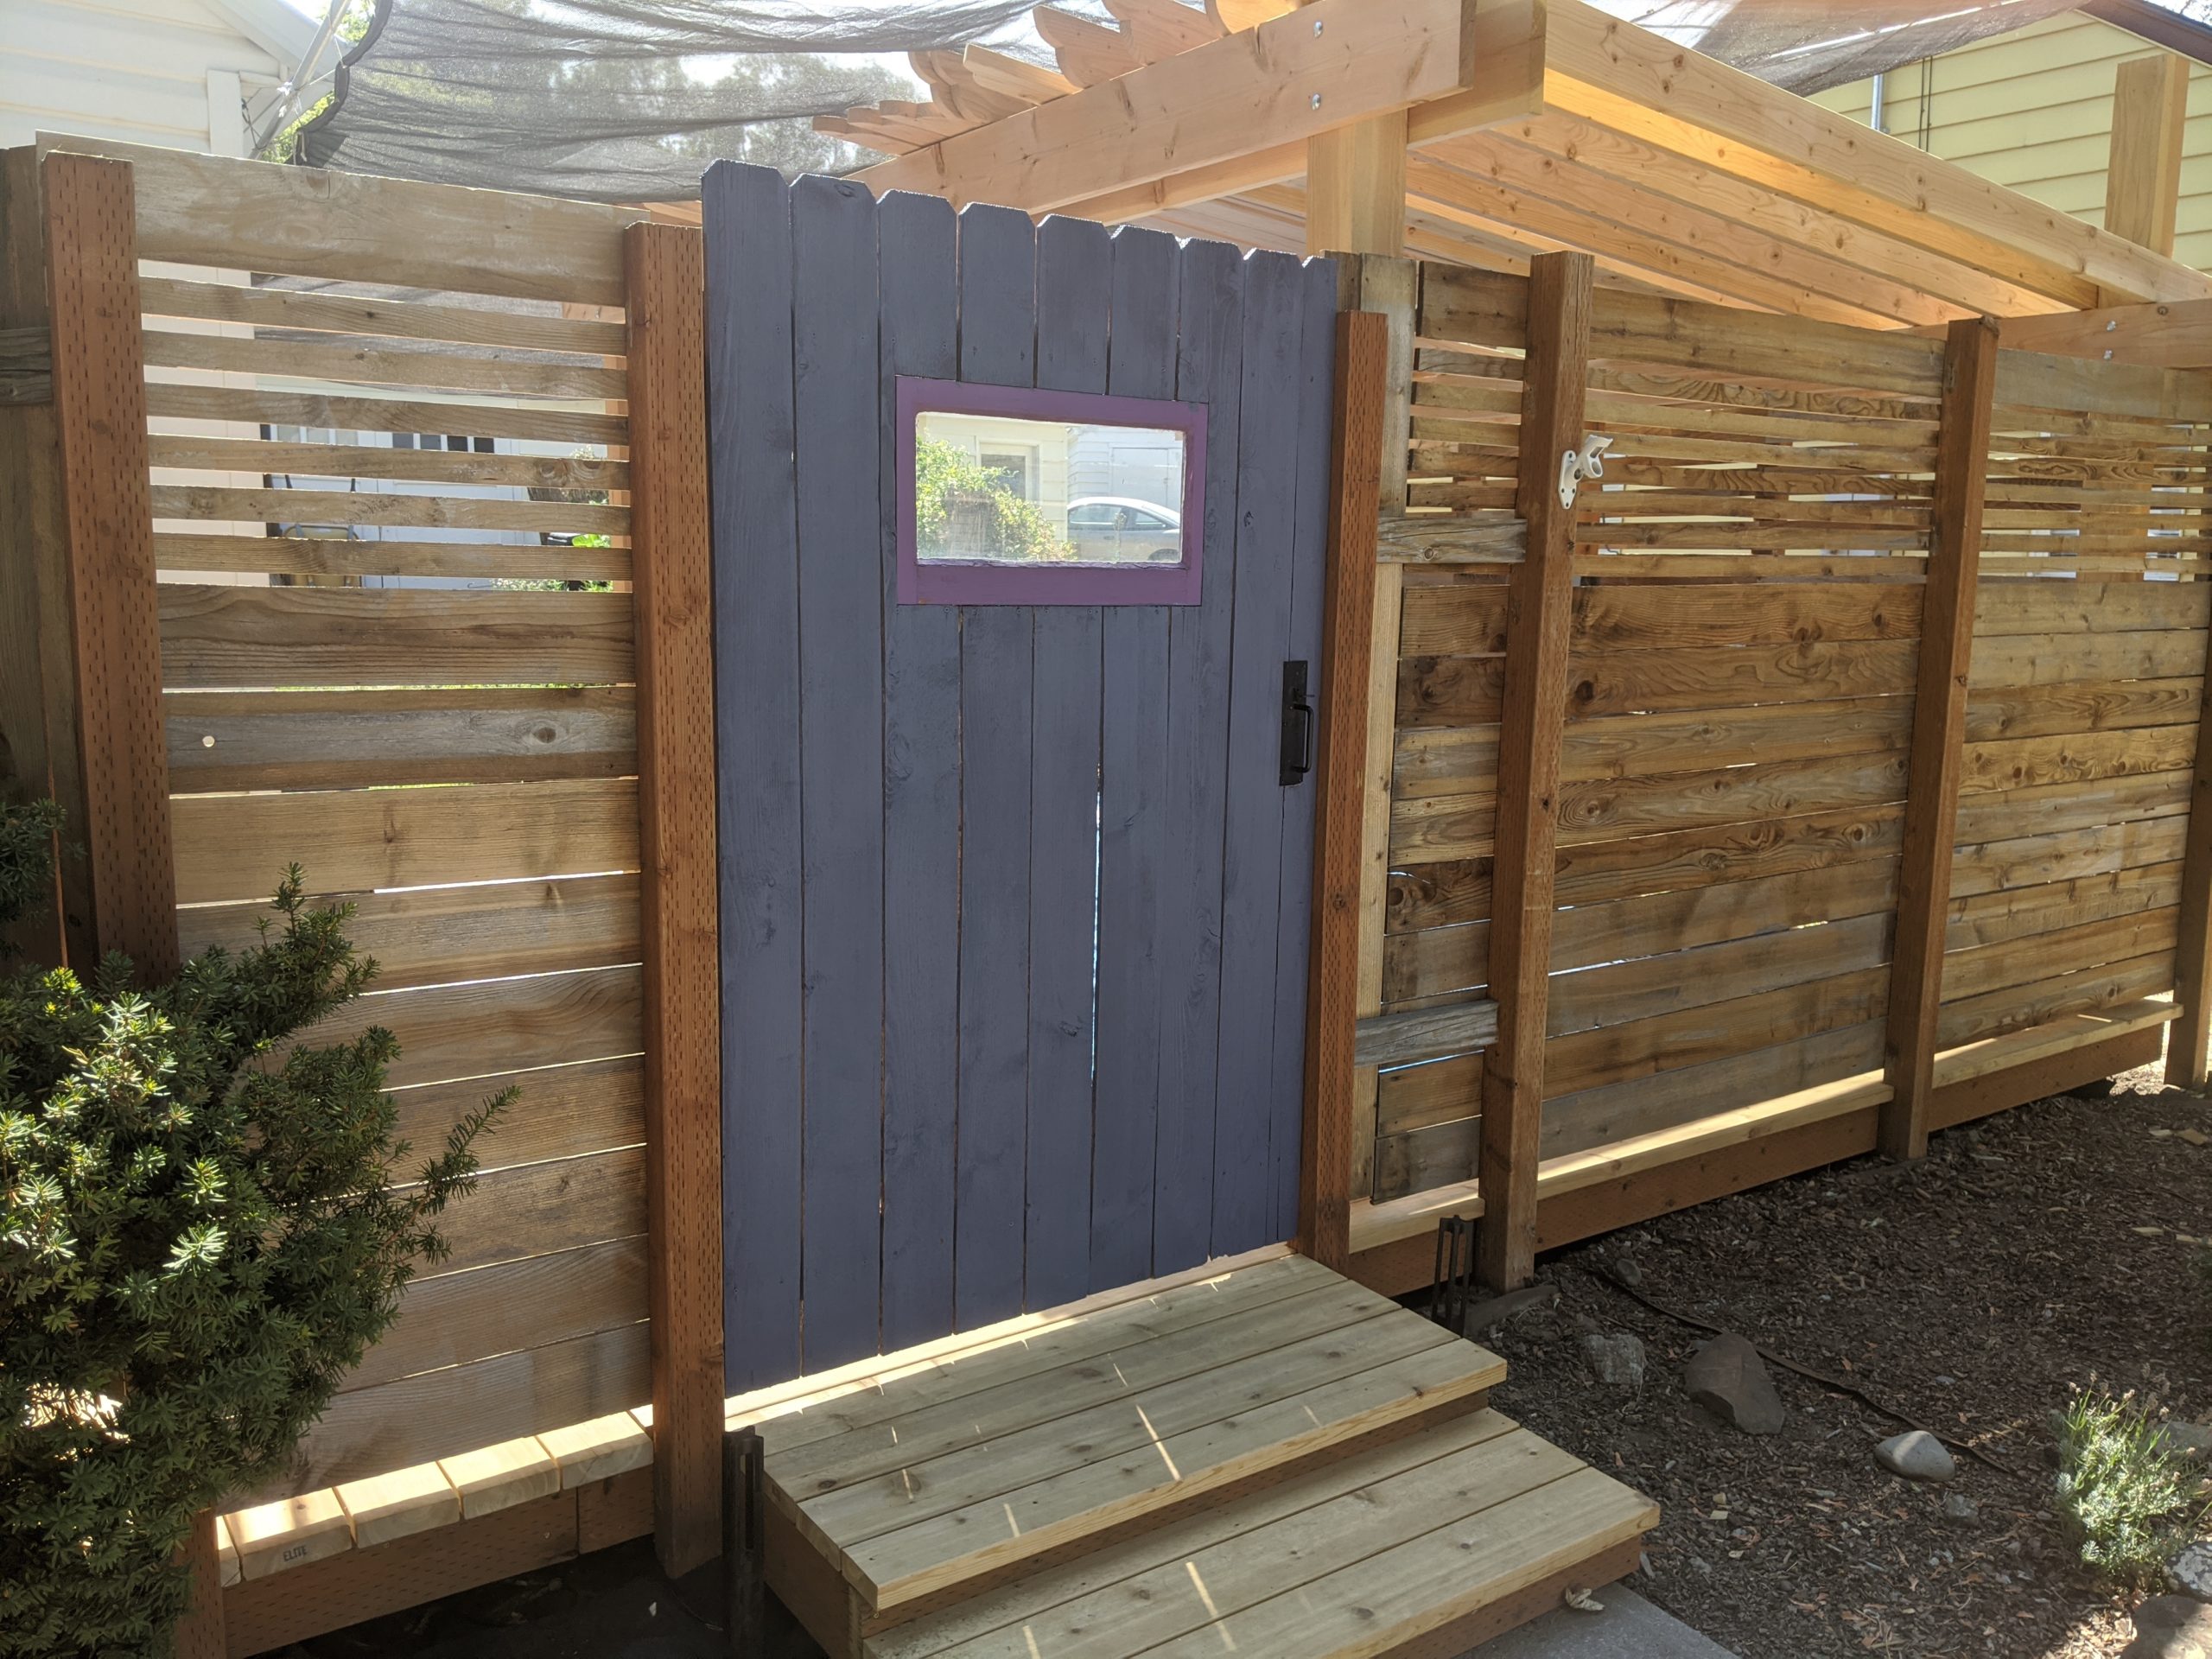
We also took some shots of the various areas in the evening after we finished painting the gate and box.