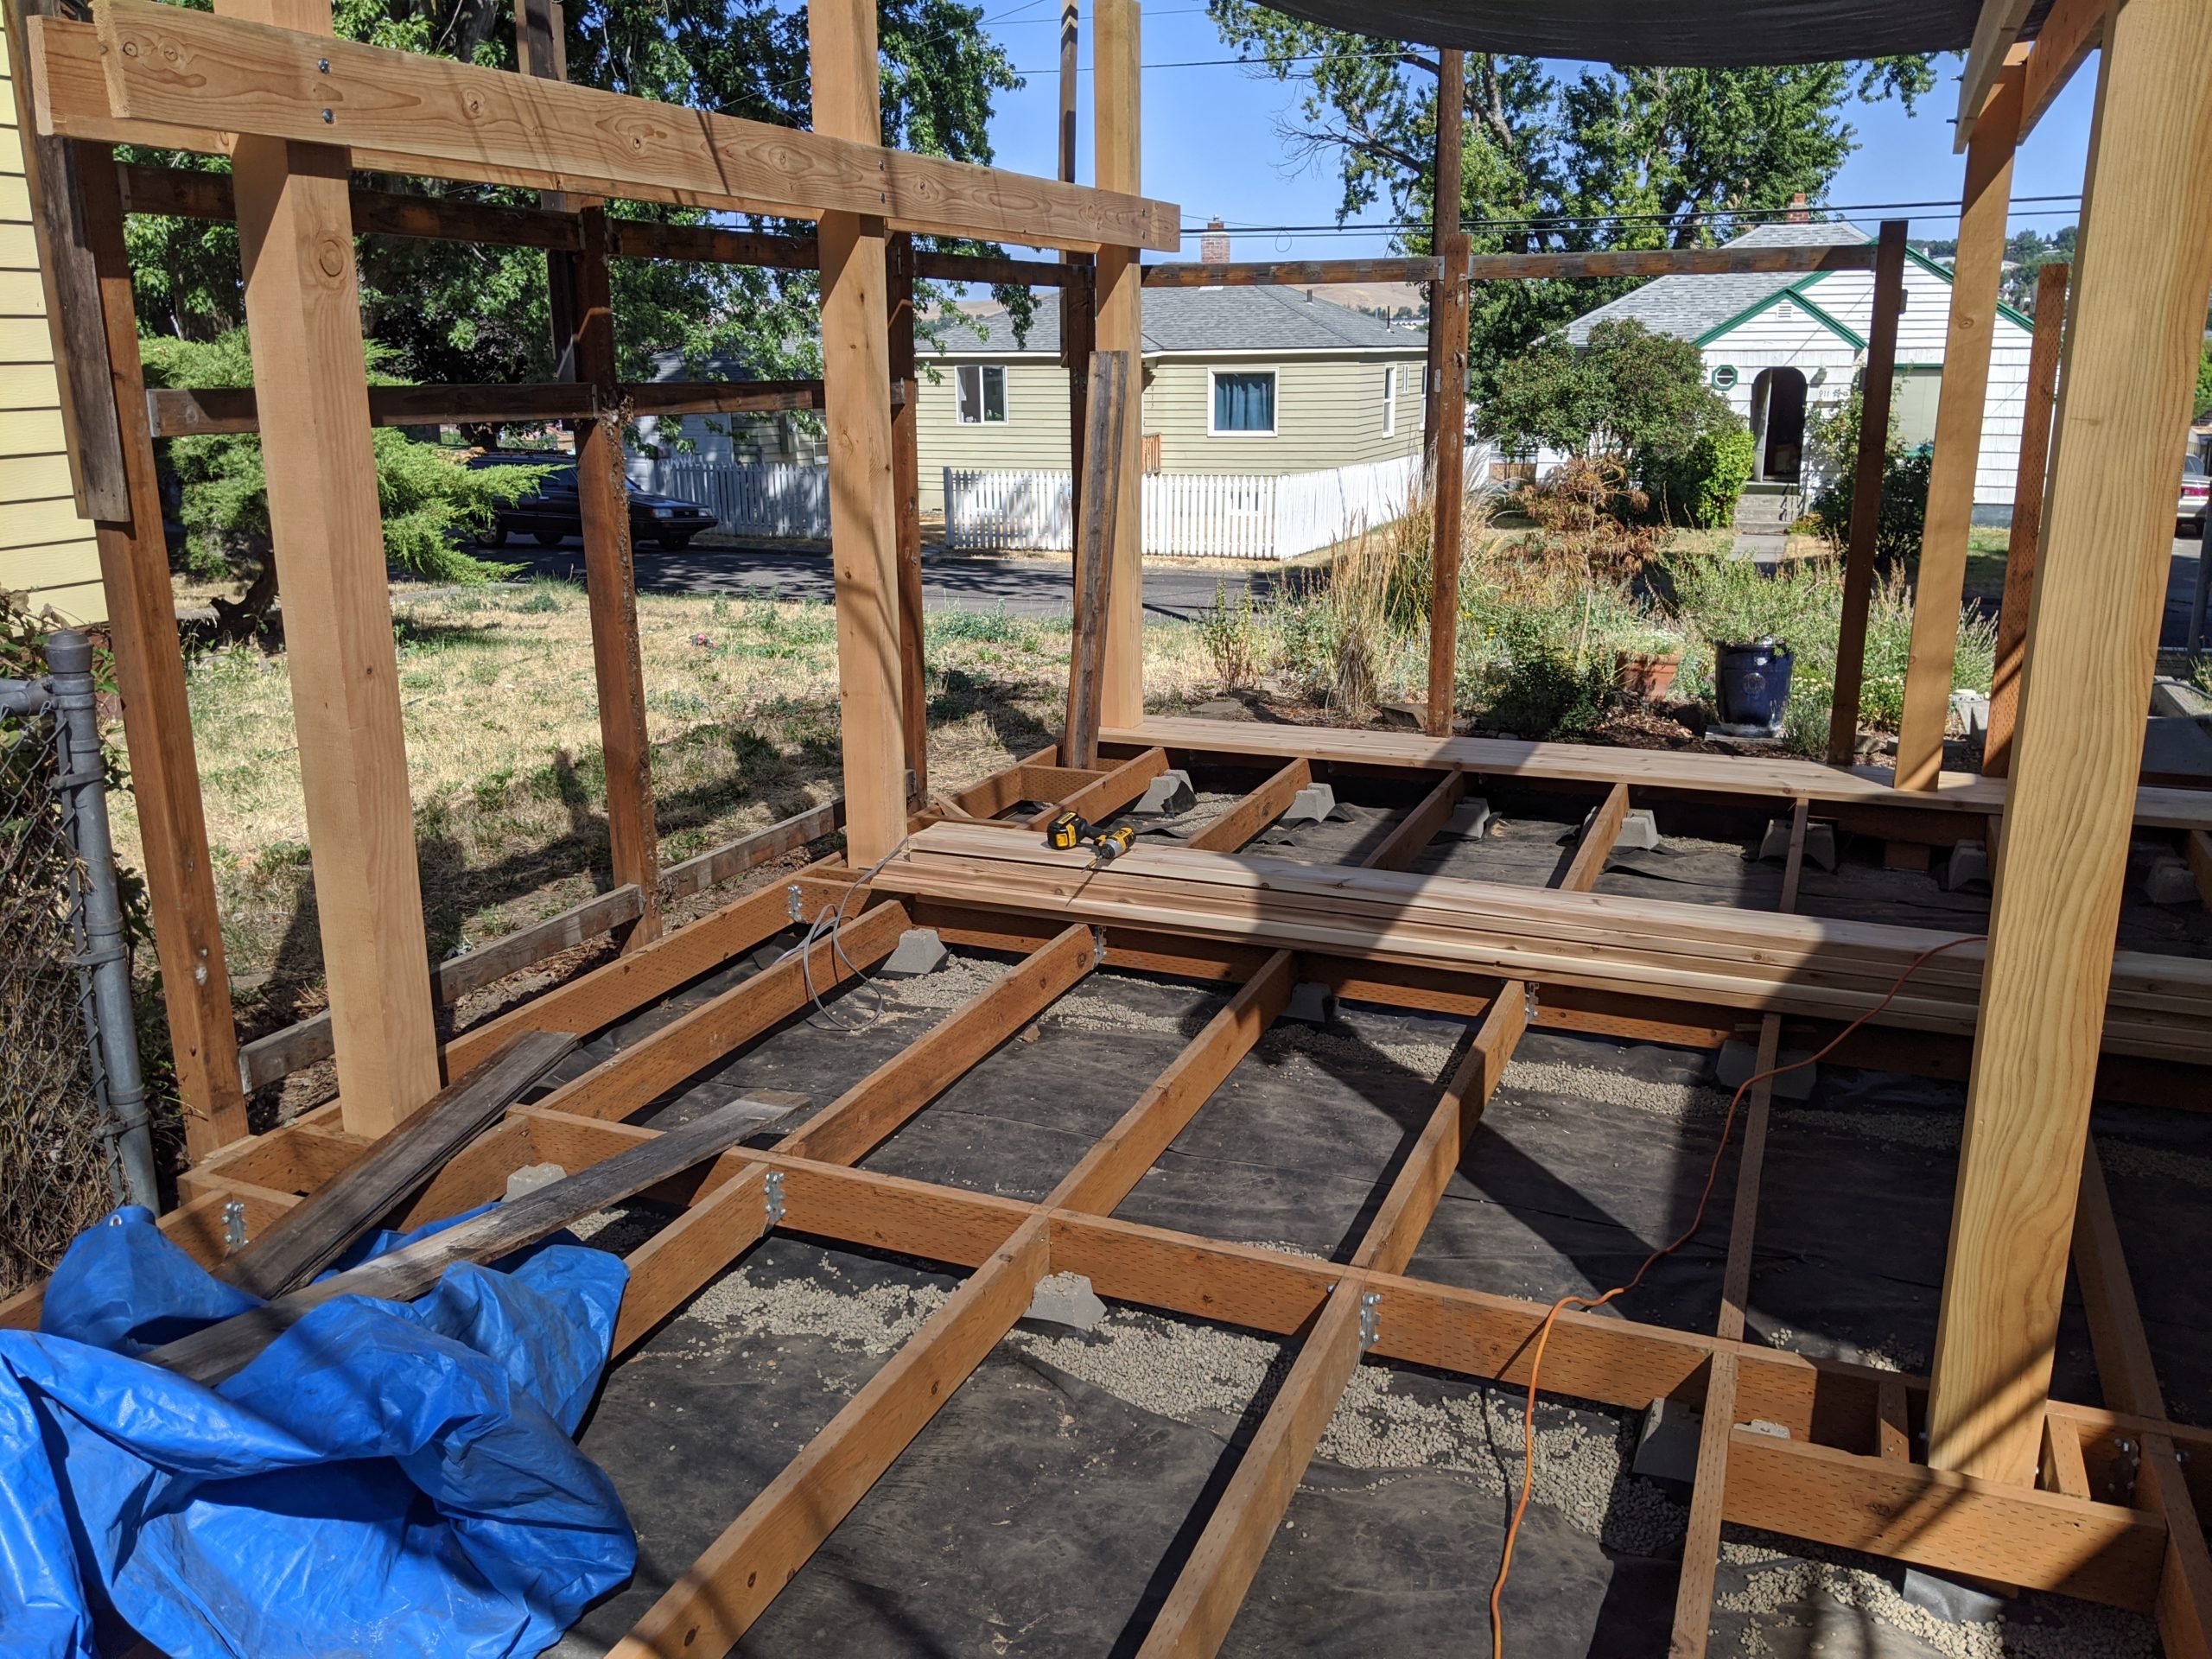
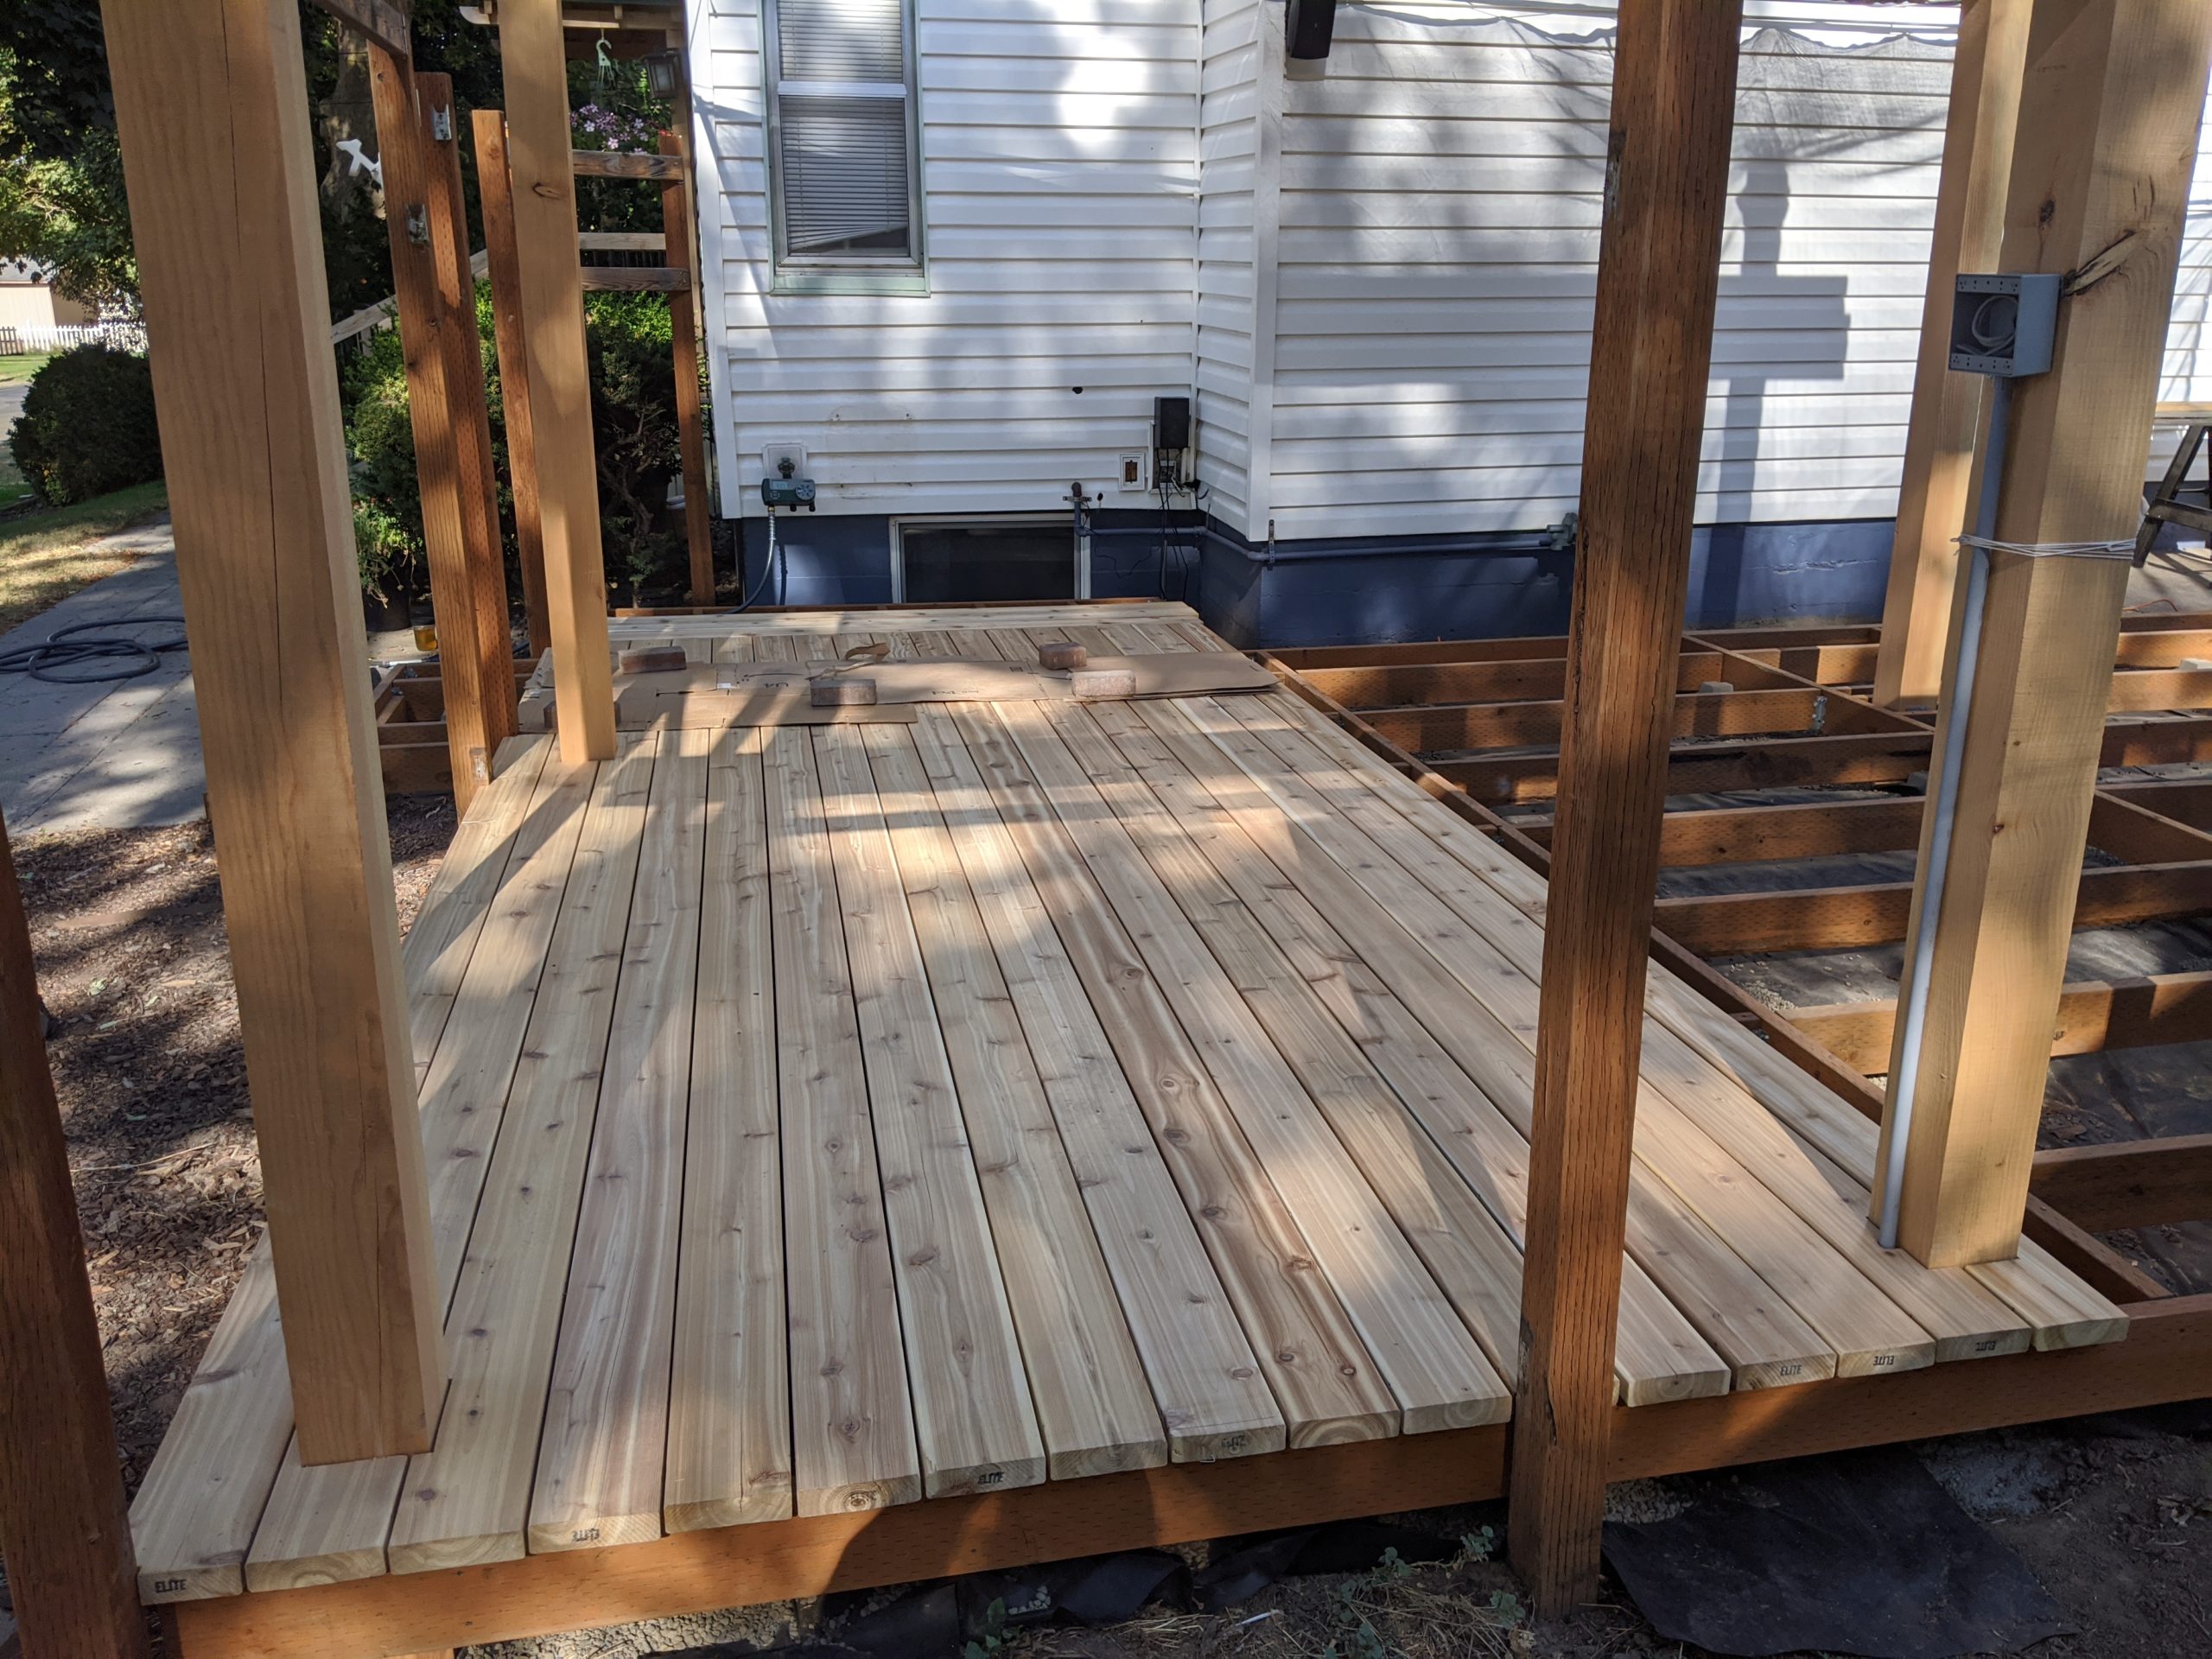
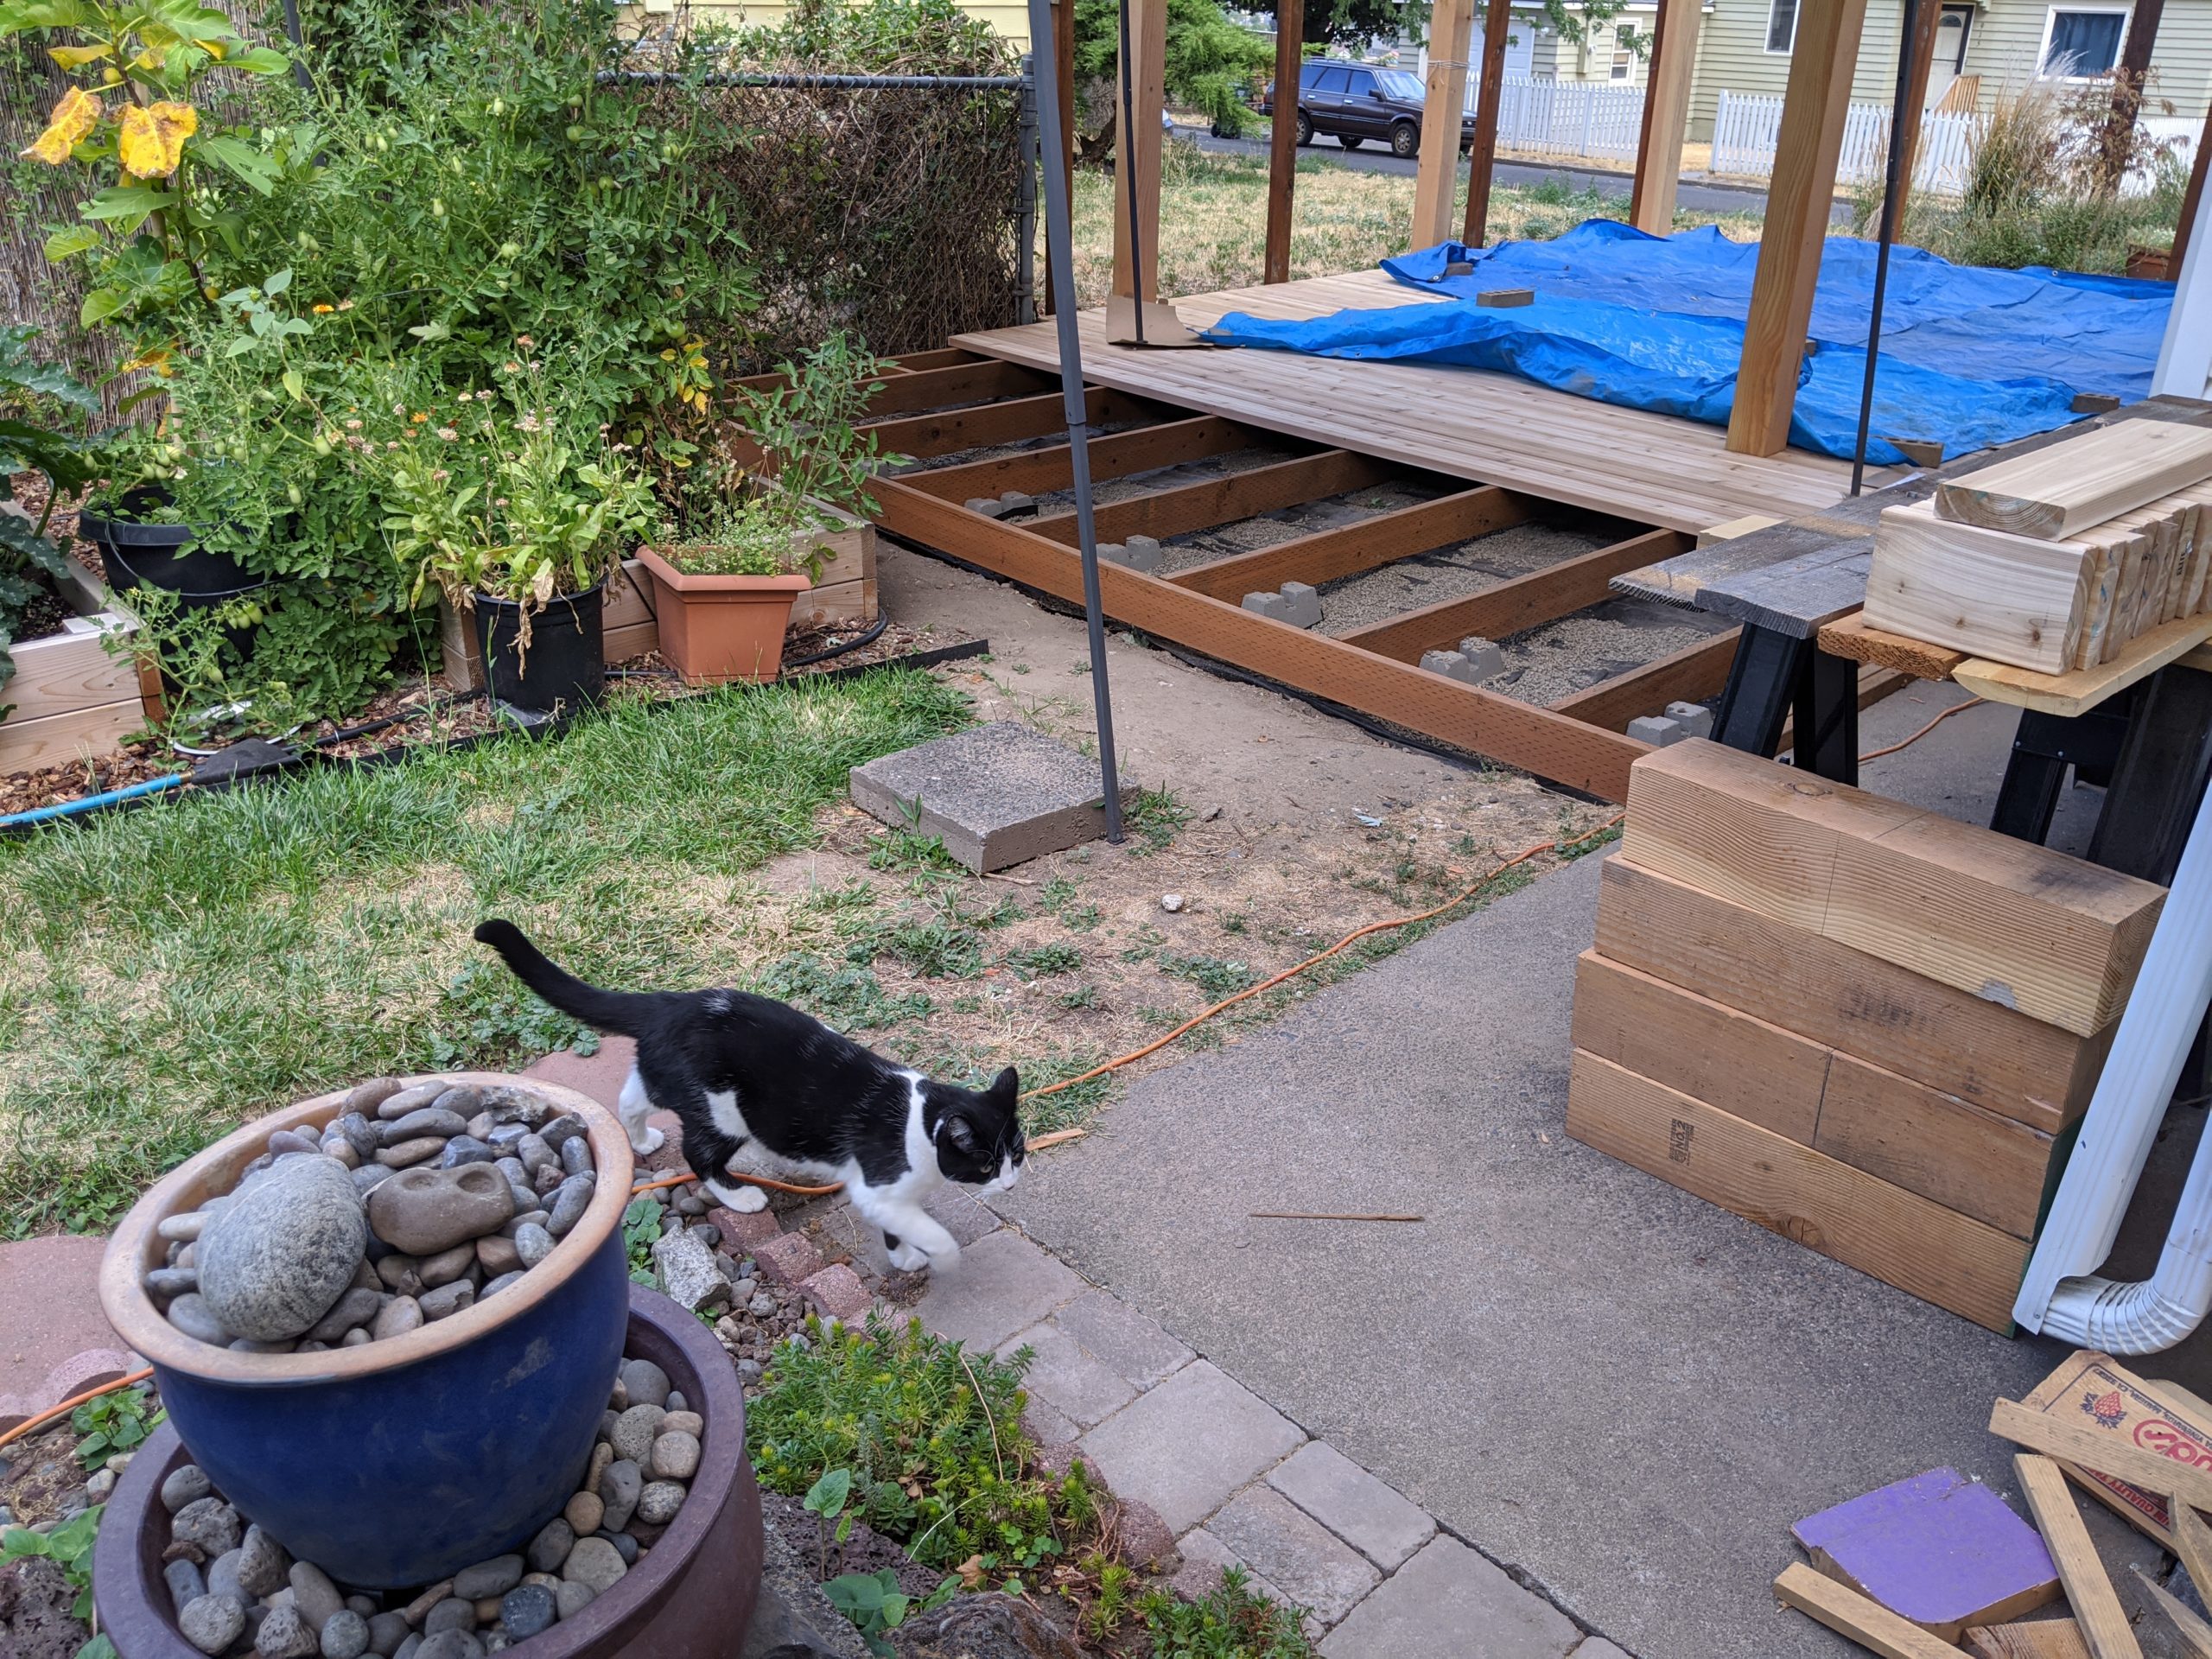
With the deck framing complete and the posts and beams in place we are ready to begin installing the decking. We had looked at several options for decking including composite and even some Brazilian hardwoods, but based on price and availability we went with 2×6 cedar. Our local lumber yard was able to get it quickly and they delivered it for free. We had originally wanted to do the whole thing without any cuts, but we couldn’t get enough 20′ lengths so we used 16′ everywhere and changed the direction of the boards on a small section where 16′ wasn’t long enough.
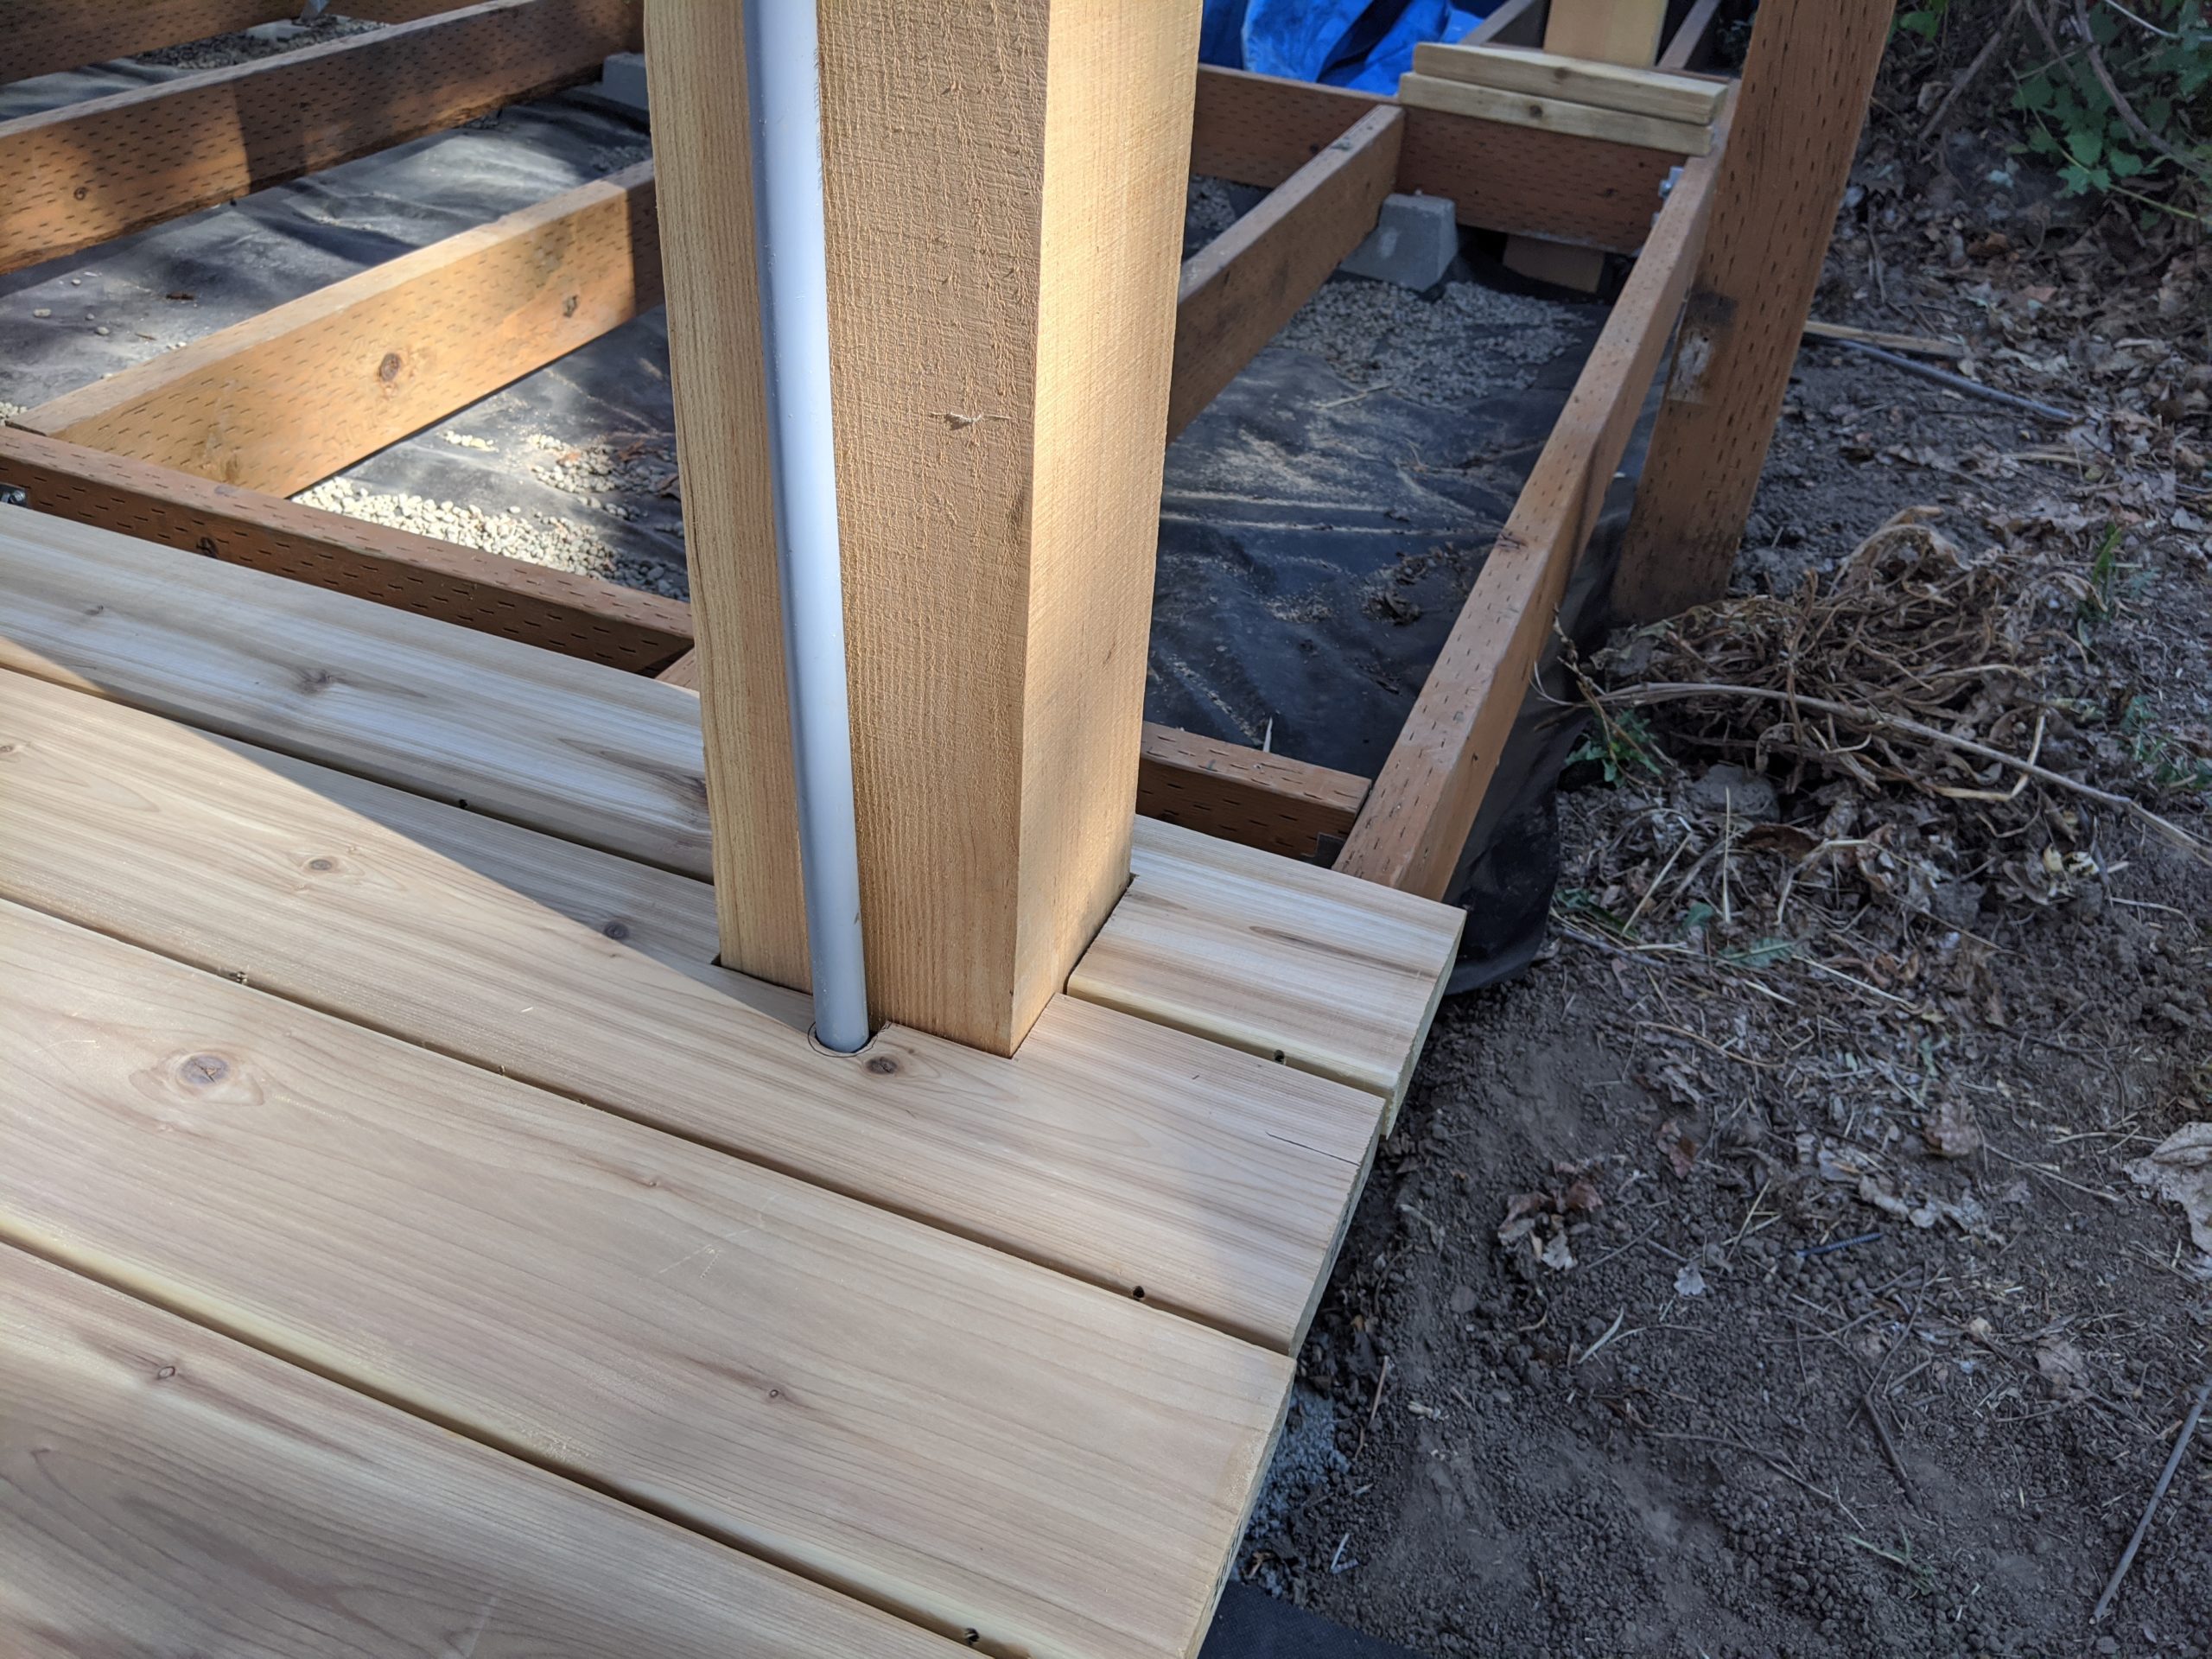
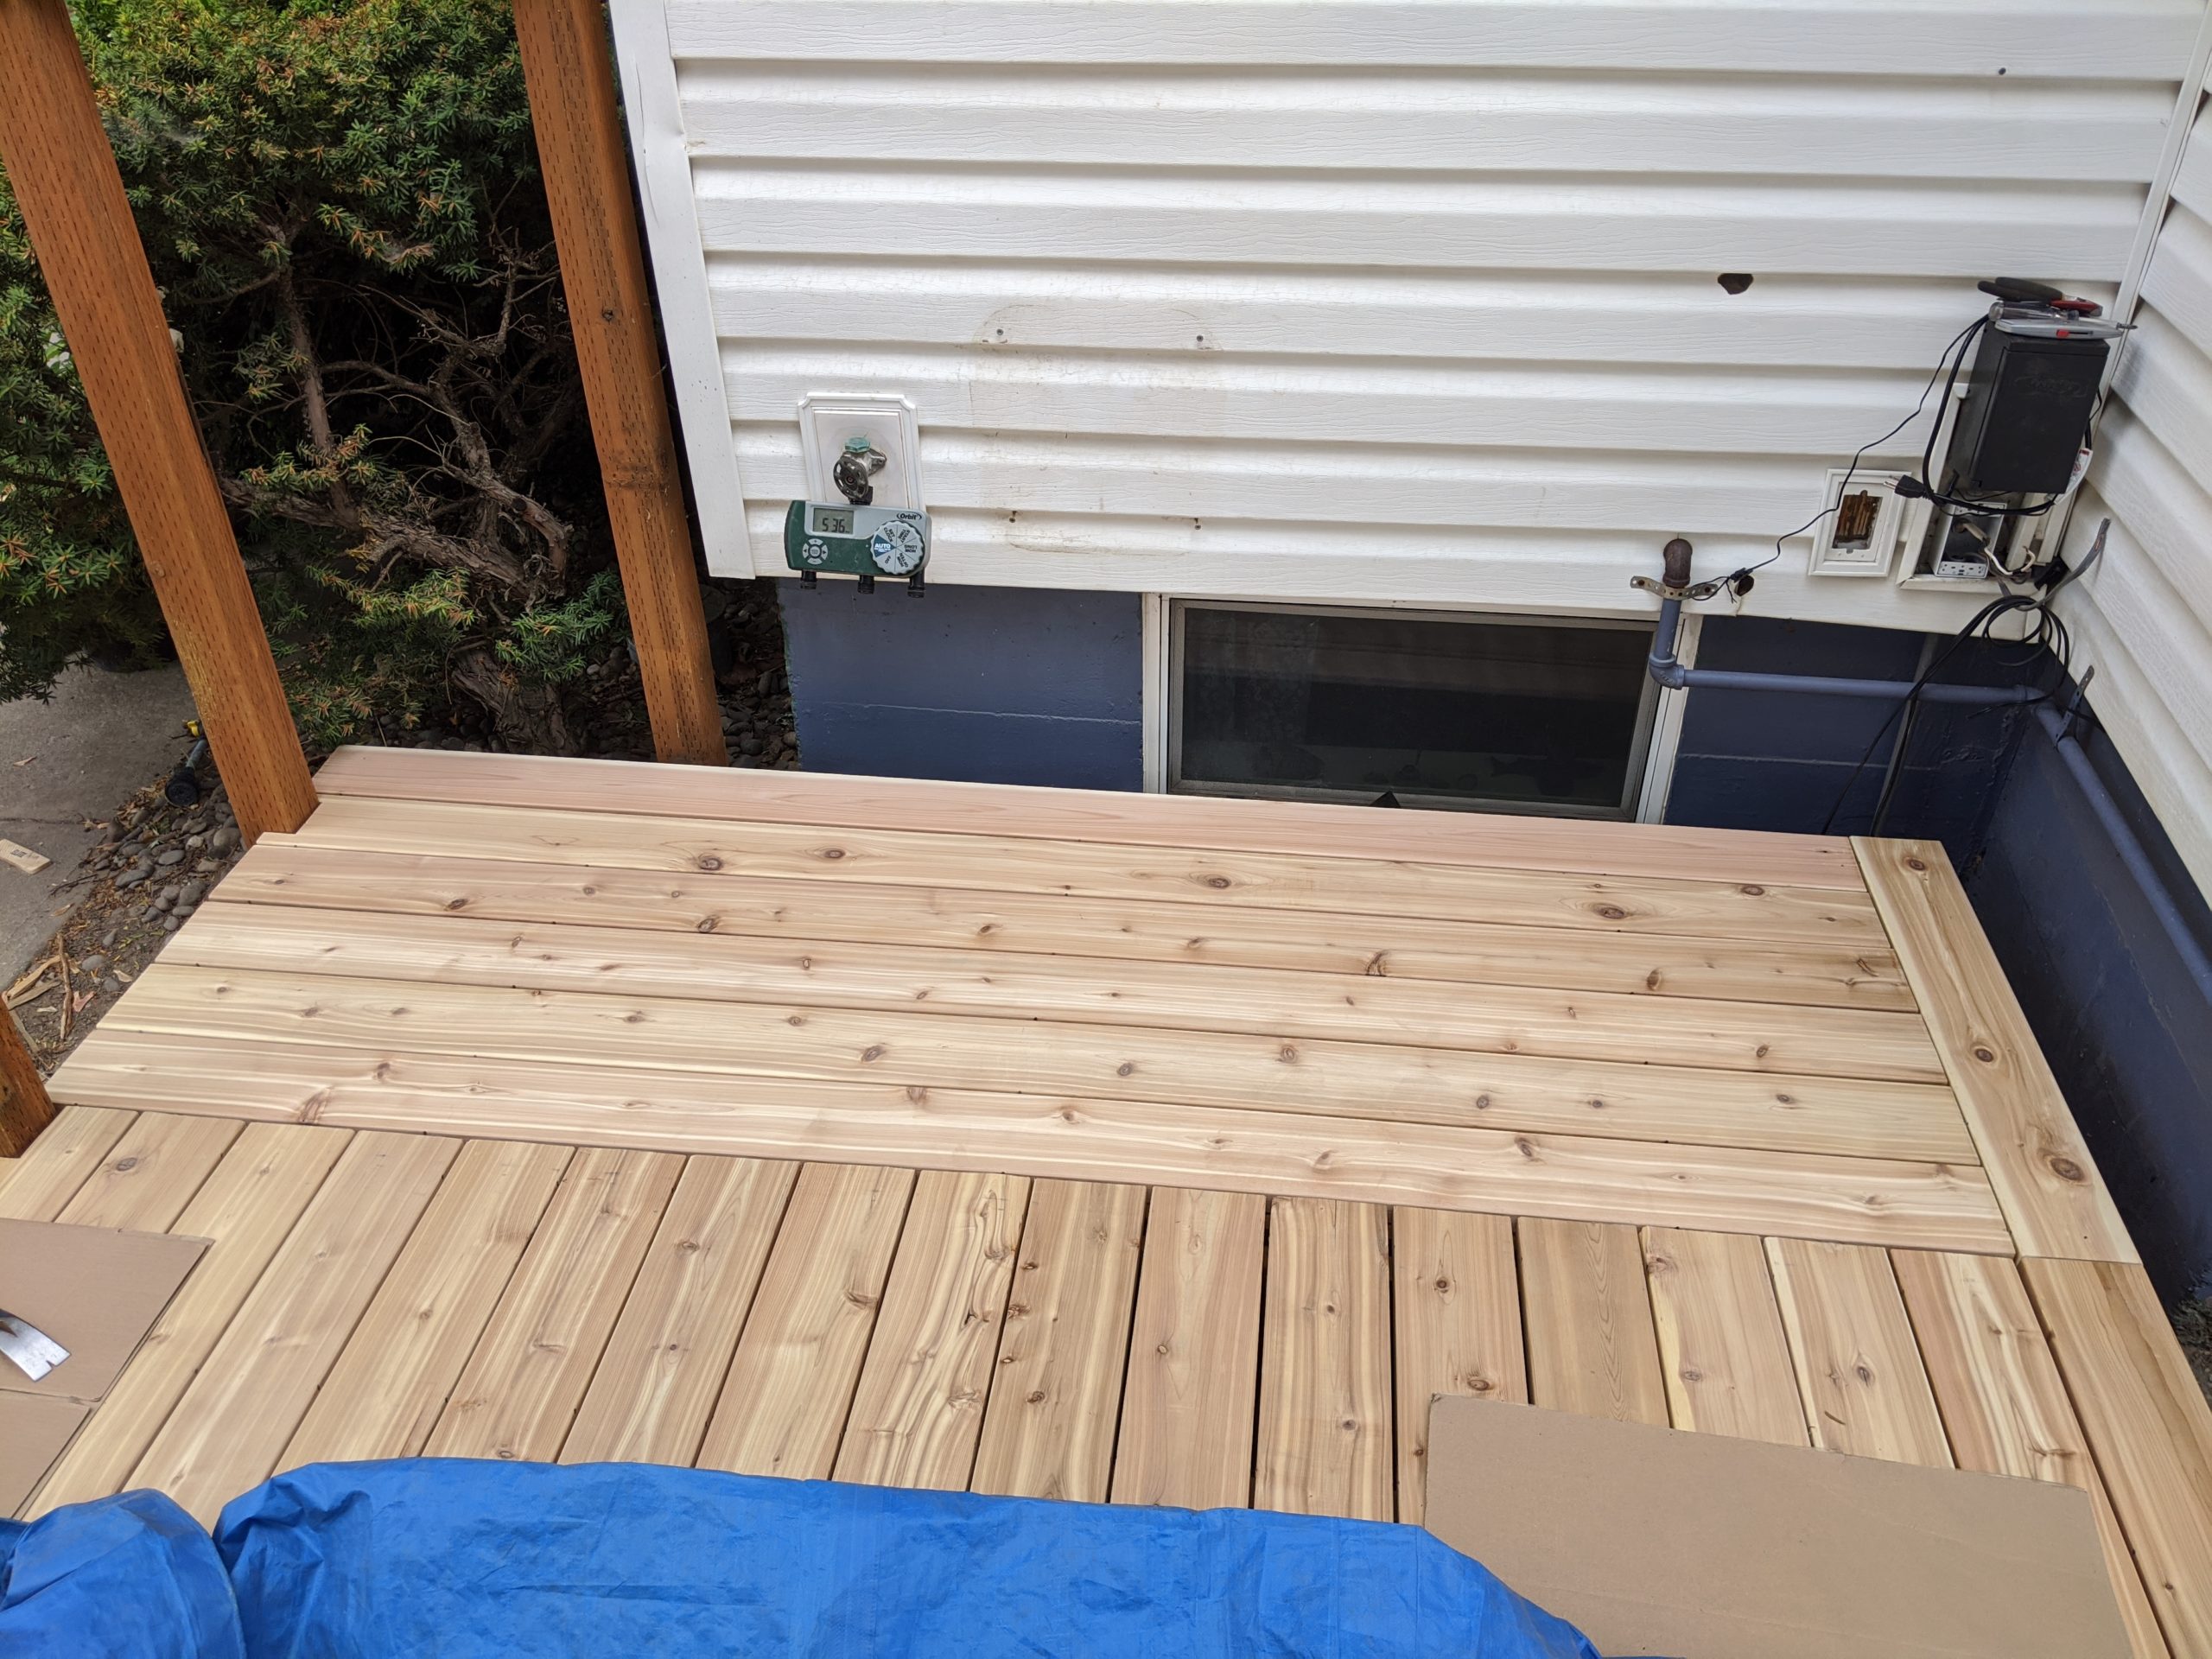
One big decision we had to make was where to start. We decided to start from the front of the house side, with the longest board that goes through the fence posts. We knew that would make for one short board on the steps but would make the tricky cuts around the post easier. We used a 1.5″ overhang around the edge of the deck. That will still leave around 3/4″ once we add our 1×6 fascia.
We were excited to get started so we cut and notched the first few boards and just set them in place to get an idea of how it would look.
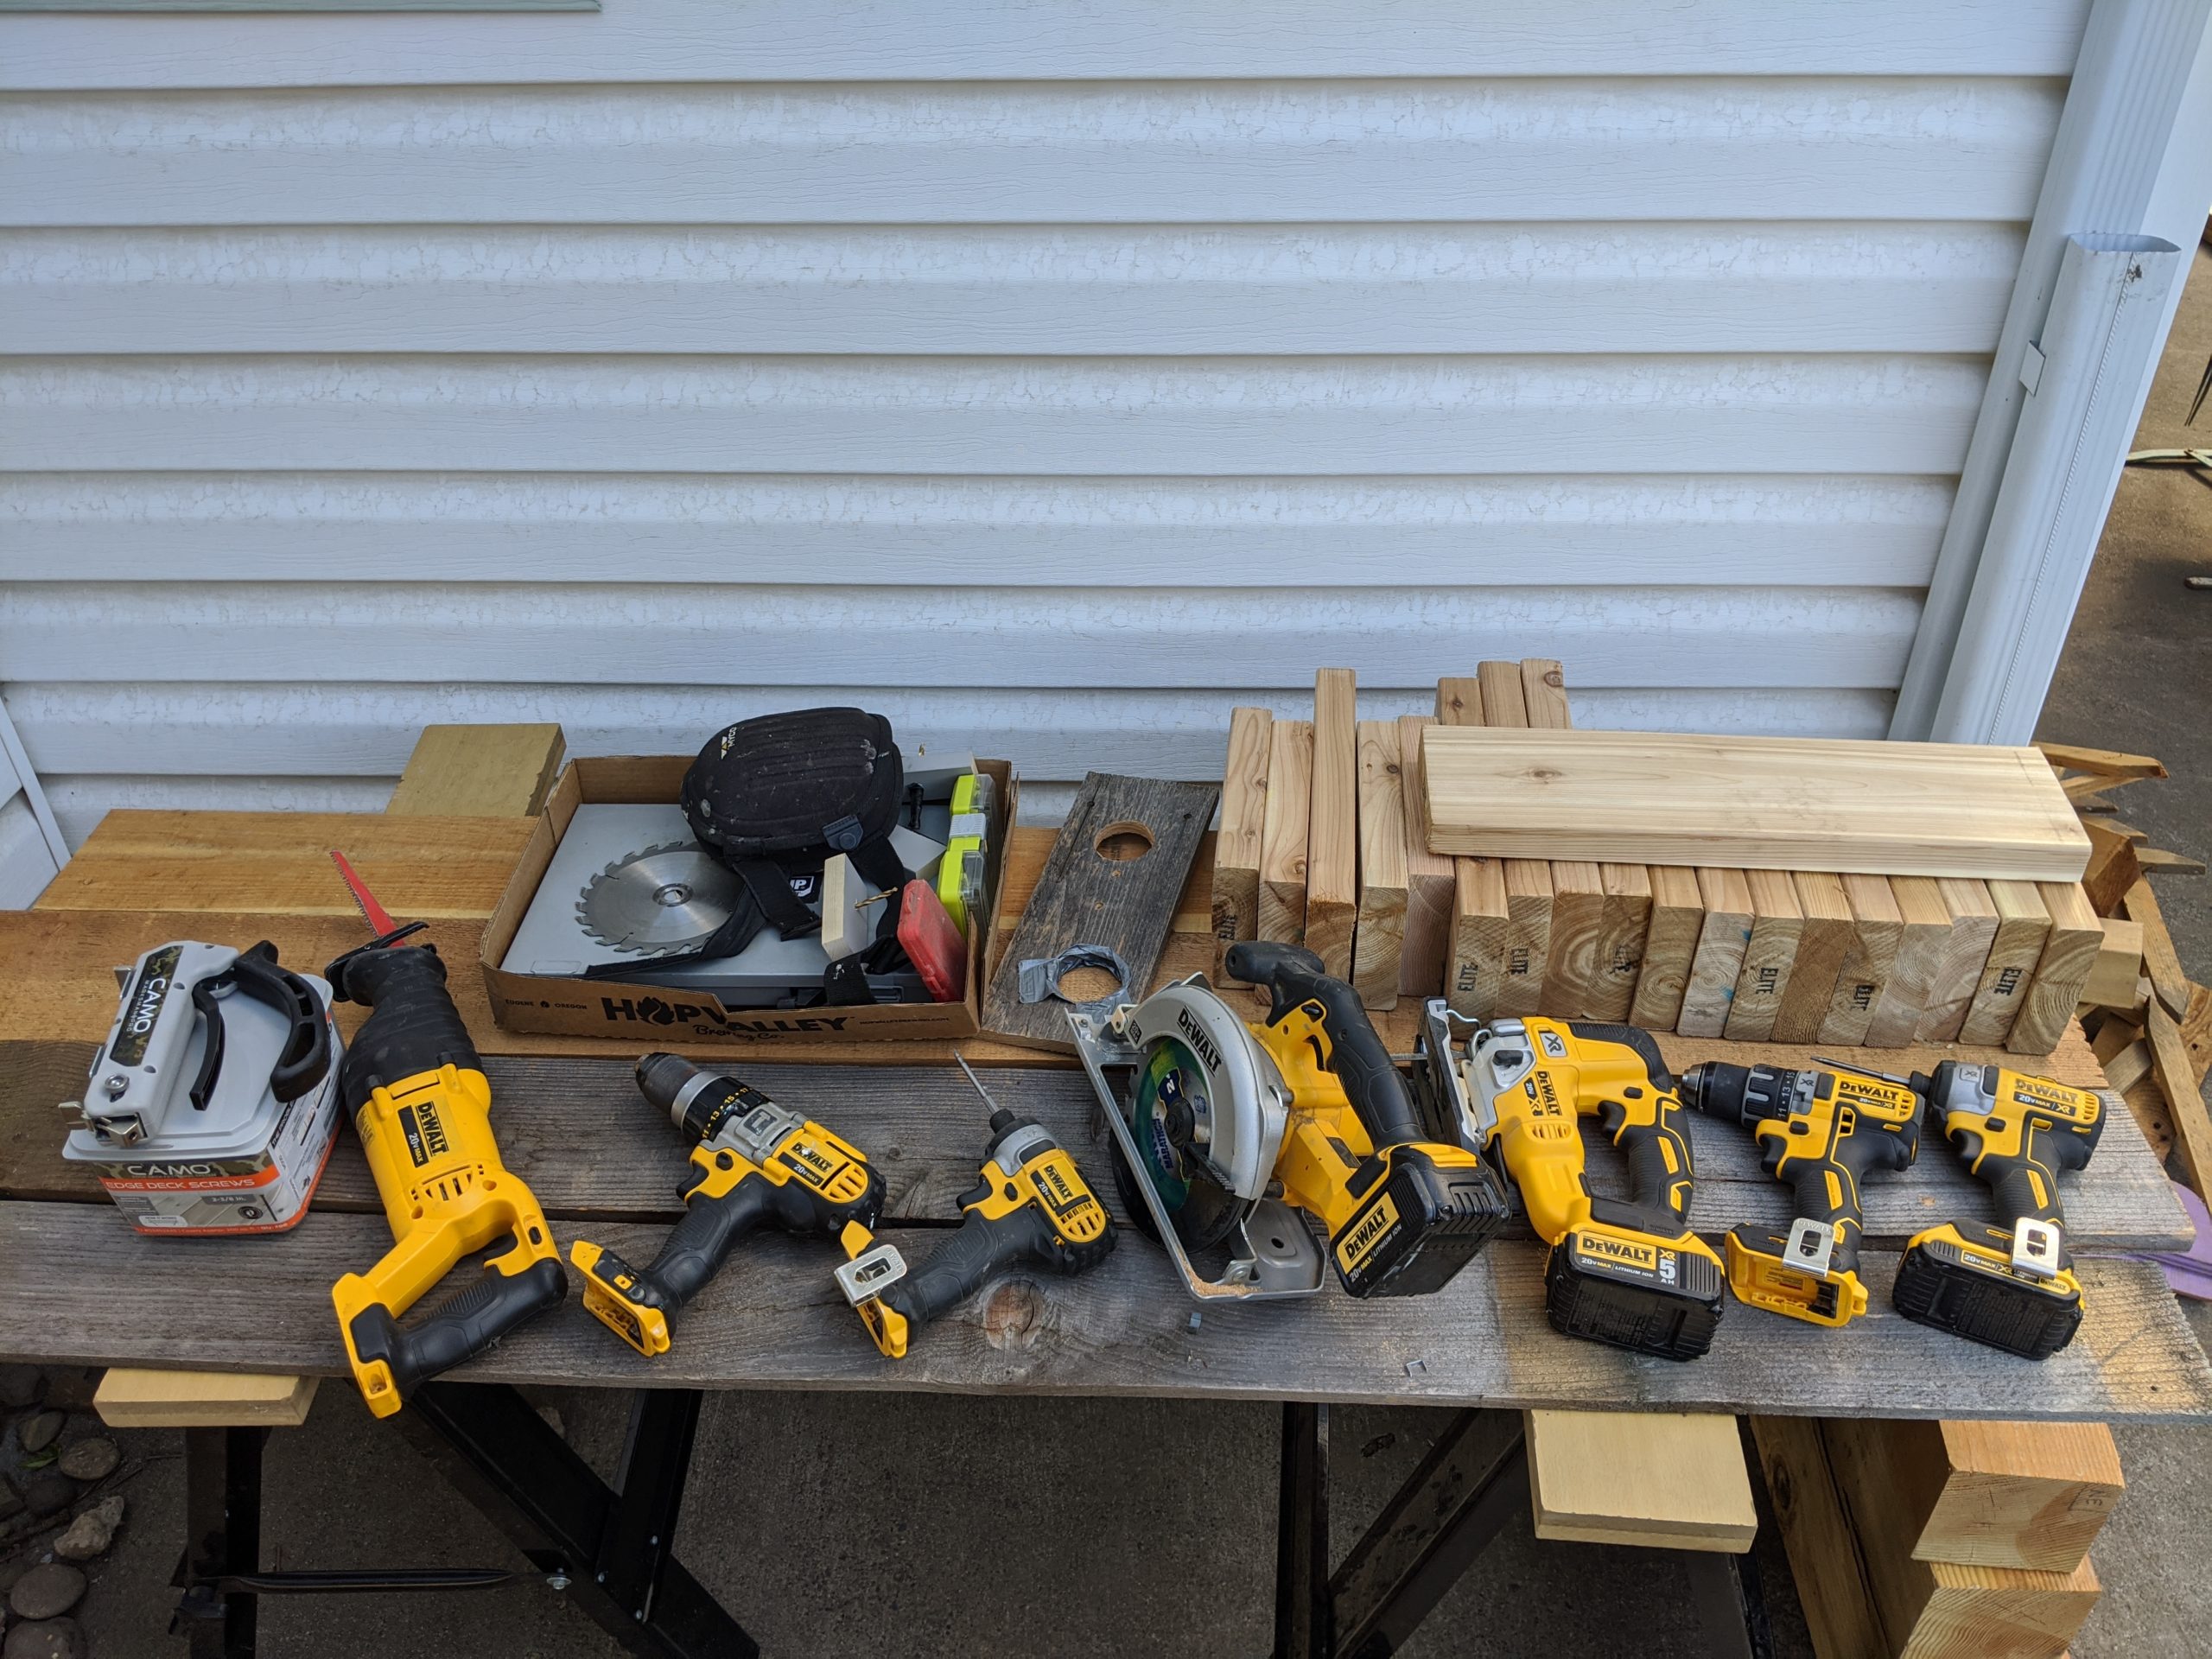
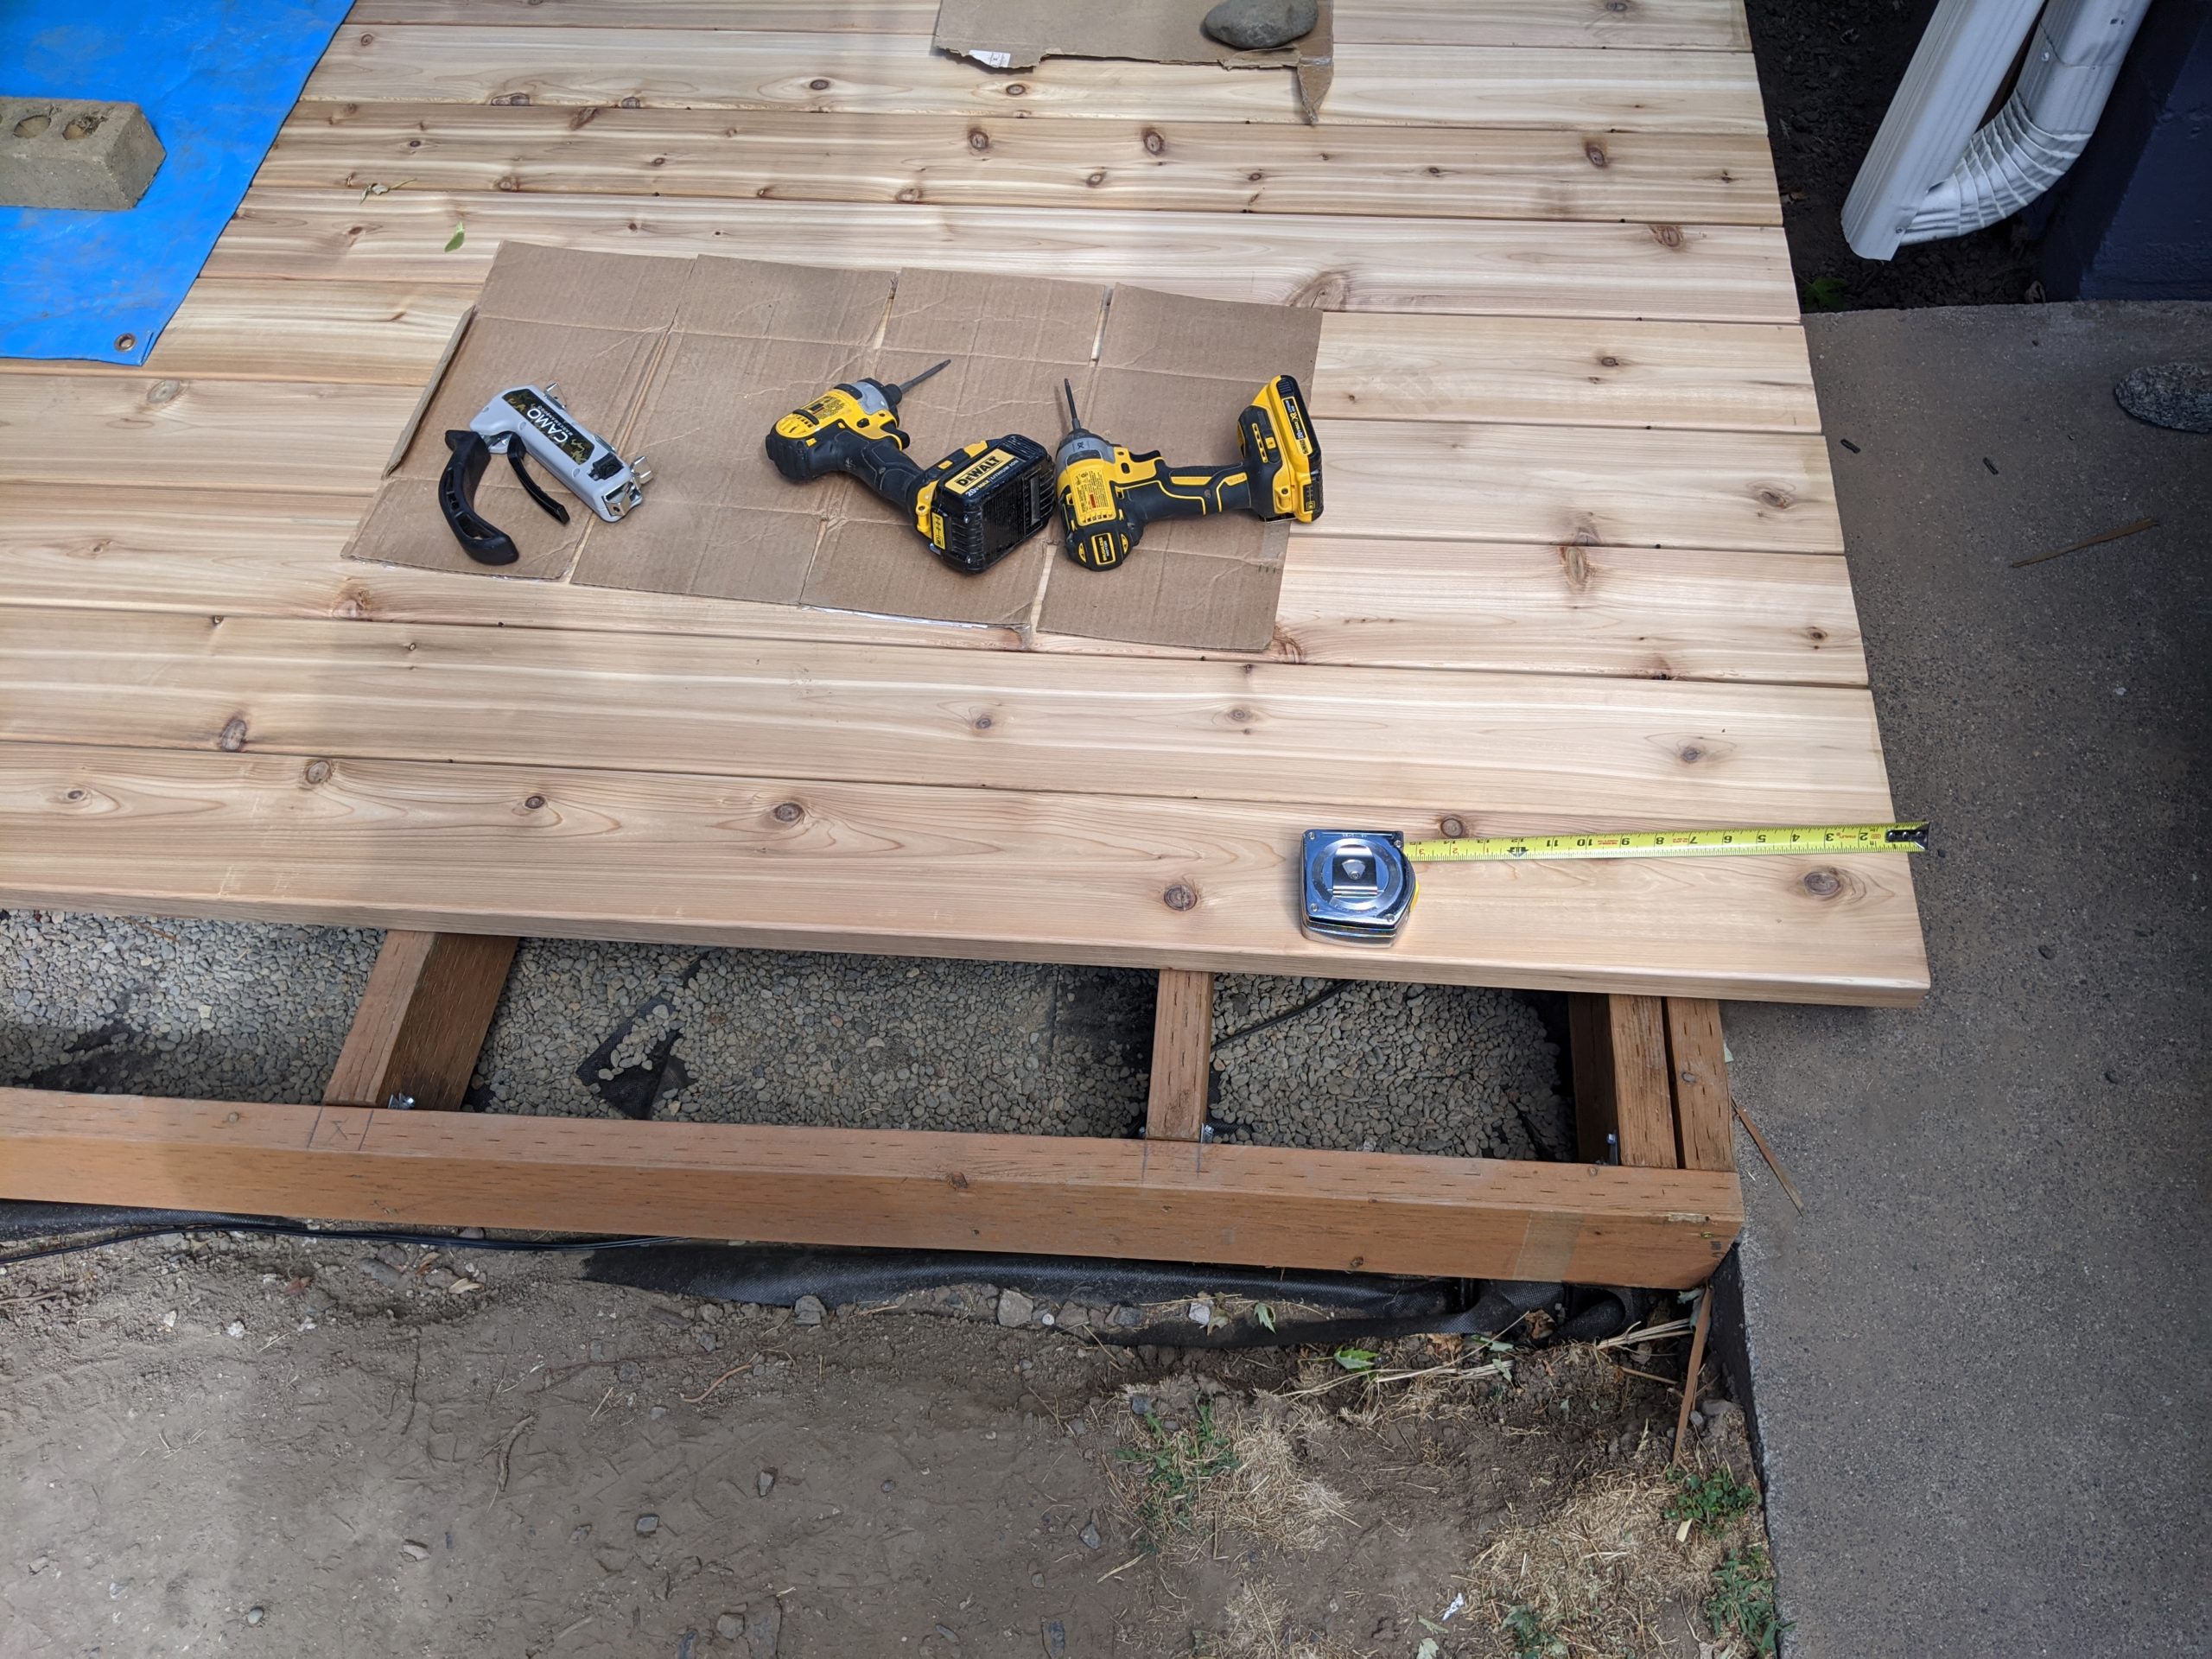
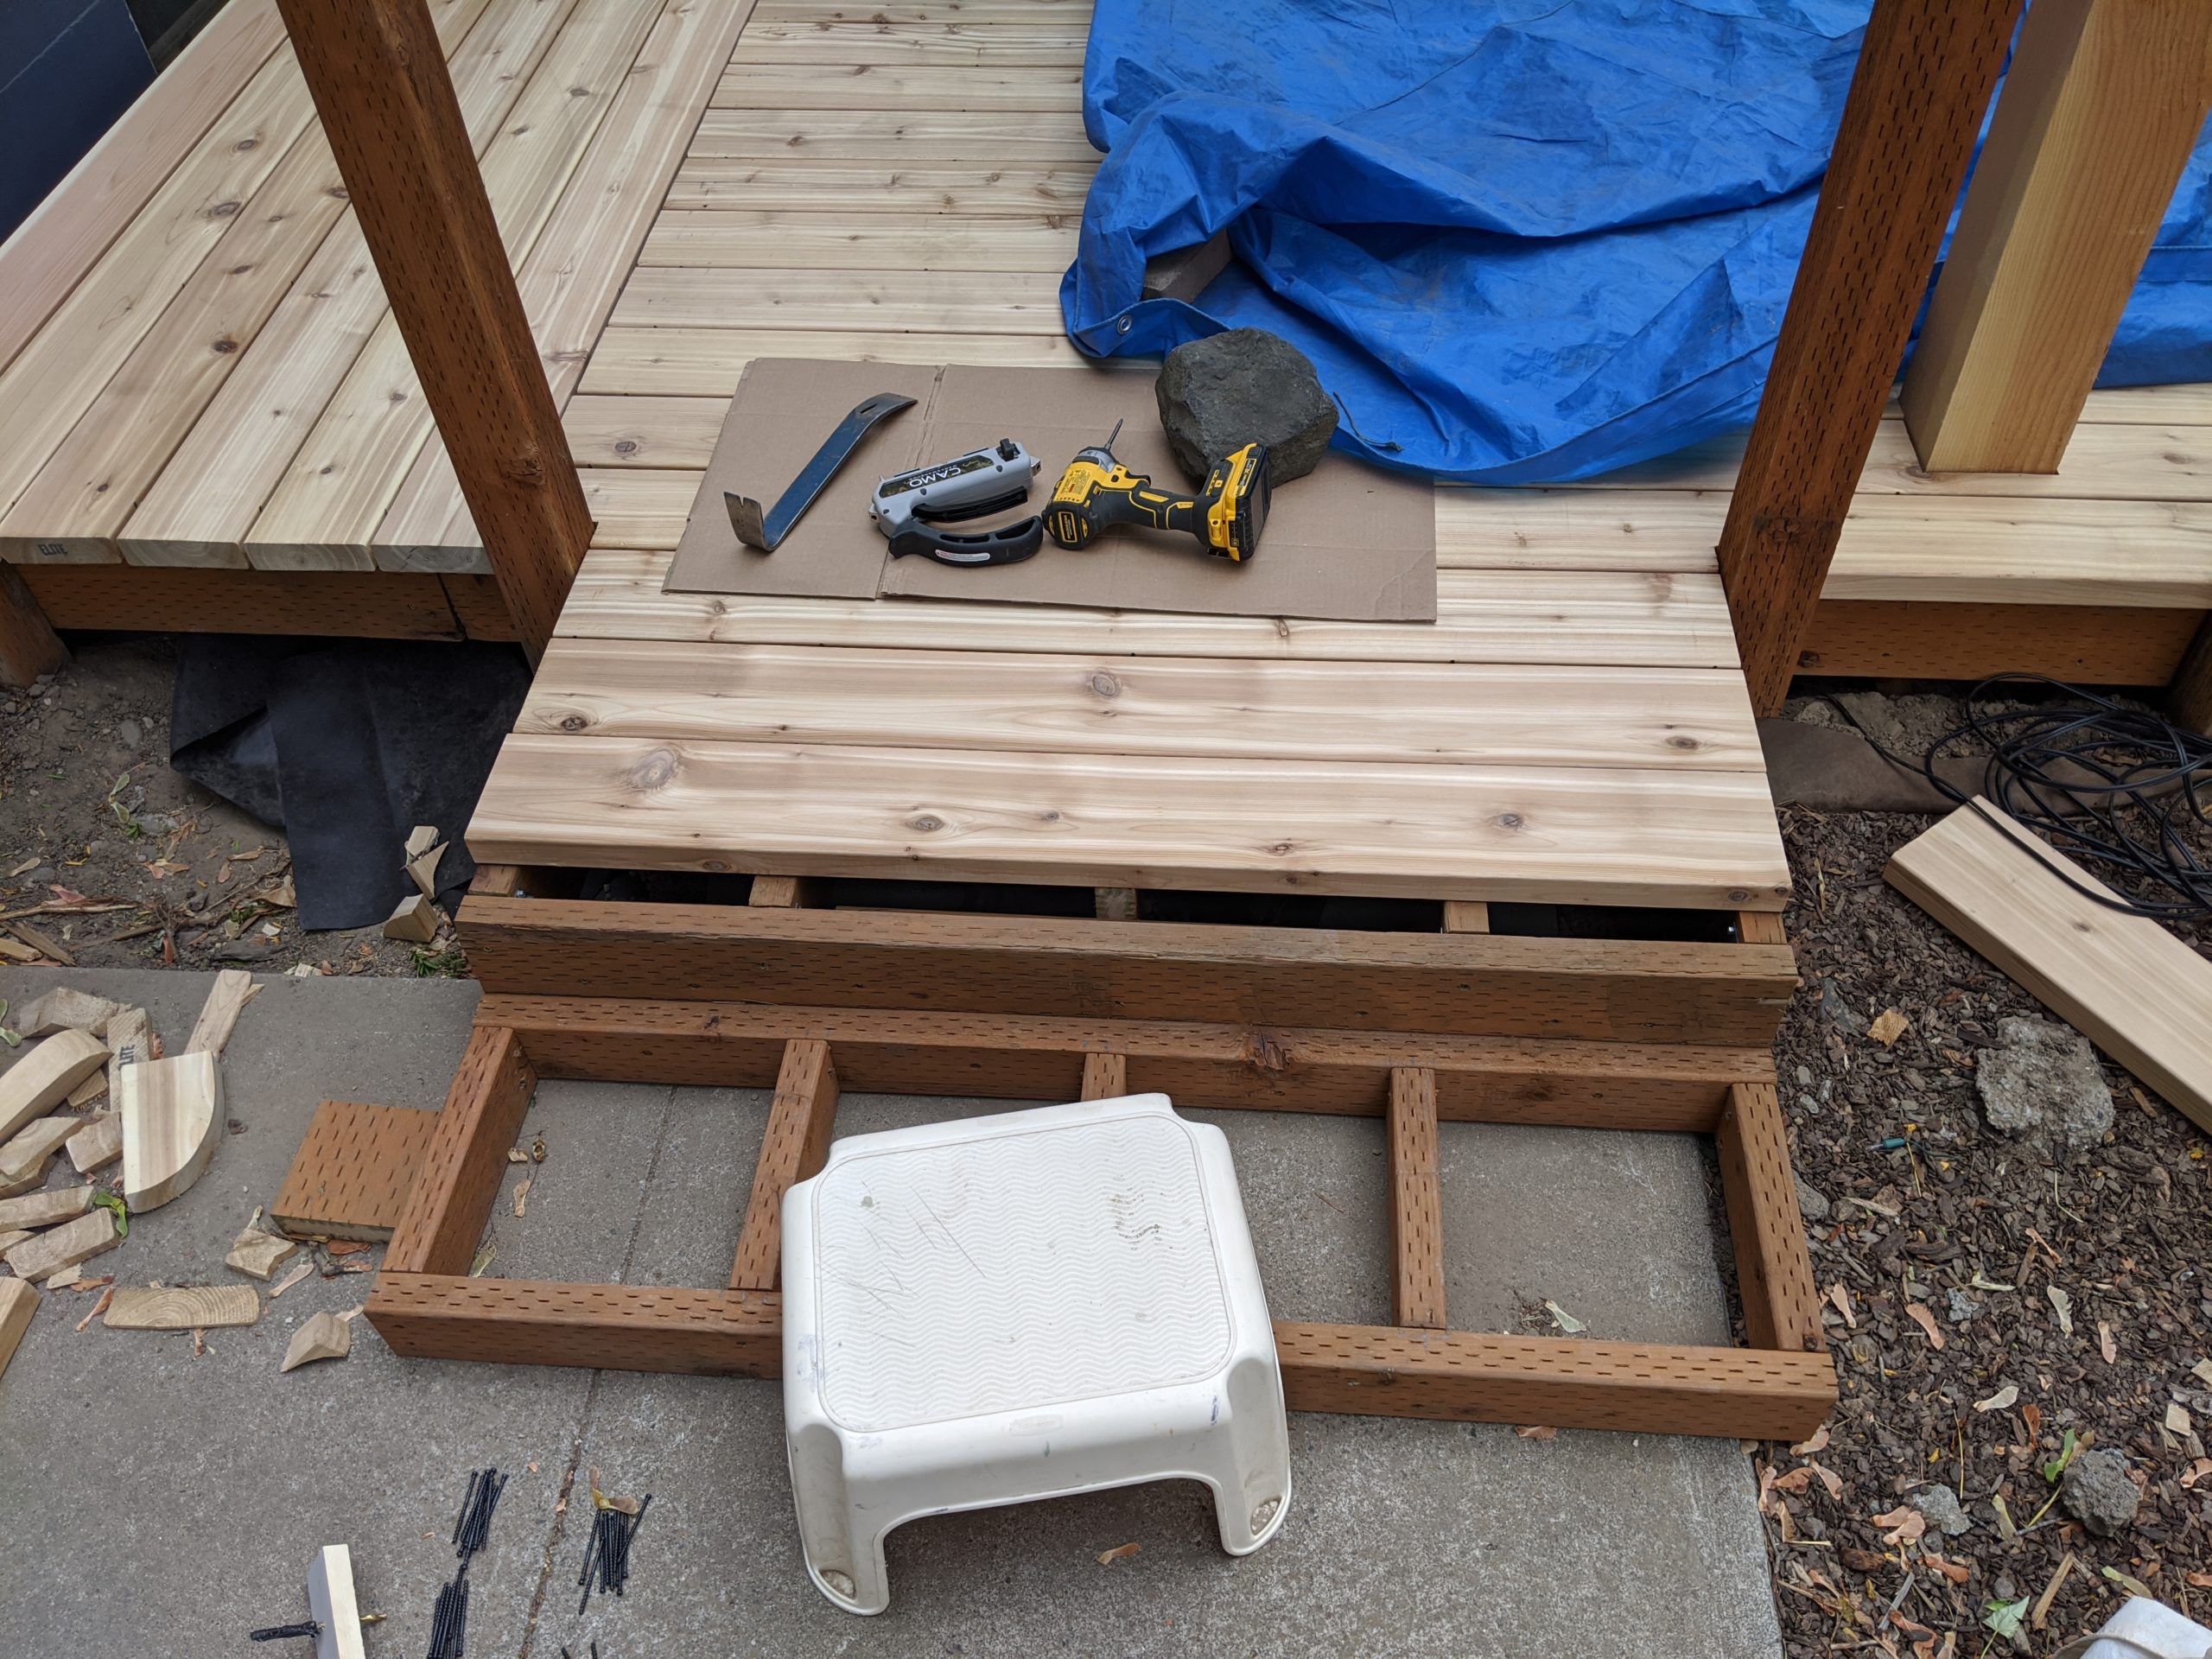
Camo Fastening System
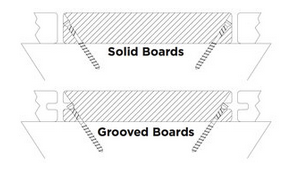
The 2×6 cedar decking we received is really nice wood and we wanted to avoid having screws visible from the top if possible. Most composite decking has an option to use hidden fasteners because the decking already has a channel routed along the side to accept the clips. For wood decking it’s possible to route your own channel (or pay someone to do it), but we looked around for some alternatives. We found two “hidden” fastening systems for decking that don’t require a channel. They both use the idea of a special guide that allows you to screw at a diagonal just below the corner of each deck board into the joists. The guide allows you to be consistent with the spacing and the depth of each screw. The two systems we looked at are the Kreg Deck Jig and the Camo Marksman Pro.

After reading reviews and watching some example videos we went with the Camo system, ordered from the link above. There are actually several versions of the system for different widths and materials of decking. We used the Marksman Pro with a 3/16″ gap. They also make a version for a 1/16″ gap and one for narrower decking. The Camo is more expensive than the Kreg but seems sturdier as mostly metal instead of plastic, and has a nice clamping system that holds the device against the board while you attach the screws. It also has screw guides on both sides of the board so you can attach both sides without resetting the guide.

Since the Camo guide includes a special screw guide it can only be used with Camo brand fasteners. They offer two main types: coated and stainless. Since we’re using cedar we sprung for the stainless screws which are considerably more expensive, but won’t have any staining or streaking. We didn’t want to buy a bunch of extra screws so we tried to get pretty close in our estimate which was around 950. They come in boxes of 750 and 250 so we ordered 1000, hoping we wouldn’t have to spring for a whole 250 more!
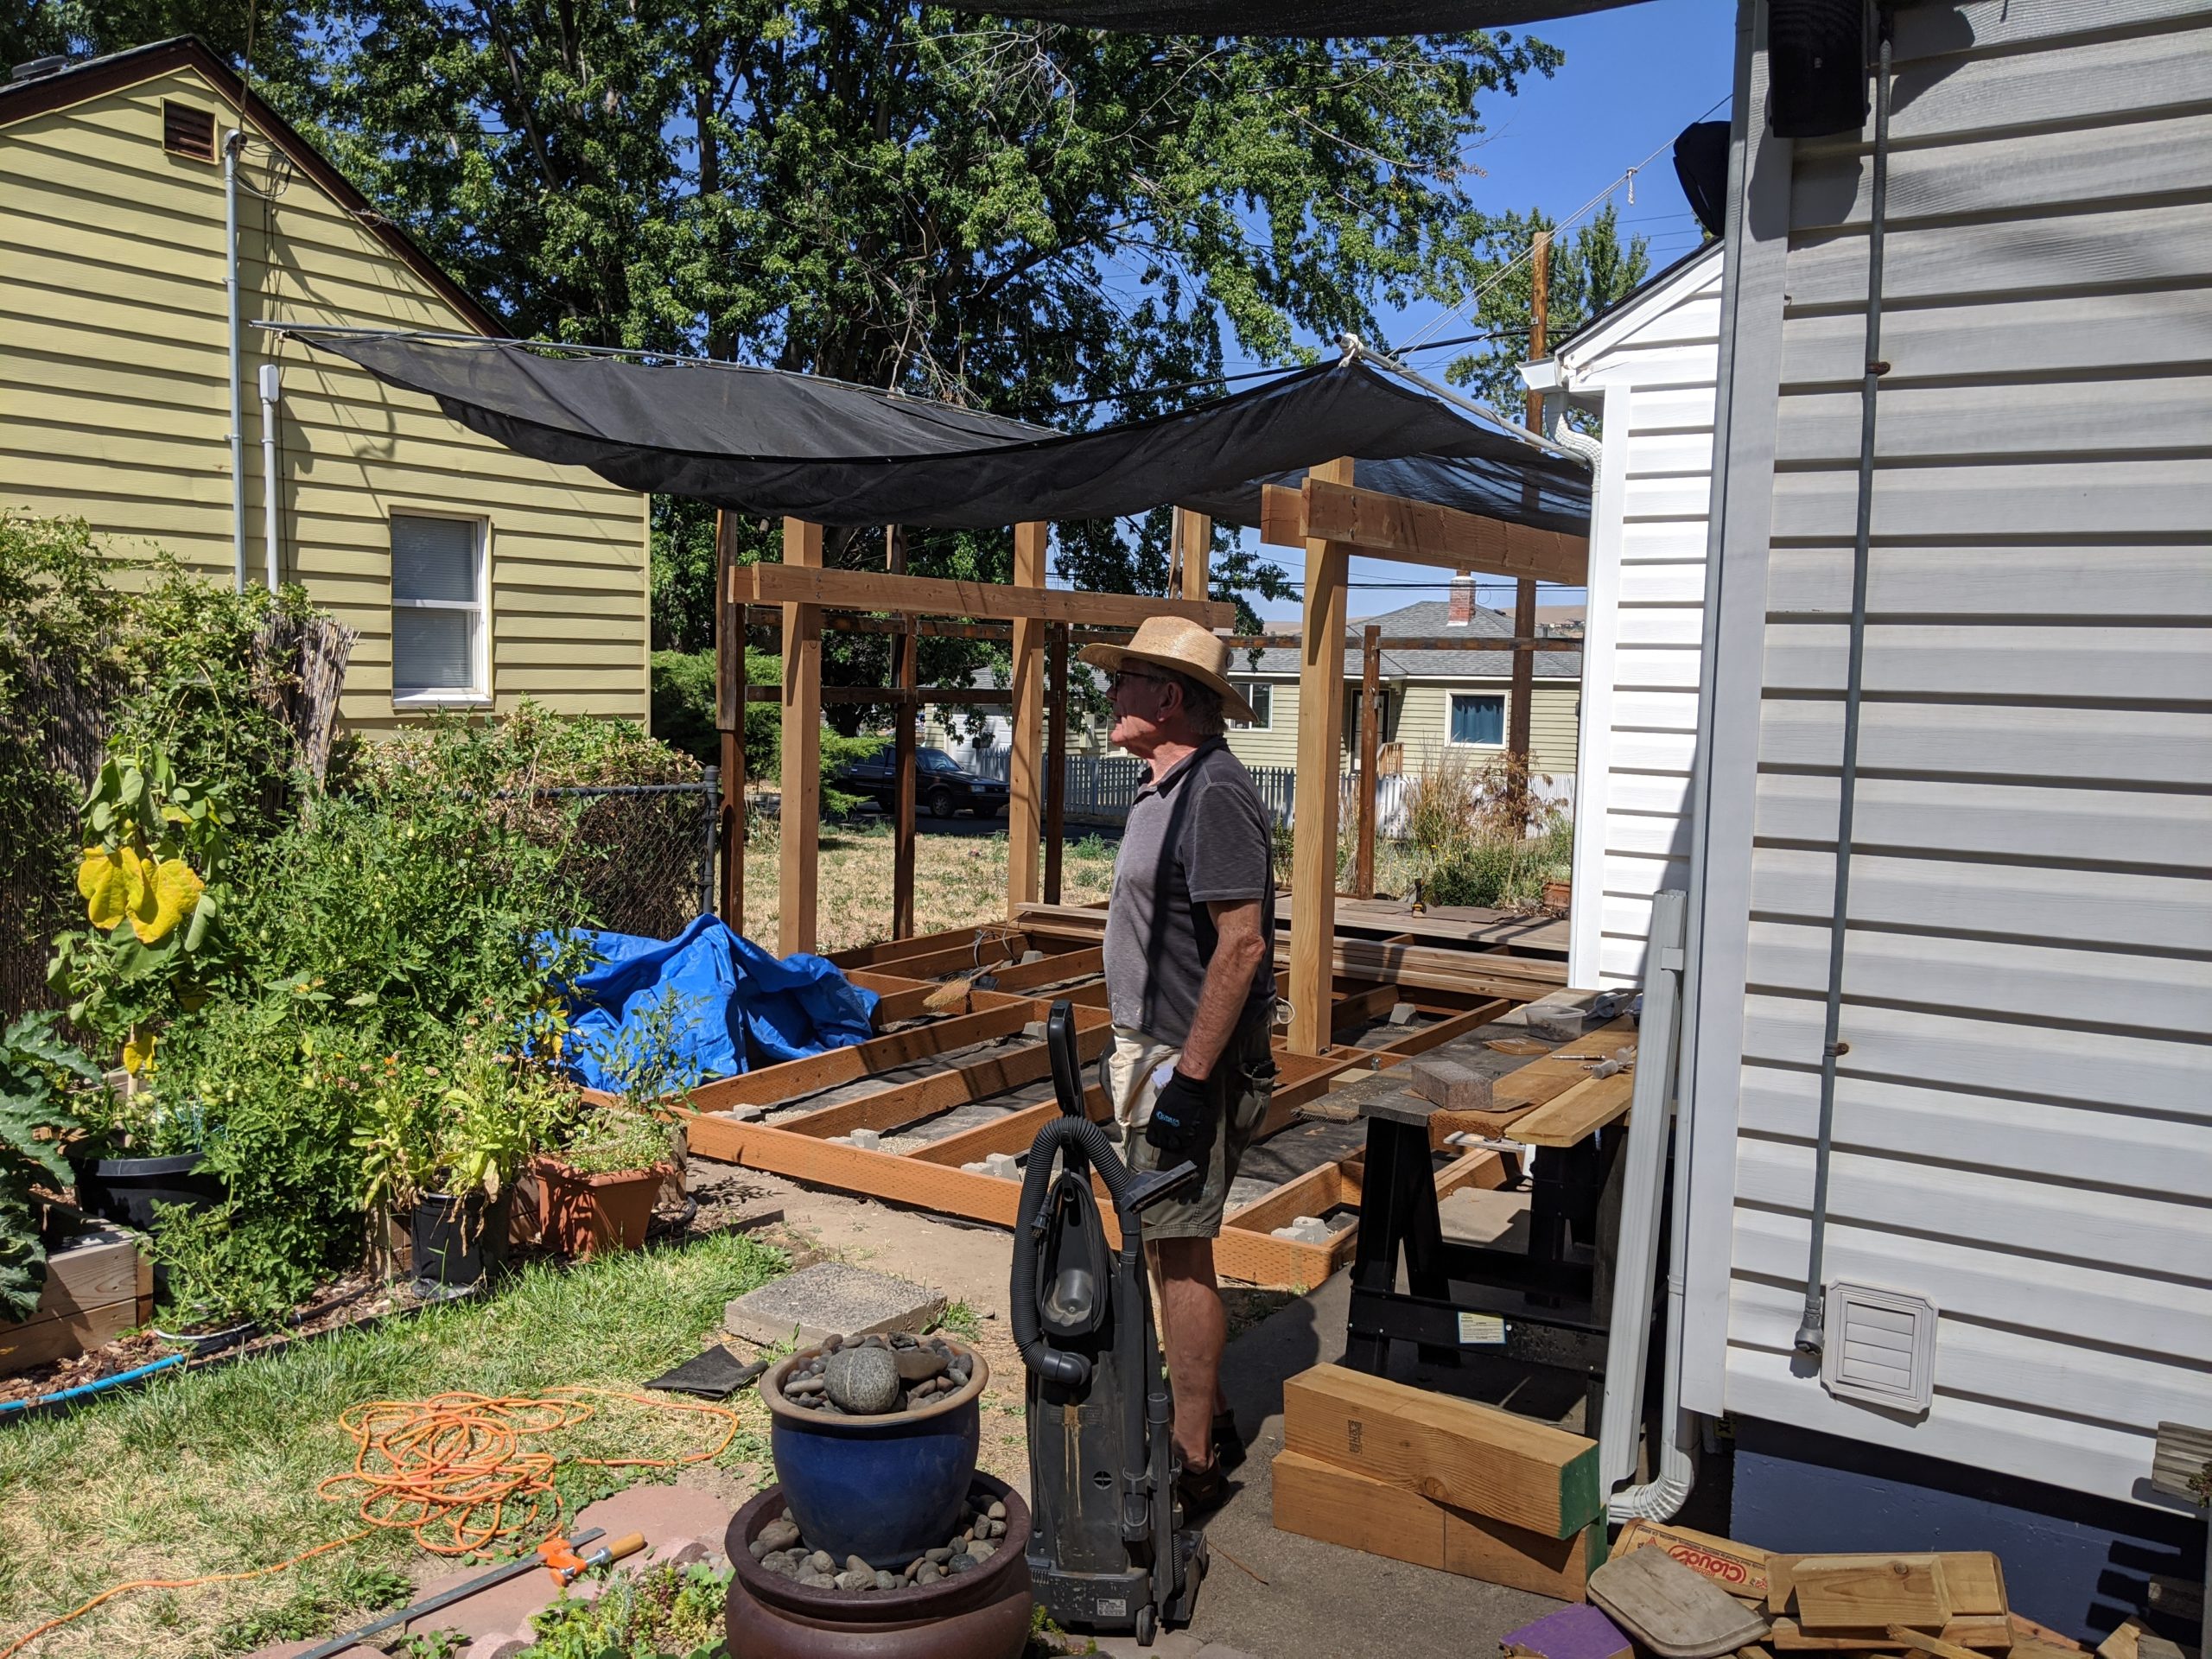
Installation
We had our plan in place, our installation system and most of the decking. We knew we could install everything we had and be done just before the next delivery came.
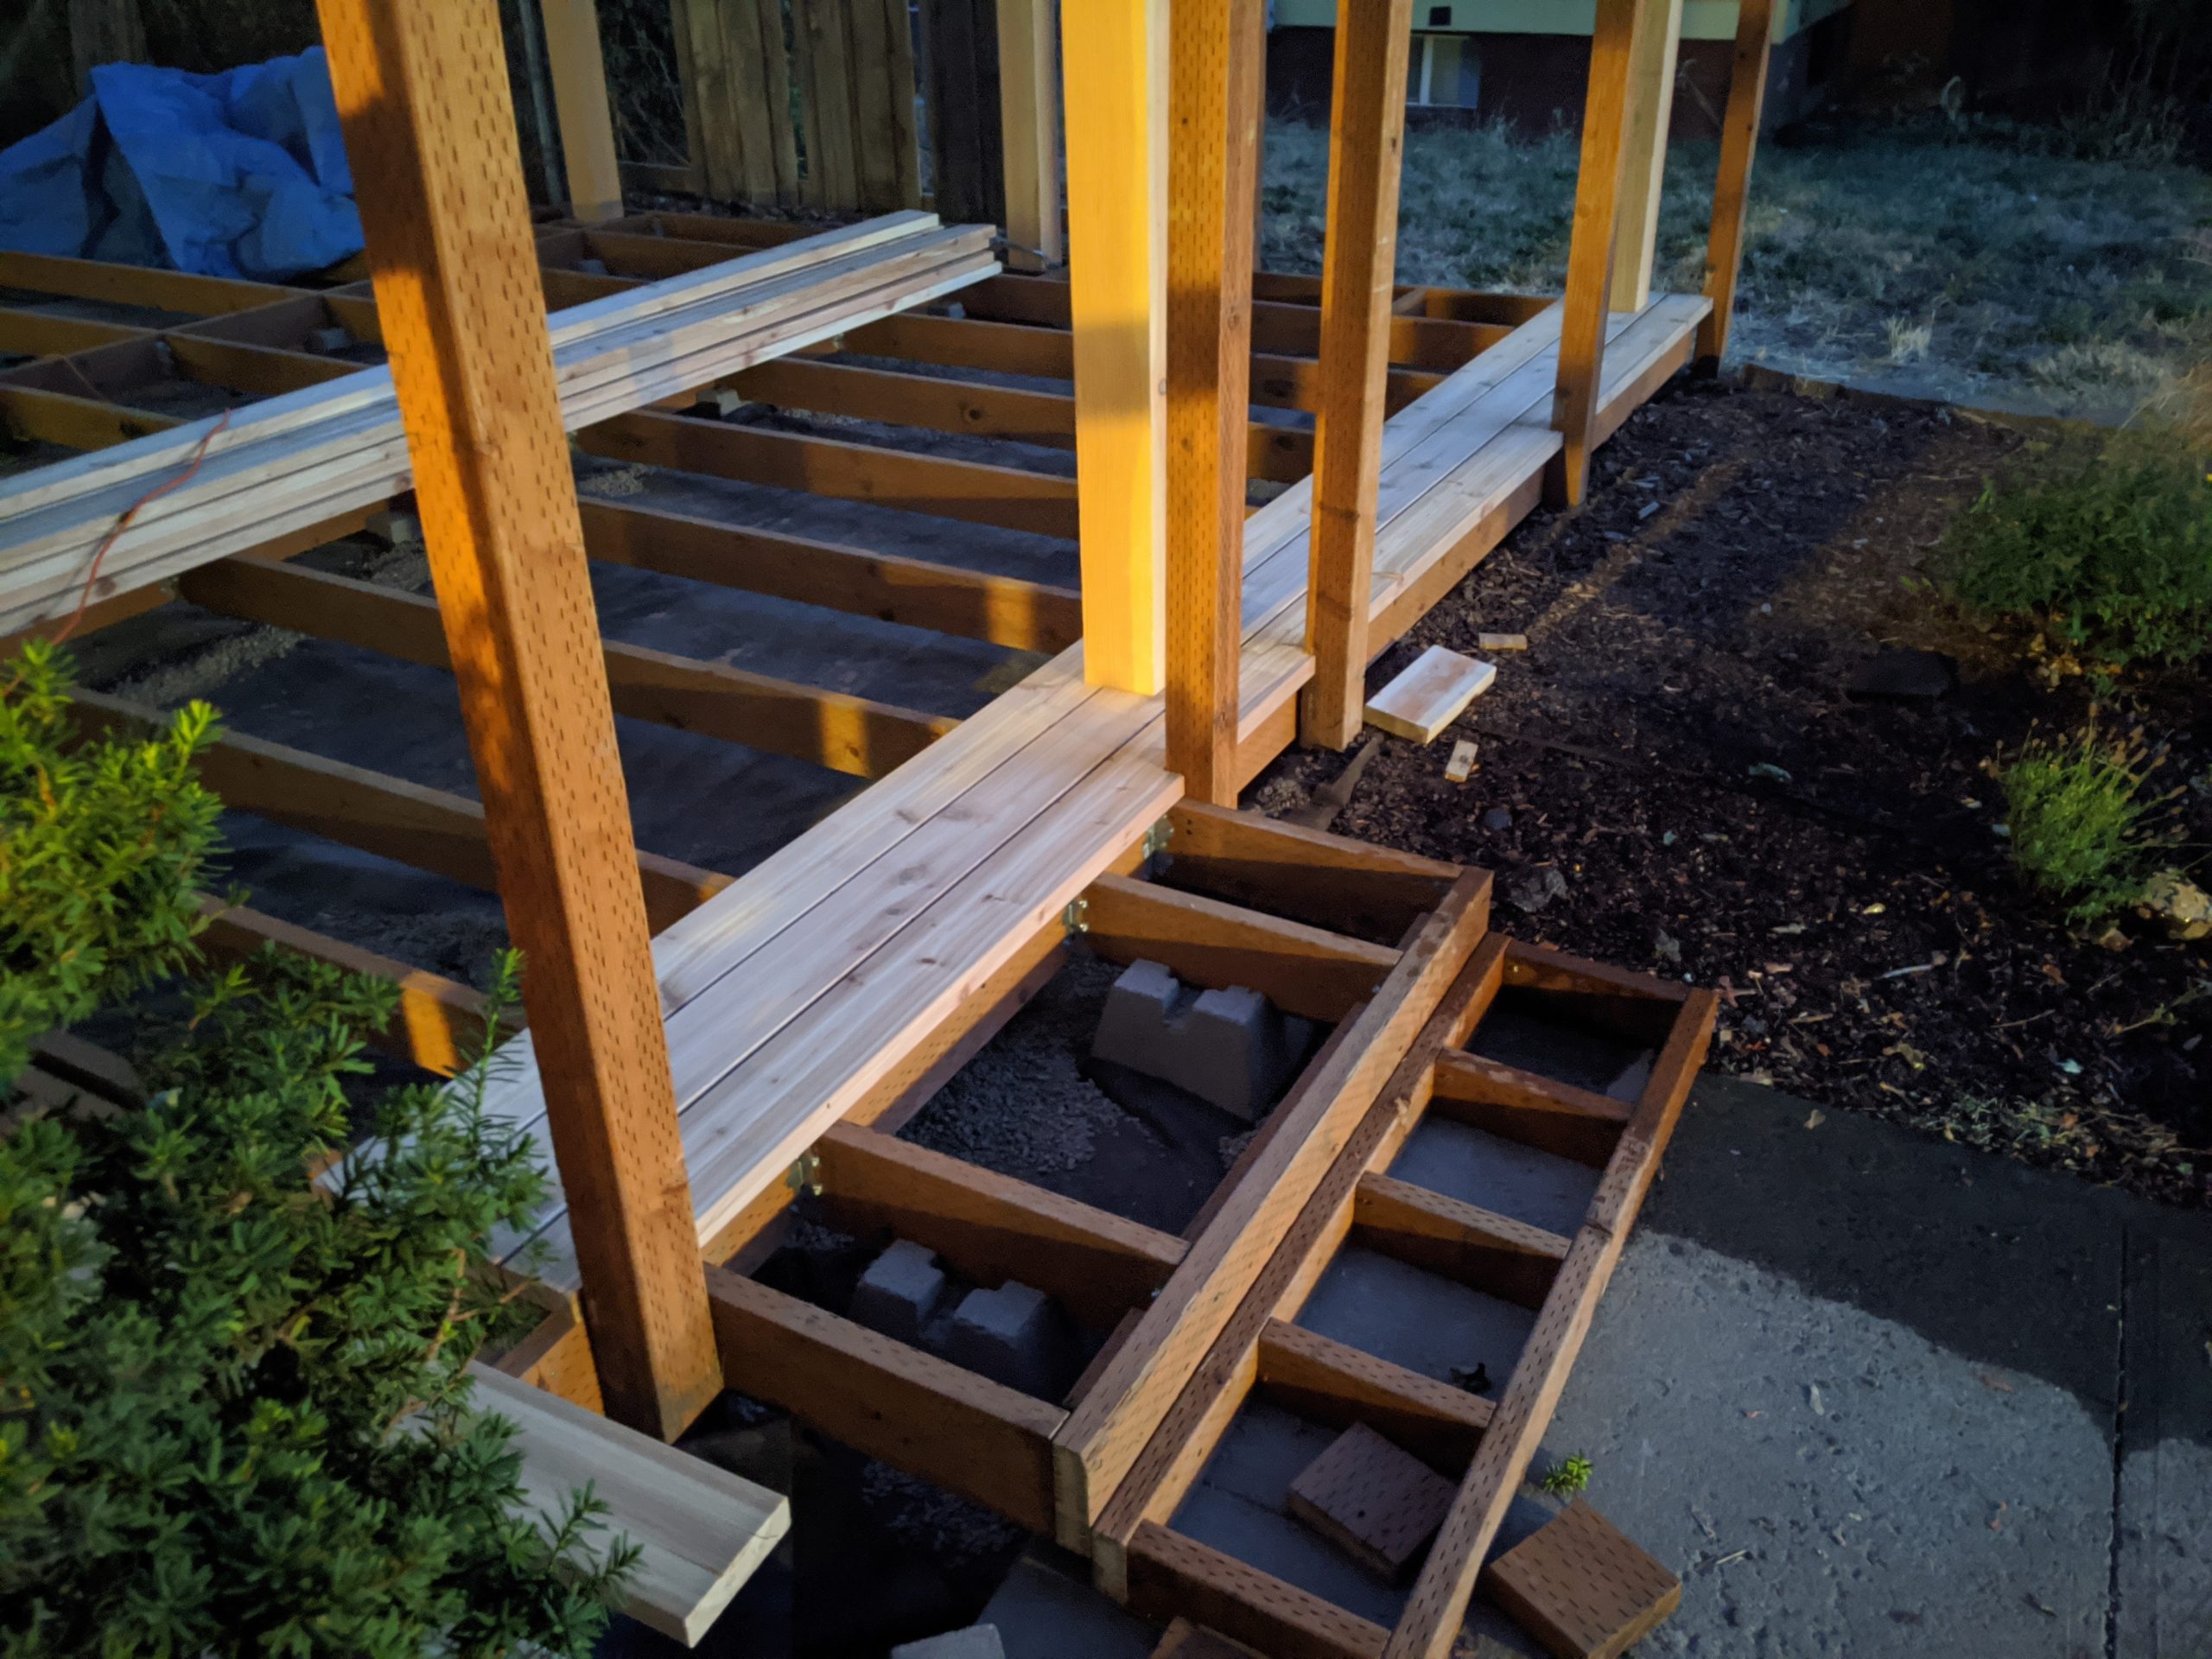
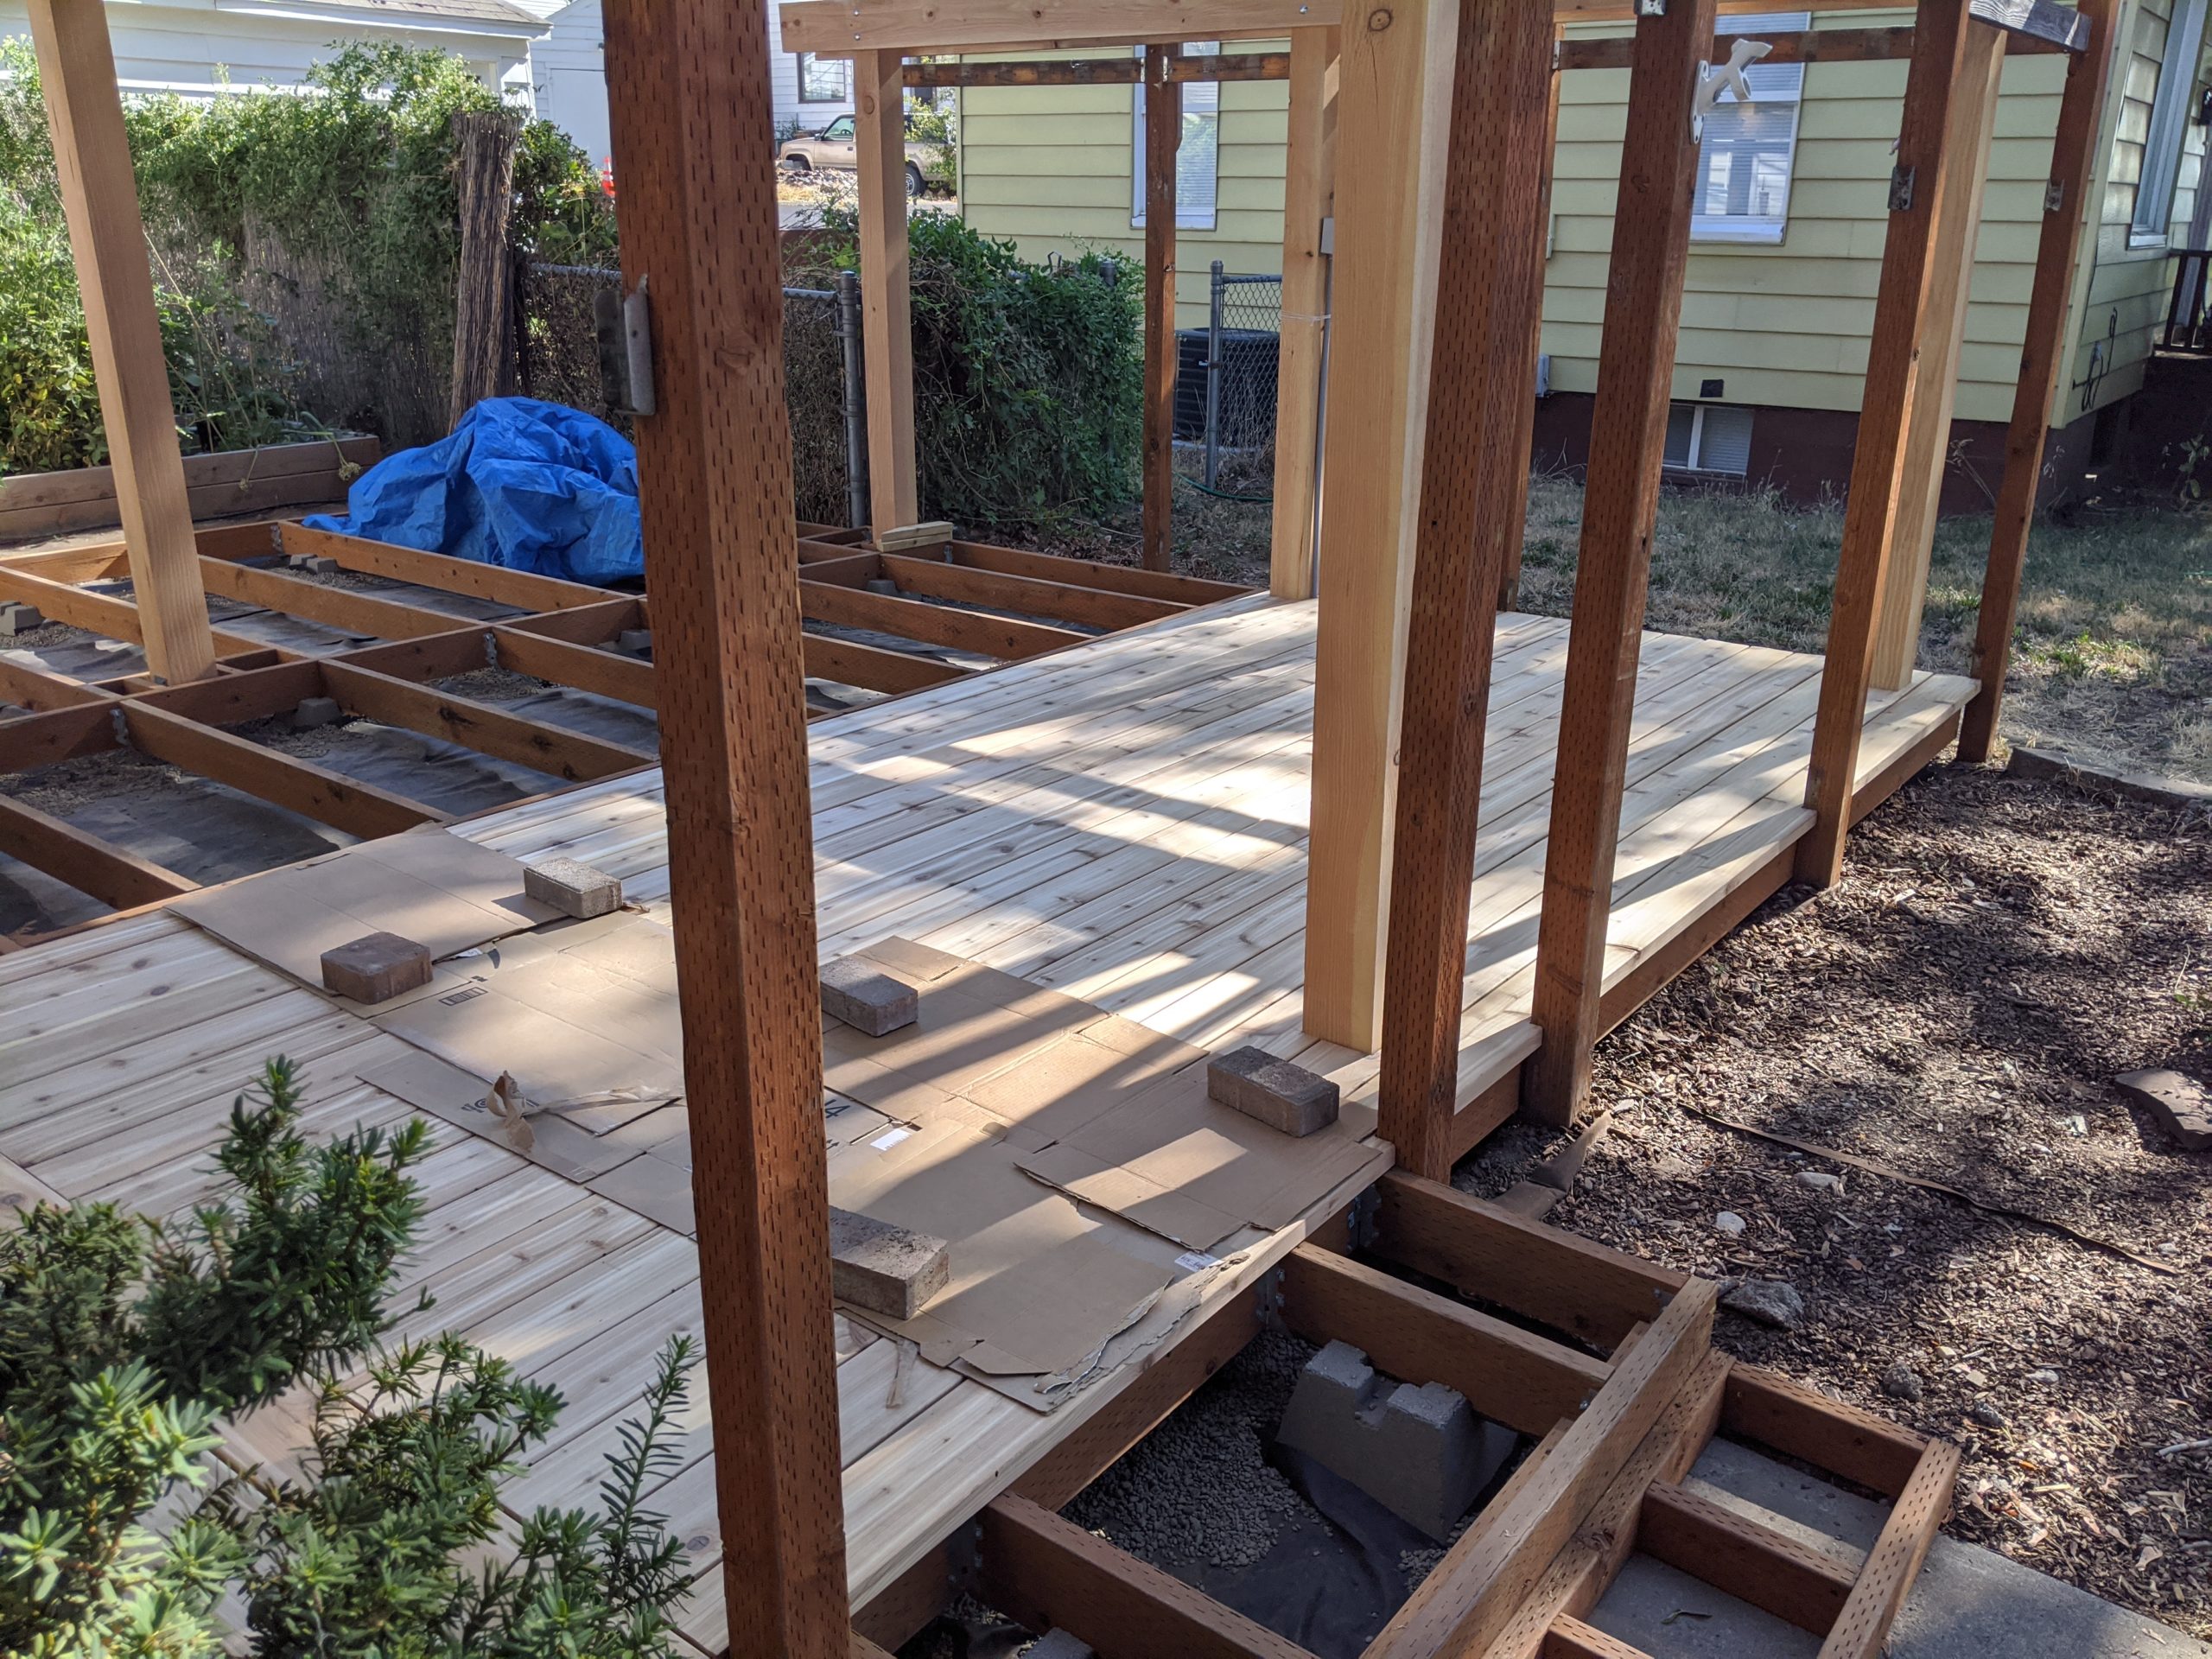
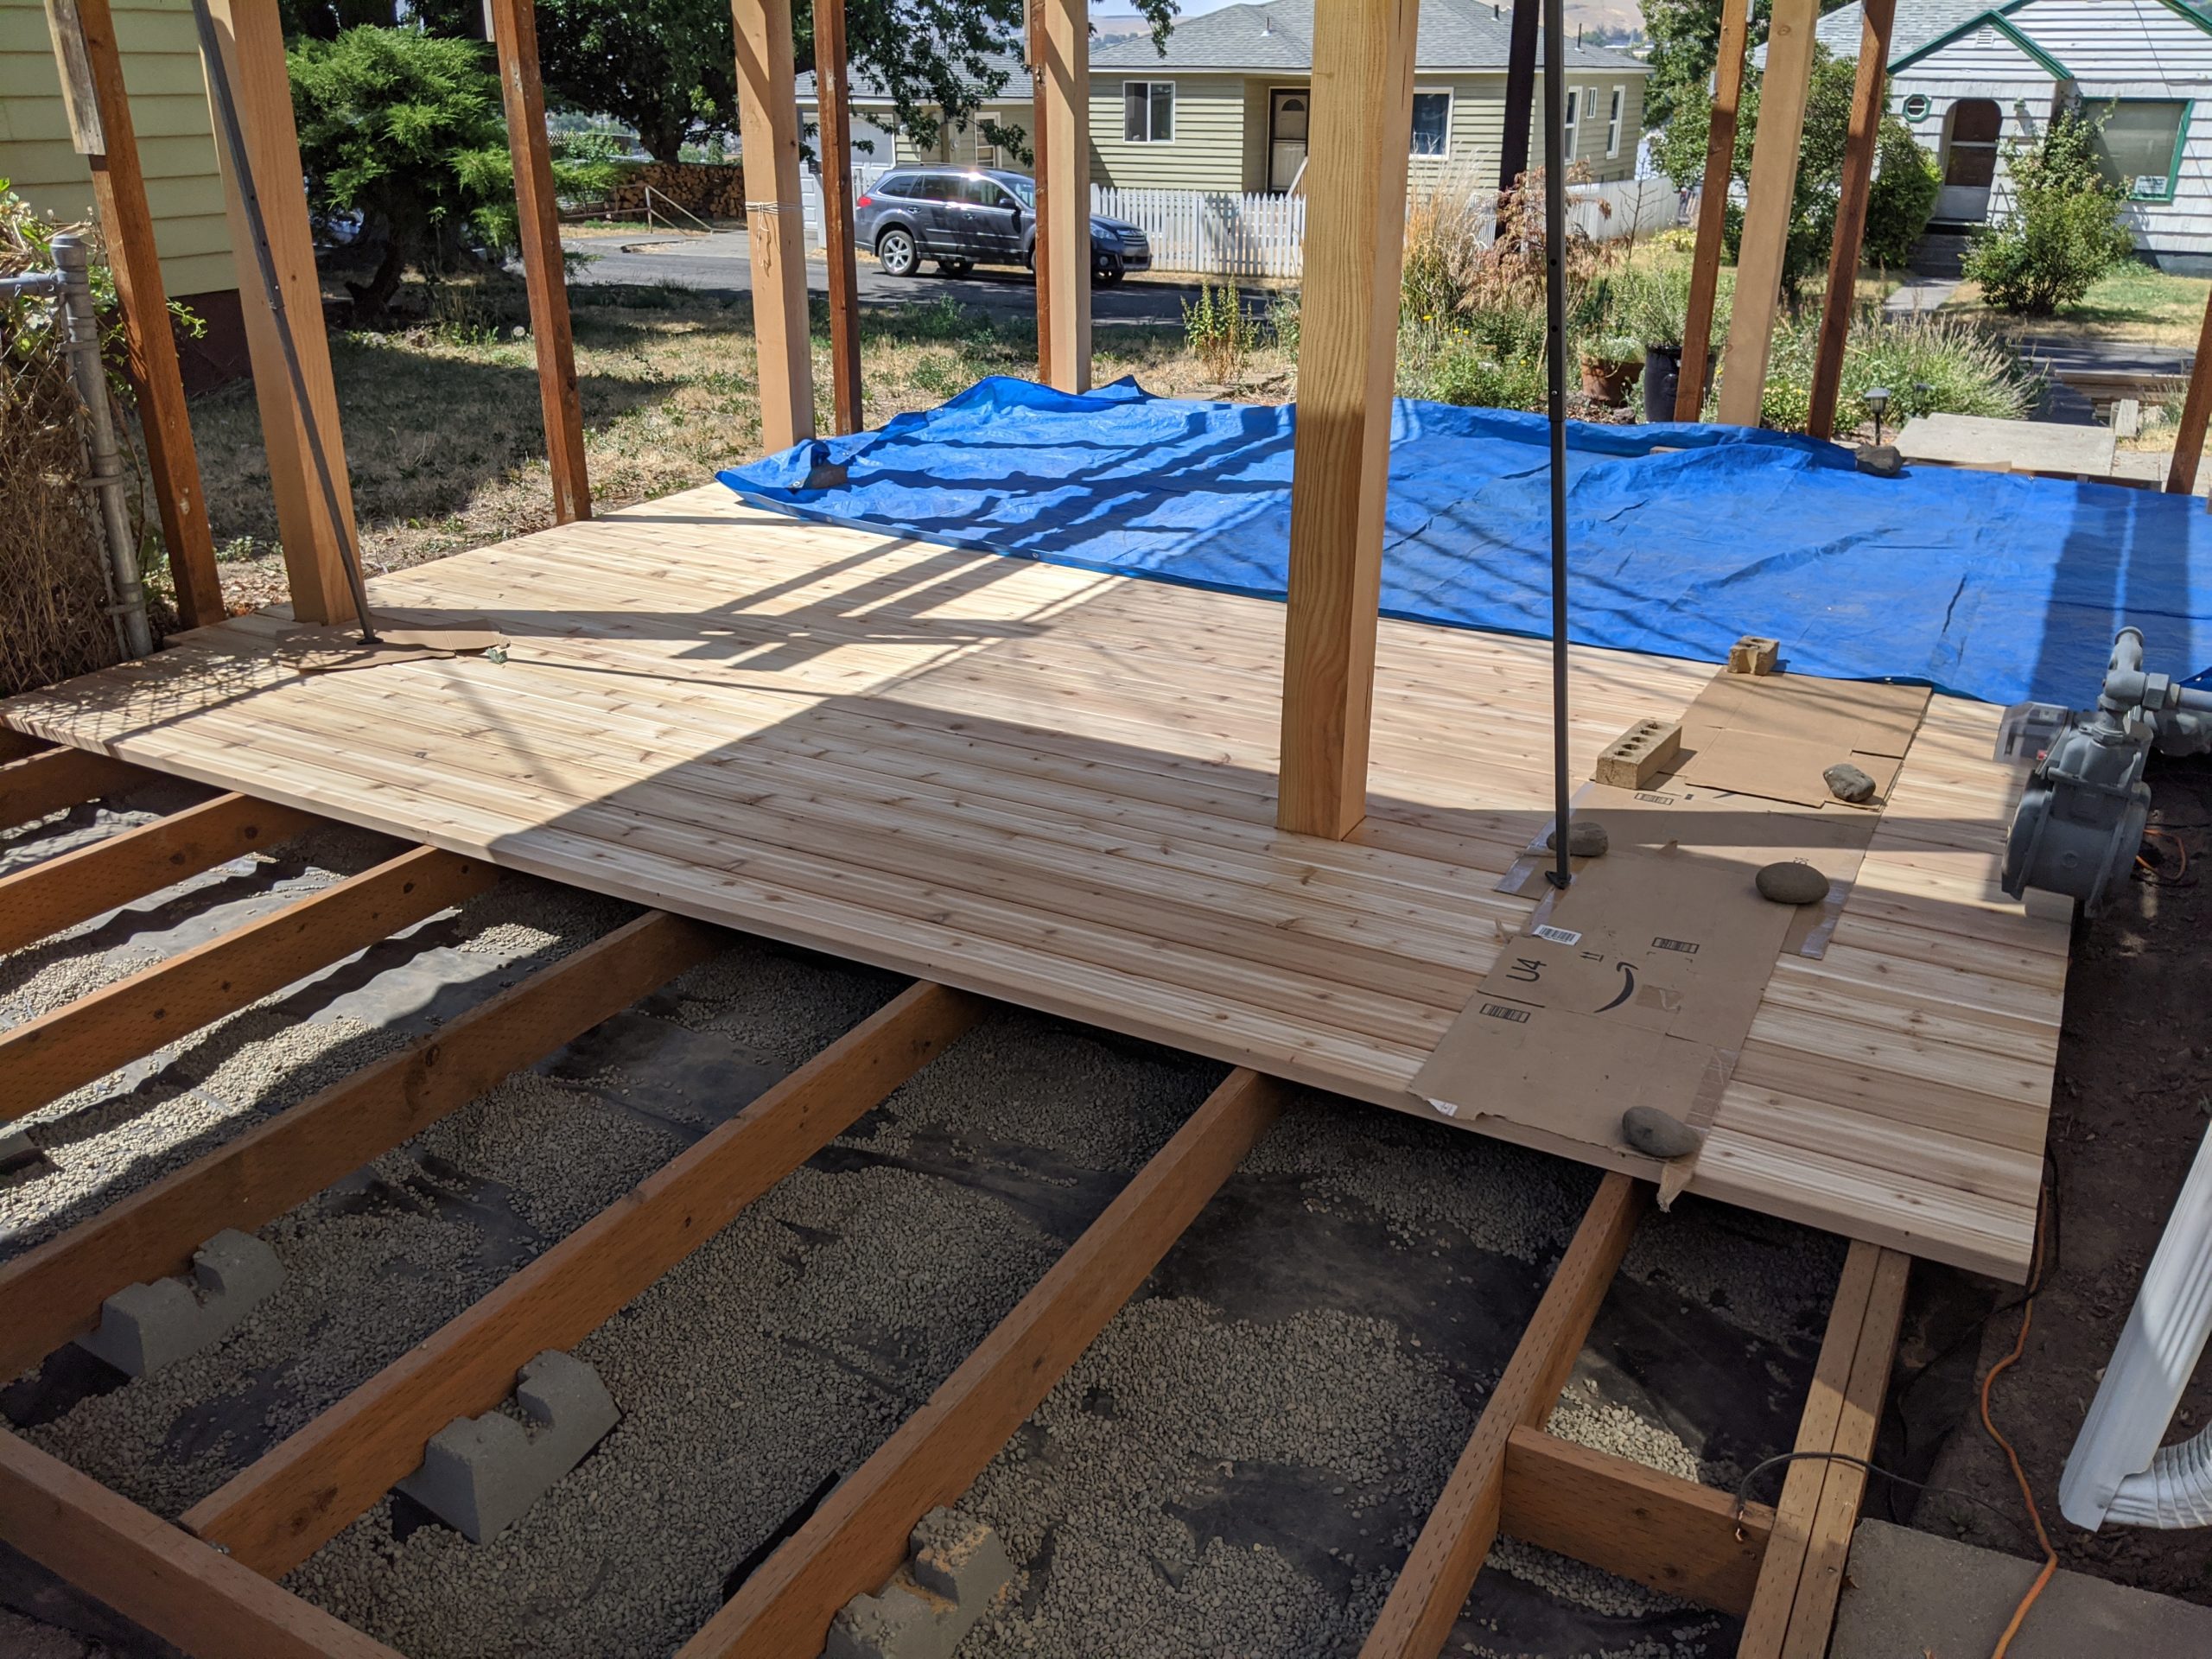
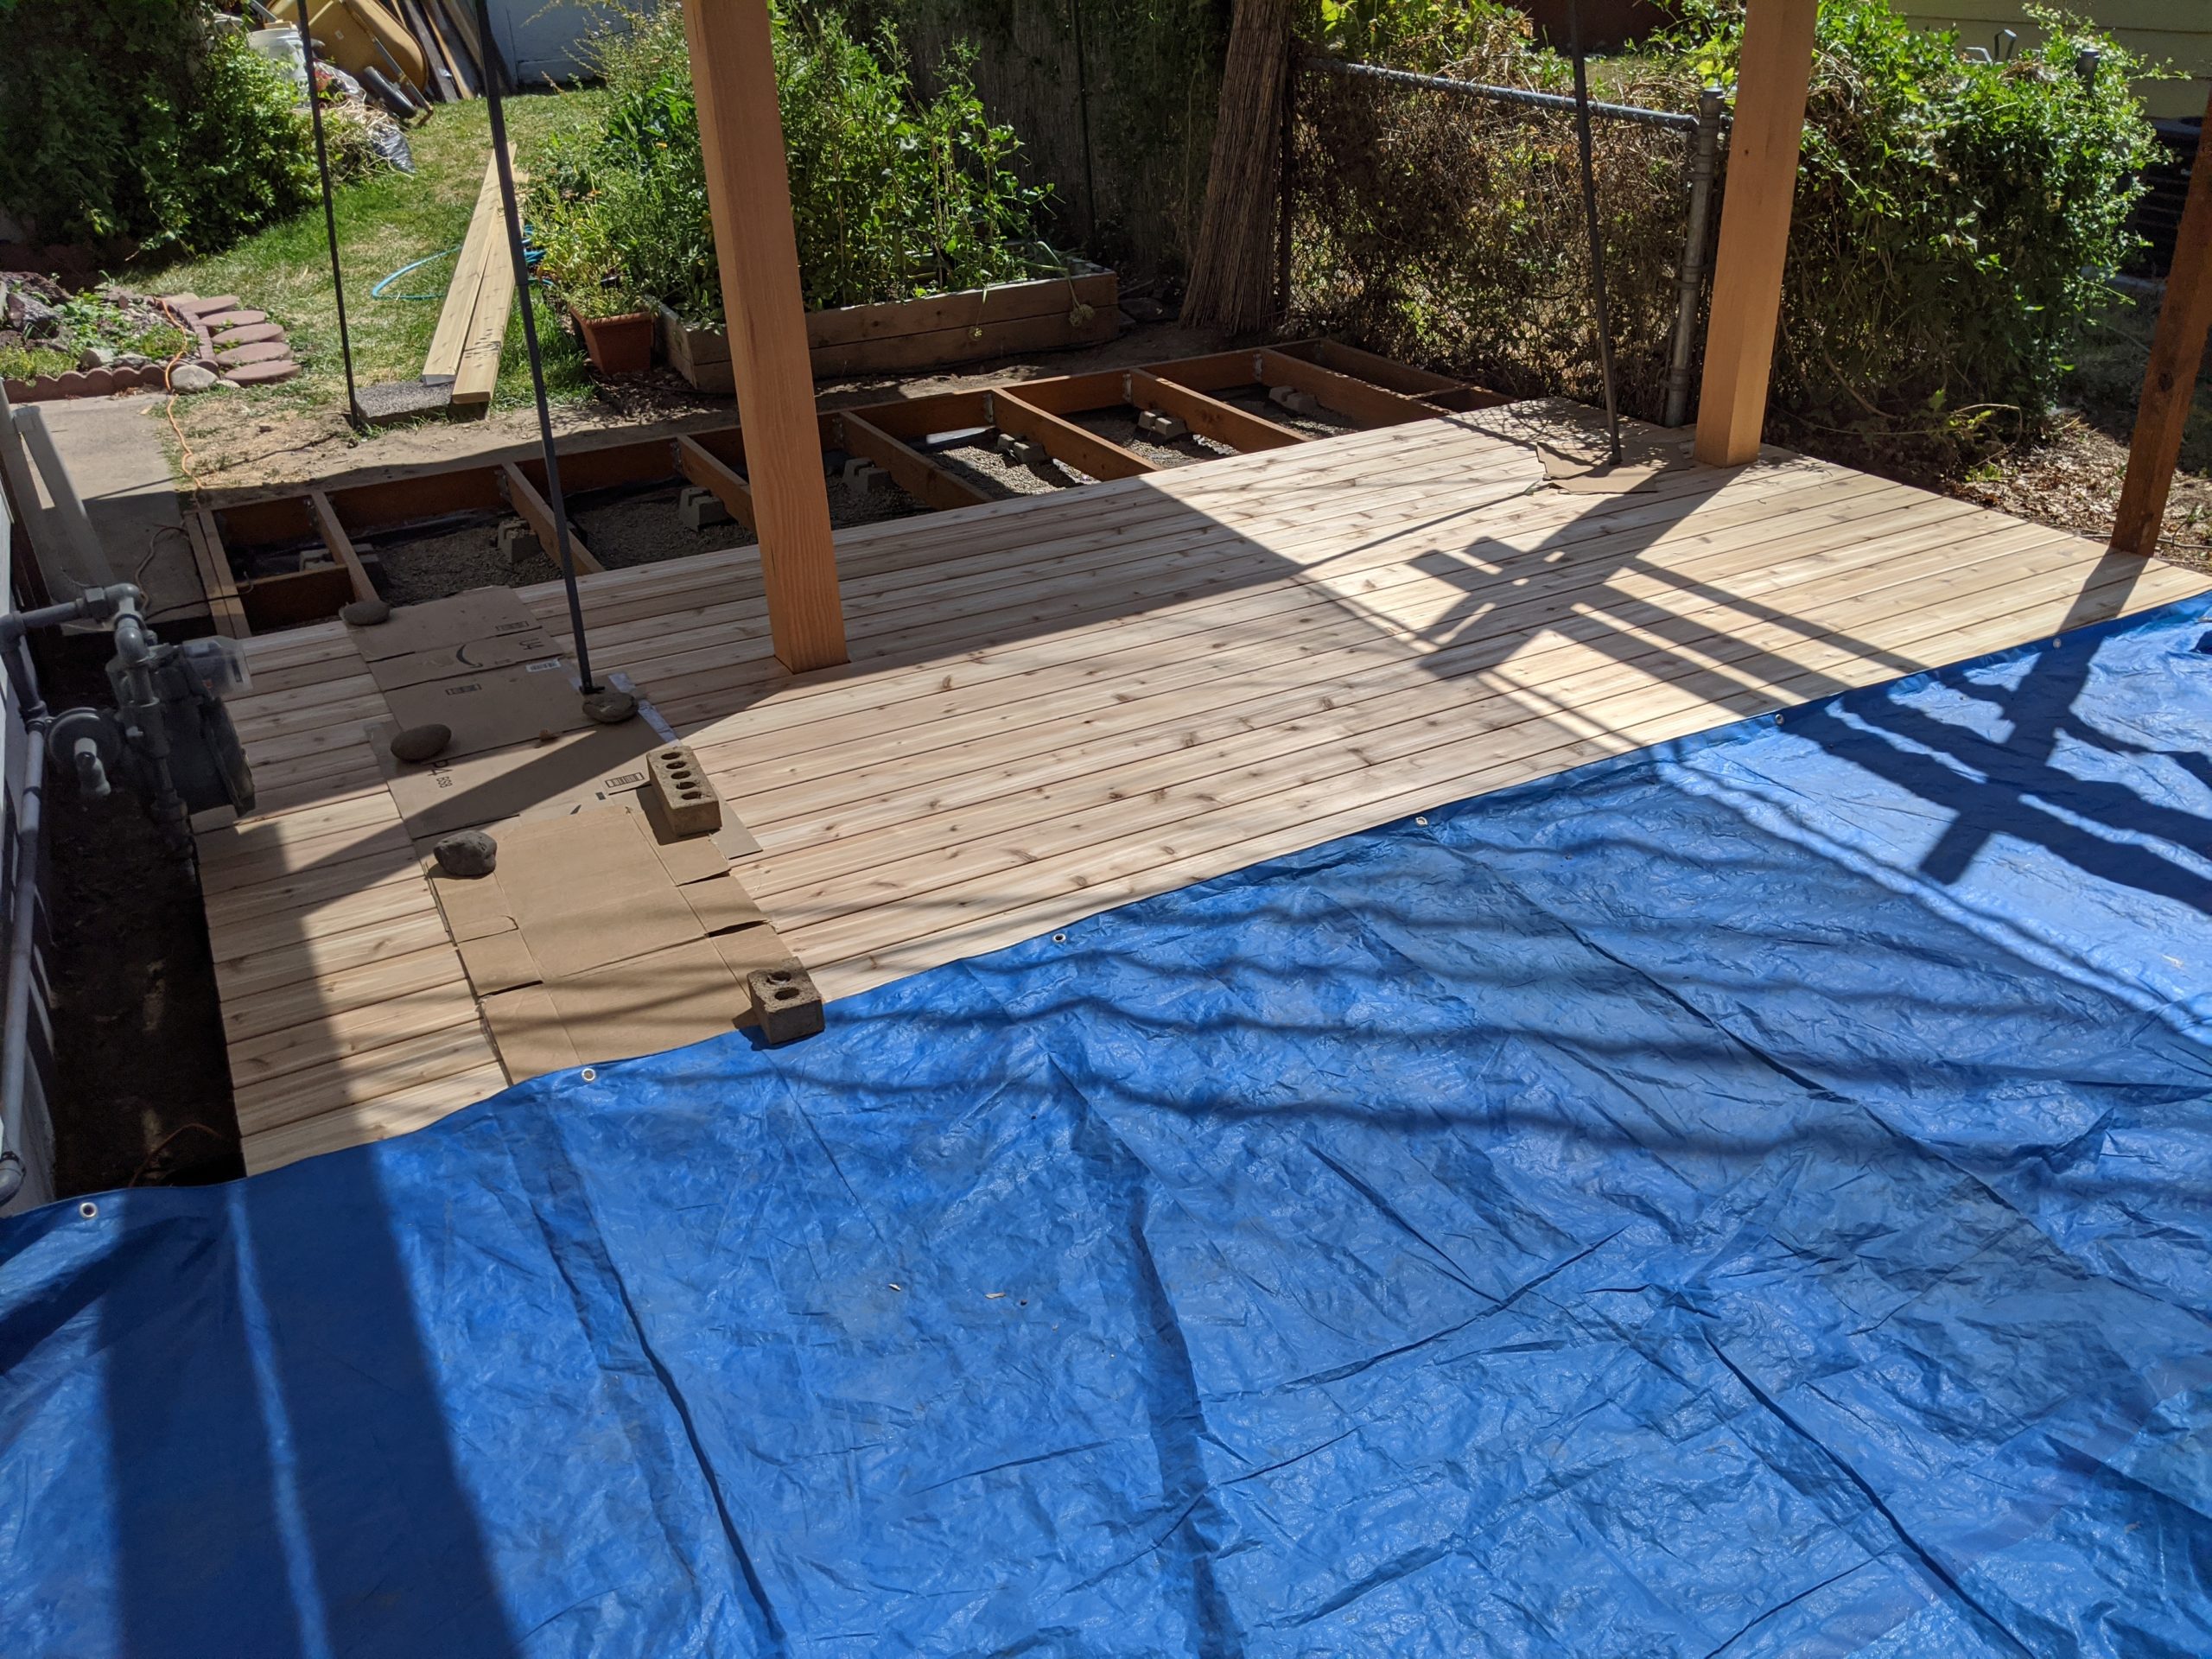
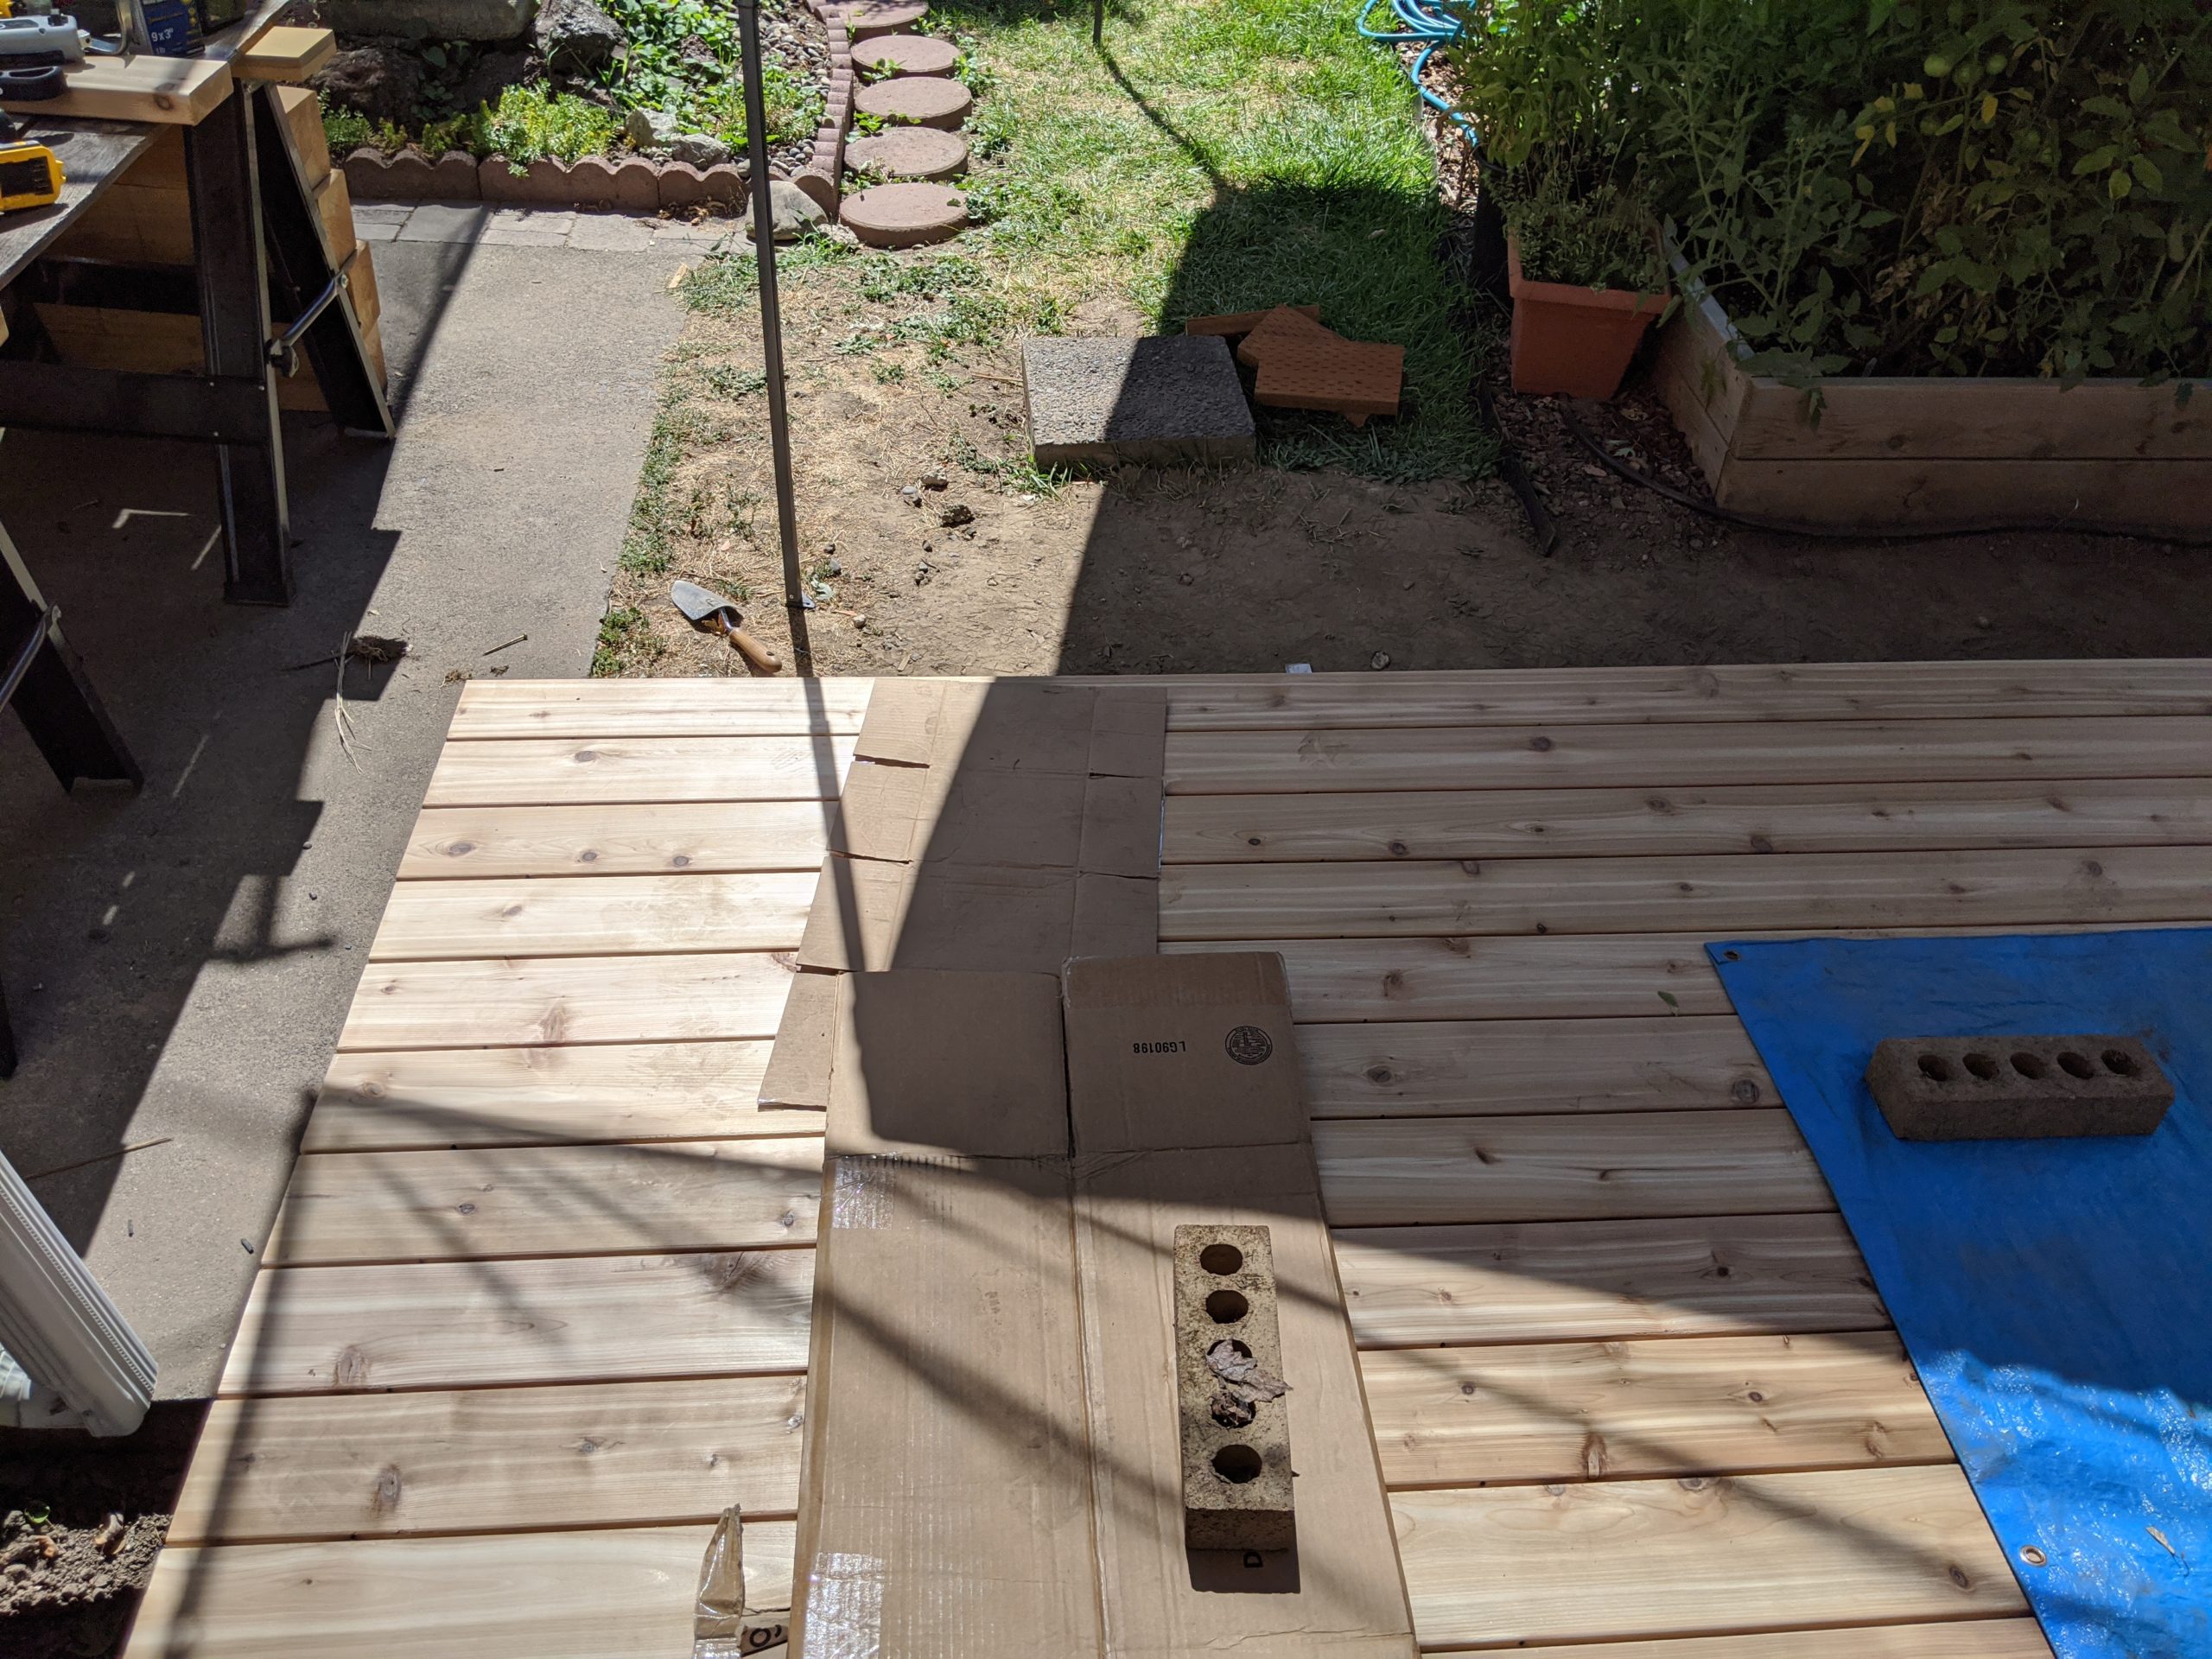
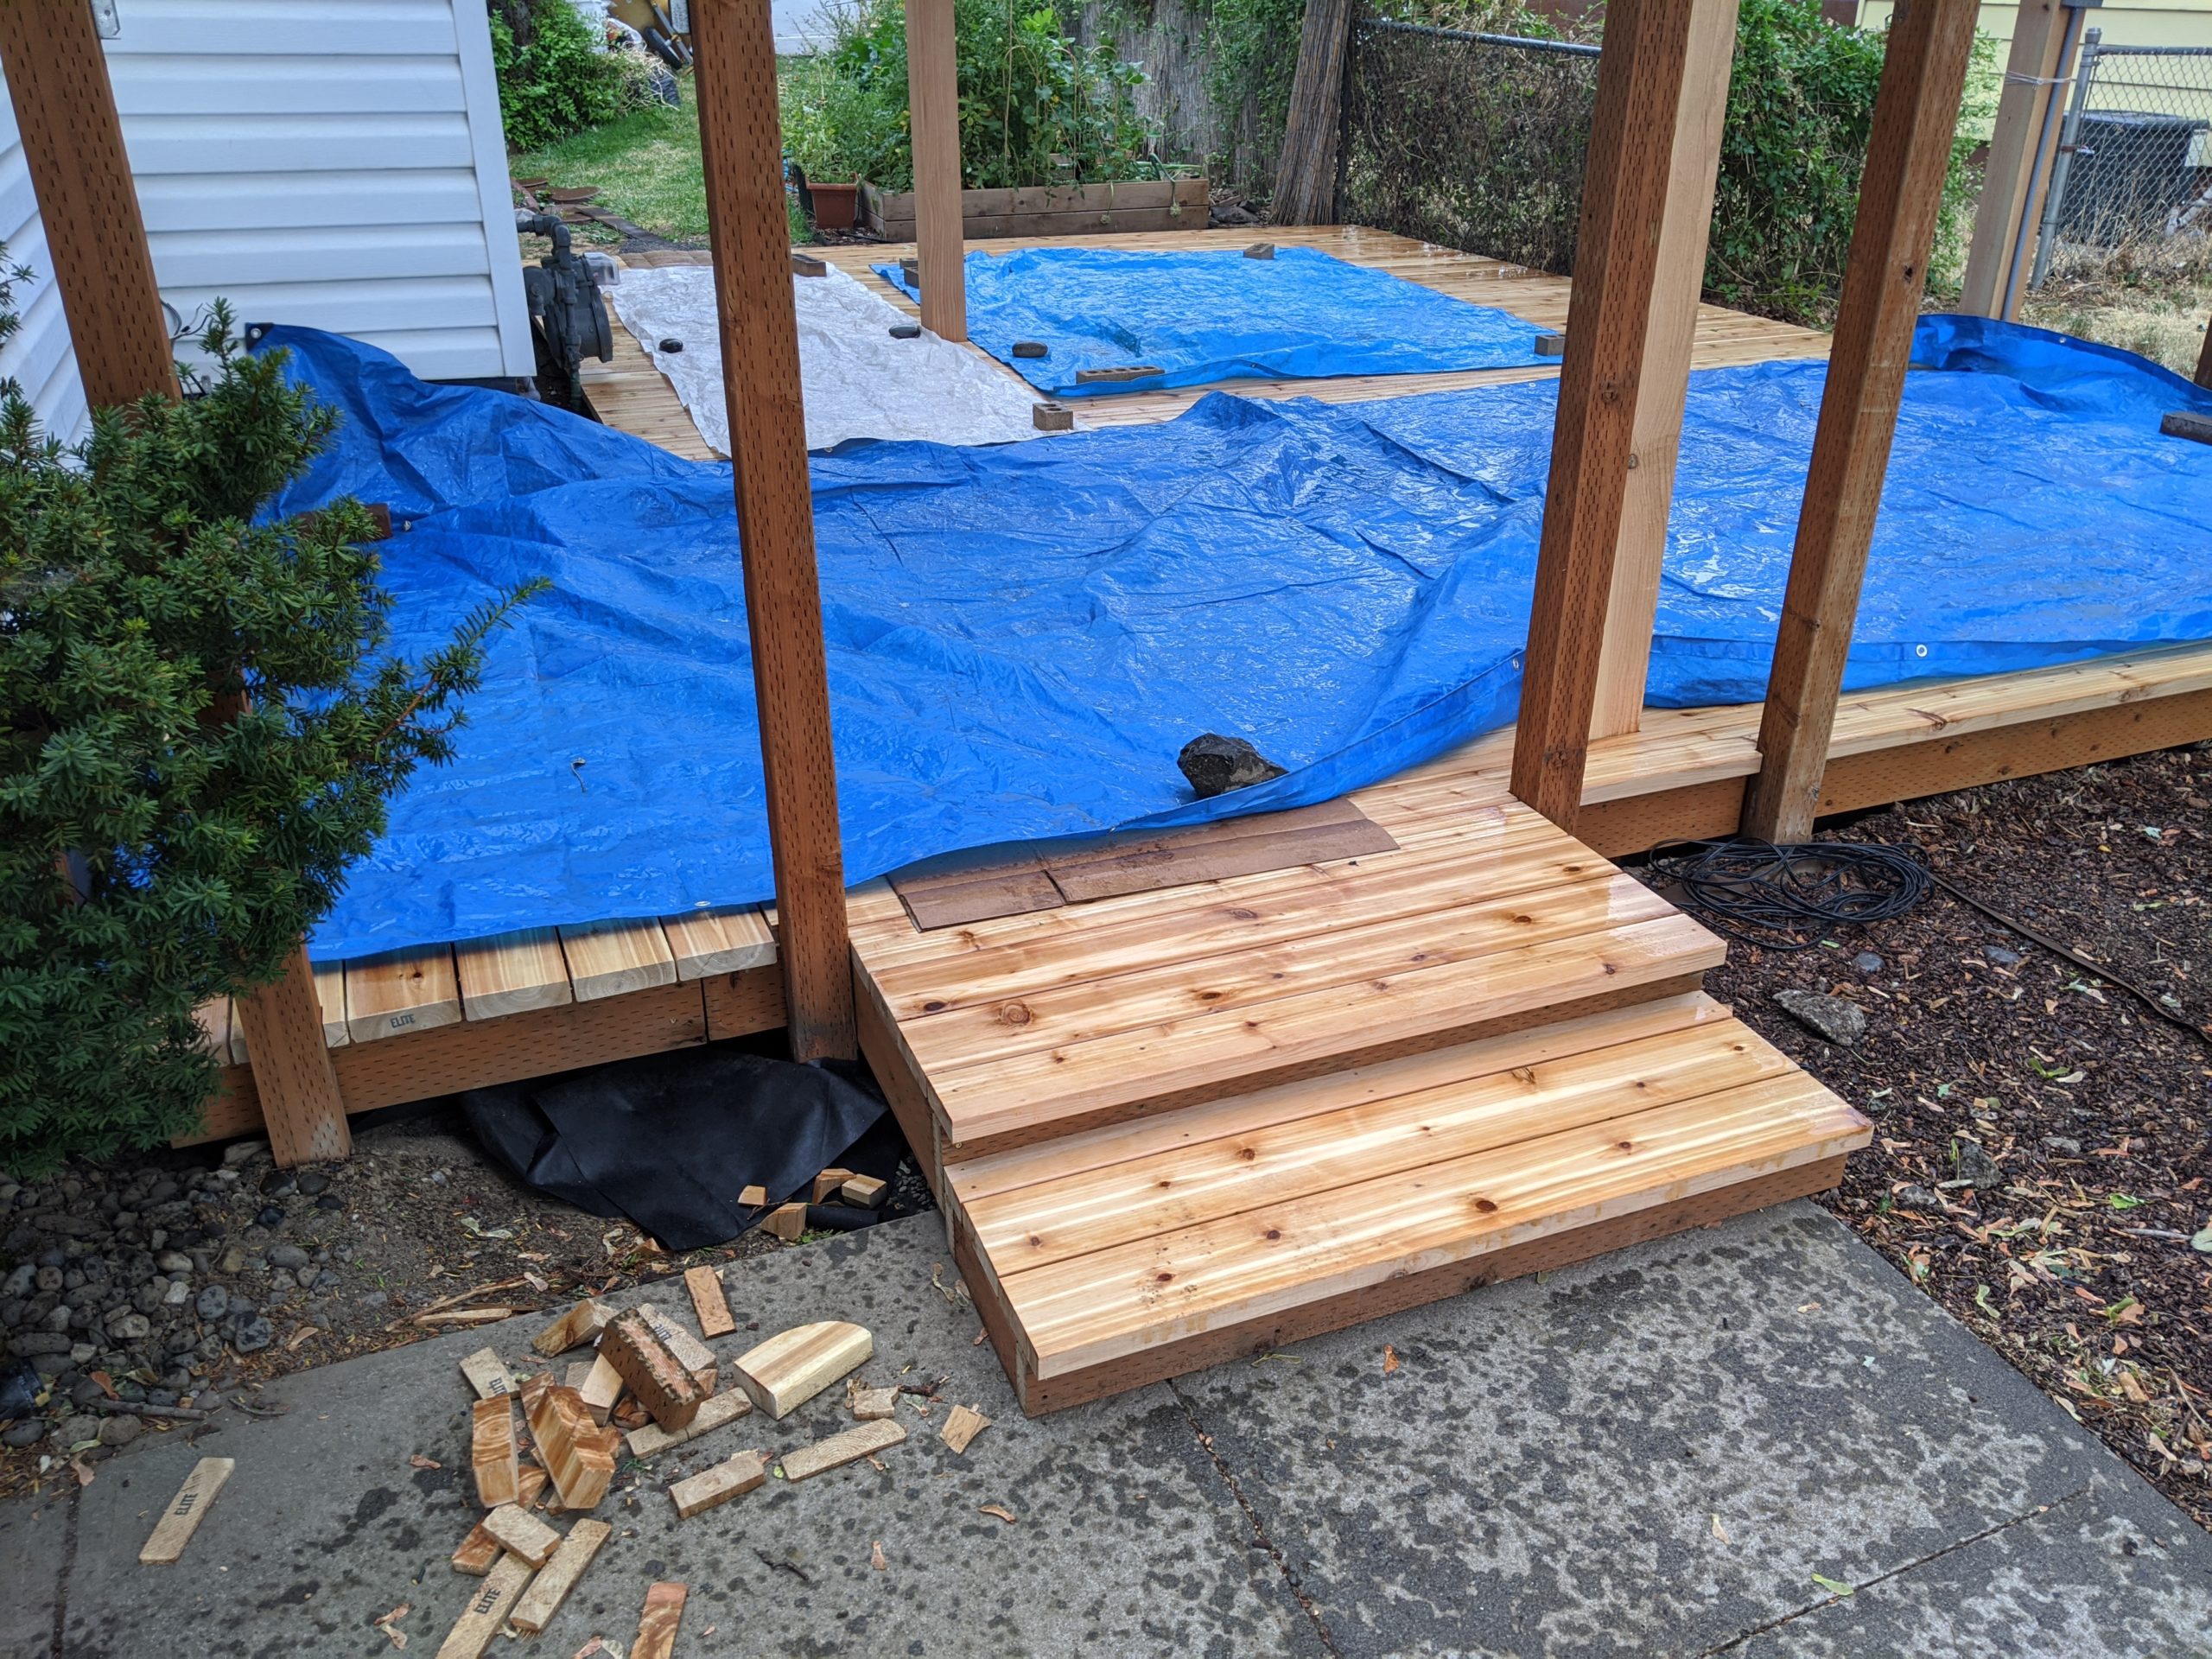
We cut the boards to length using a circular saw before installing each board. That allowed us to get it to exactly the right length while it was in place. As we worked our way along the length of the deck we poured extra gravel over all of the weed block seams. That should help it stay down and prevent weeds from growing between the gaps.

Counting Screws
At this point we realized we were getting very low on screws. We had a few more boards to put in and the side section up front had not been attached. We also still had the front stairs to do! So, we started counting and setting out piles for each board and section. We decided that we did in fact have enough, we just couldn’t drop or lose any. We also would have enough to add extra to some of the edges. It turns out our estimate was very close! This was important since we can’t buy these screws locally and it took almost a week for us to get them in the first place.

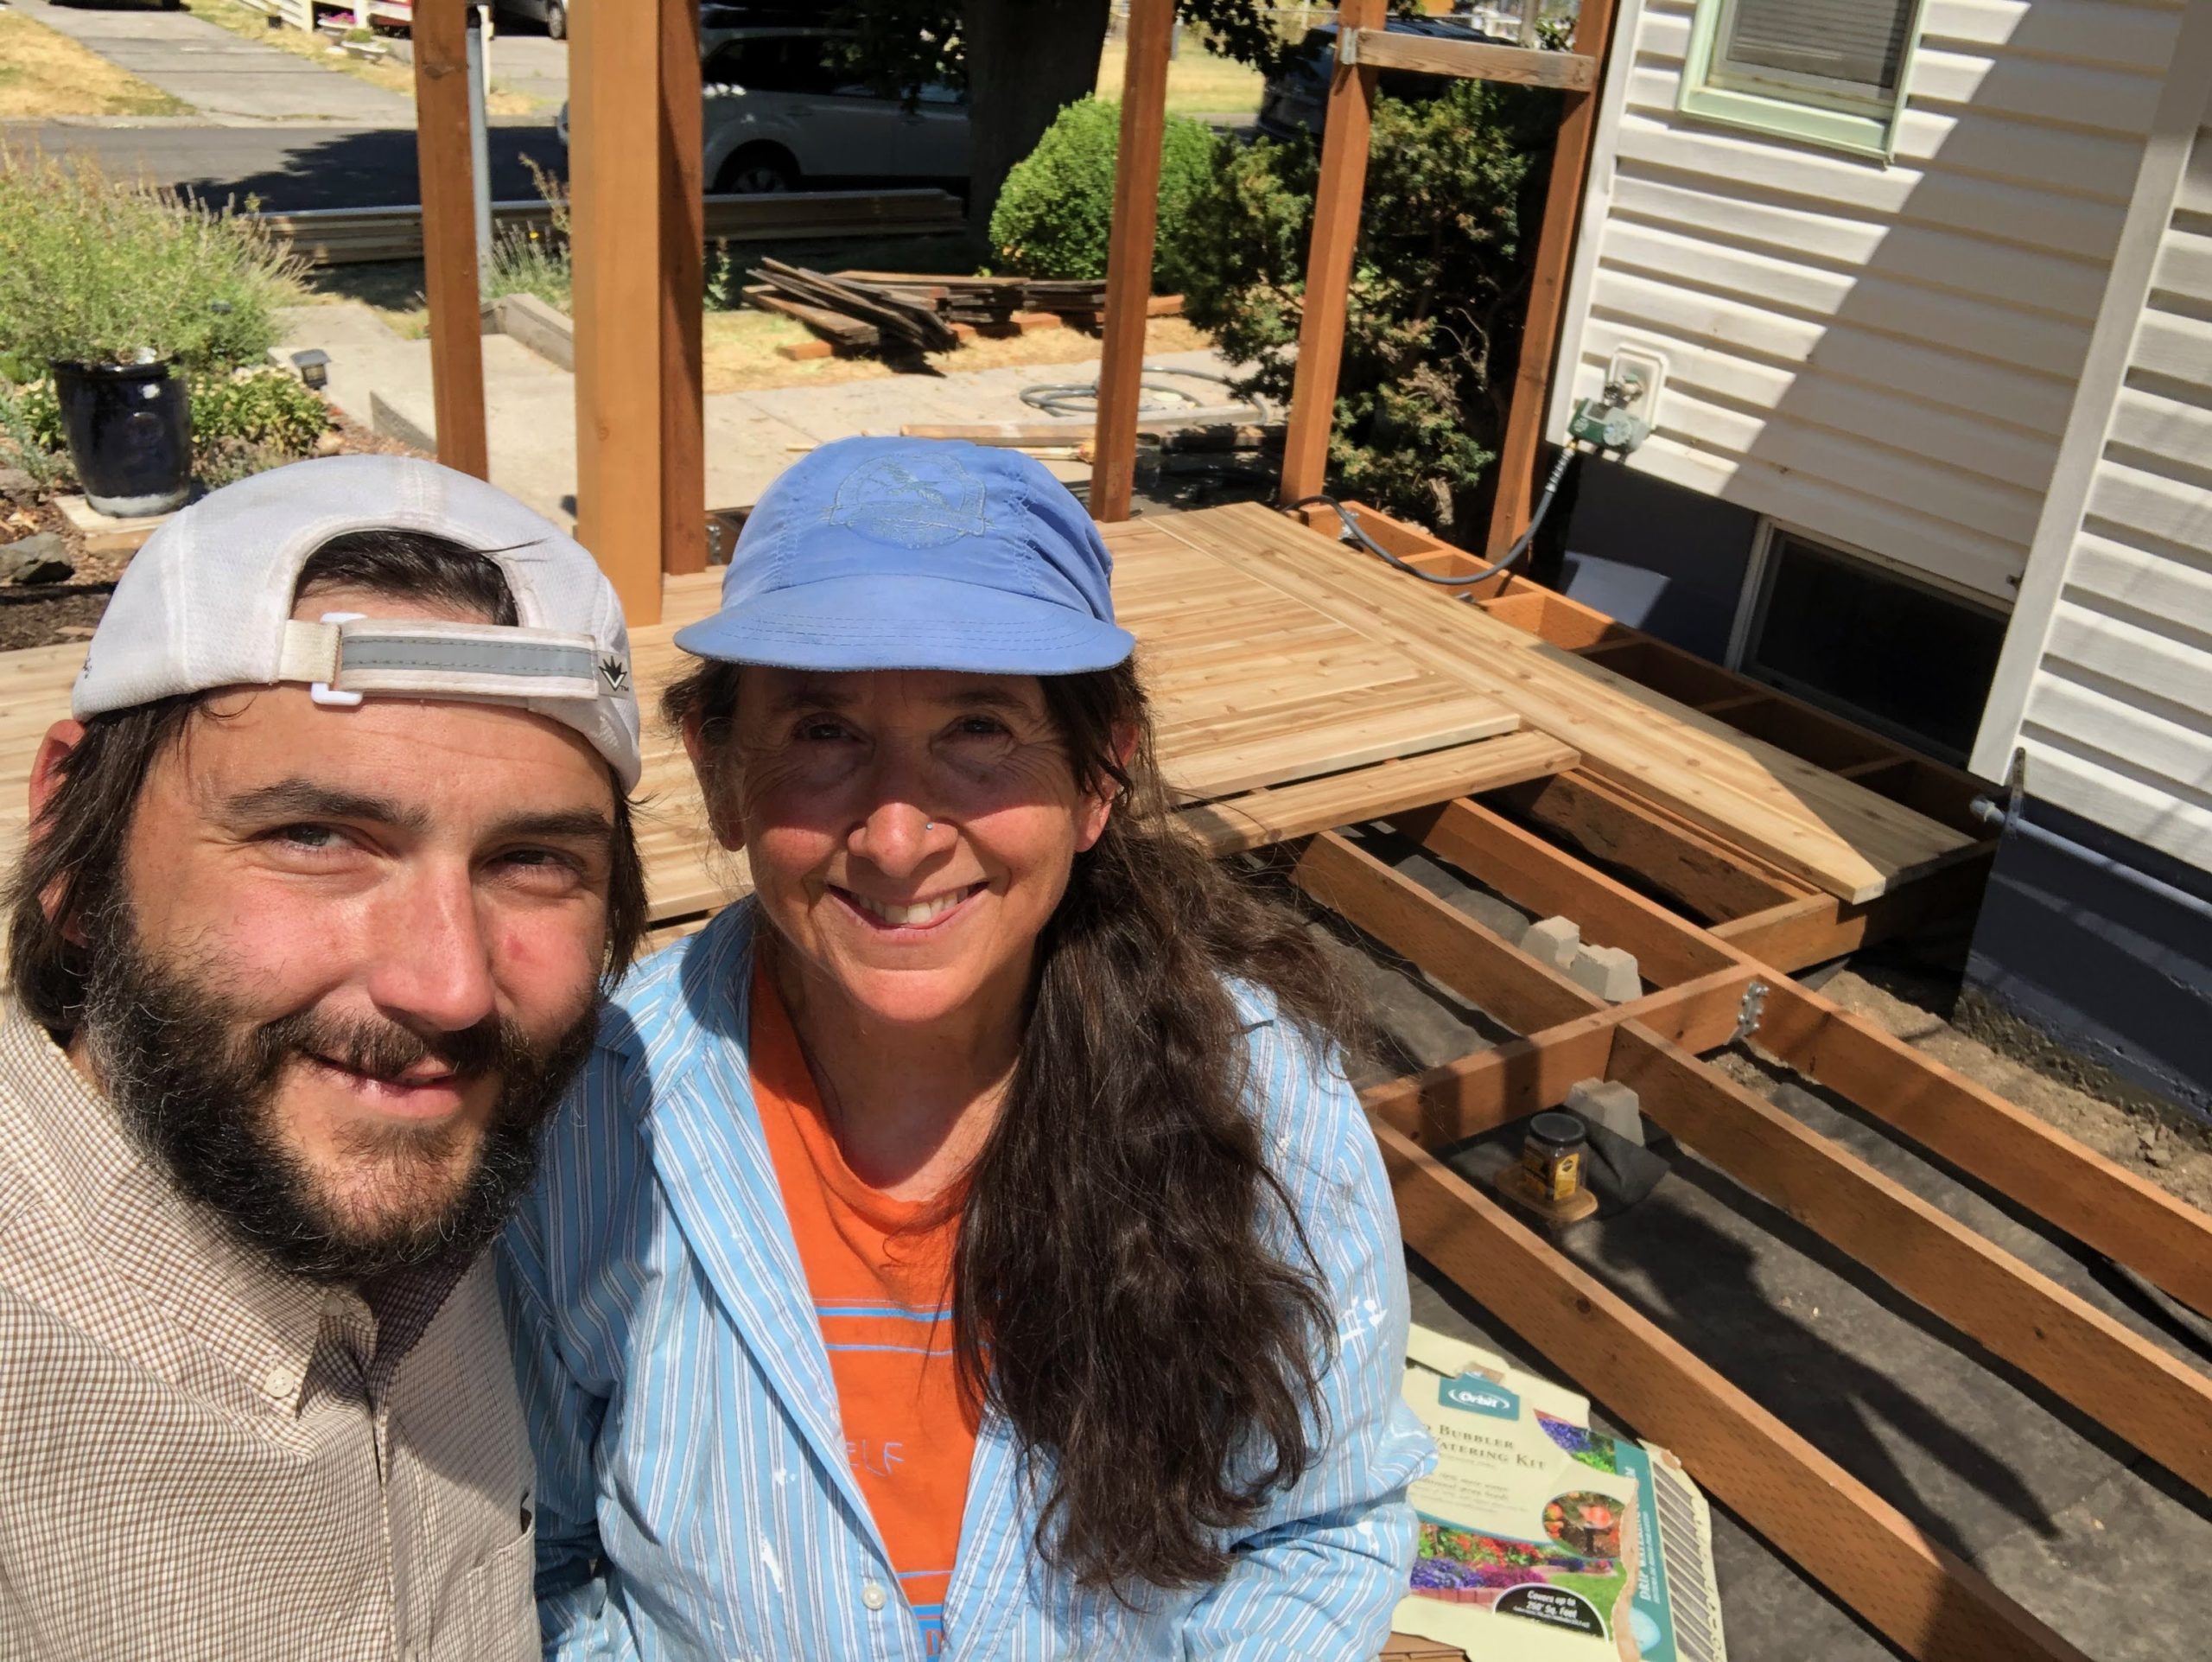
The next day we cleaned everything up and did the unveiling.

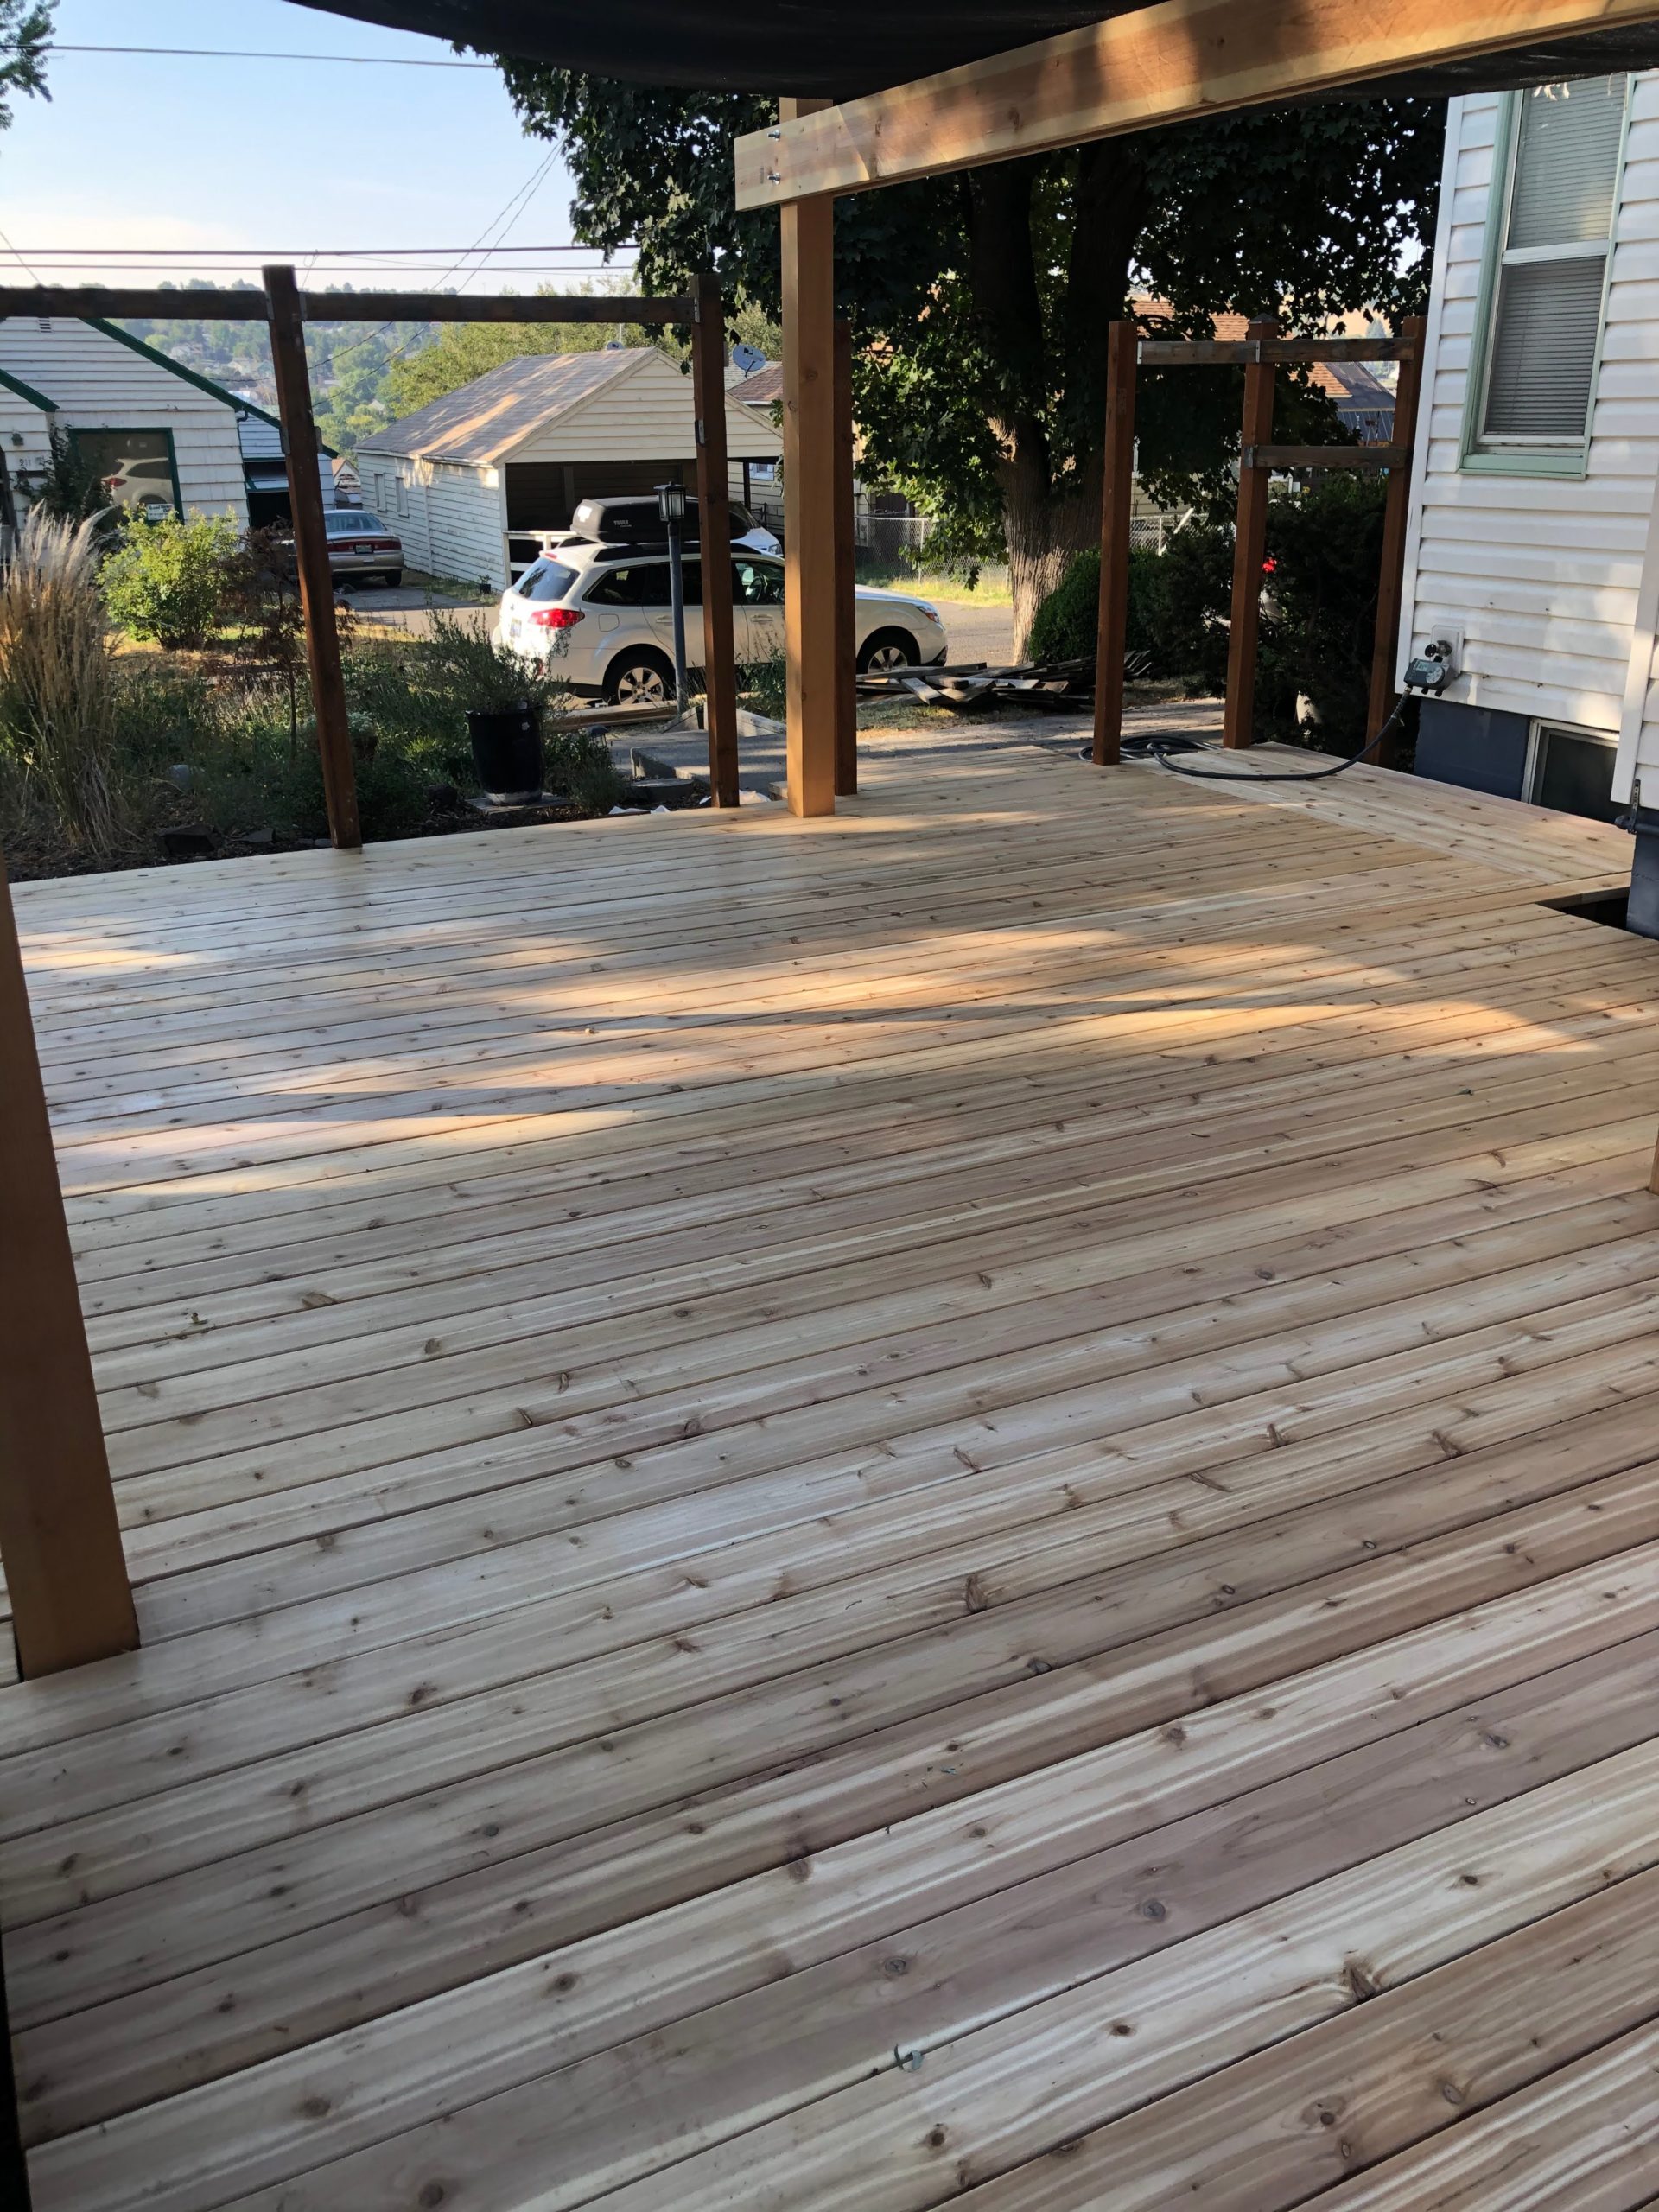
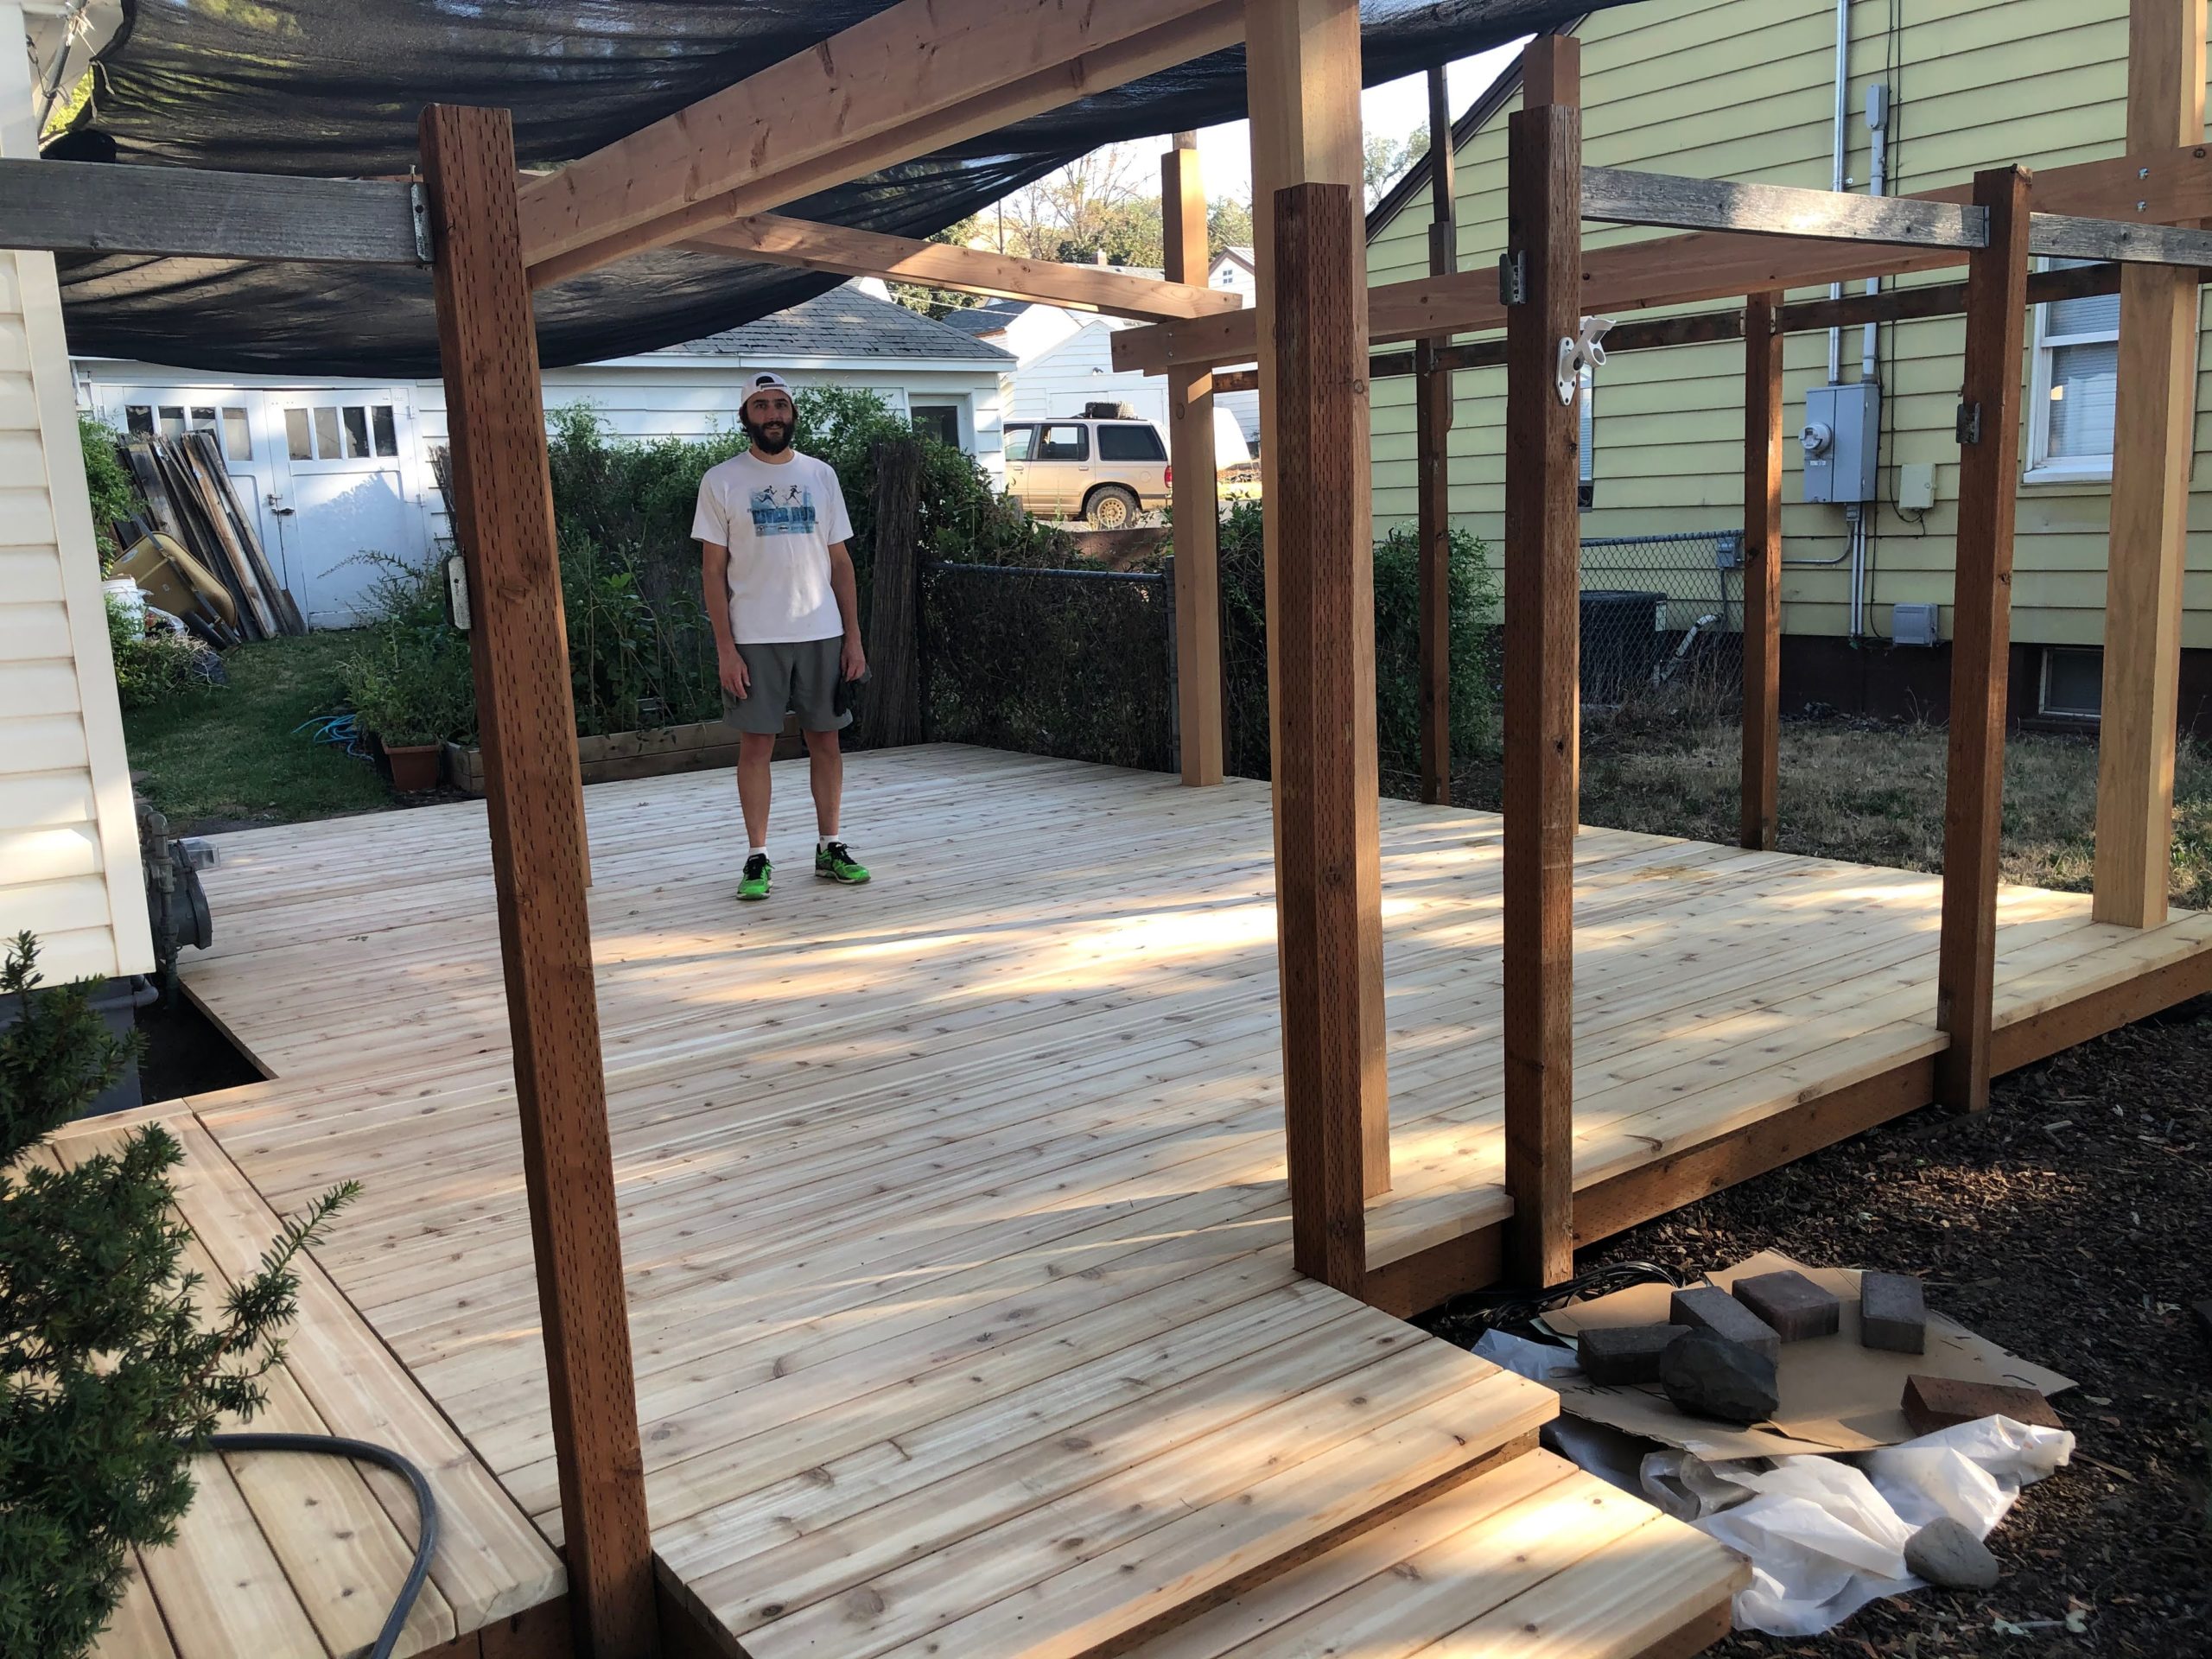
The whole process took a few hours on day 1, a long day 2, and a slightly shorter day 3.