With the decking done we are ready to build the pergola but are having some supply issues: we don’t yet have all of the lumber we need for the rafters and purlins and are waiting on delivery of the roofing material. We also have some design decisions to make about the gutter, rafter tails and purlin spacing.
Lighting

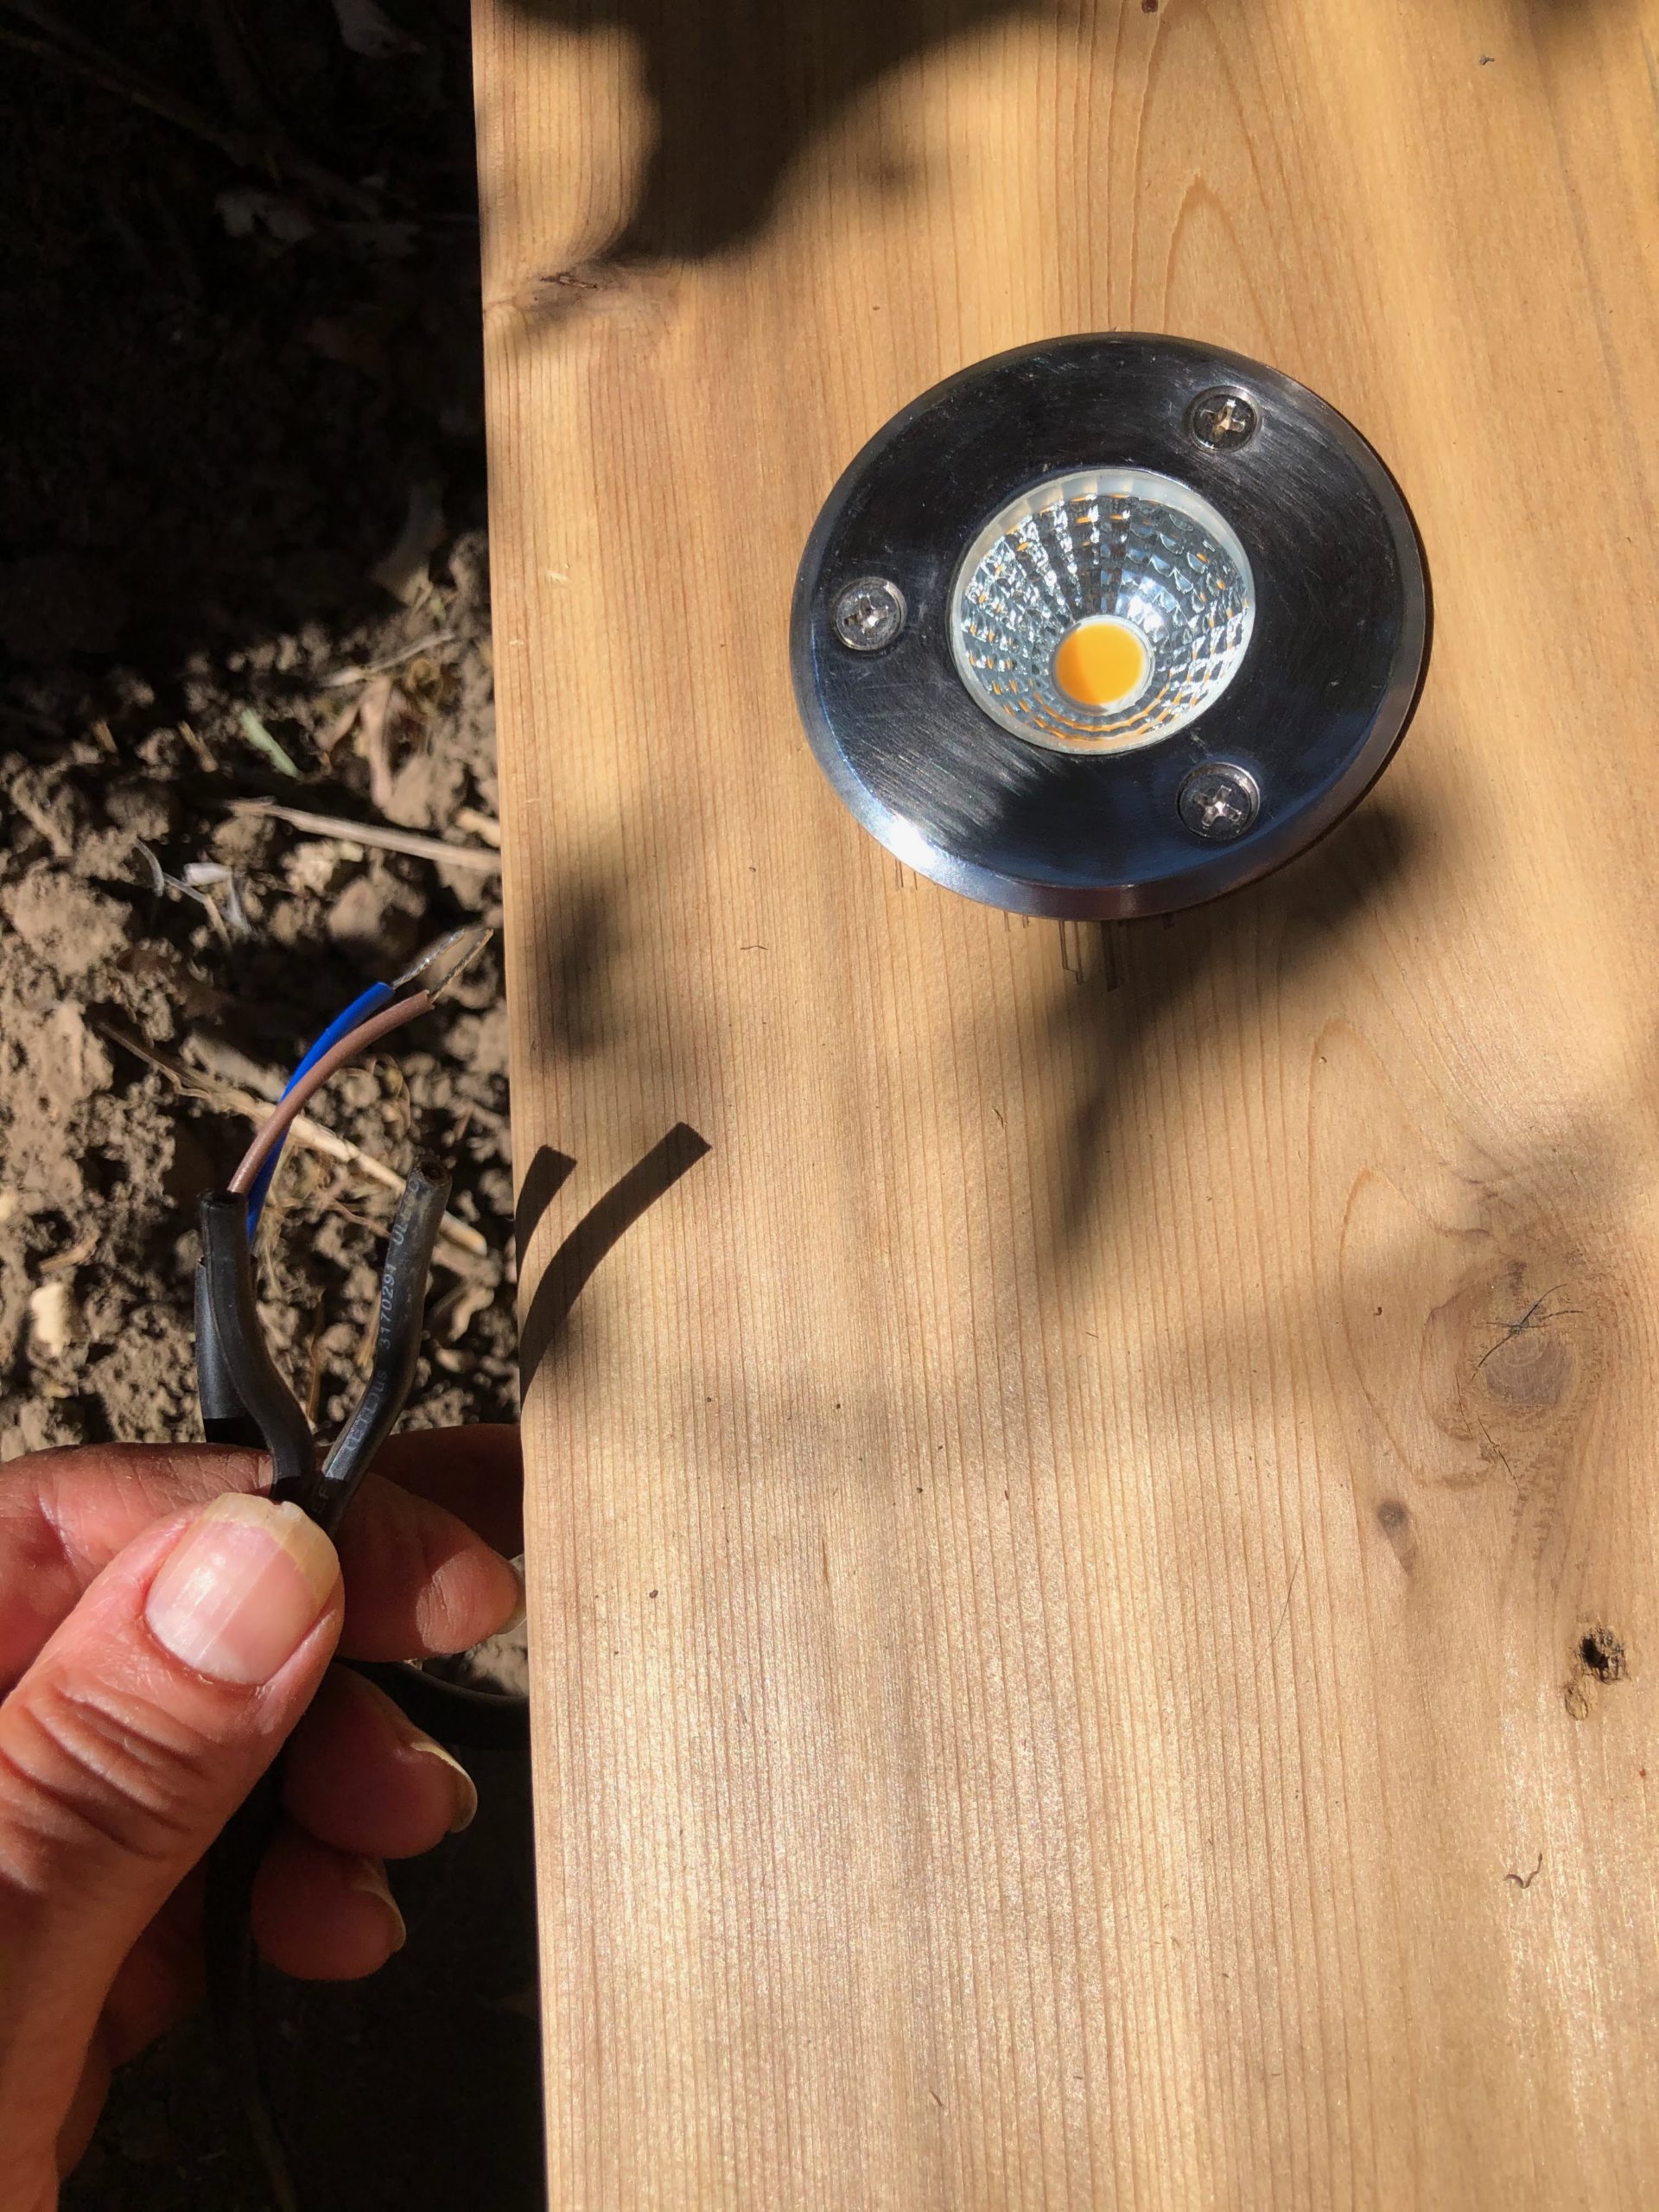
To move ahead we decided to start installing our deck lights. We bought these flush-mount waterproof lights made by Zuckeo on Amazon. They come in 8-packs and 4-packs. We started with 8 and ended up buying 4 more later.
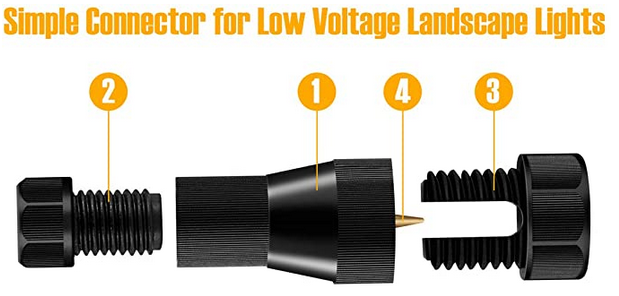
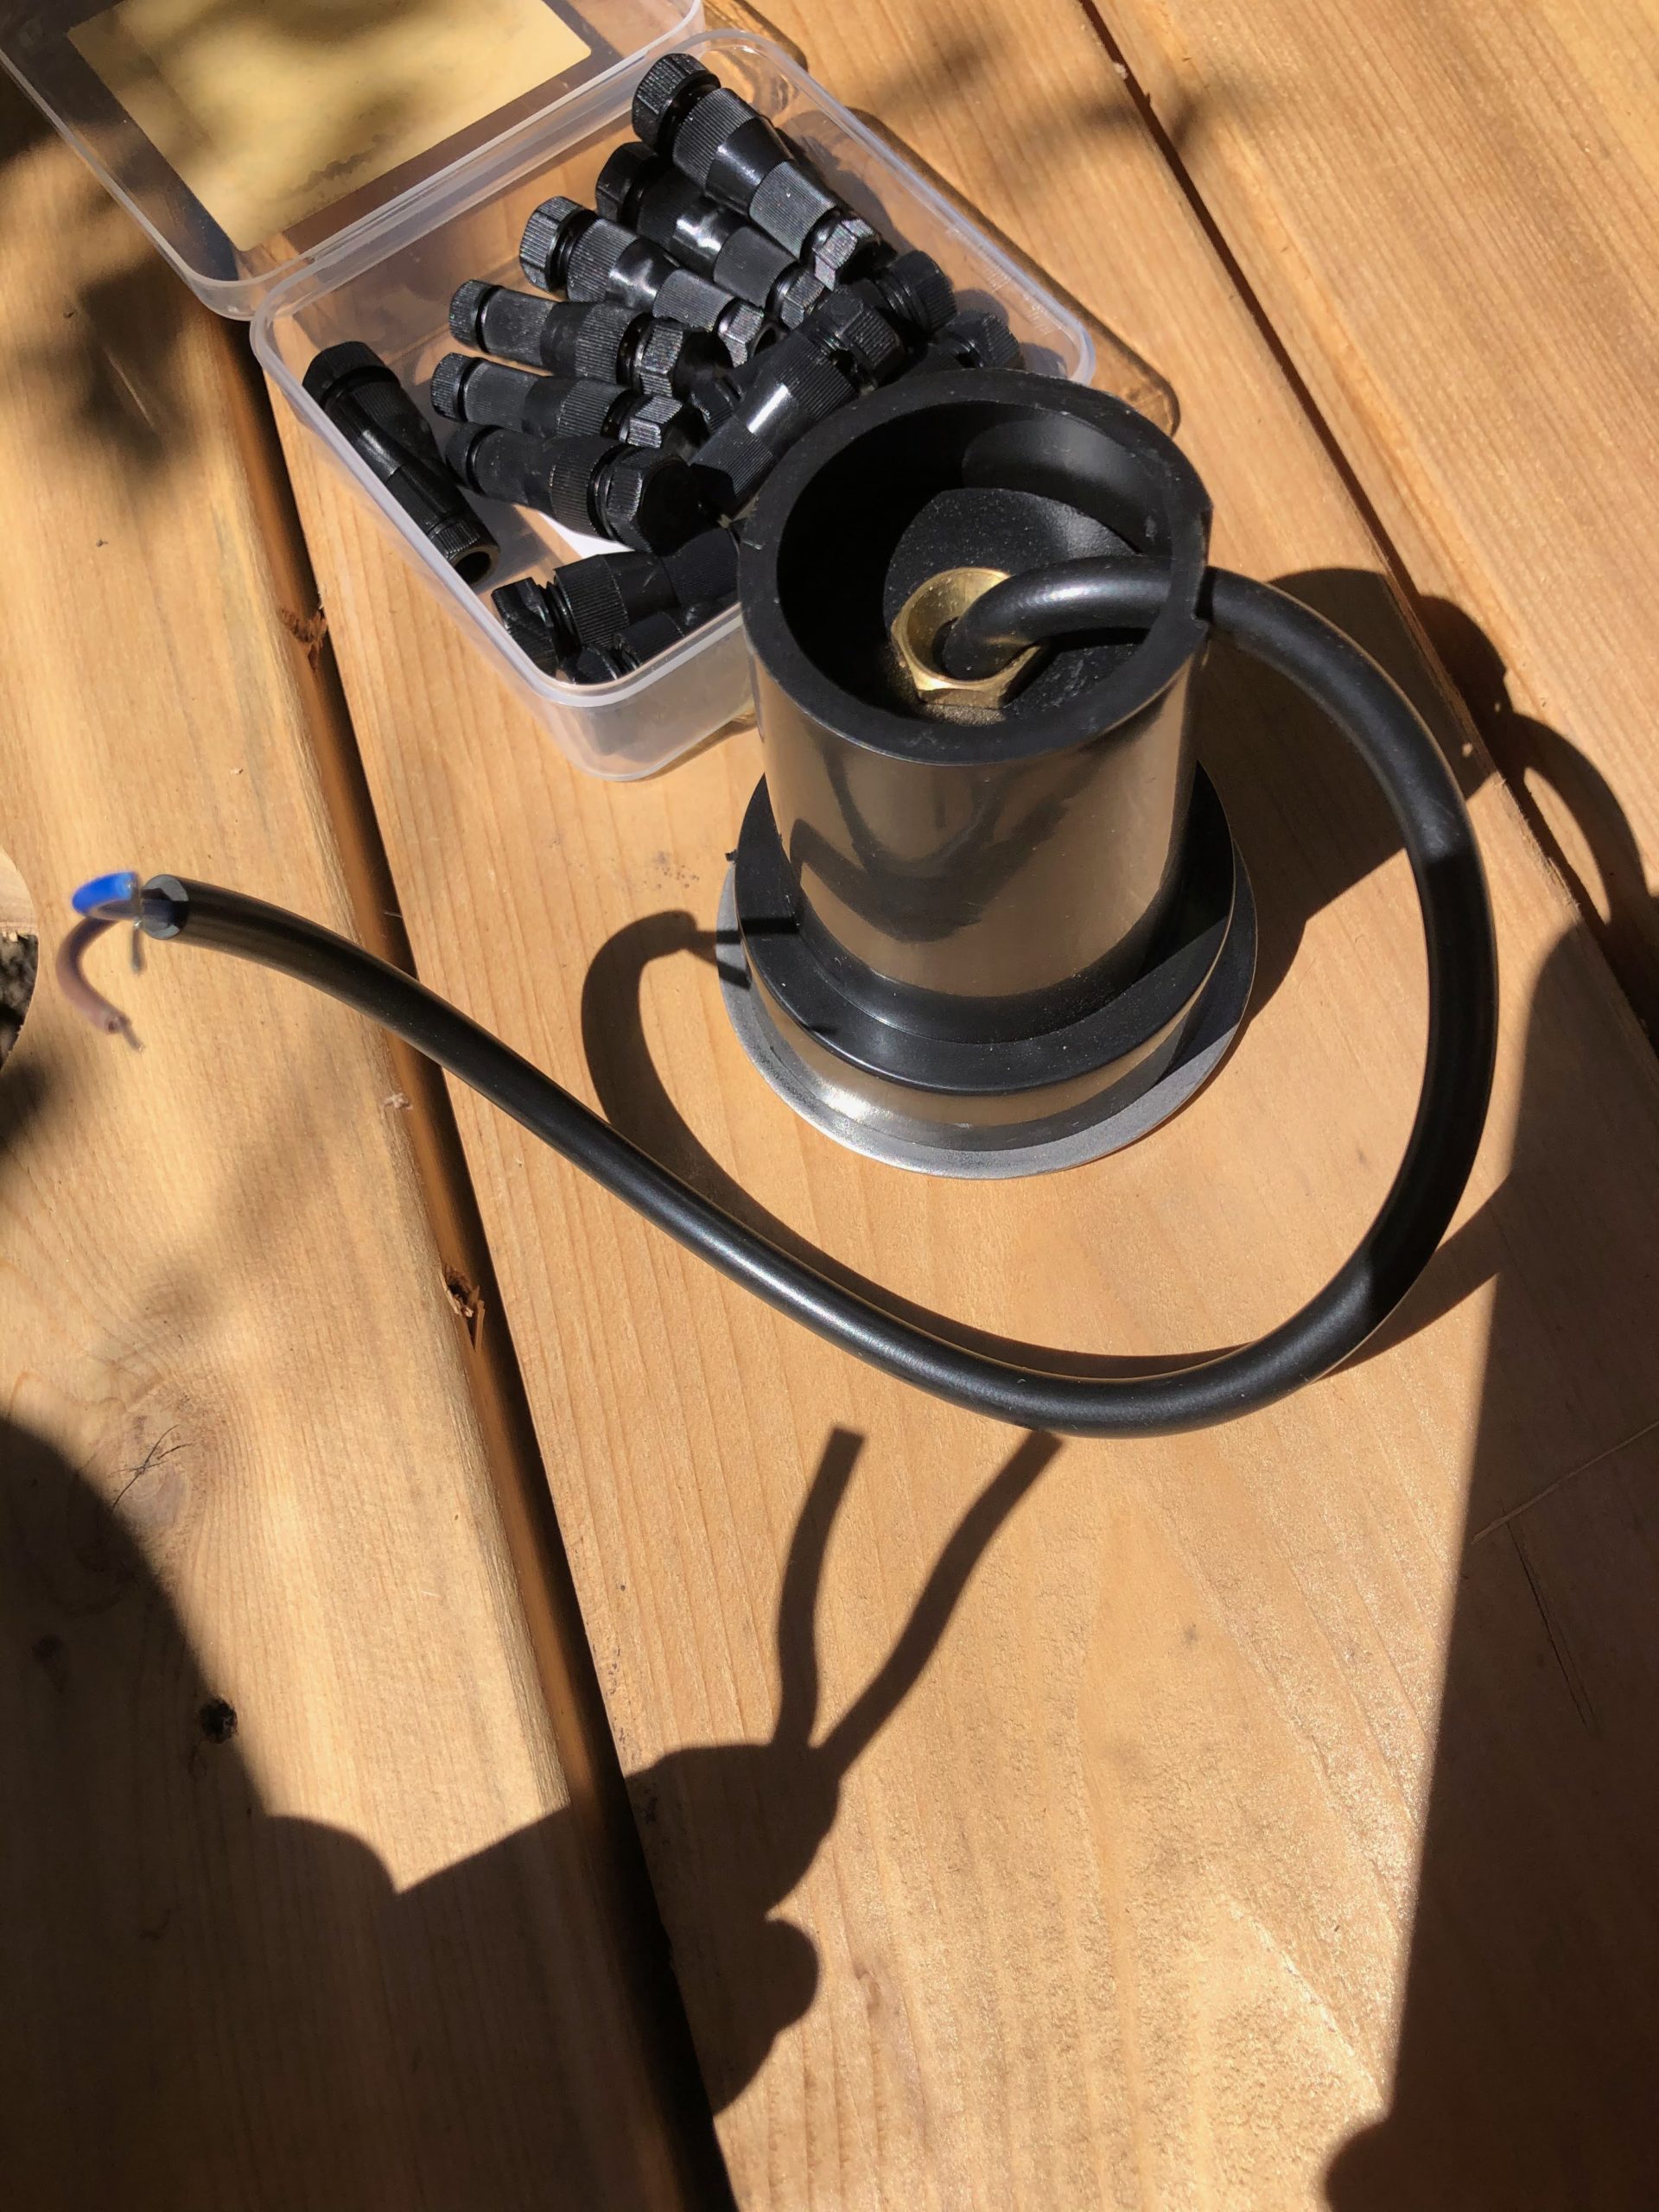
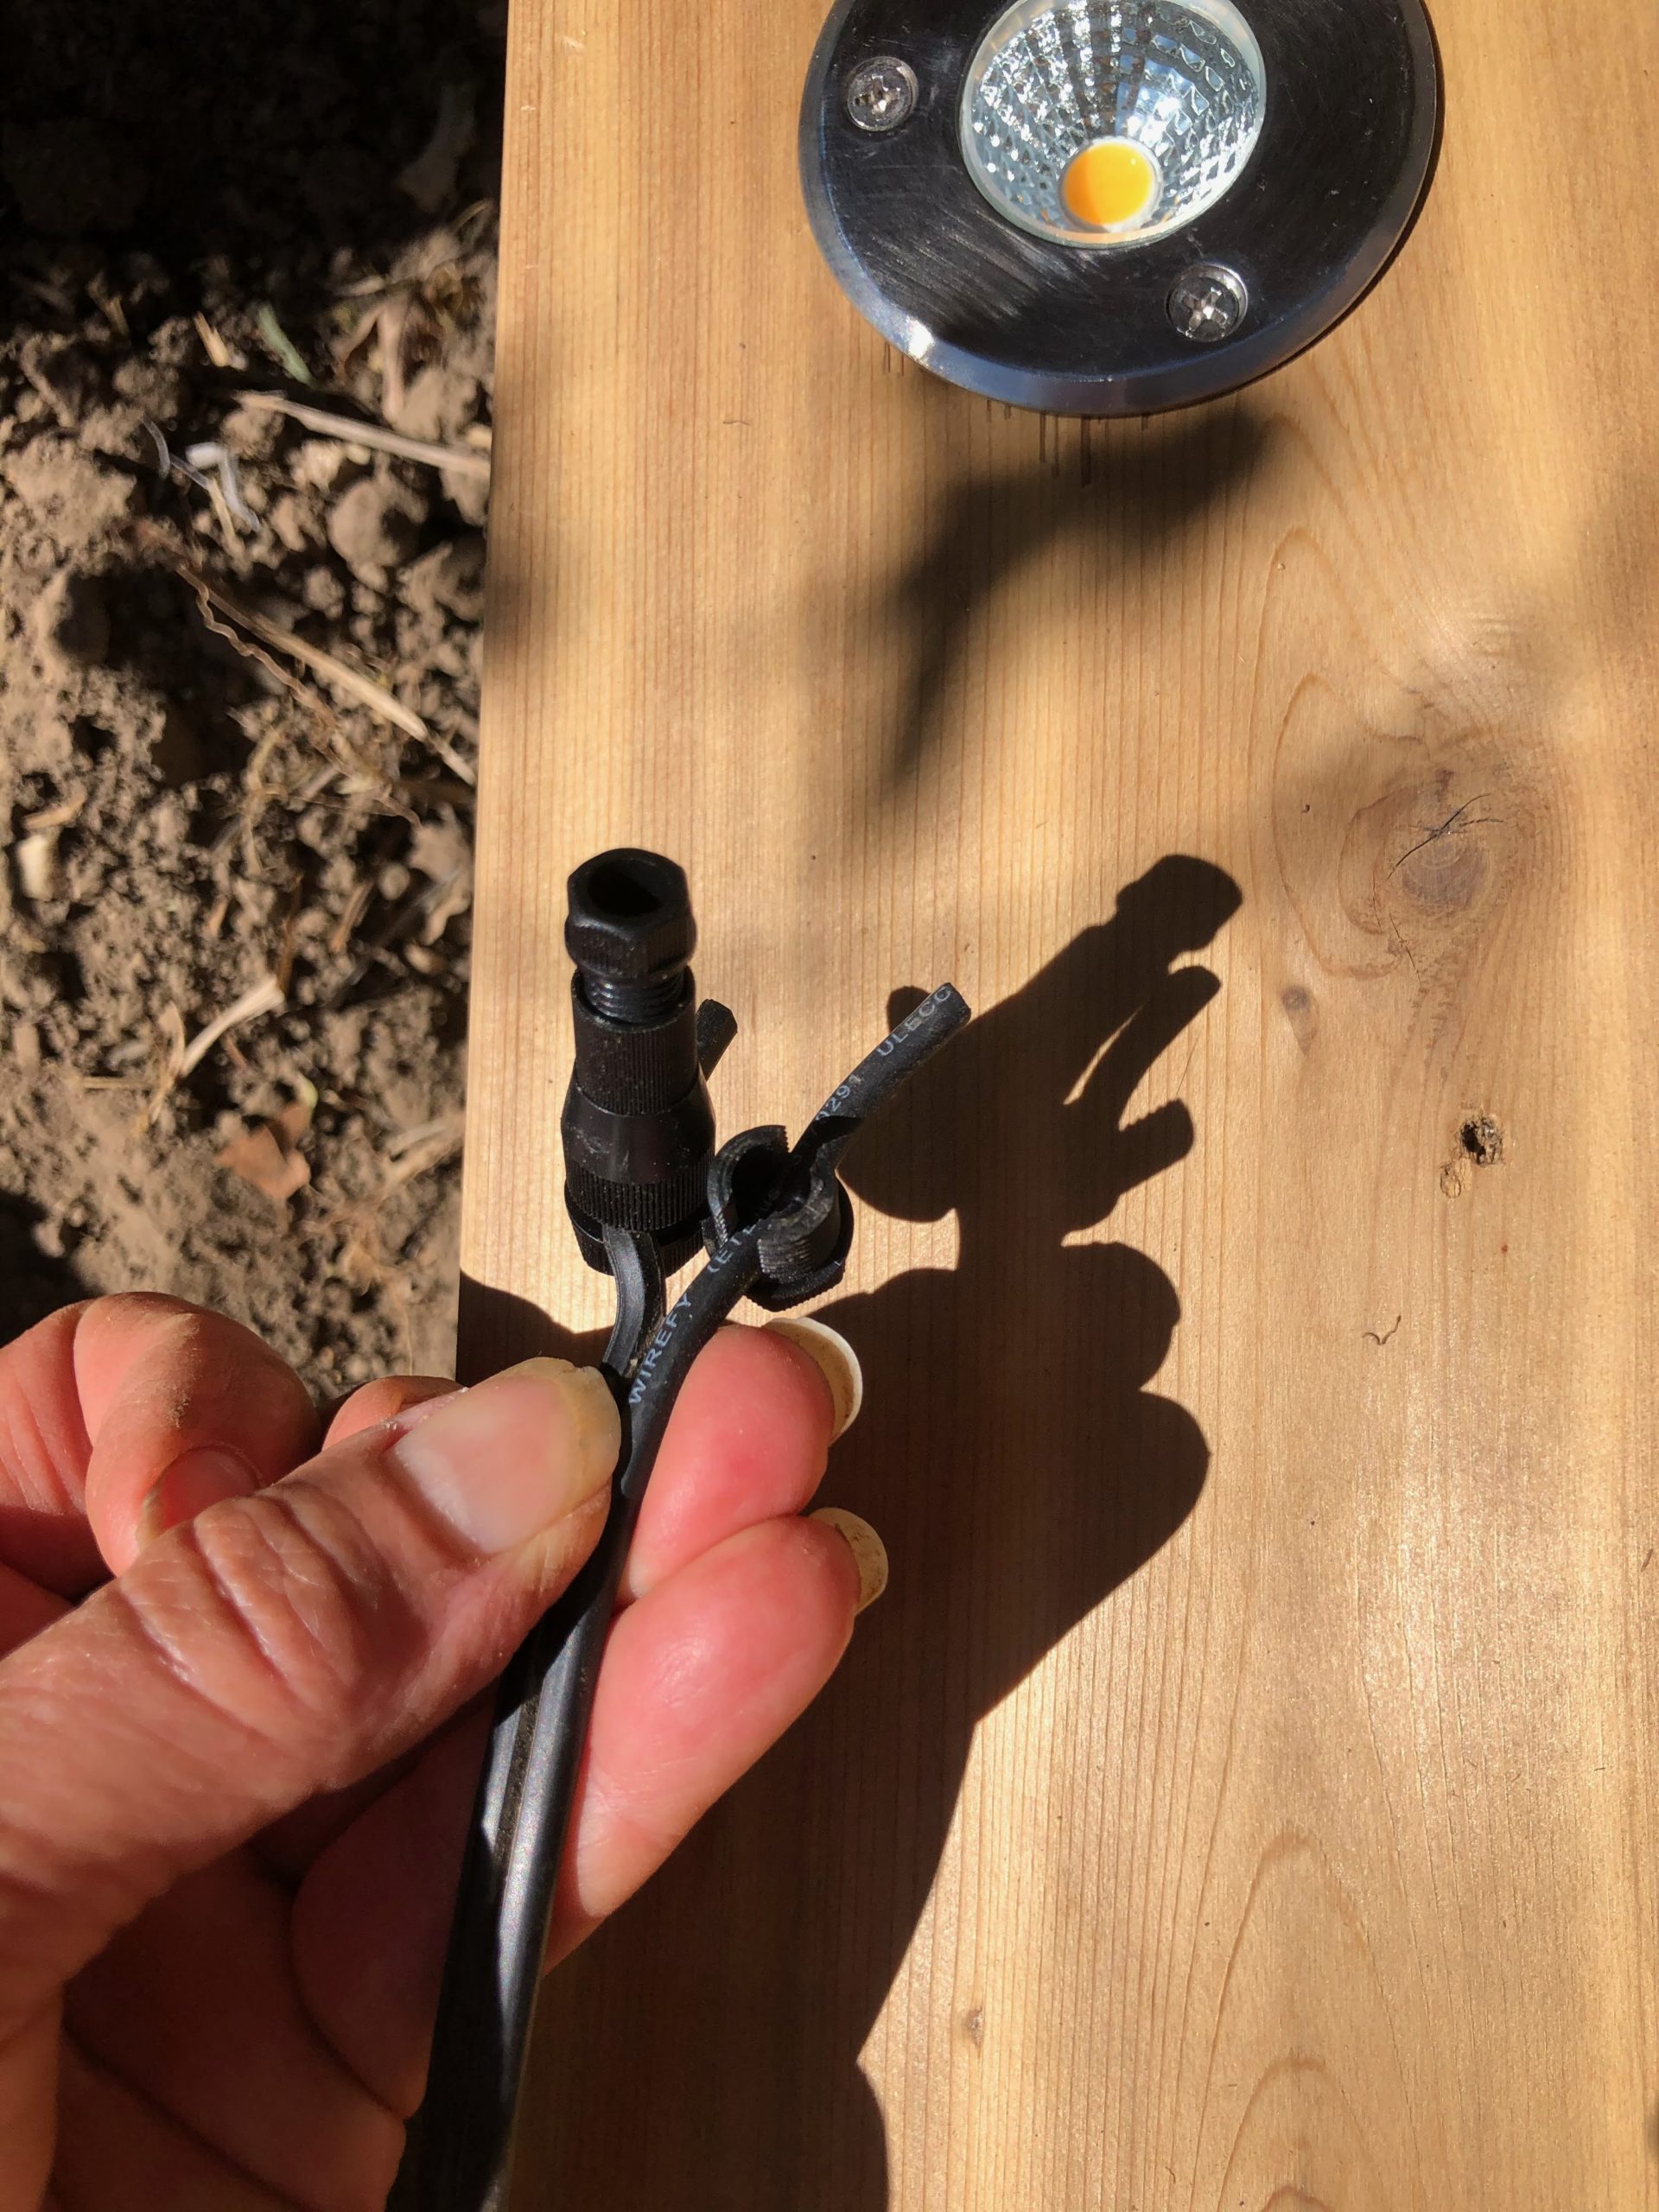
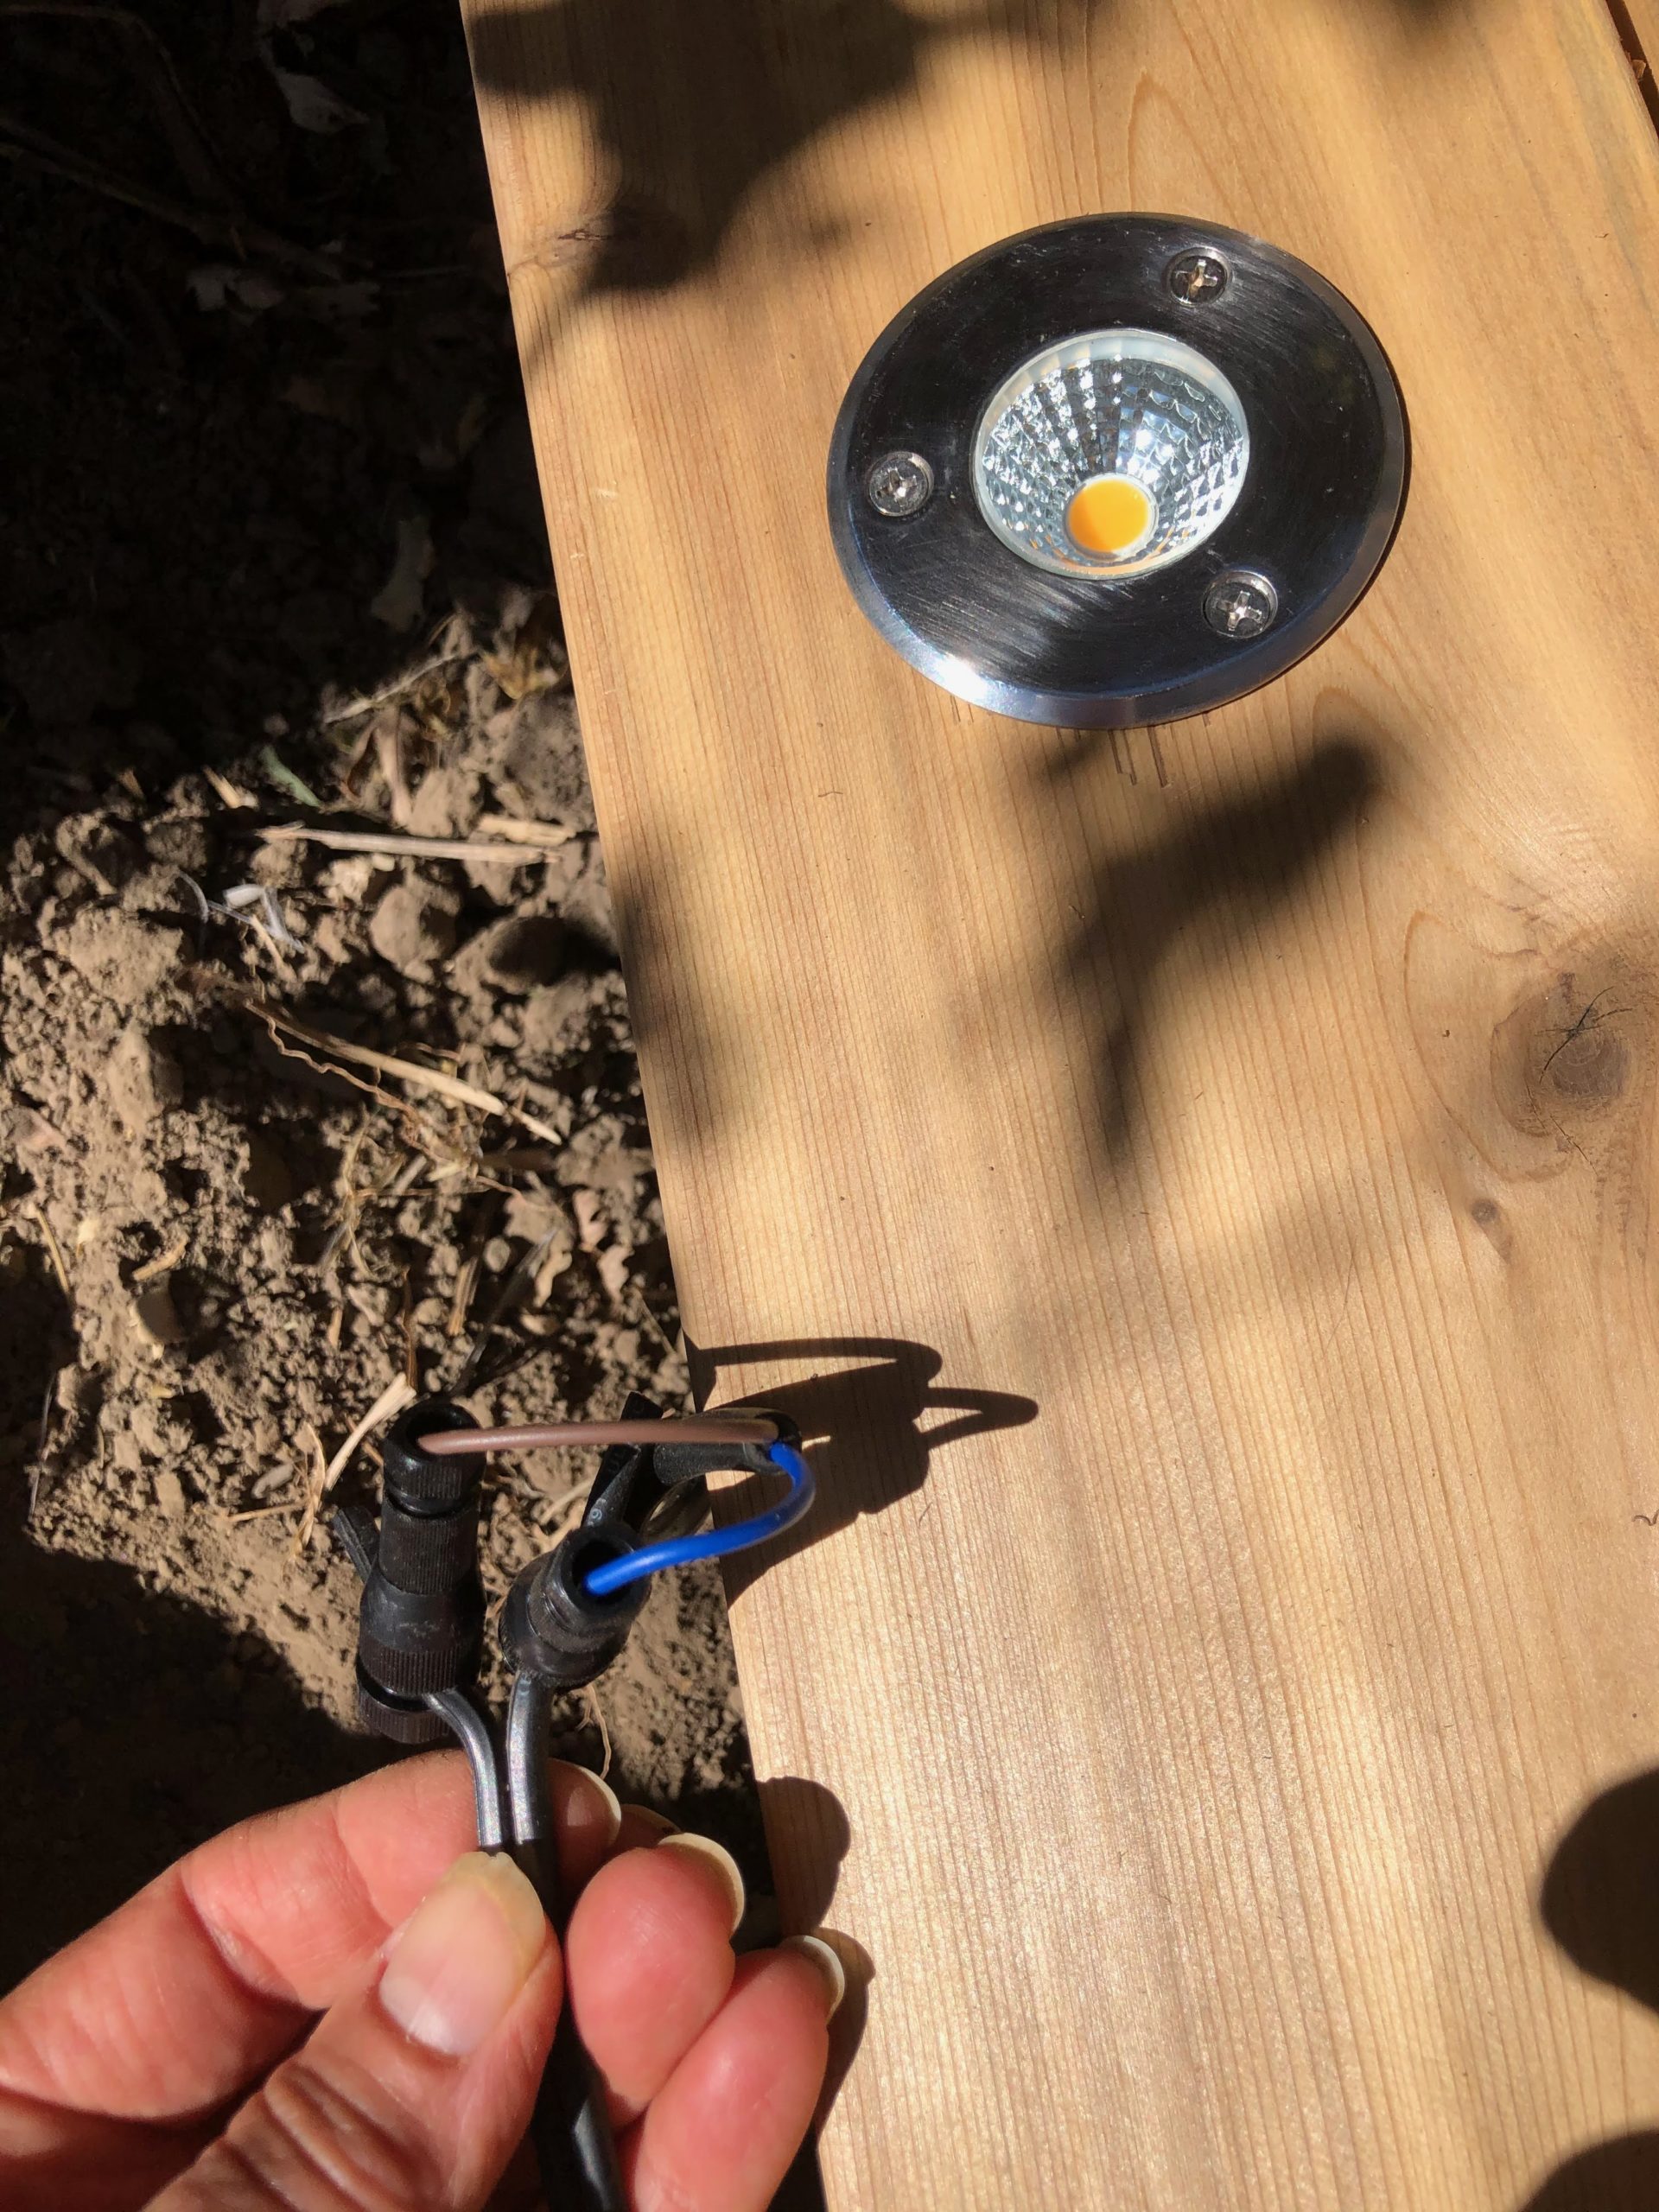
The same company makes these really nice connectors for attaching to landscape wire. They come in packs of 16 so each pack is enough to hook up 8 lights. They aren’t cheap but are so much nicer than splicing wires. These connectors screw on to a split wire then have a separate screw connector for the light. No cutting or stripping necessary! The lights did come with connectors but they are the “bullet” type connectors and require cutting and splicing the main wire run.
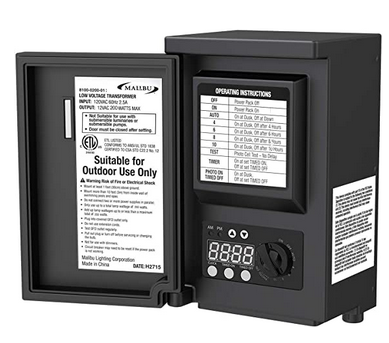
Most landscape lights are low voltage, 12V AC/DC, but don’t come with a transformer. We bought a Malibu 200-watt landscape lighting transformer. We probably won’t need 200 watts but this will give us the option to add more later. There are many options for outdoor landscape transformers, including ones that can be controlled from a device or part of an existing system like Ring. We went with this one because it fully controllable from the device itself with all the options you might want including: turn on at dusk (it comes with a photo sensor) and turn off after 4,6,8 hours, turn off at dawn, or turn off at a specific time. It includes a clock and timer. You can also just turn the lights on without using the sensor or timer. I was a little shocked to find that with some of the wireless devices there’s no way to just turn them on and leave them on (“on” means come on for 5 minutes or something). Simple is better here for us.
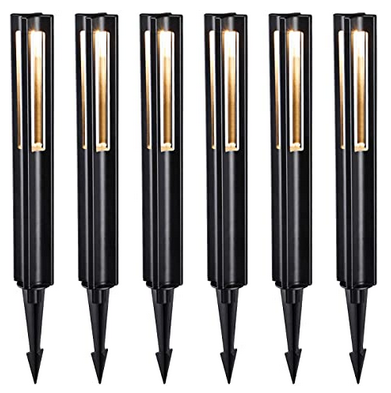
We also bought some extra landscaping lights for our front walkway. We currently have small solar lights there but they are quite dim and don’t all work. Also they don’t always come on when we want. We liked this style because it sort of matches the style of our front porch and post lights. They are also different from the standard round-profile landscape lights. They are called LEONLITE 12V Low Voltage LED Landscape Light (Amazon).
If you’re thinking of running low voltage landscape lights it’s very important to make sure you have a large enough transformer AND have the correct gauge wire. The larger the gauge , the thinner the wire. Thinner wire has higher resistance and therefore experiences more voltage drop across long distances. That’s important since you might be running long stretches of low voltage wire around your property. If you use a wire that’s too thin some of your lights may not work at all. I found this extremely handy chart on the product listing for the wire I bought for this project, Wirefy 14/2 Low Voltage Landscape Lighting Wire.
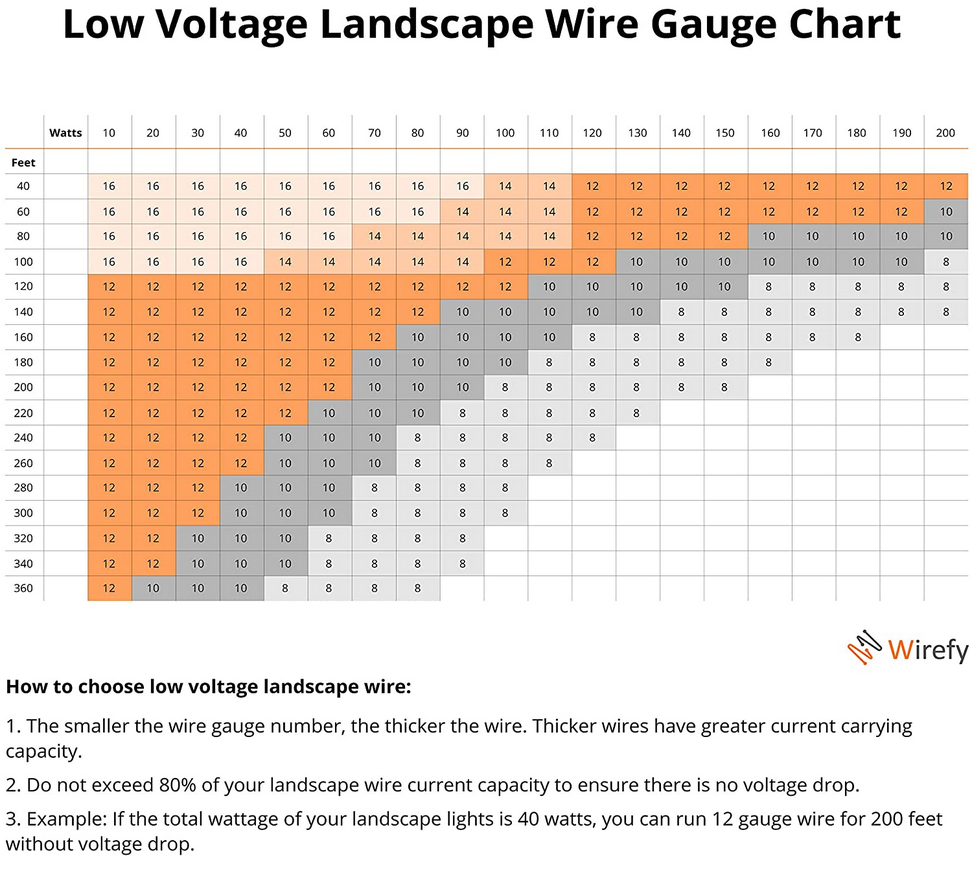
For our project I purchased 100 feet of 14 gauge wire. I could run up to 90 watts of lights on a single 100-foot run, or 110 watts on a 40-foot run. Since each of our deck lights and landscape lights are 3 watts and we are installing a total of 12 deck lights + 6 landscape lights that’s 18*3 = 54 watts. However, that’s on two separate runs of the 14-gauge wire (around 50 feet each) so we are well within the current-carrying capacity of the wire. The transformer will also easily be able to provide power for more lights in the future.
Note: the transformer I purchased has only one set of screw terminals for the low voltage output. That means all of the lights are controlled together. That doesn’t mean, though, that all lights have to be on a single run of wire. I twisted two sets of wires together for my two runs and they easily fit on the screw terminals. I think I could get at least two more in there for future runs.

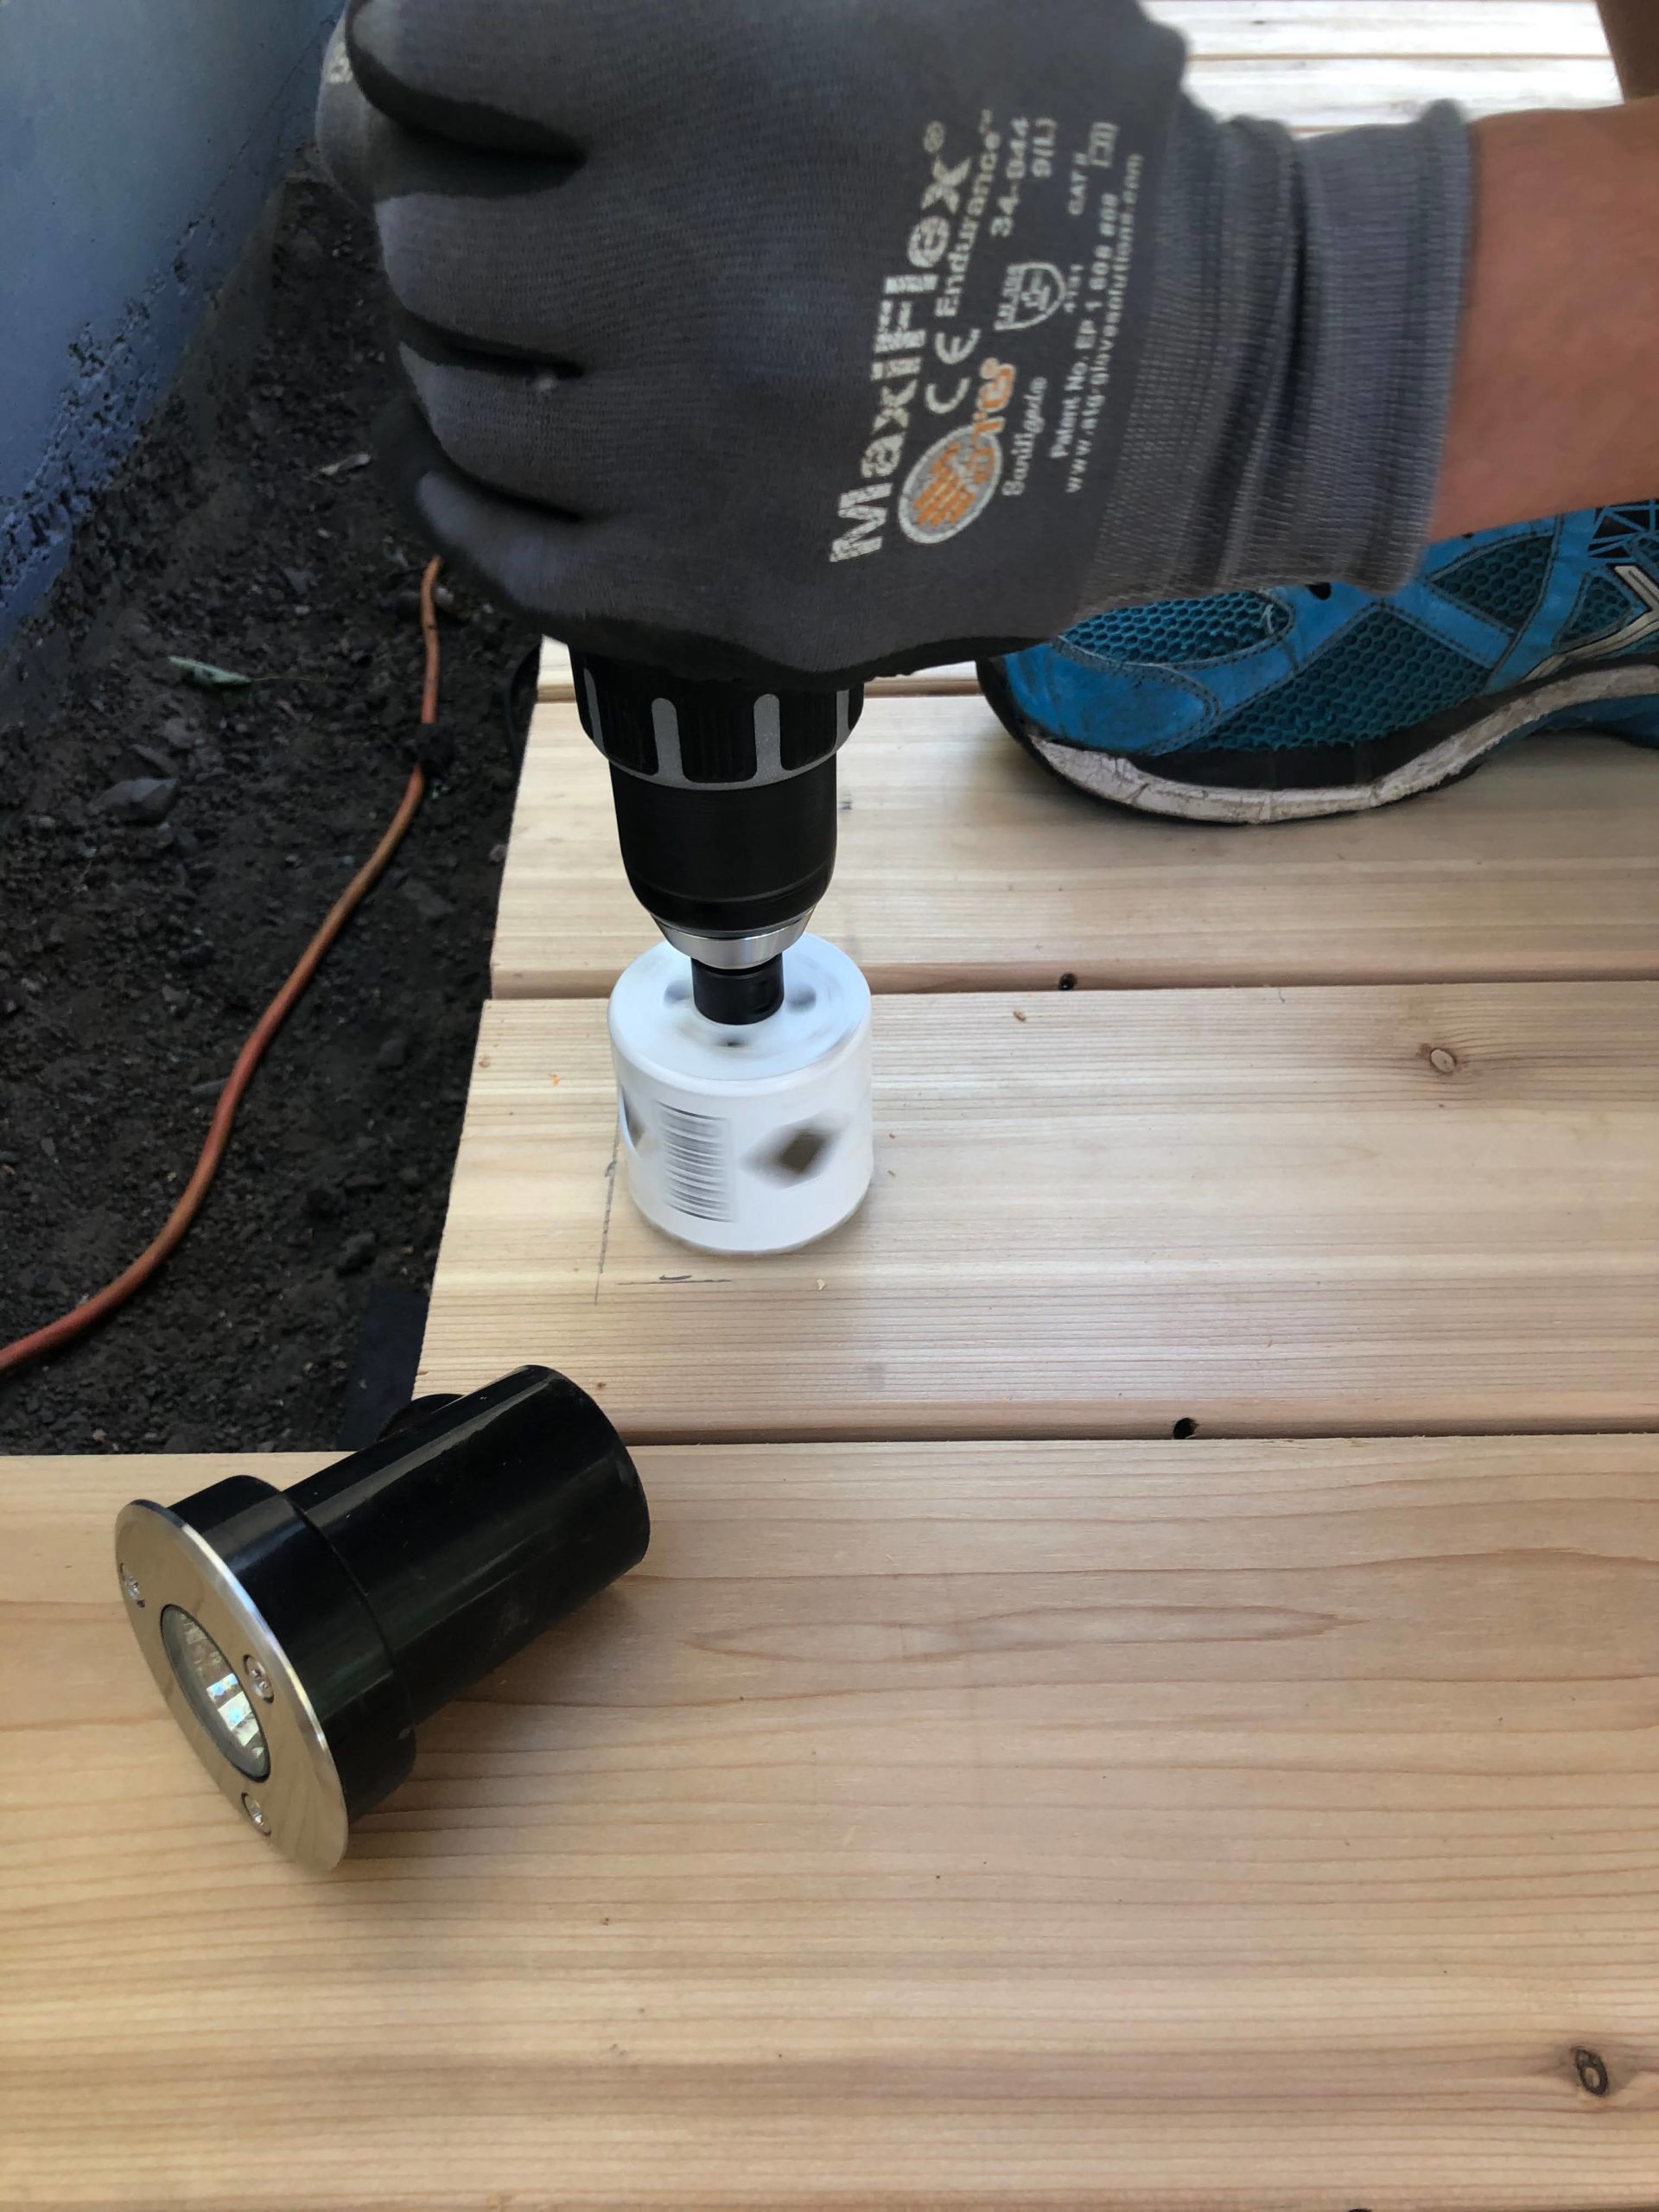
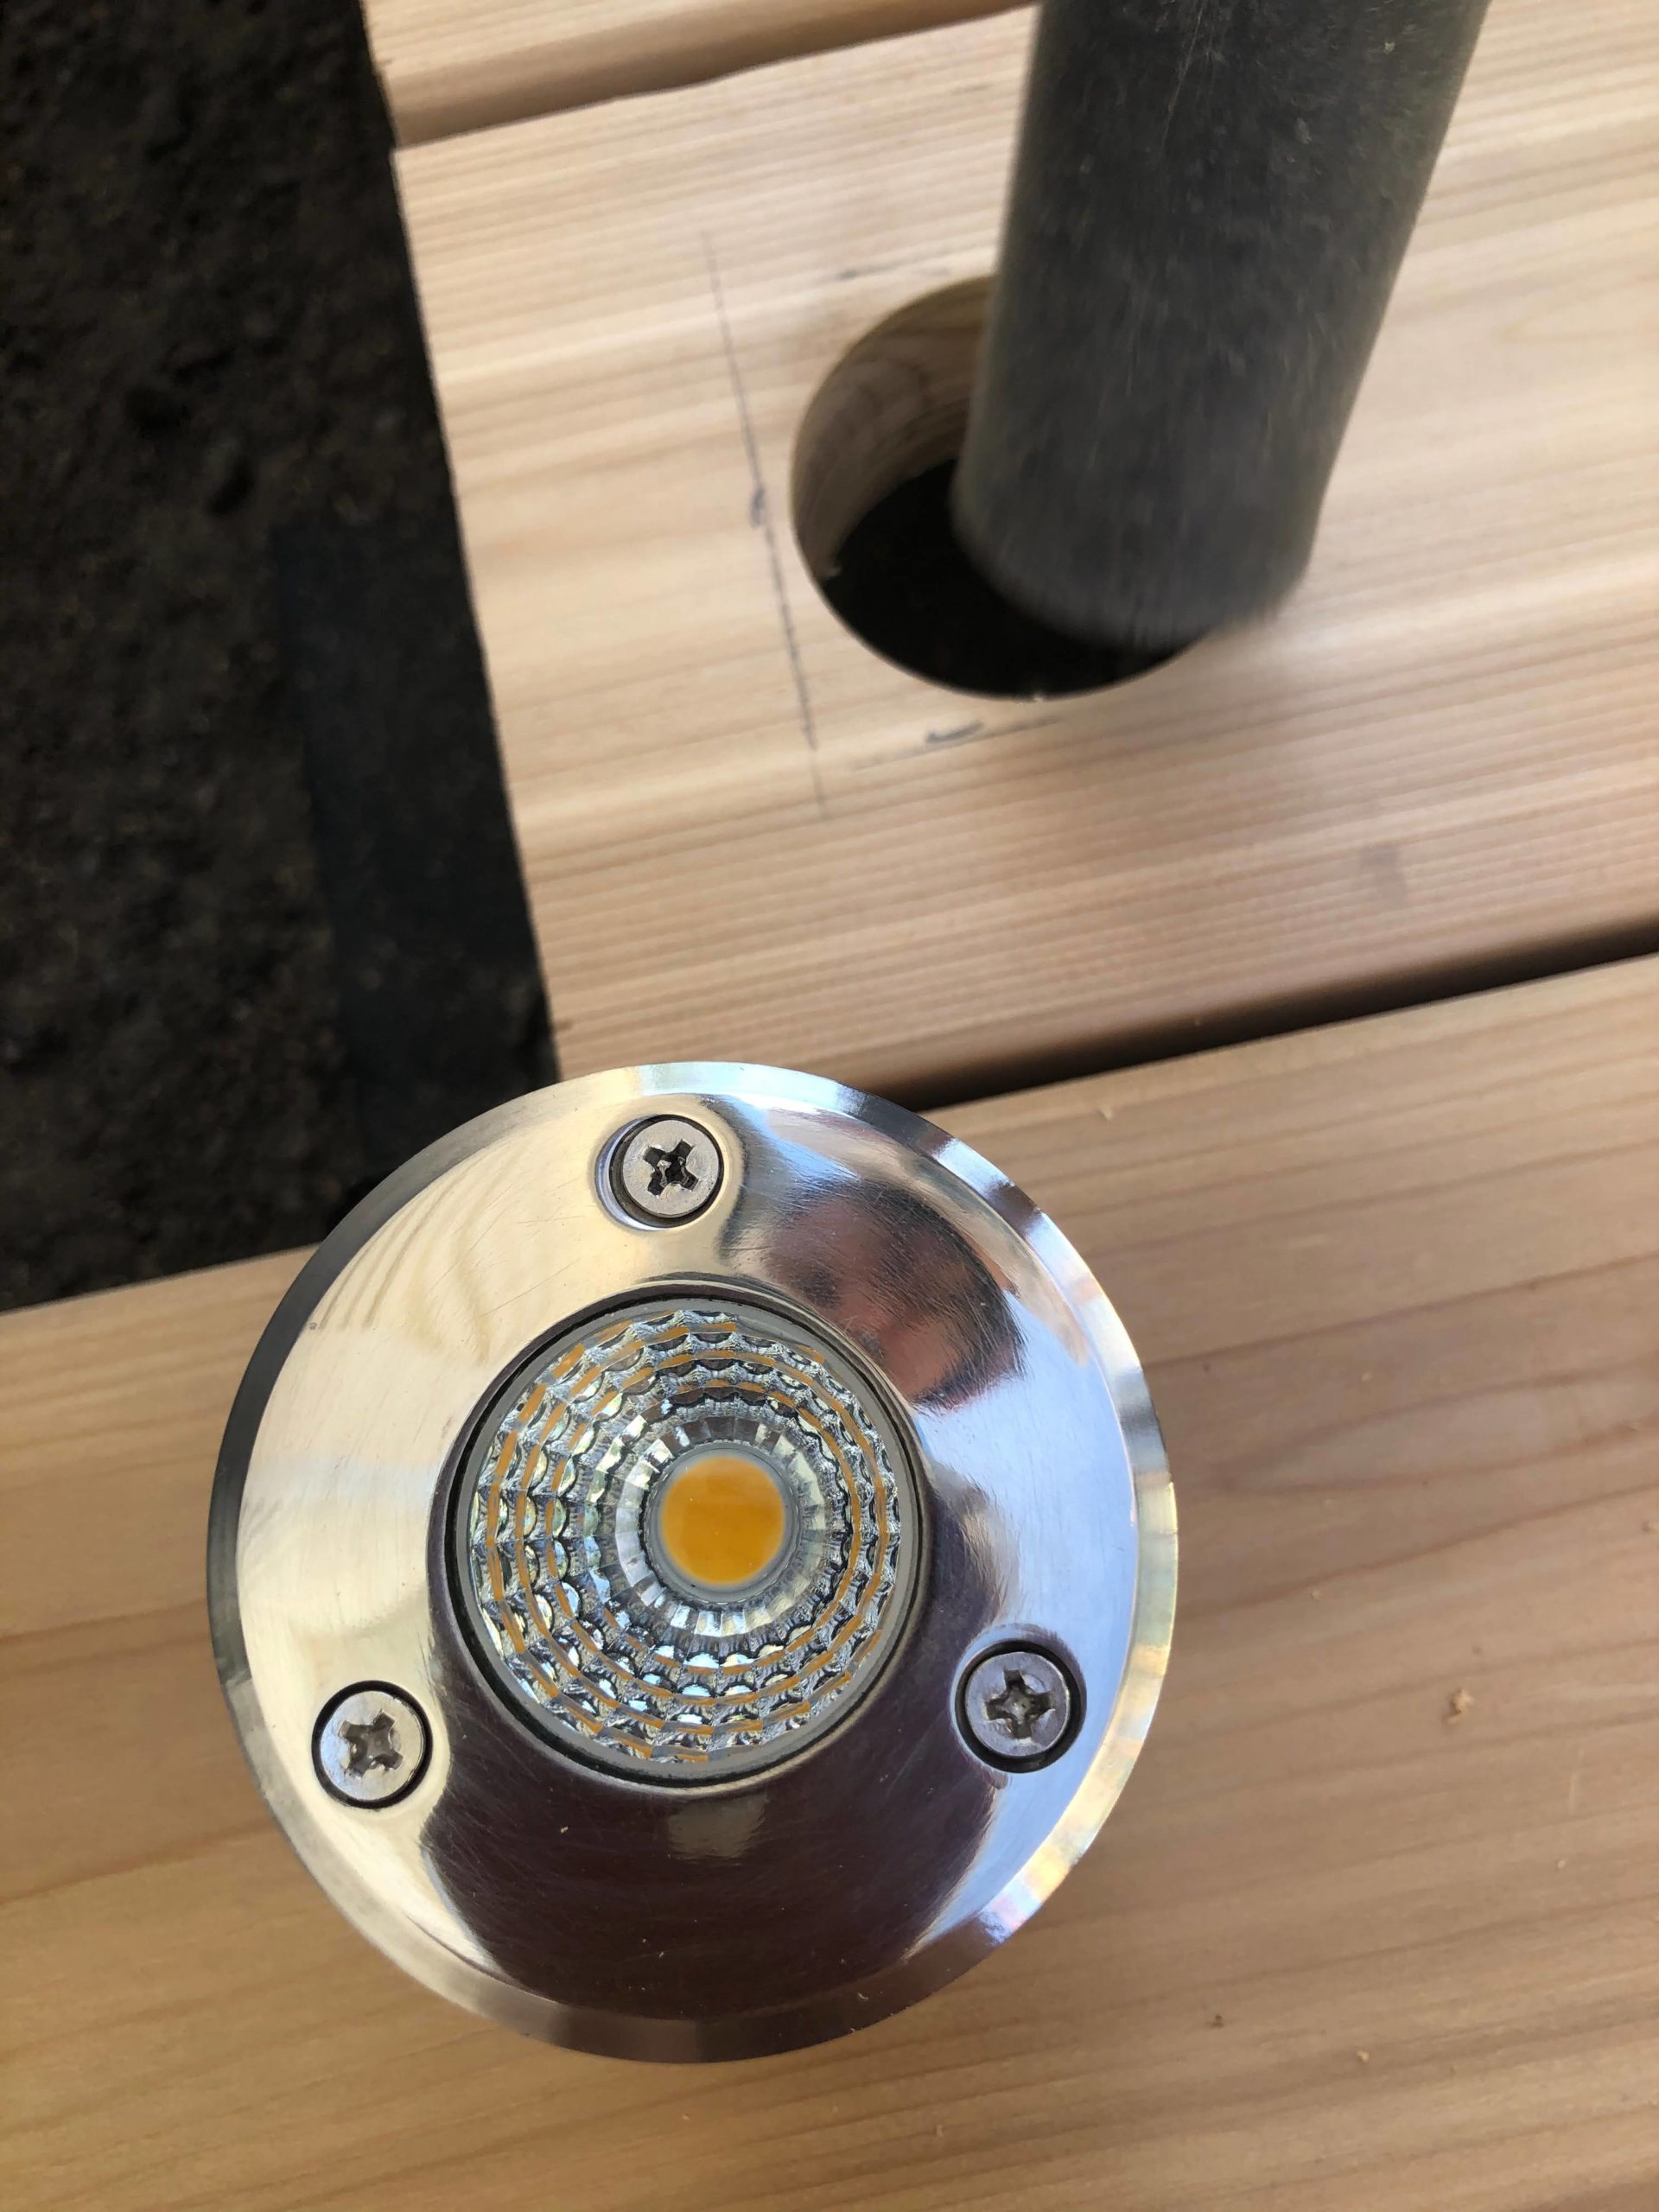
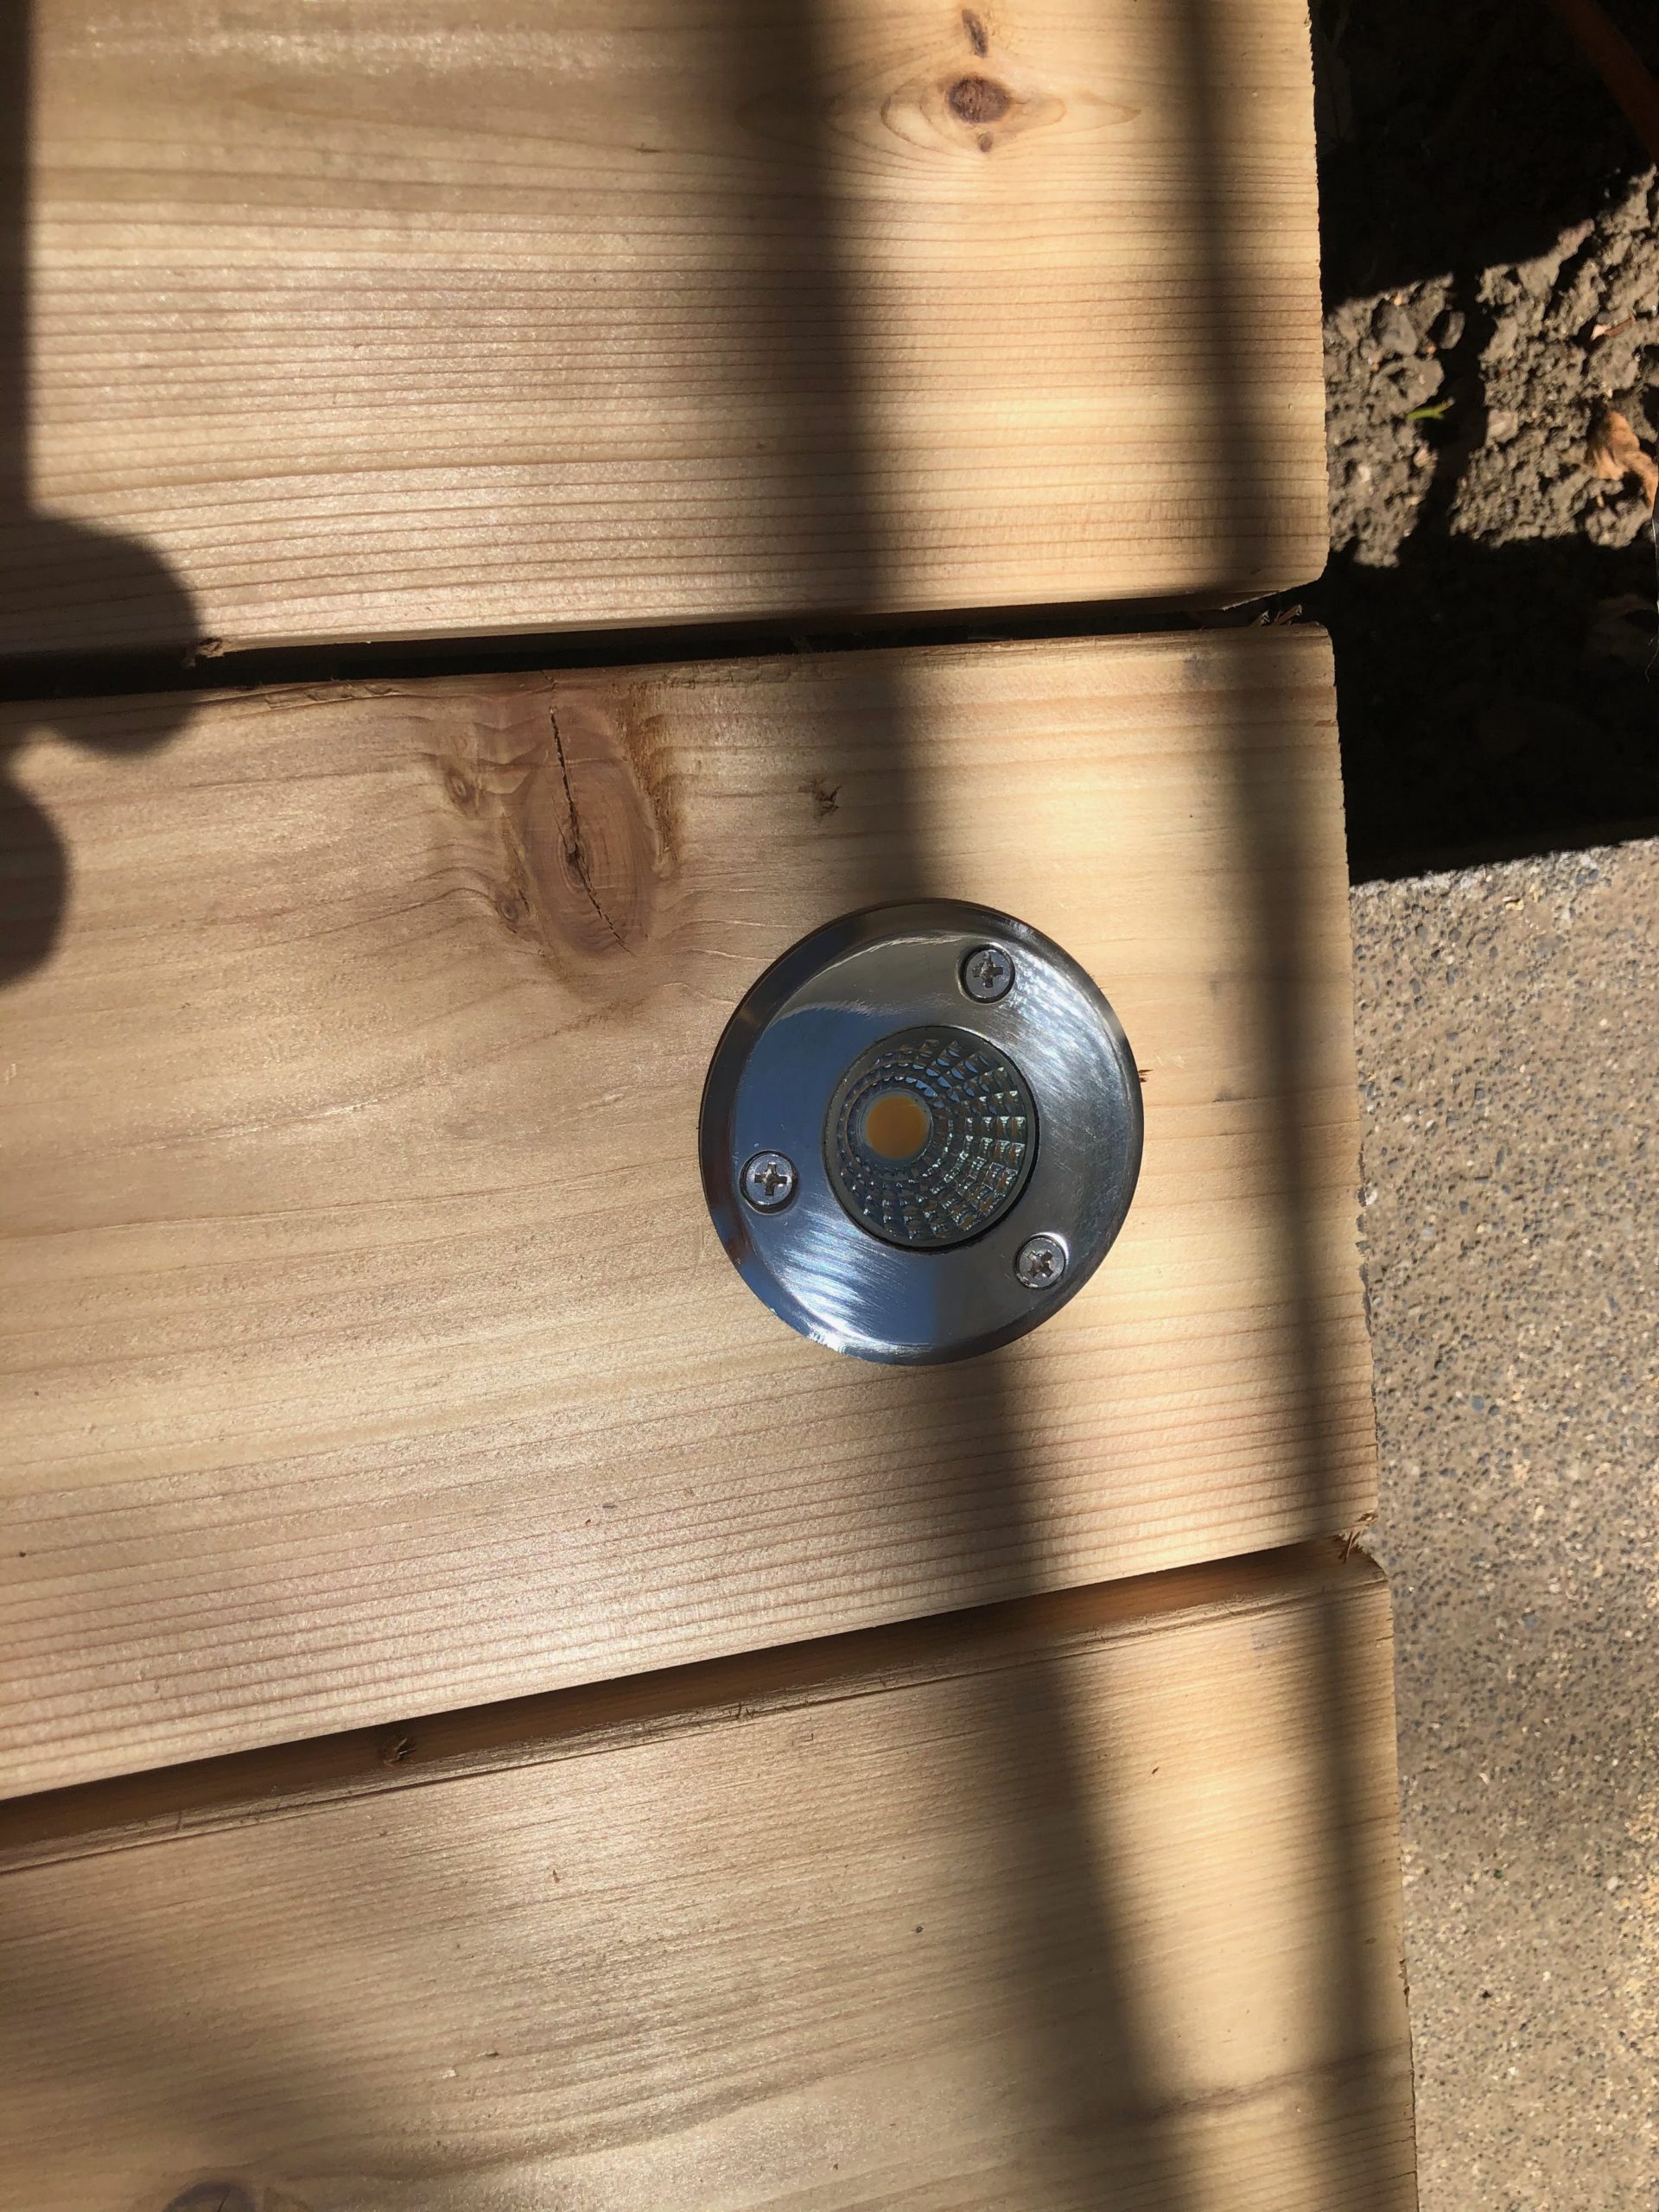
Here are some shots of the installation process:
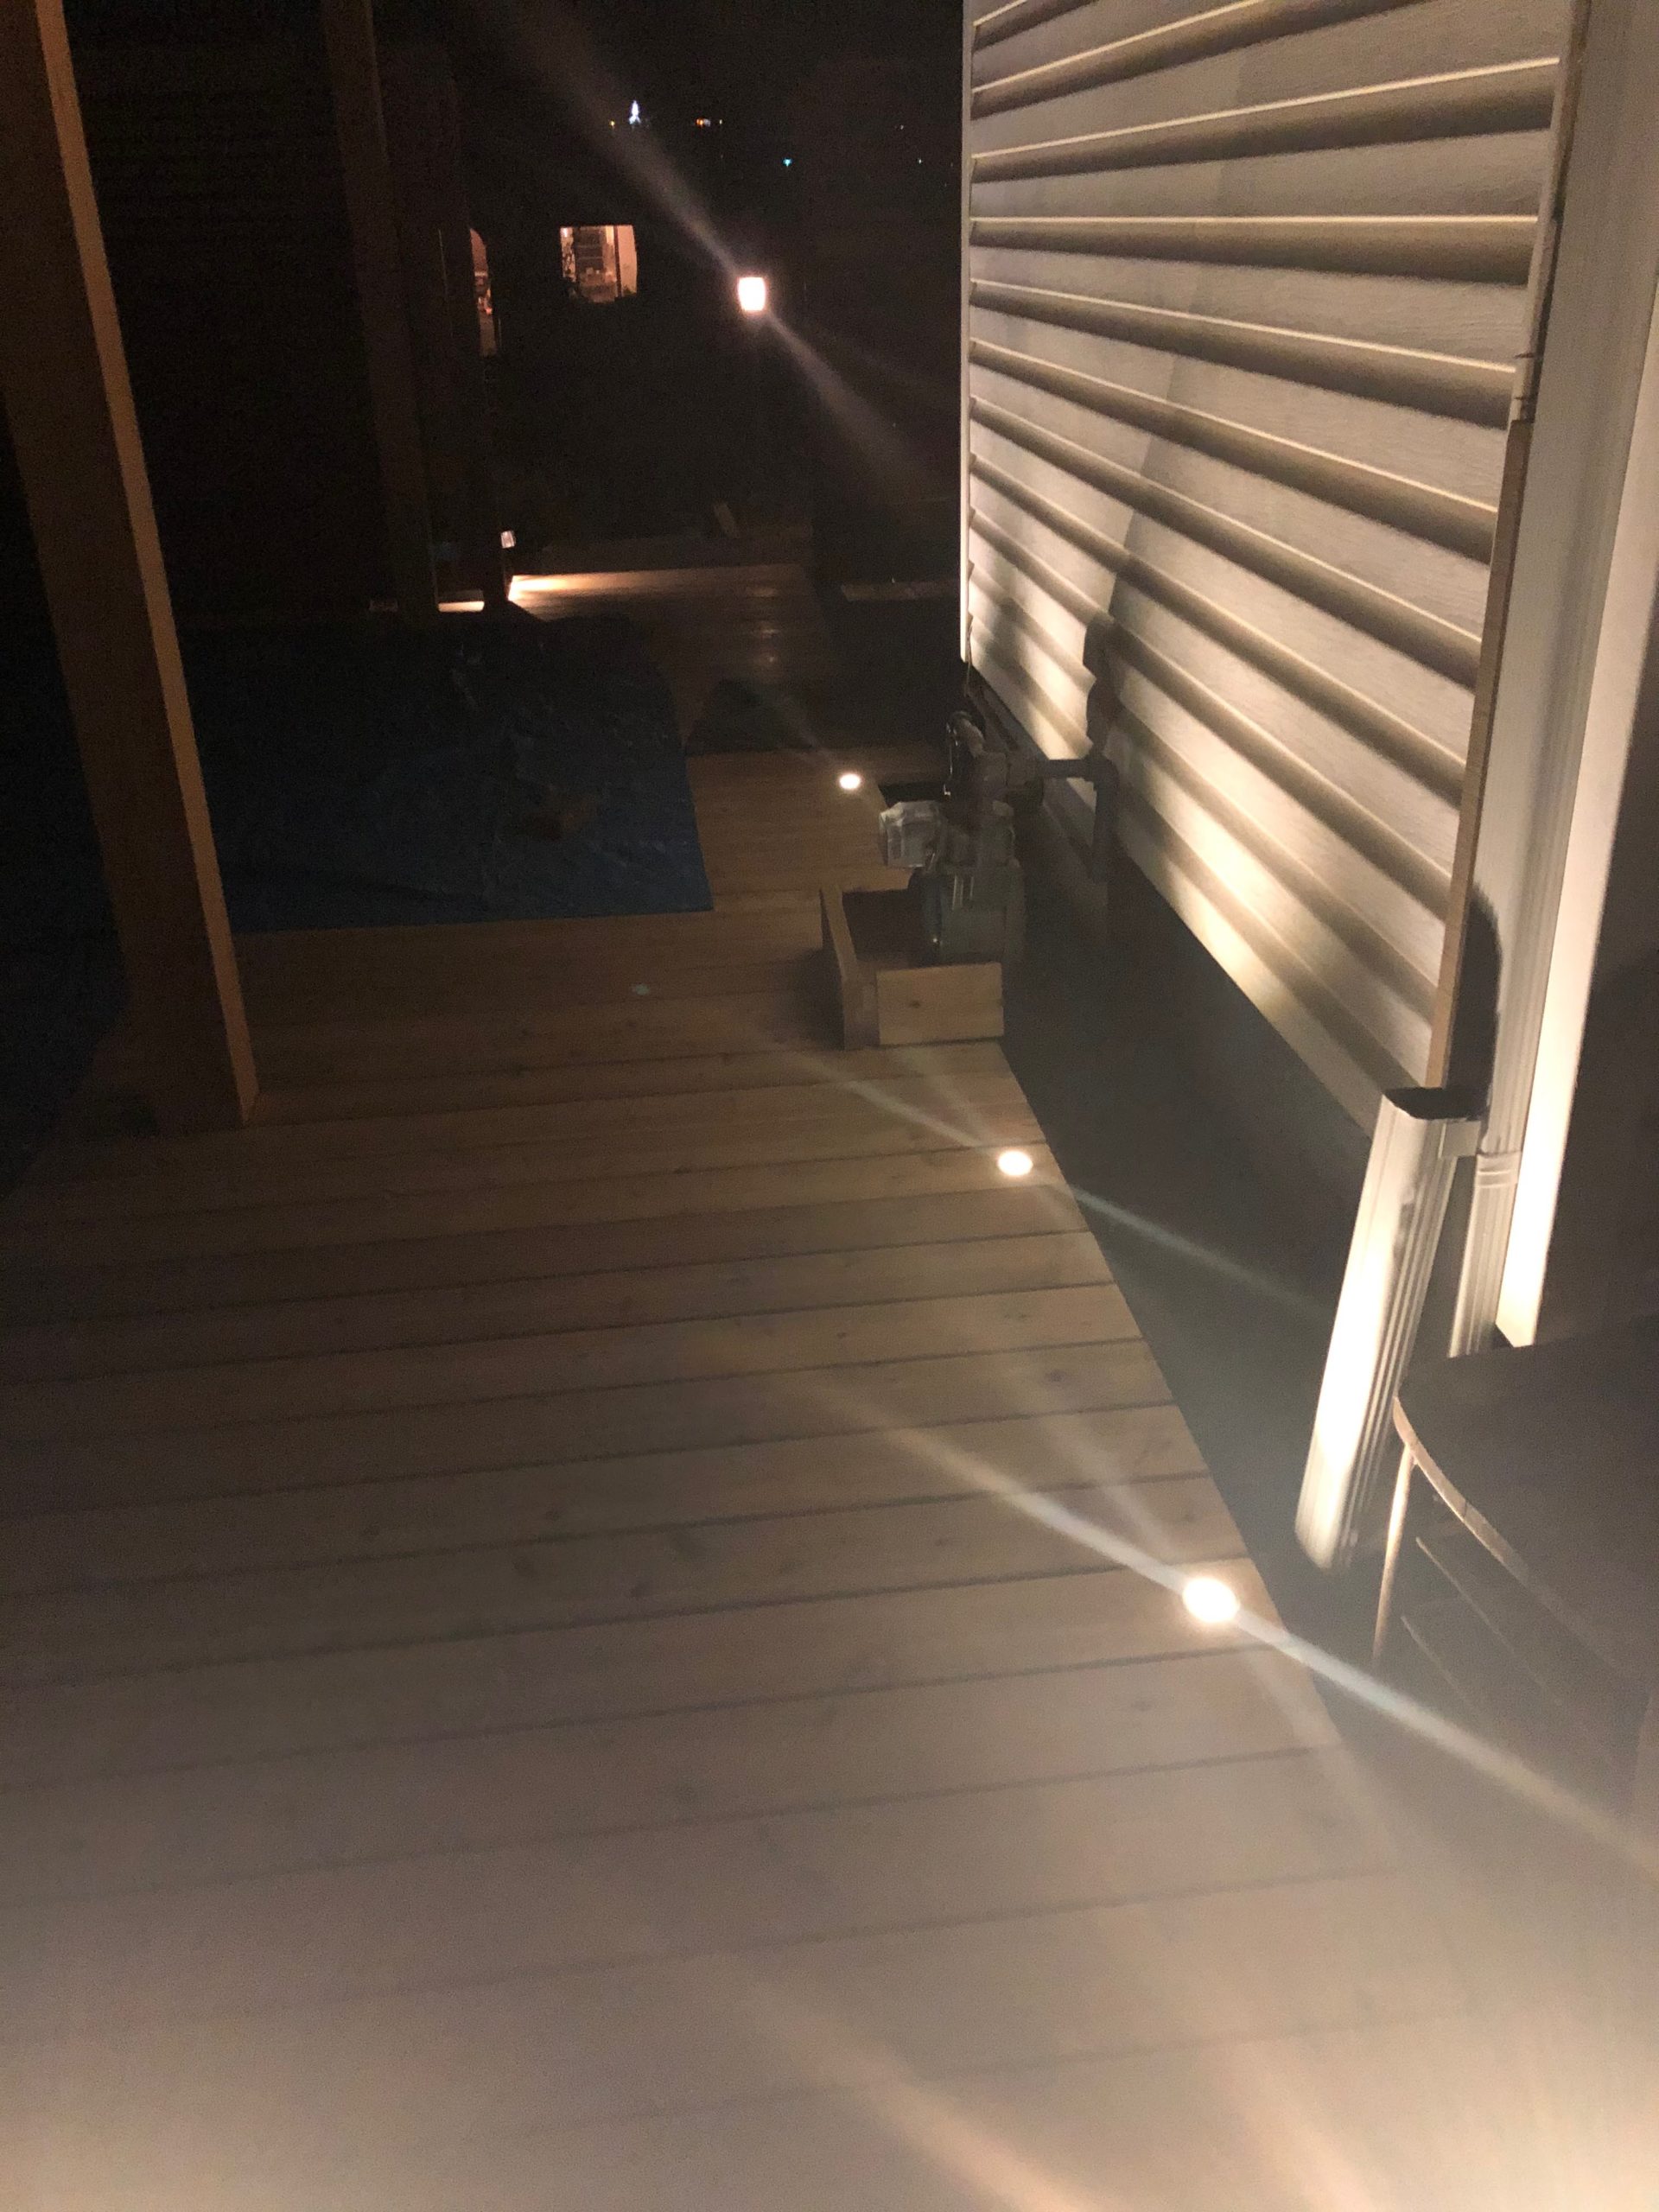
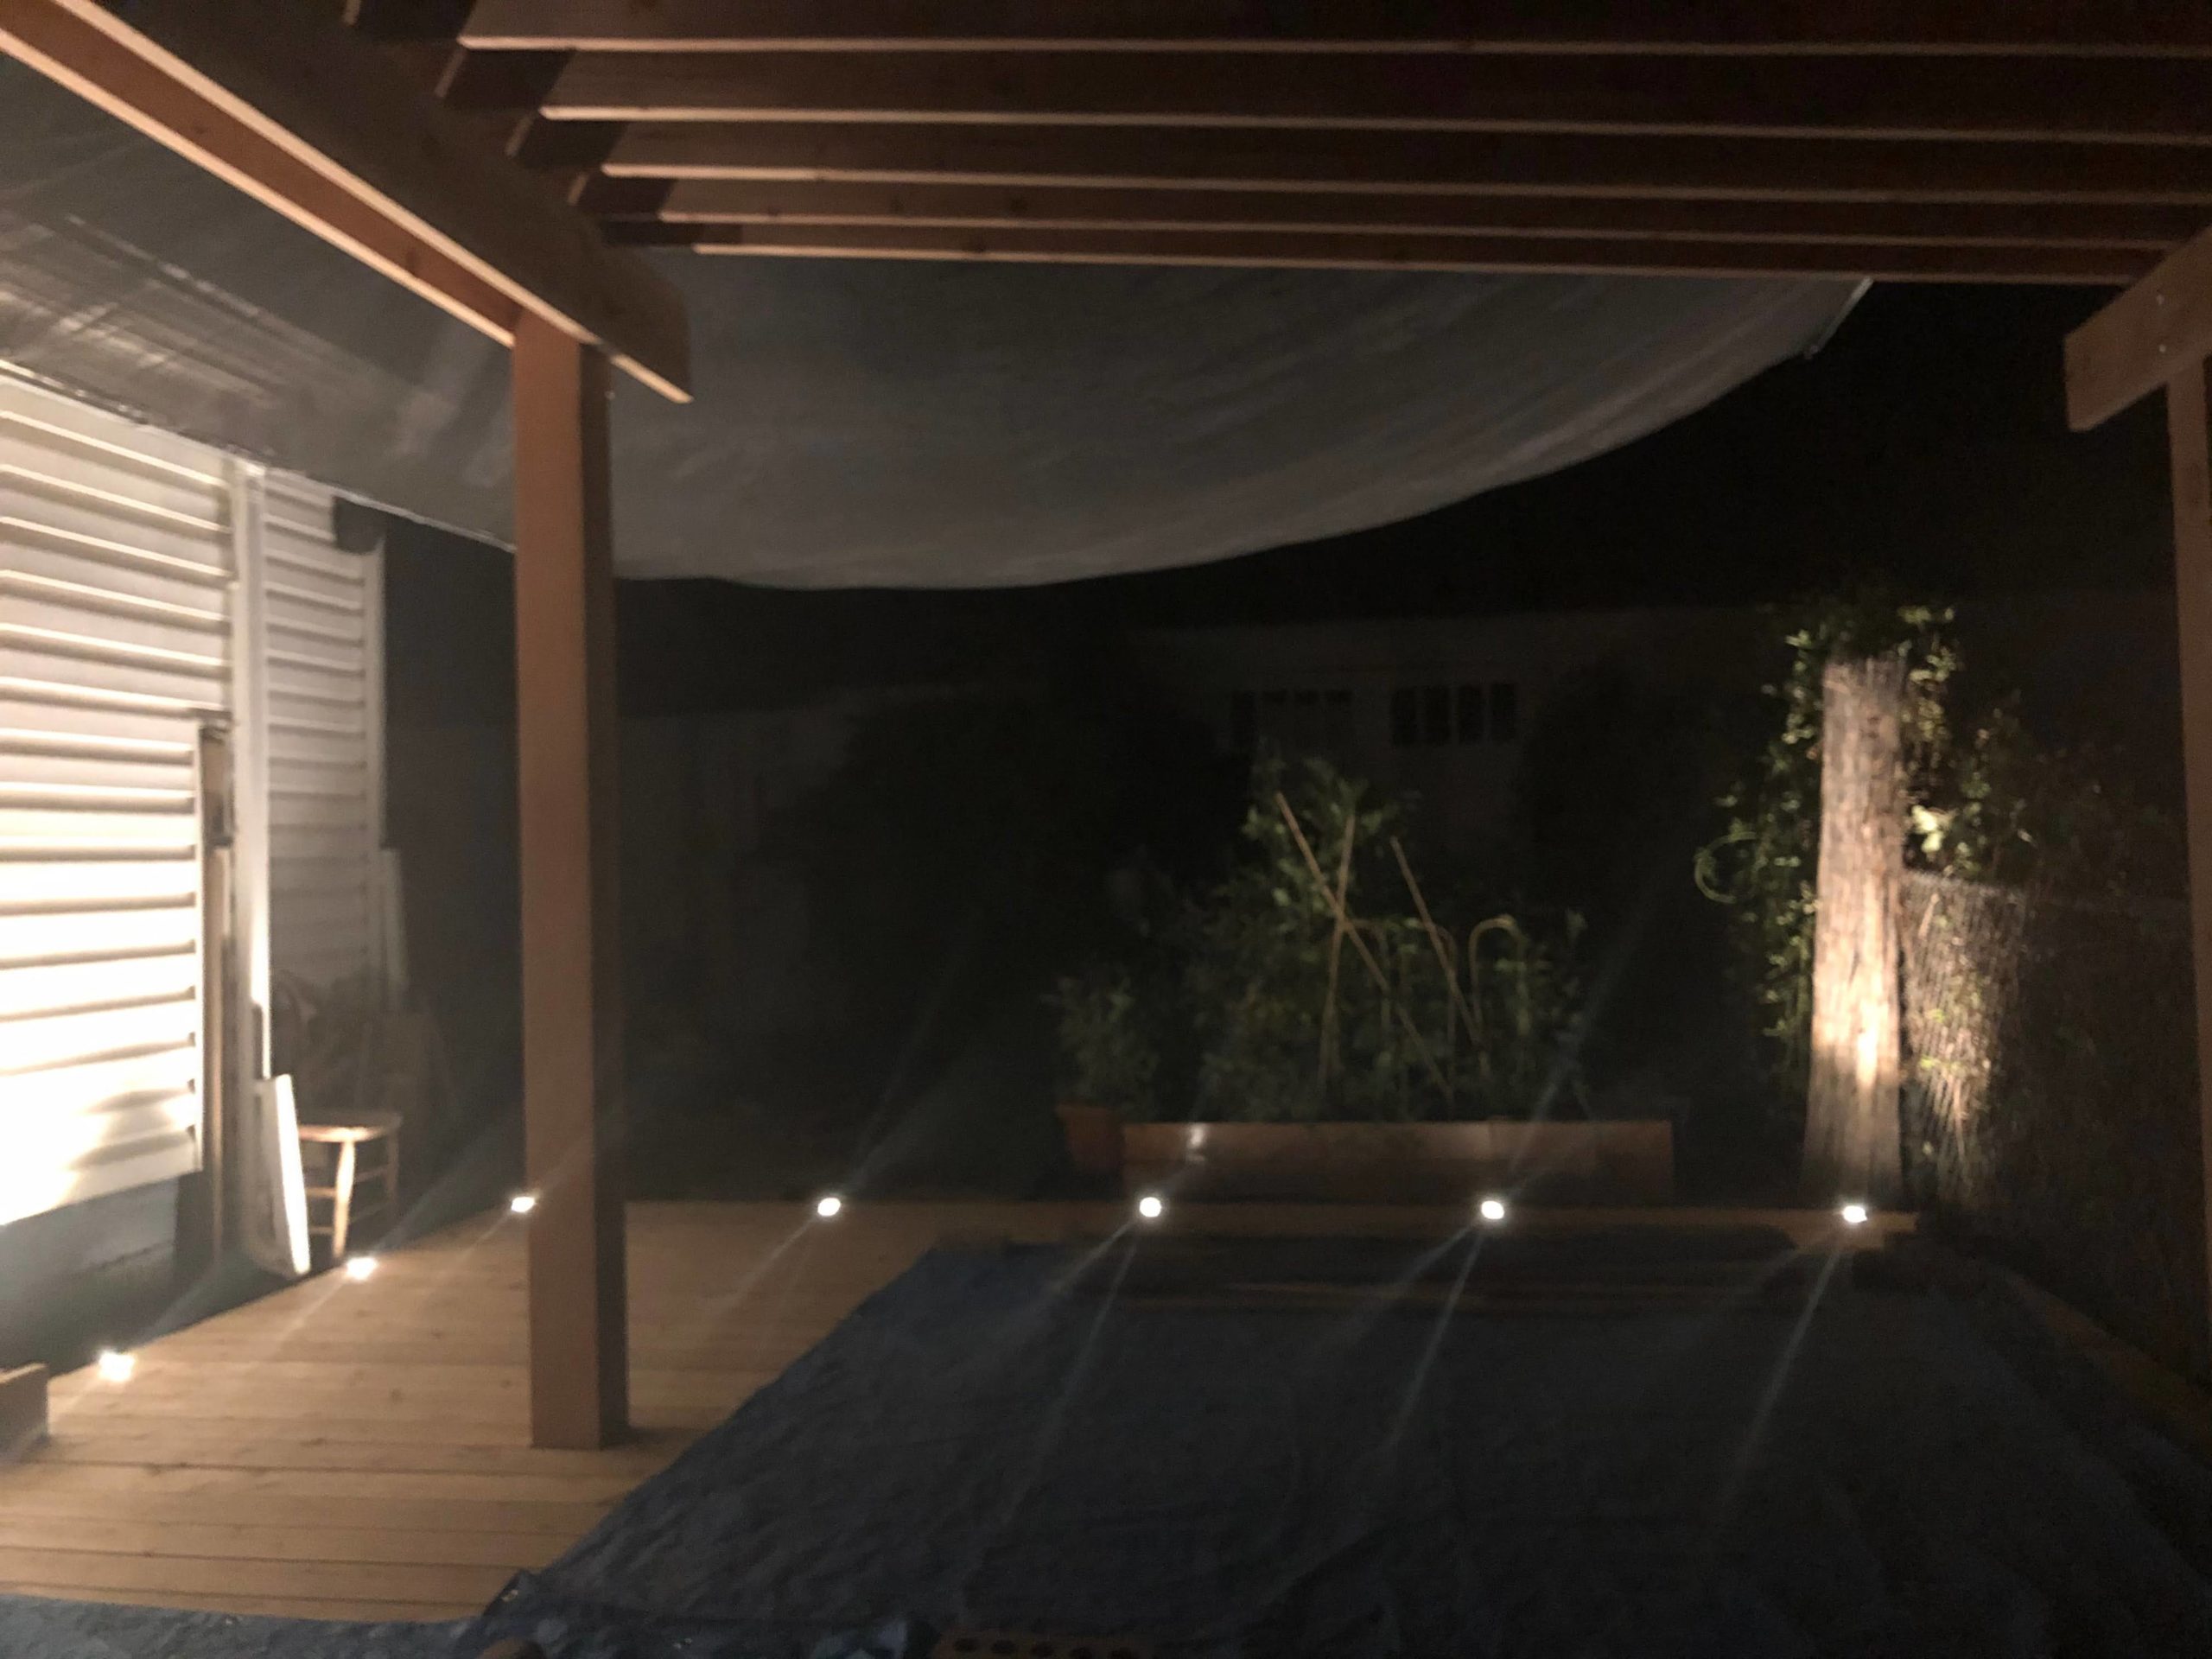
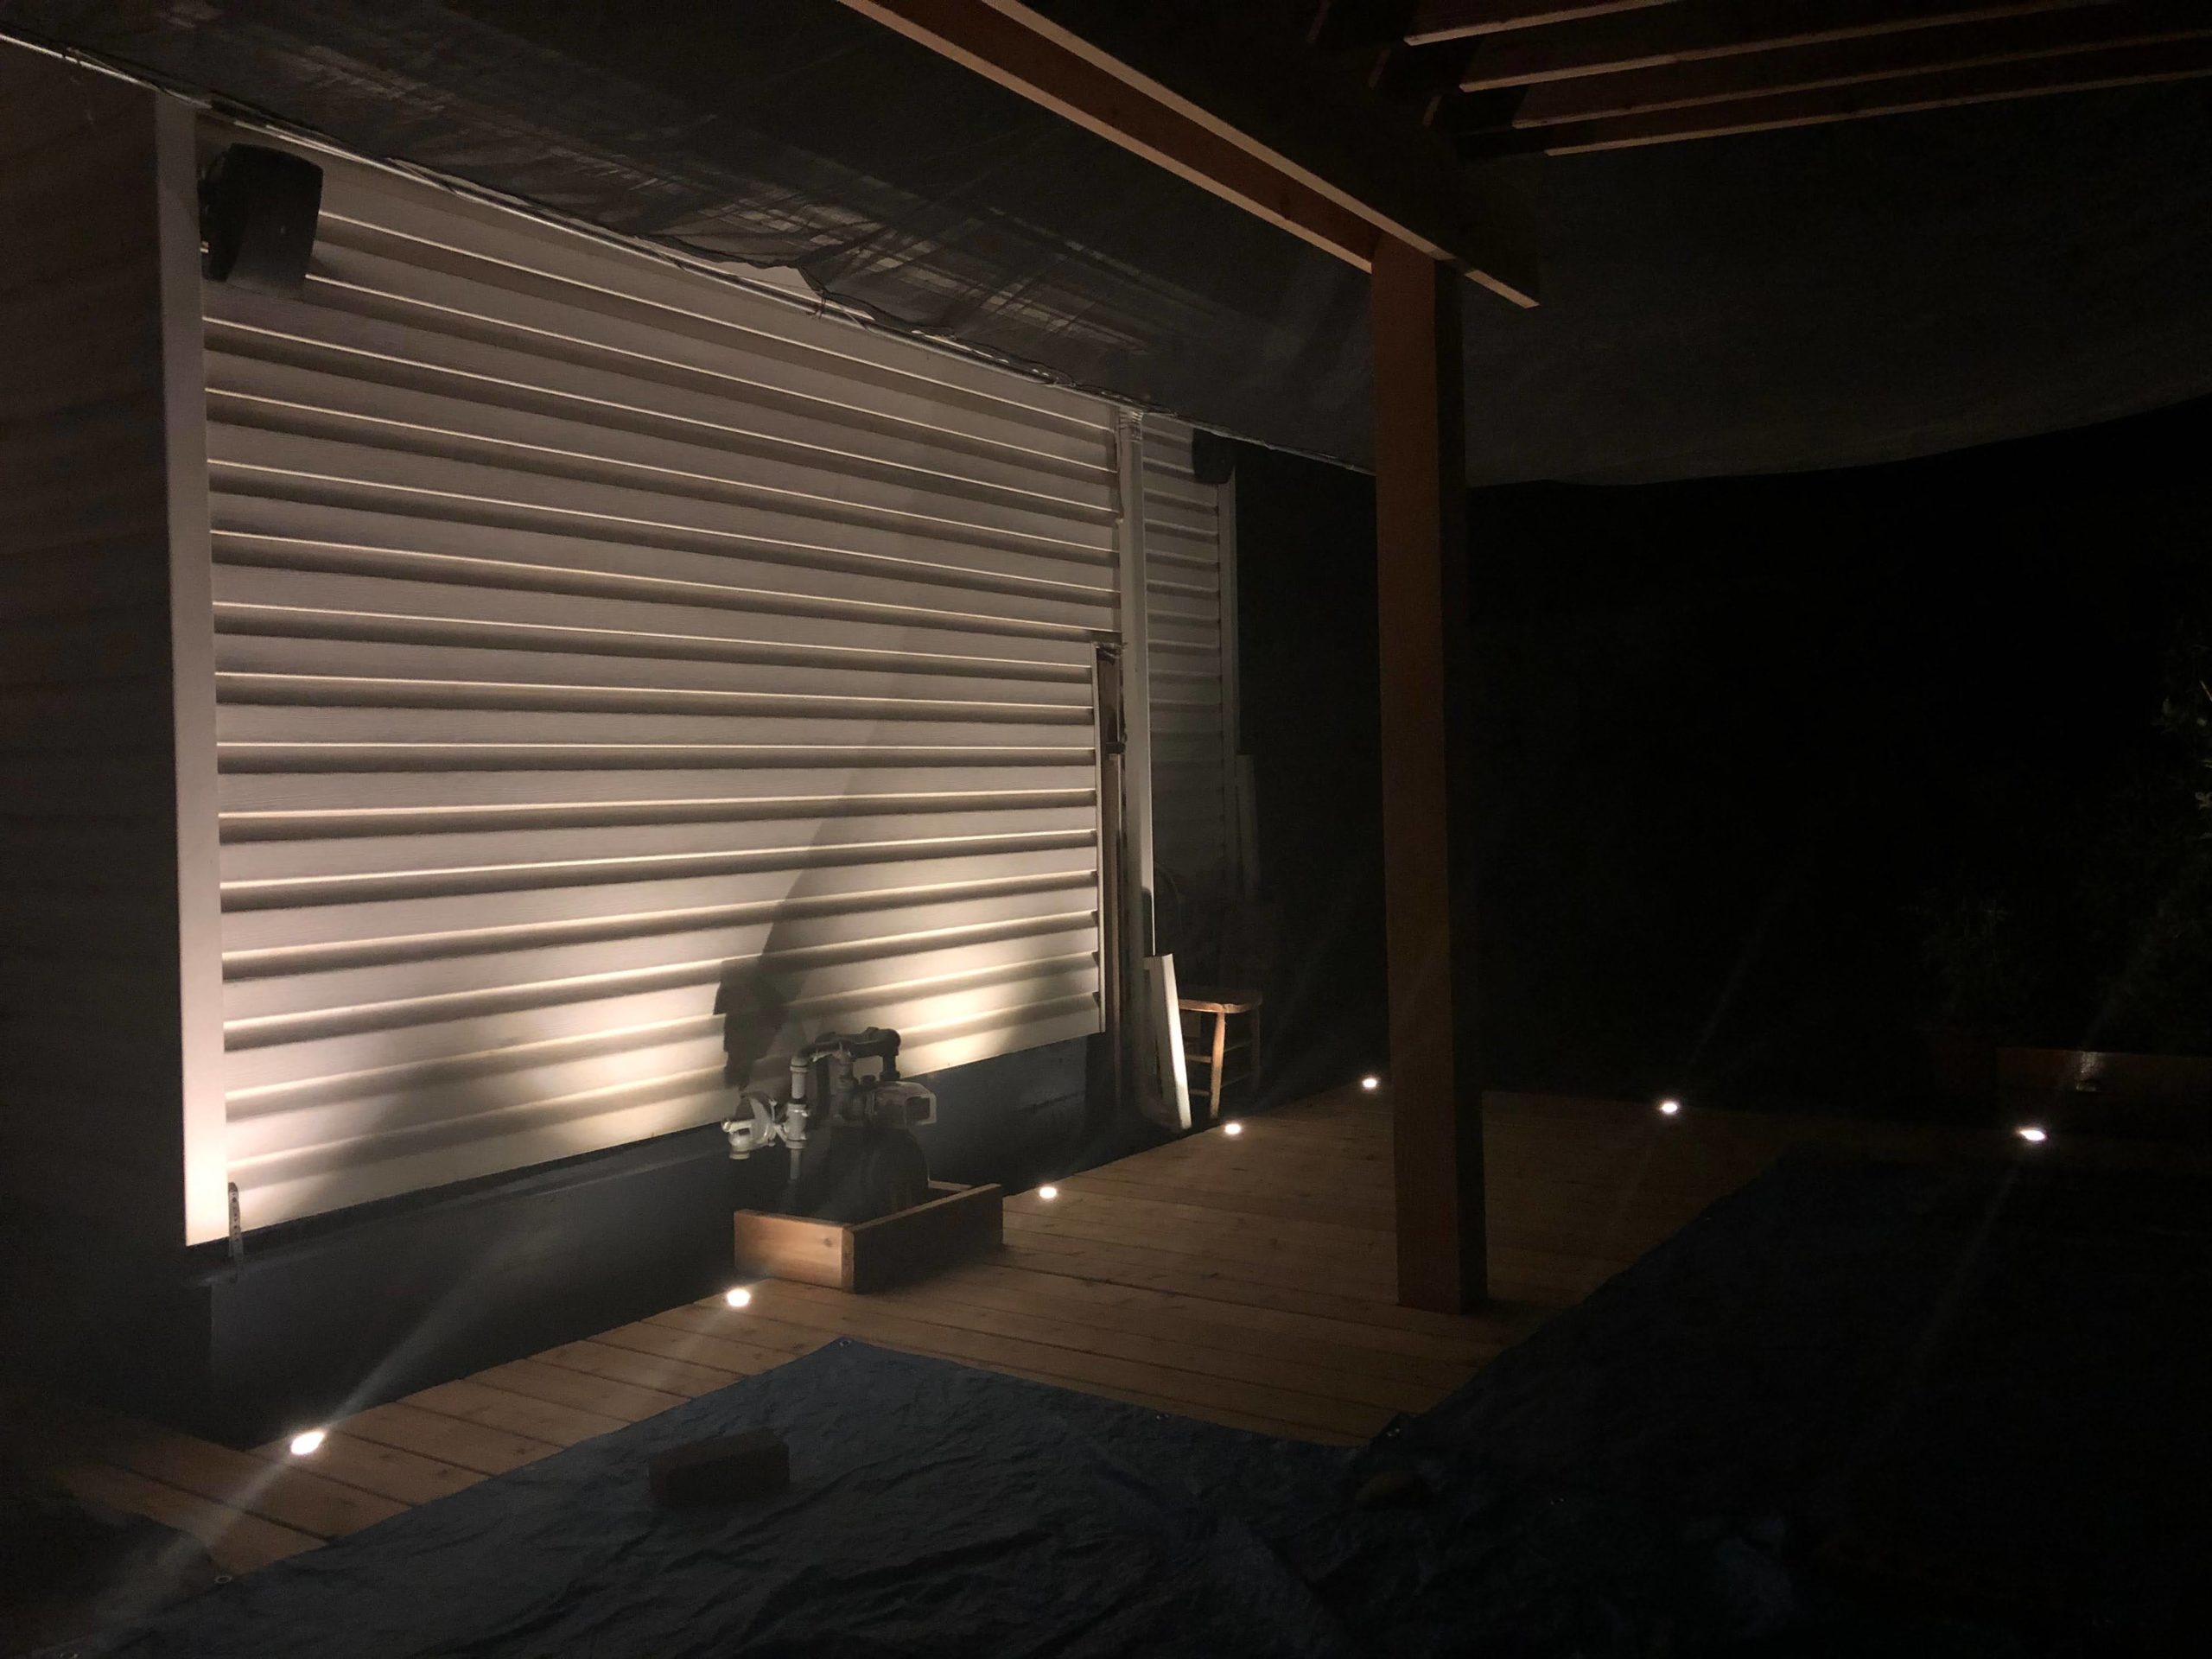
And some shots of the lights on at night:
Rafters
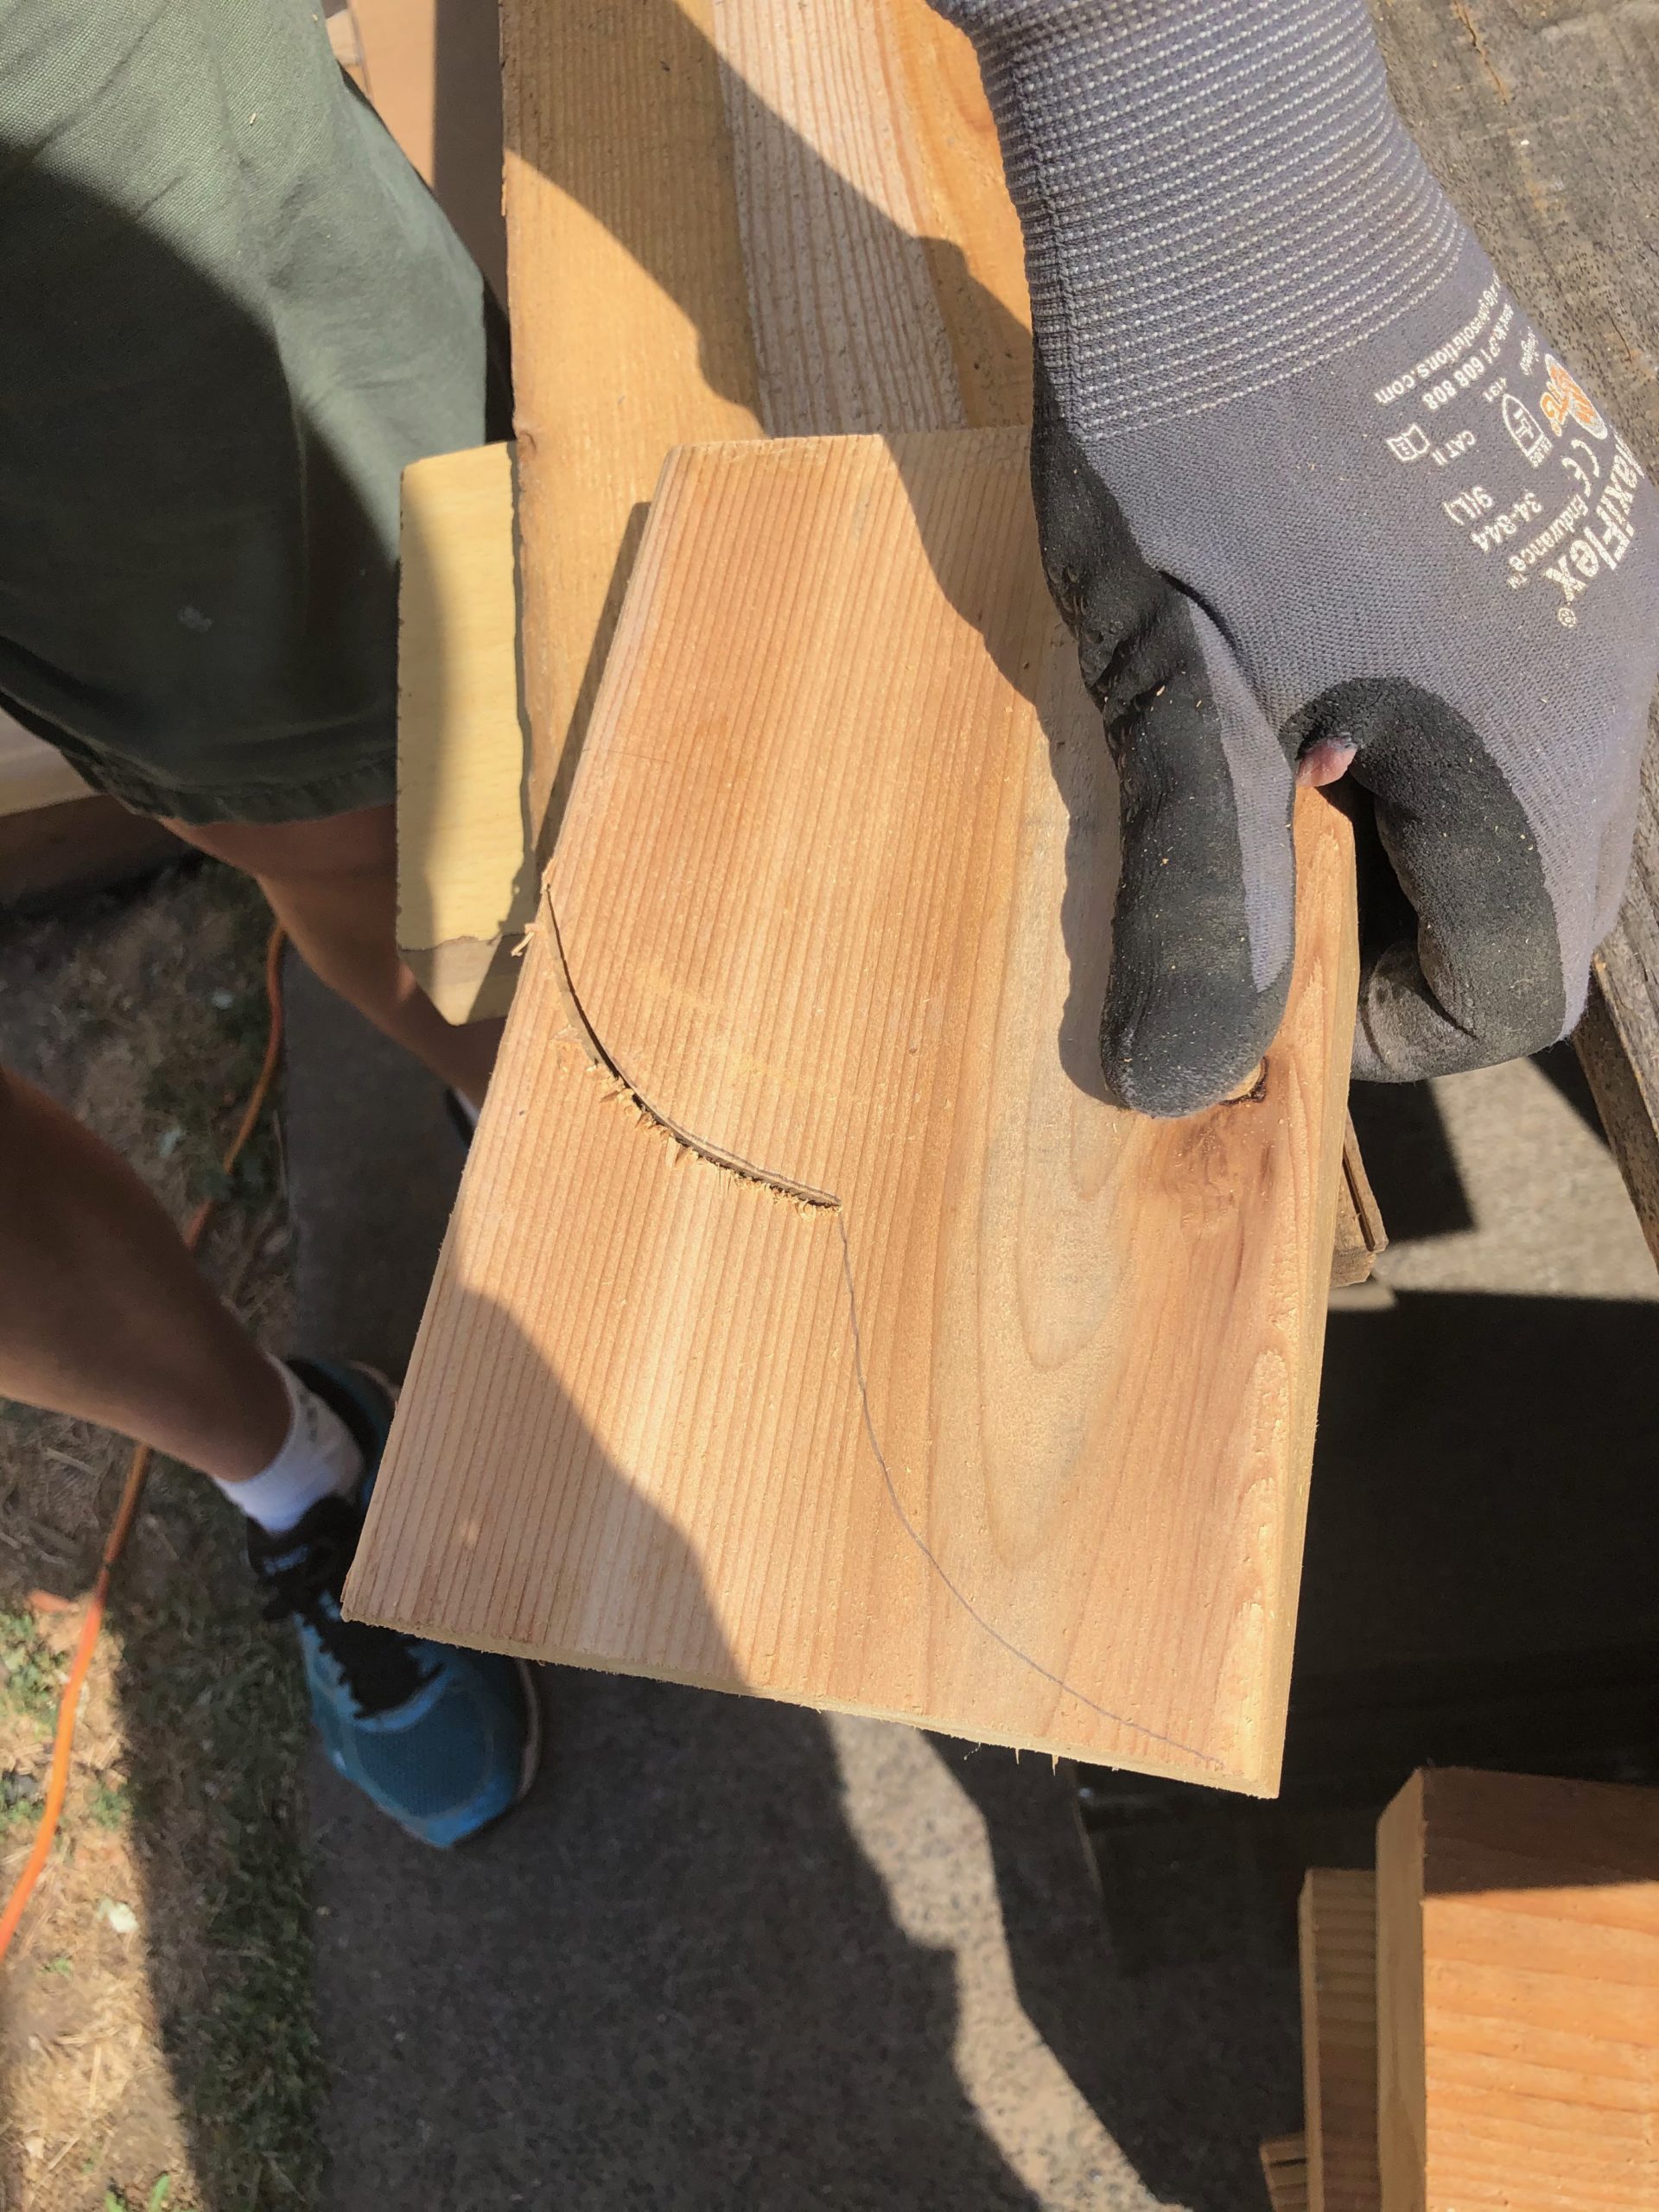
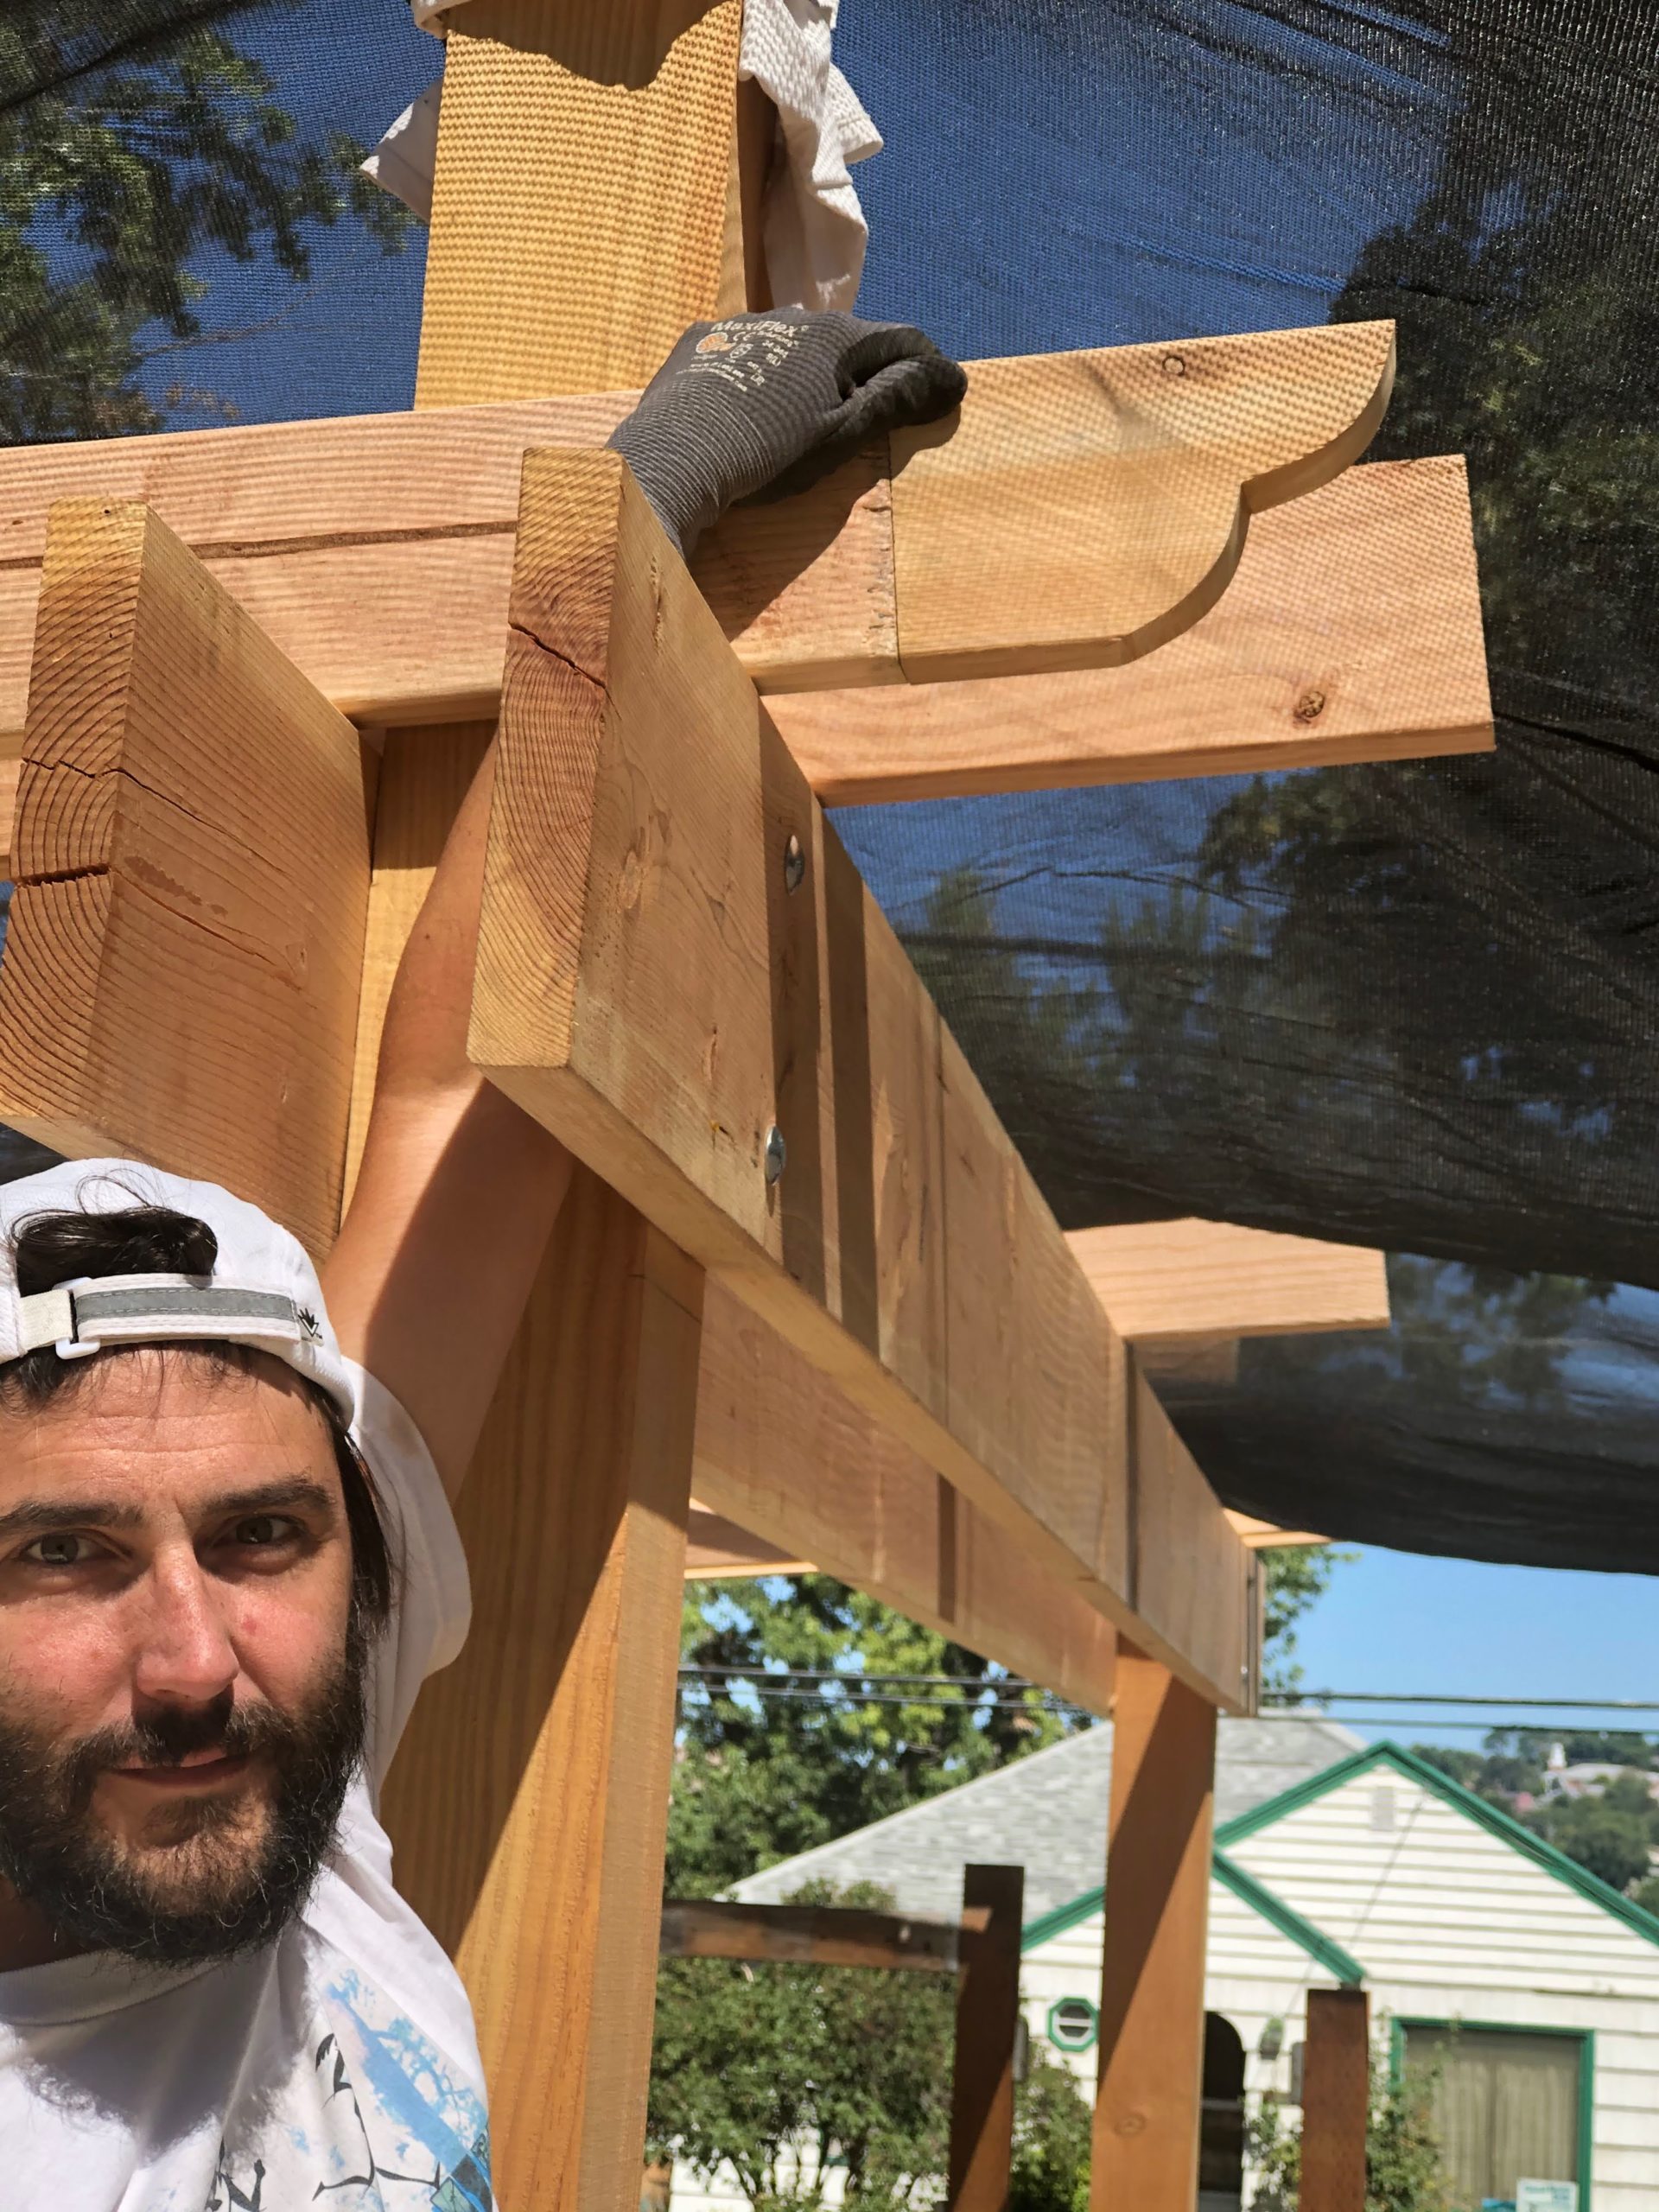
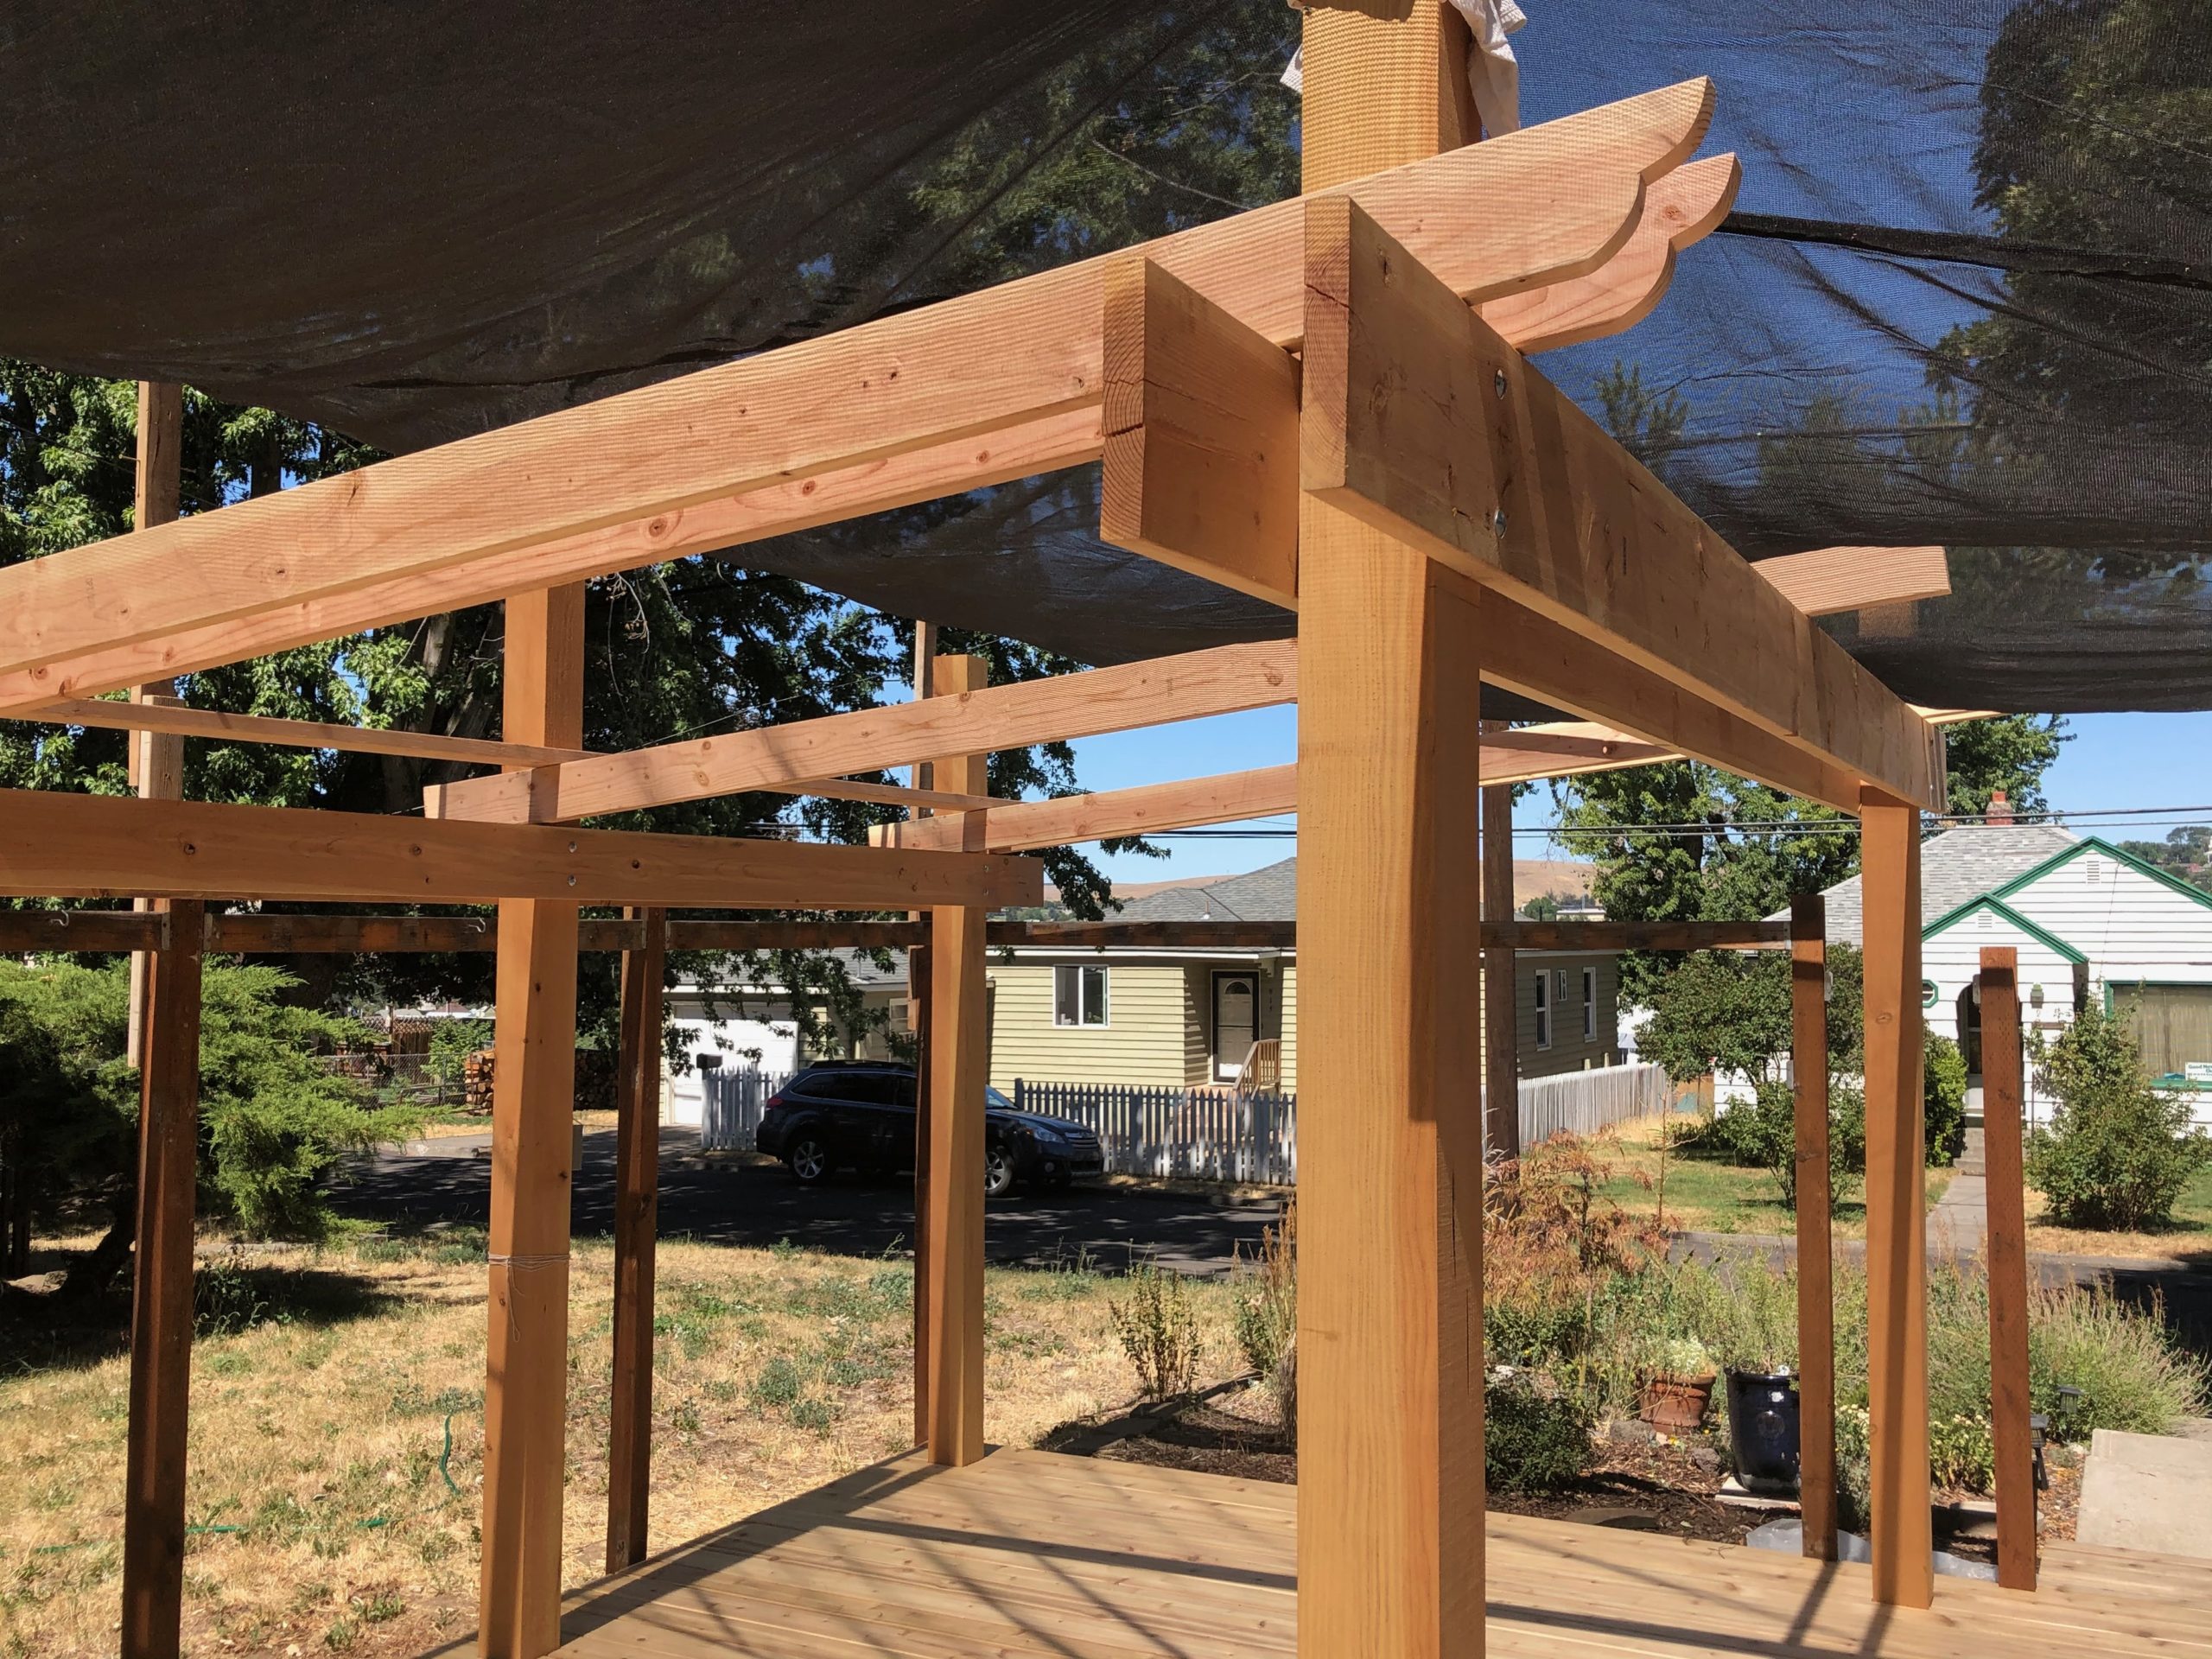
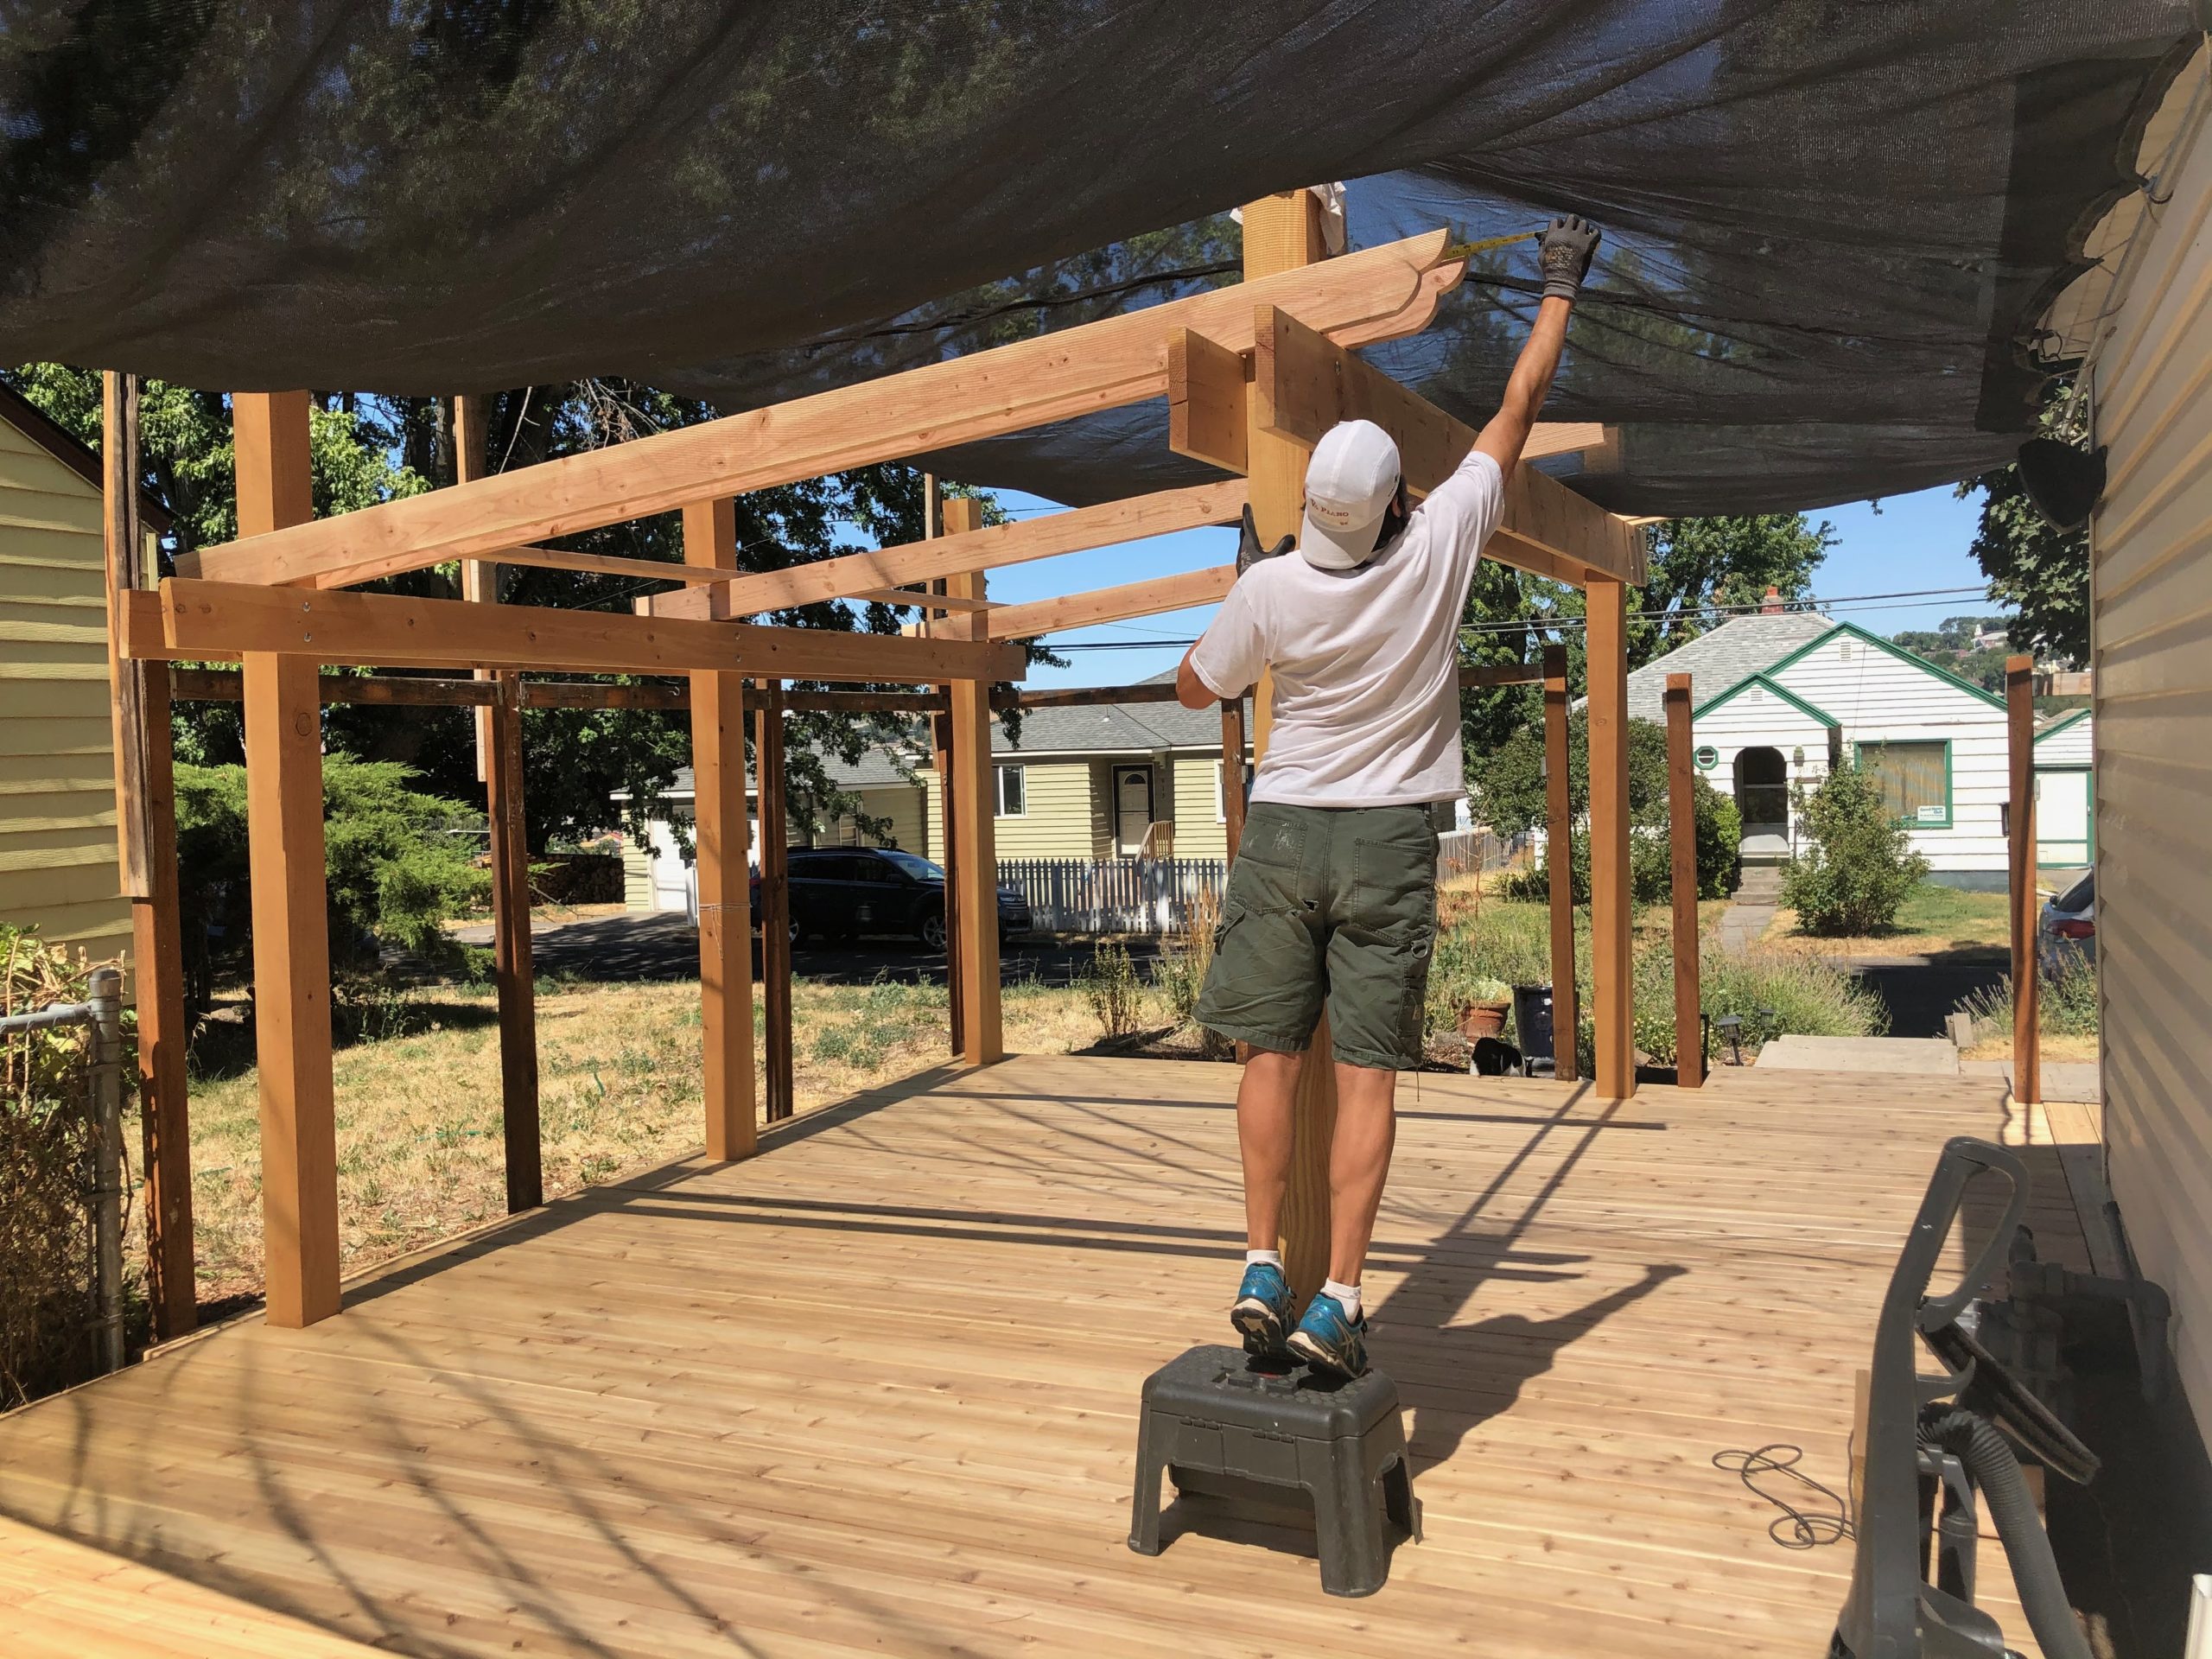
We used our extra time to decide on a profile for the front rafter tail sticking out over the pergola beam. We wanted something curvy but not too ornate. We looked at some ideas online and found we both liked a double curve. We drew it out on graph paper using a compass. The bottom part of the curve is just a circle with a 3″ radius. The top part is mostly circular but it flattens out a bit before meeting with the bottom. We copied the shape from paper to a scrap piece of 2×6 to use as our template.
Our next steps are to cut the rest of the rafters and wait for the rest of our material.