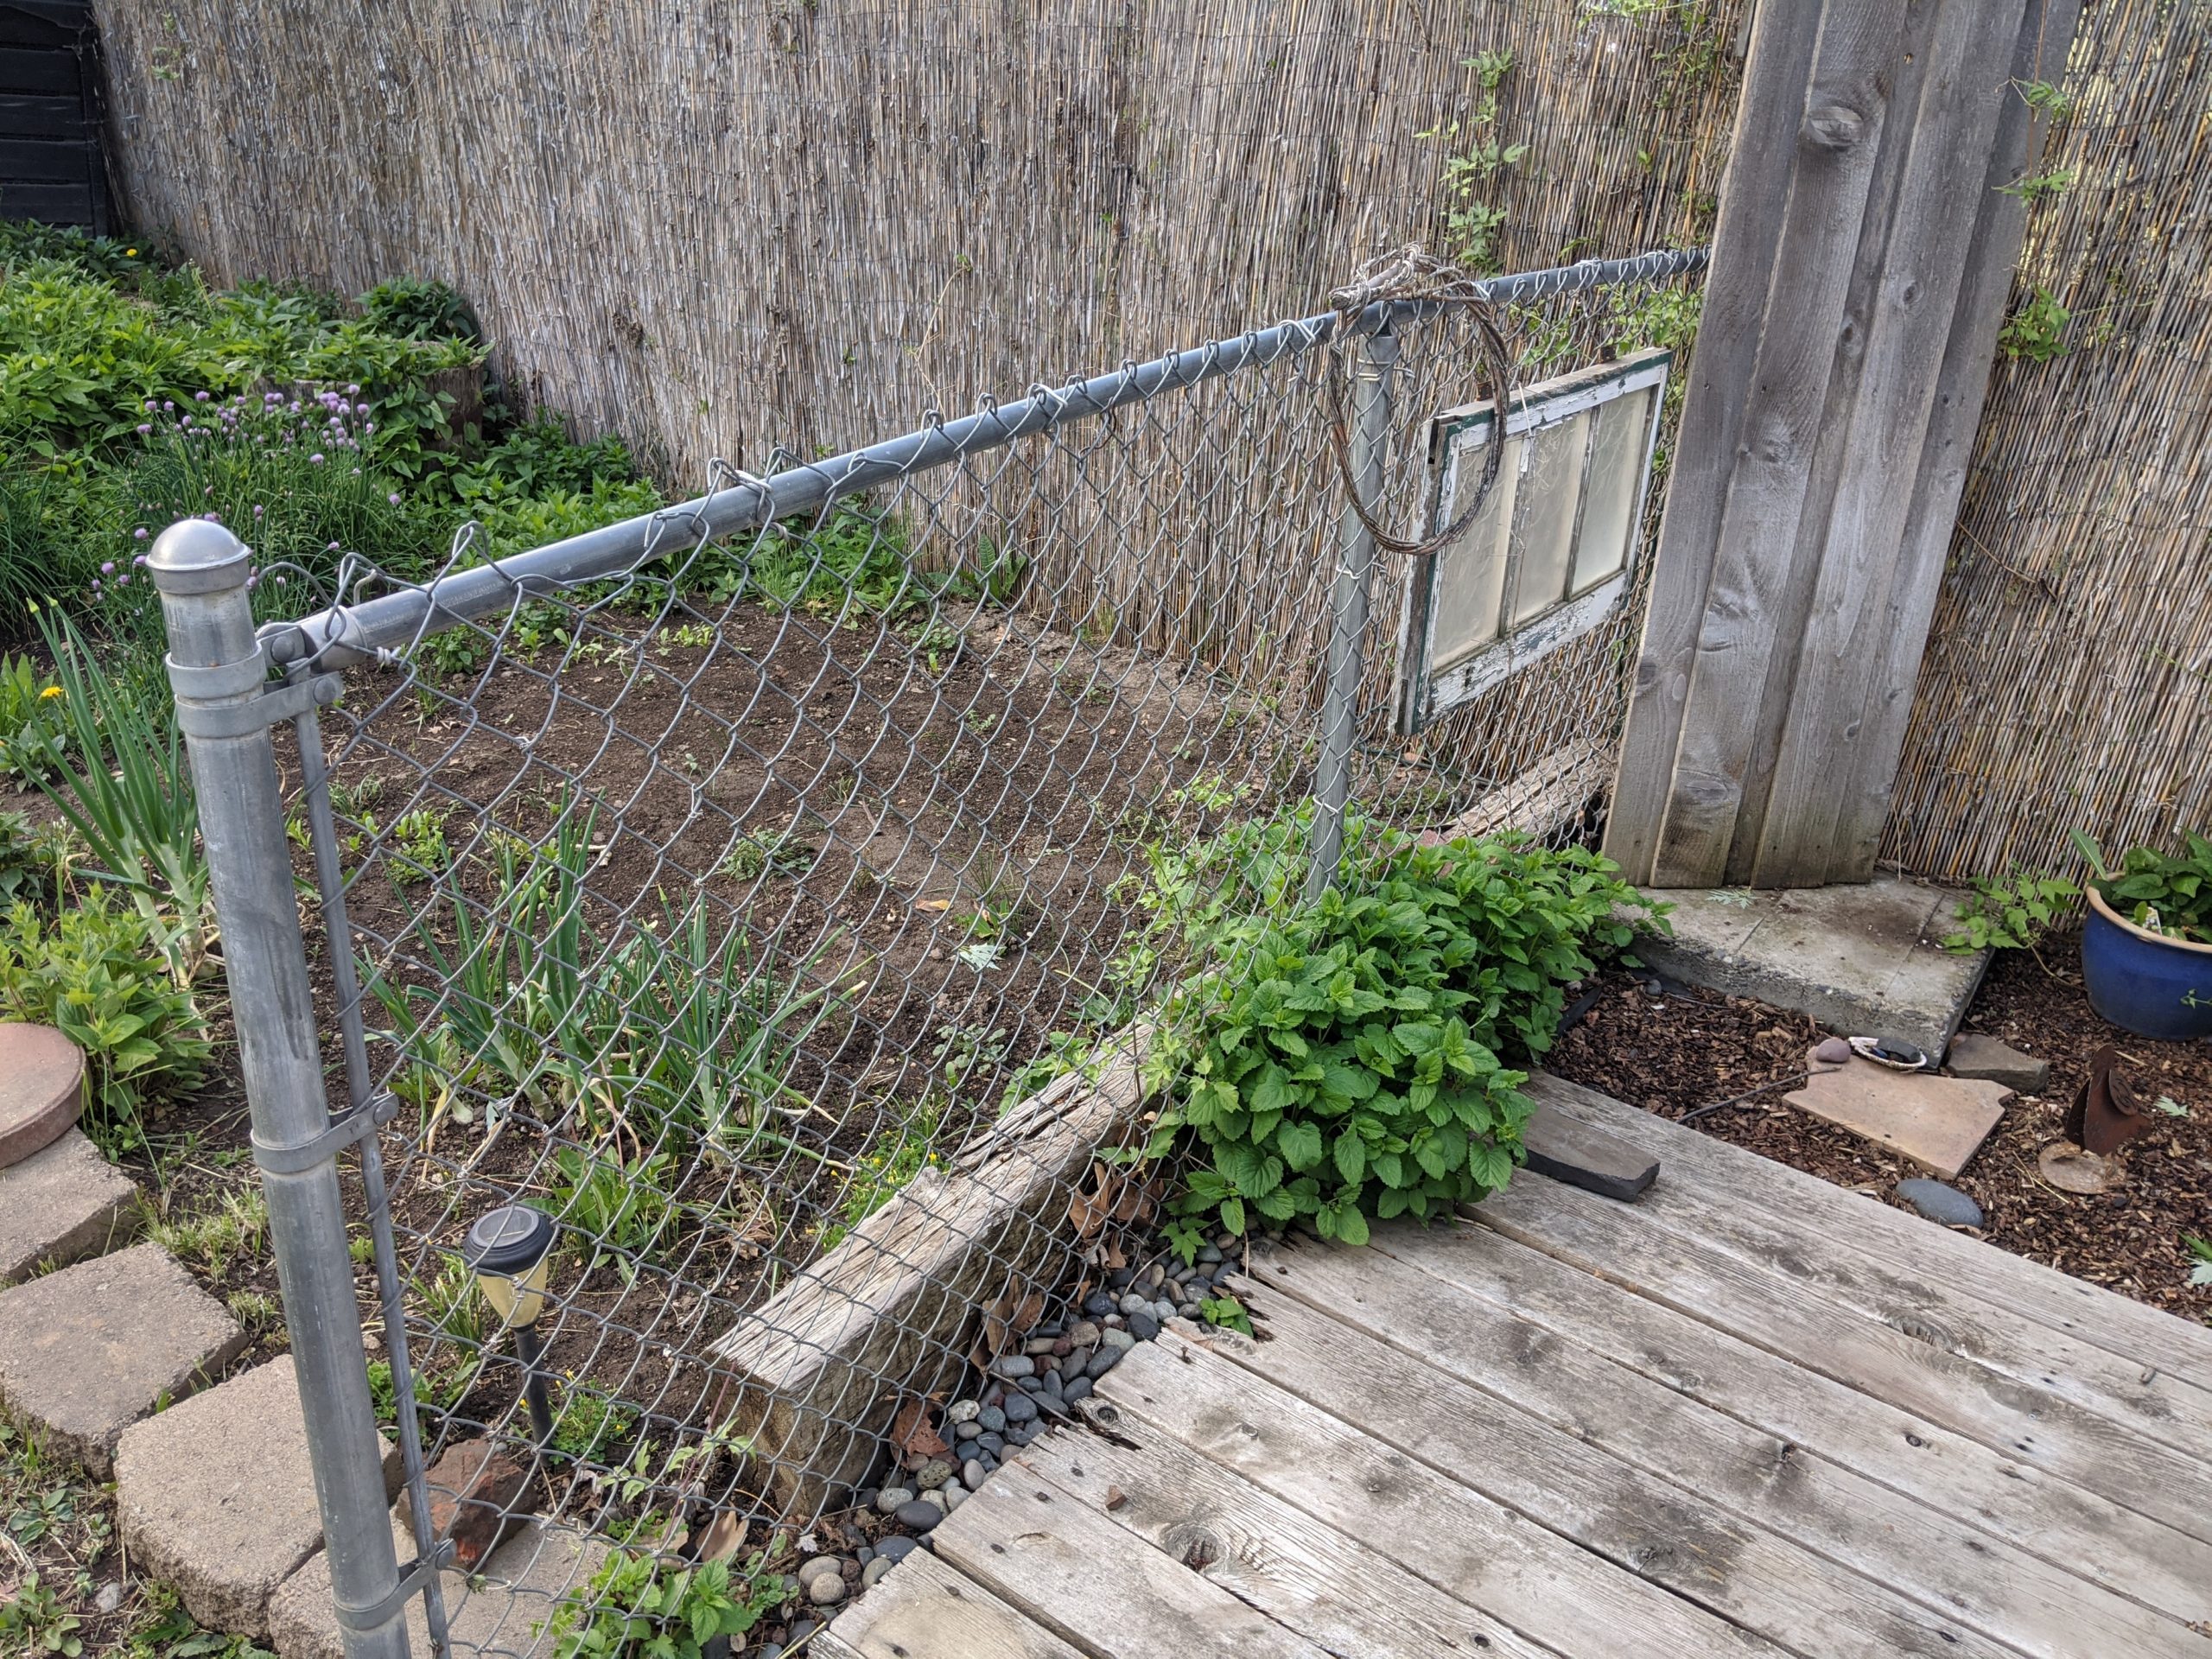
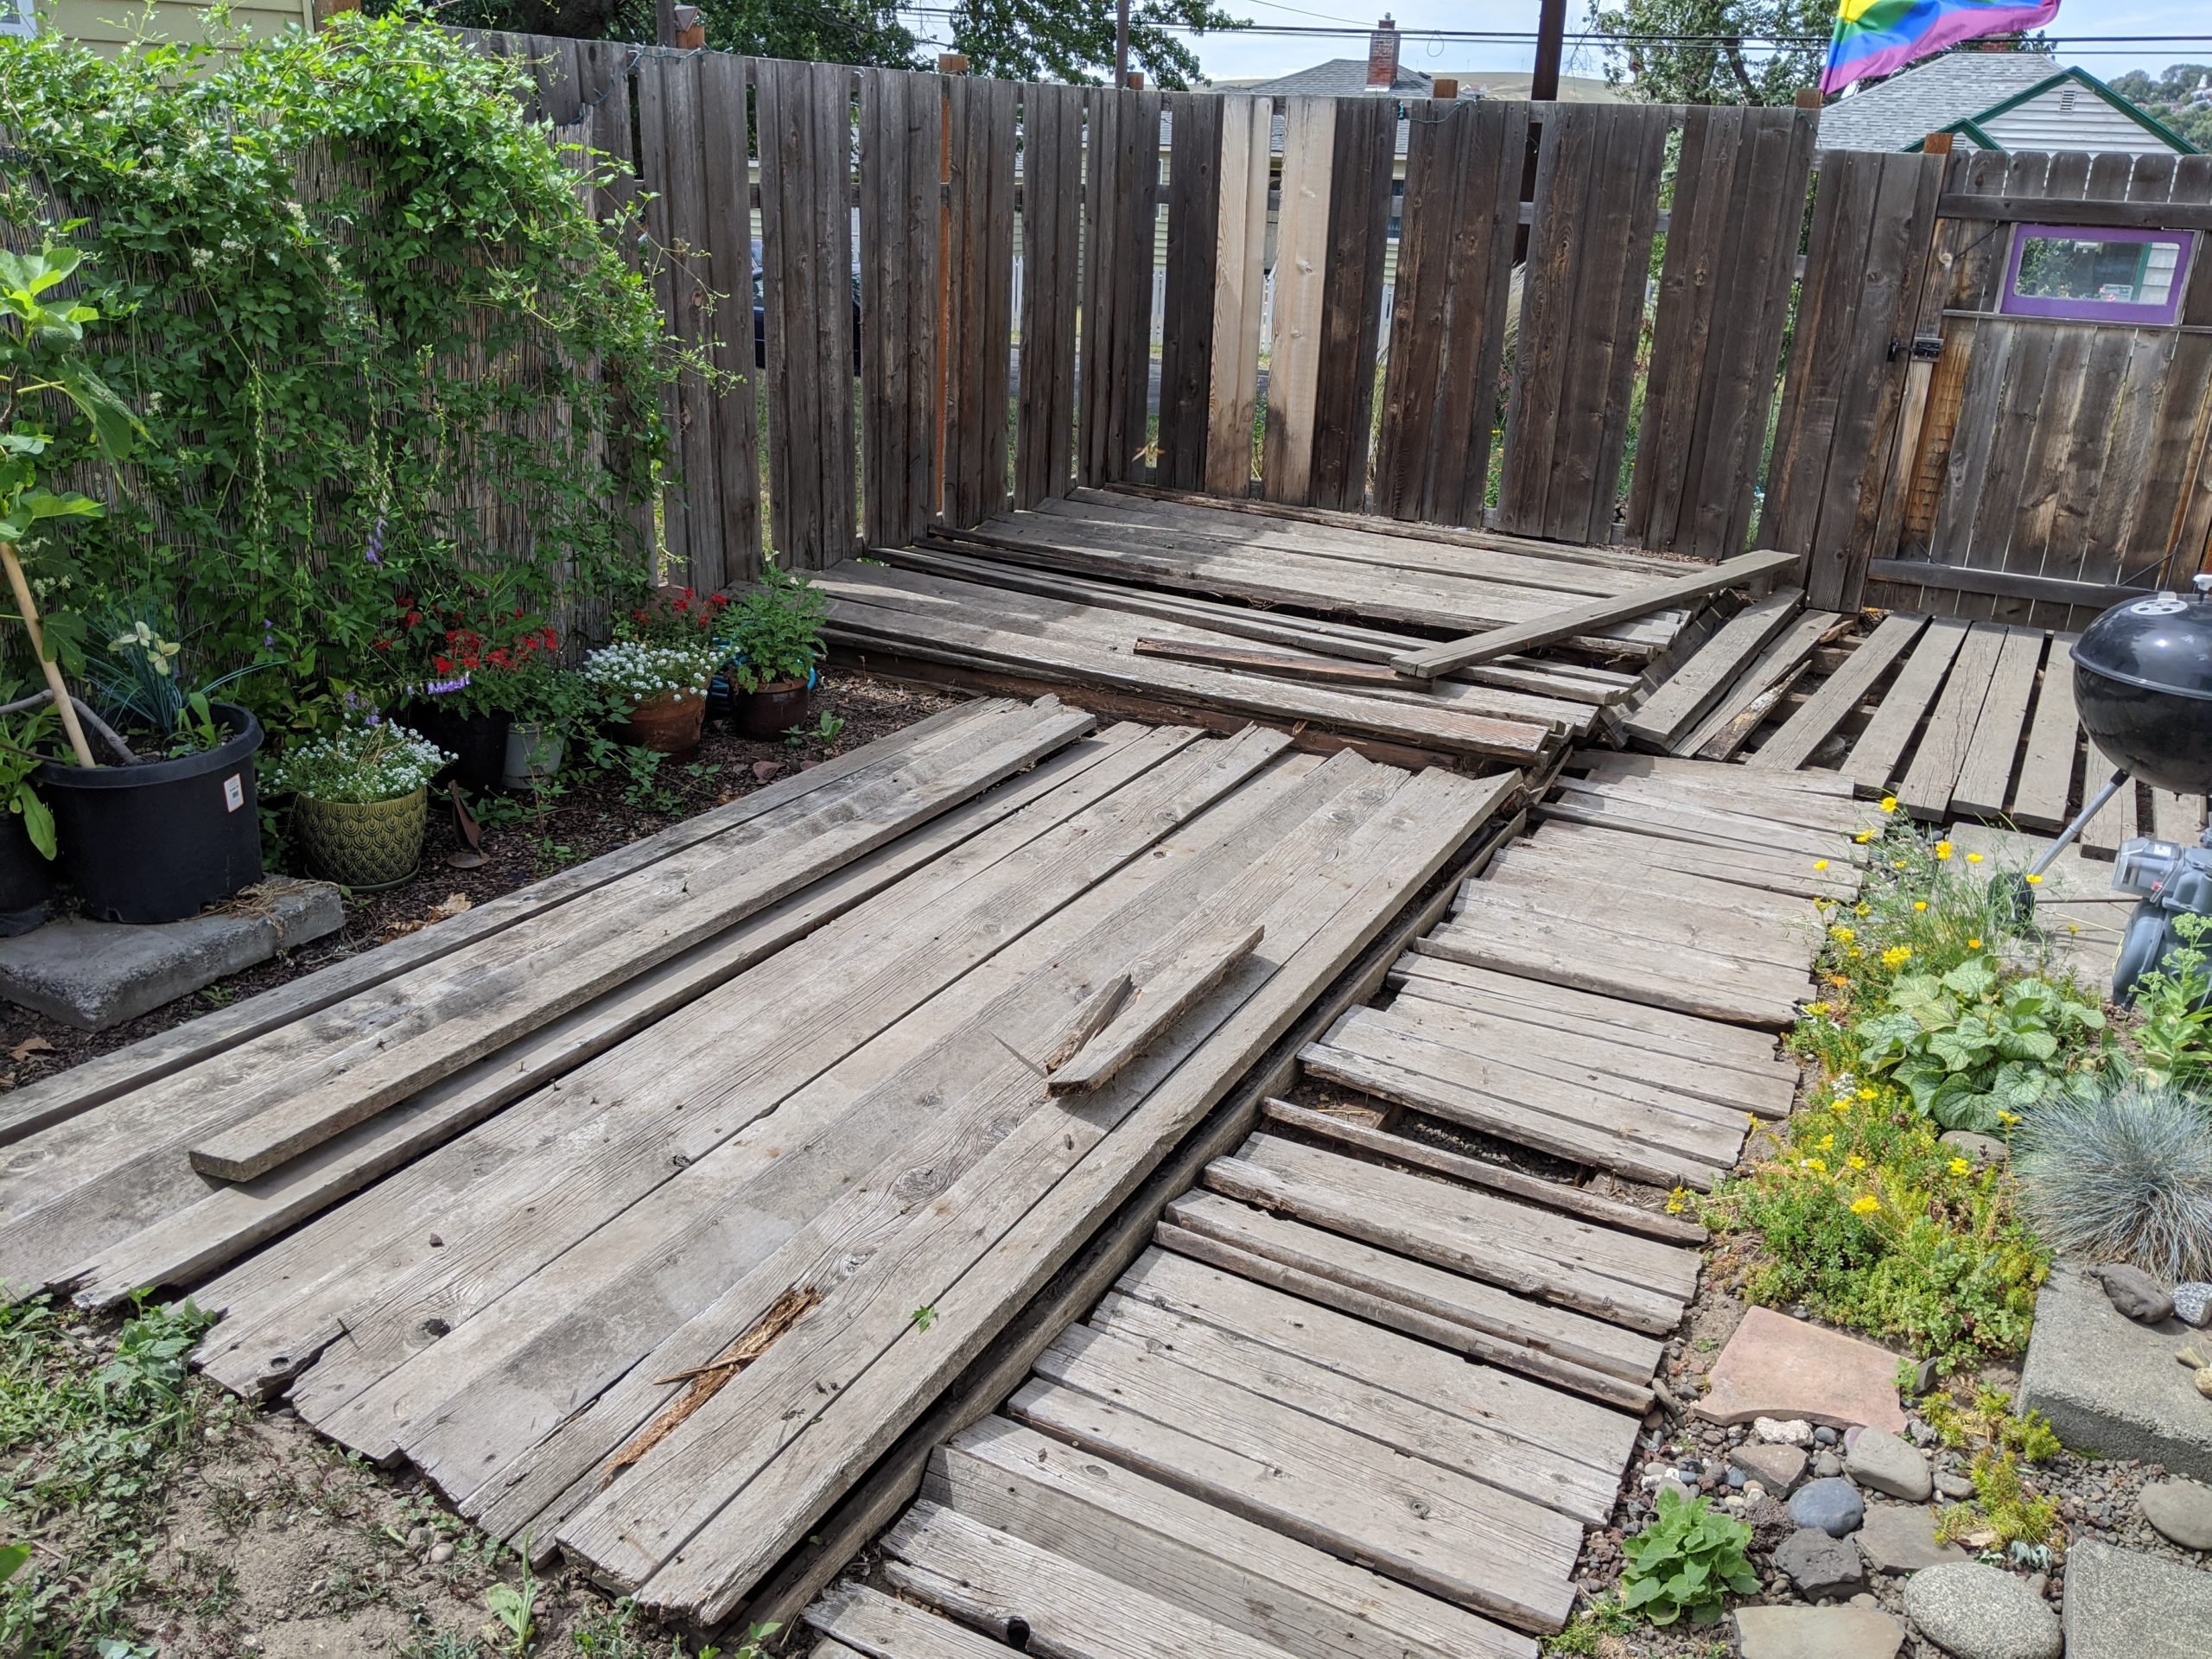
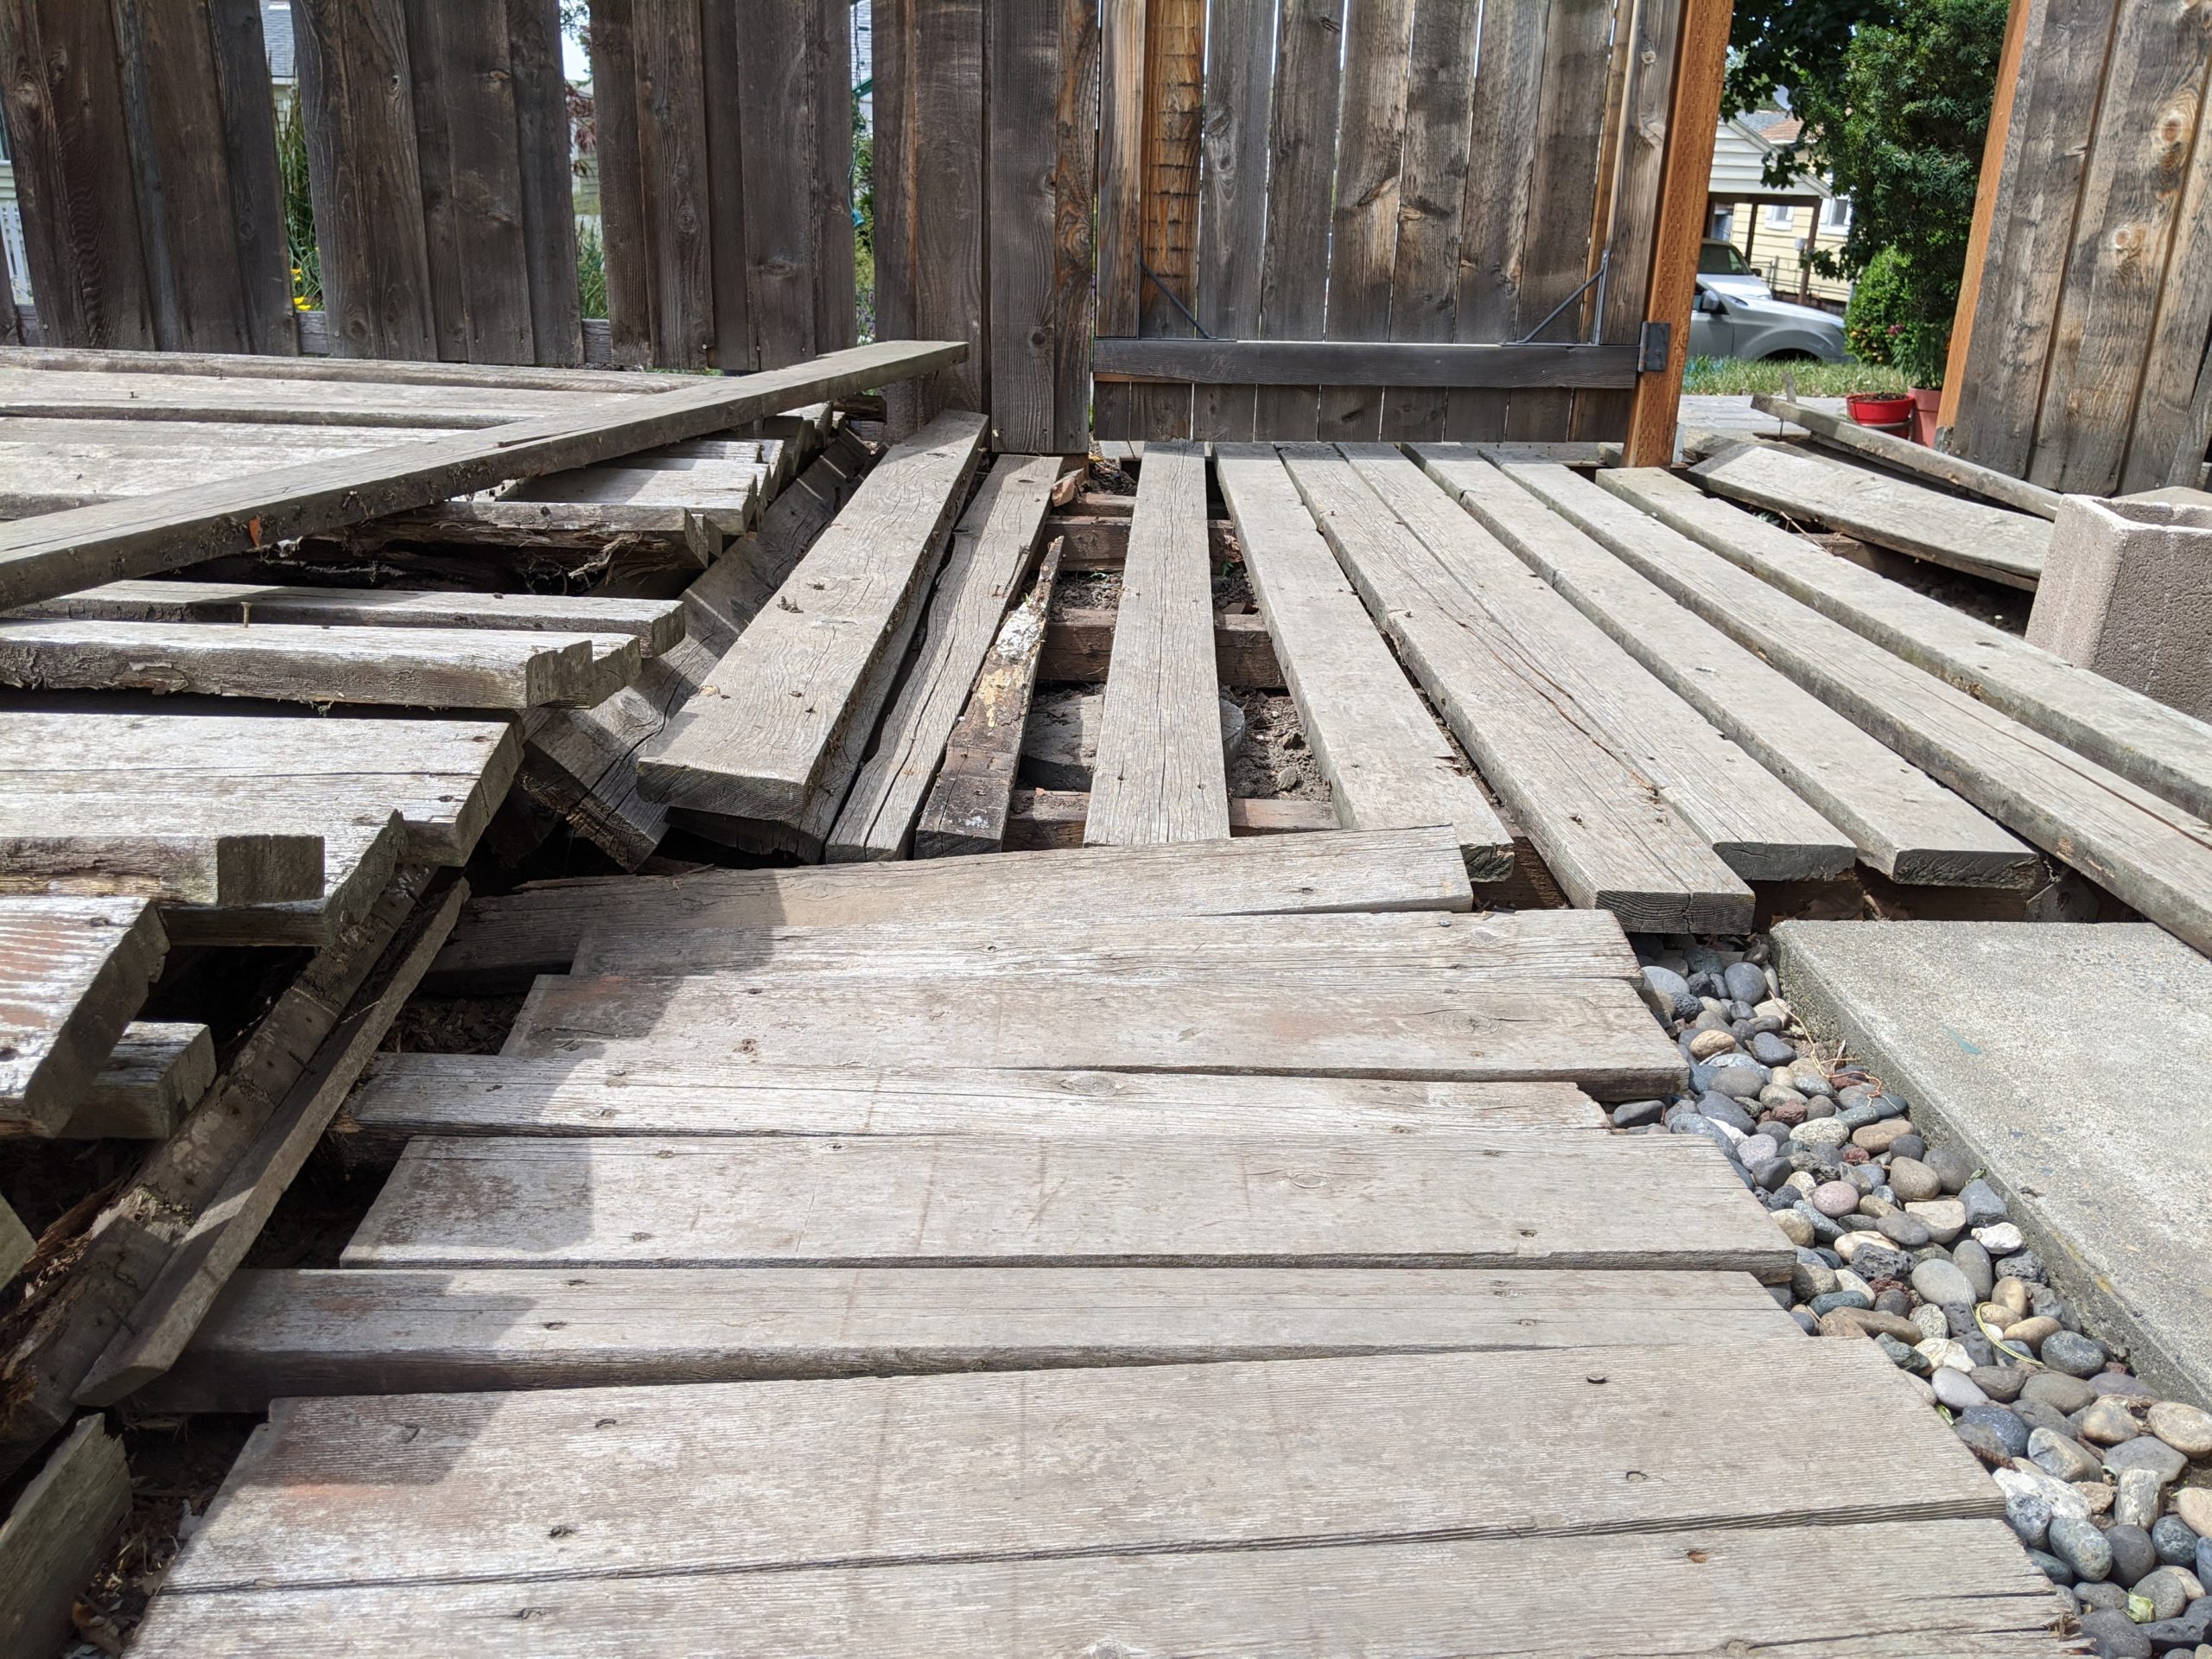
“Demo” is often the fun part of any project: destroying things can be fun and it really feels like you’re making progress quickly. We didn’t know what was in store for us under the decking so we started by taking out the short chain-link fence between the deck and garden, then worked on removing the old deck boards. Most of the screws were not removable because they were rusted or the heads had broken off, but we were able to remove about 10-20% of them. That helped loosen some of the boards, and along with a crowbar and some pretty rotten framing it wasn’t too bad getting them all up.
Once the deck boards were free it was time to get them all out and give them to our neighbor. He very kindly agreed to take all of it so we don’t have to haul it all to the dump. He wants to use a few of the good pieces on his very small deck and burn the rest. We were a little curious at this point how much work we still had left to do. We were really hoping that if there was buried concrete holding the beams and joists in place that there wouldn’t be much.
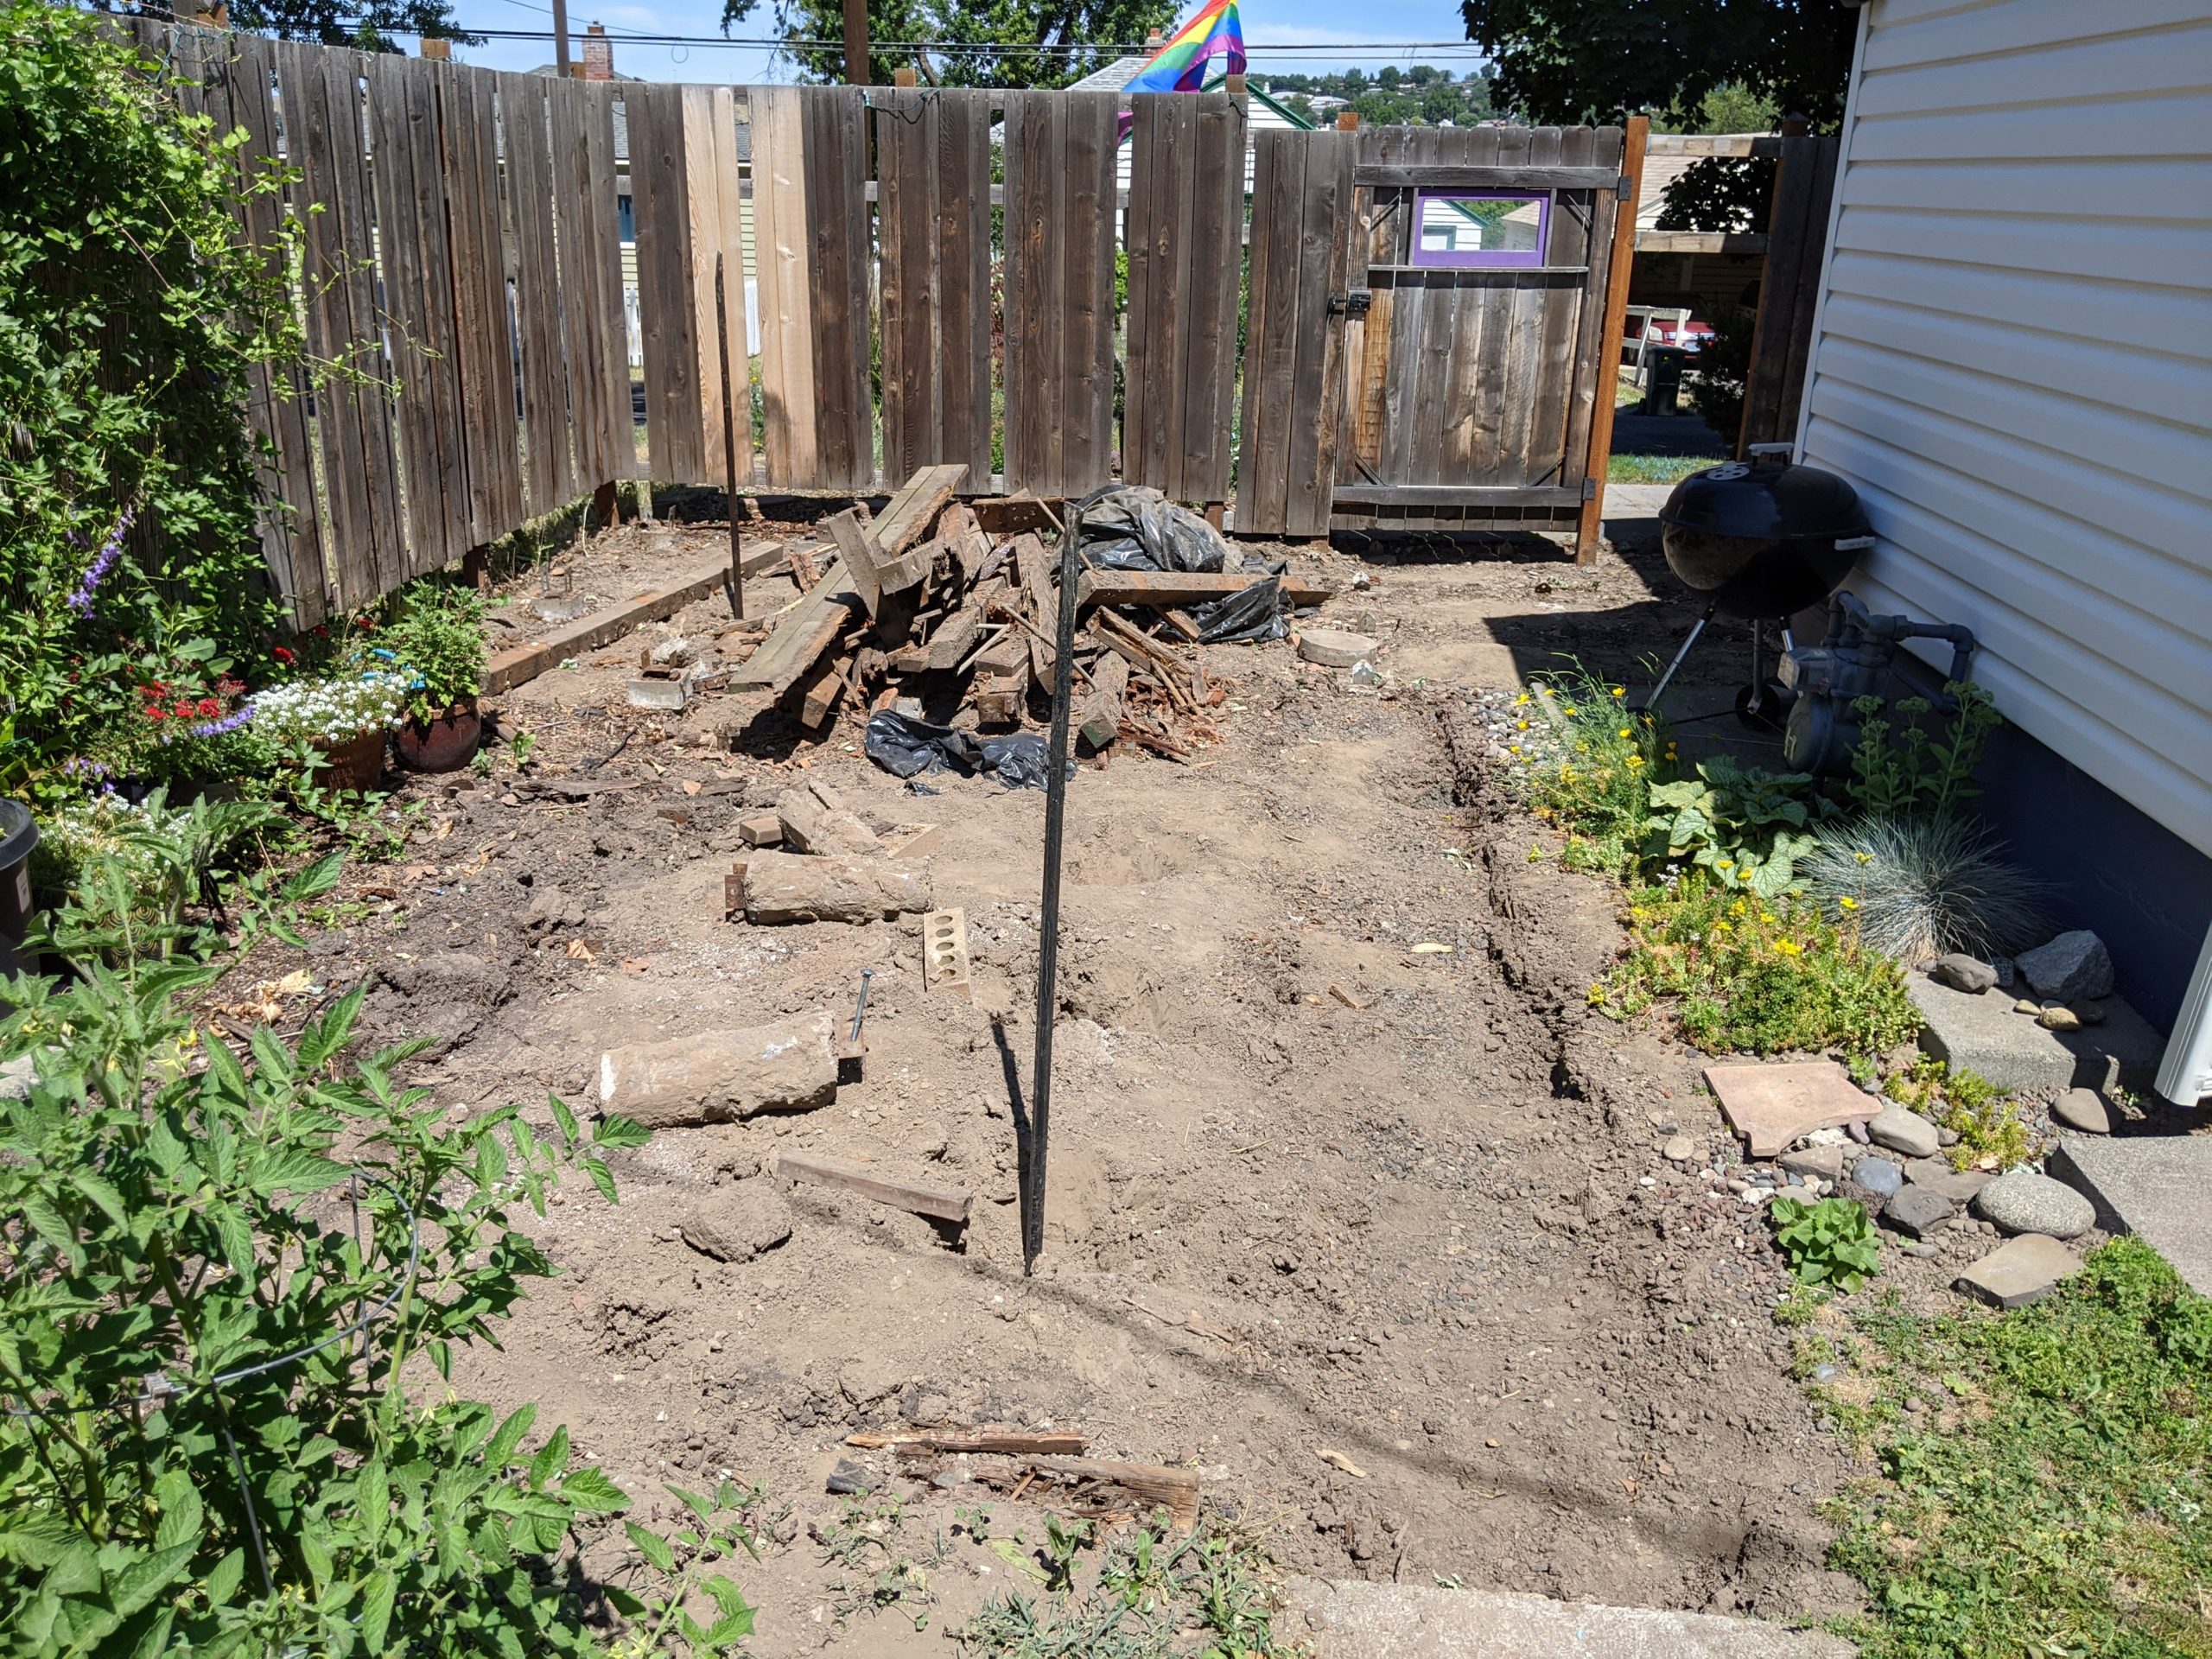
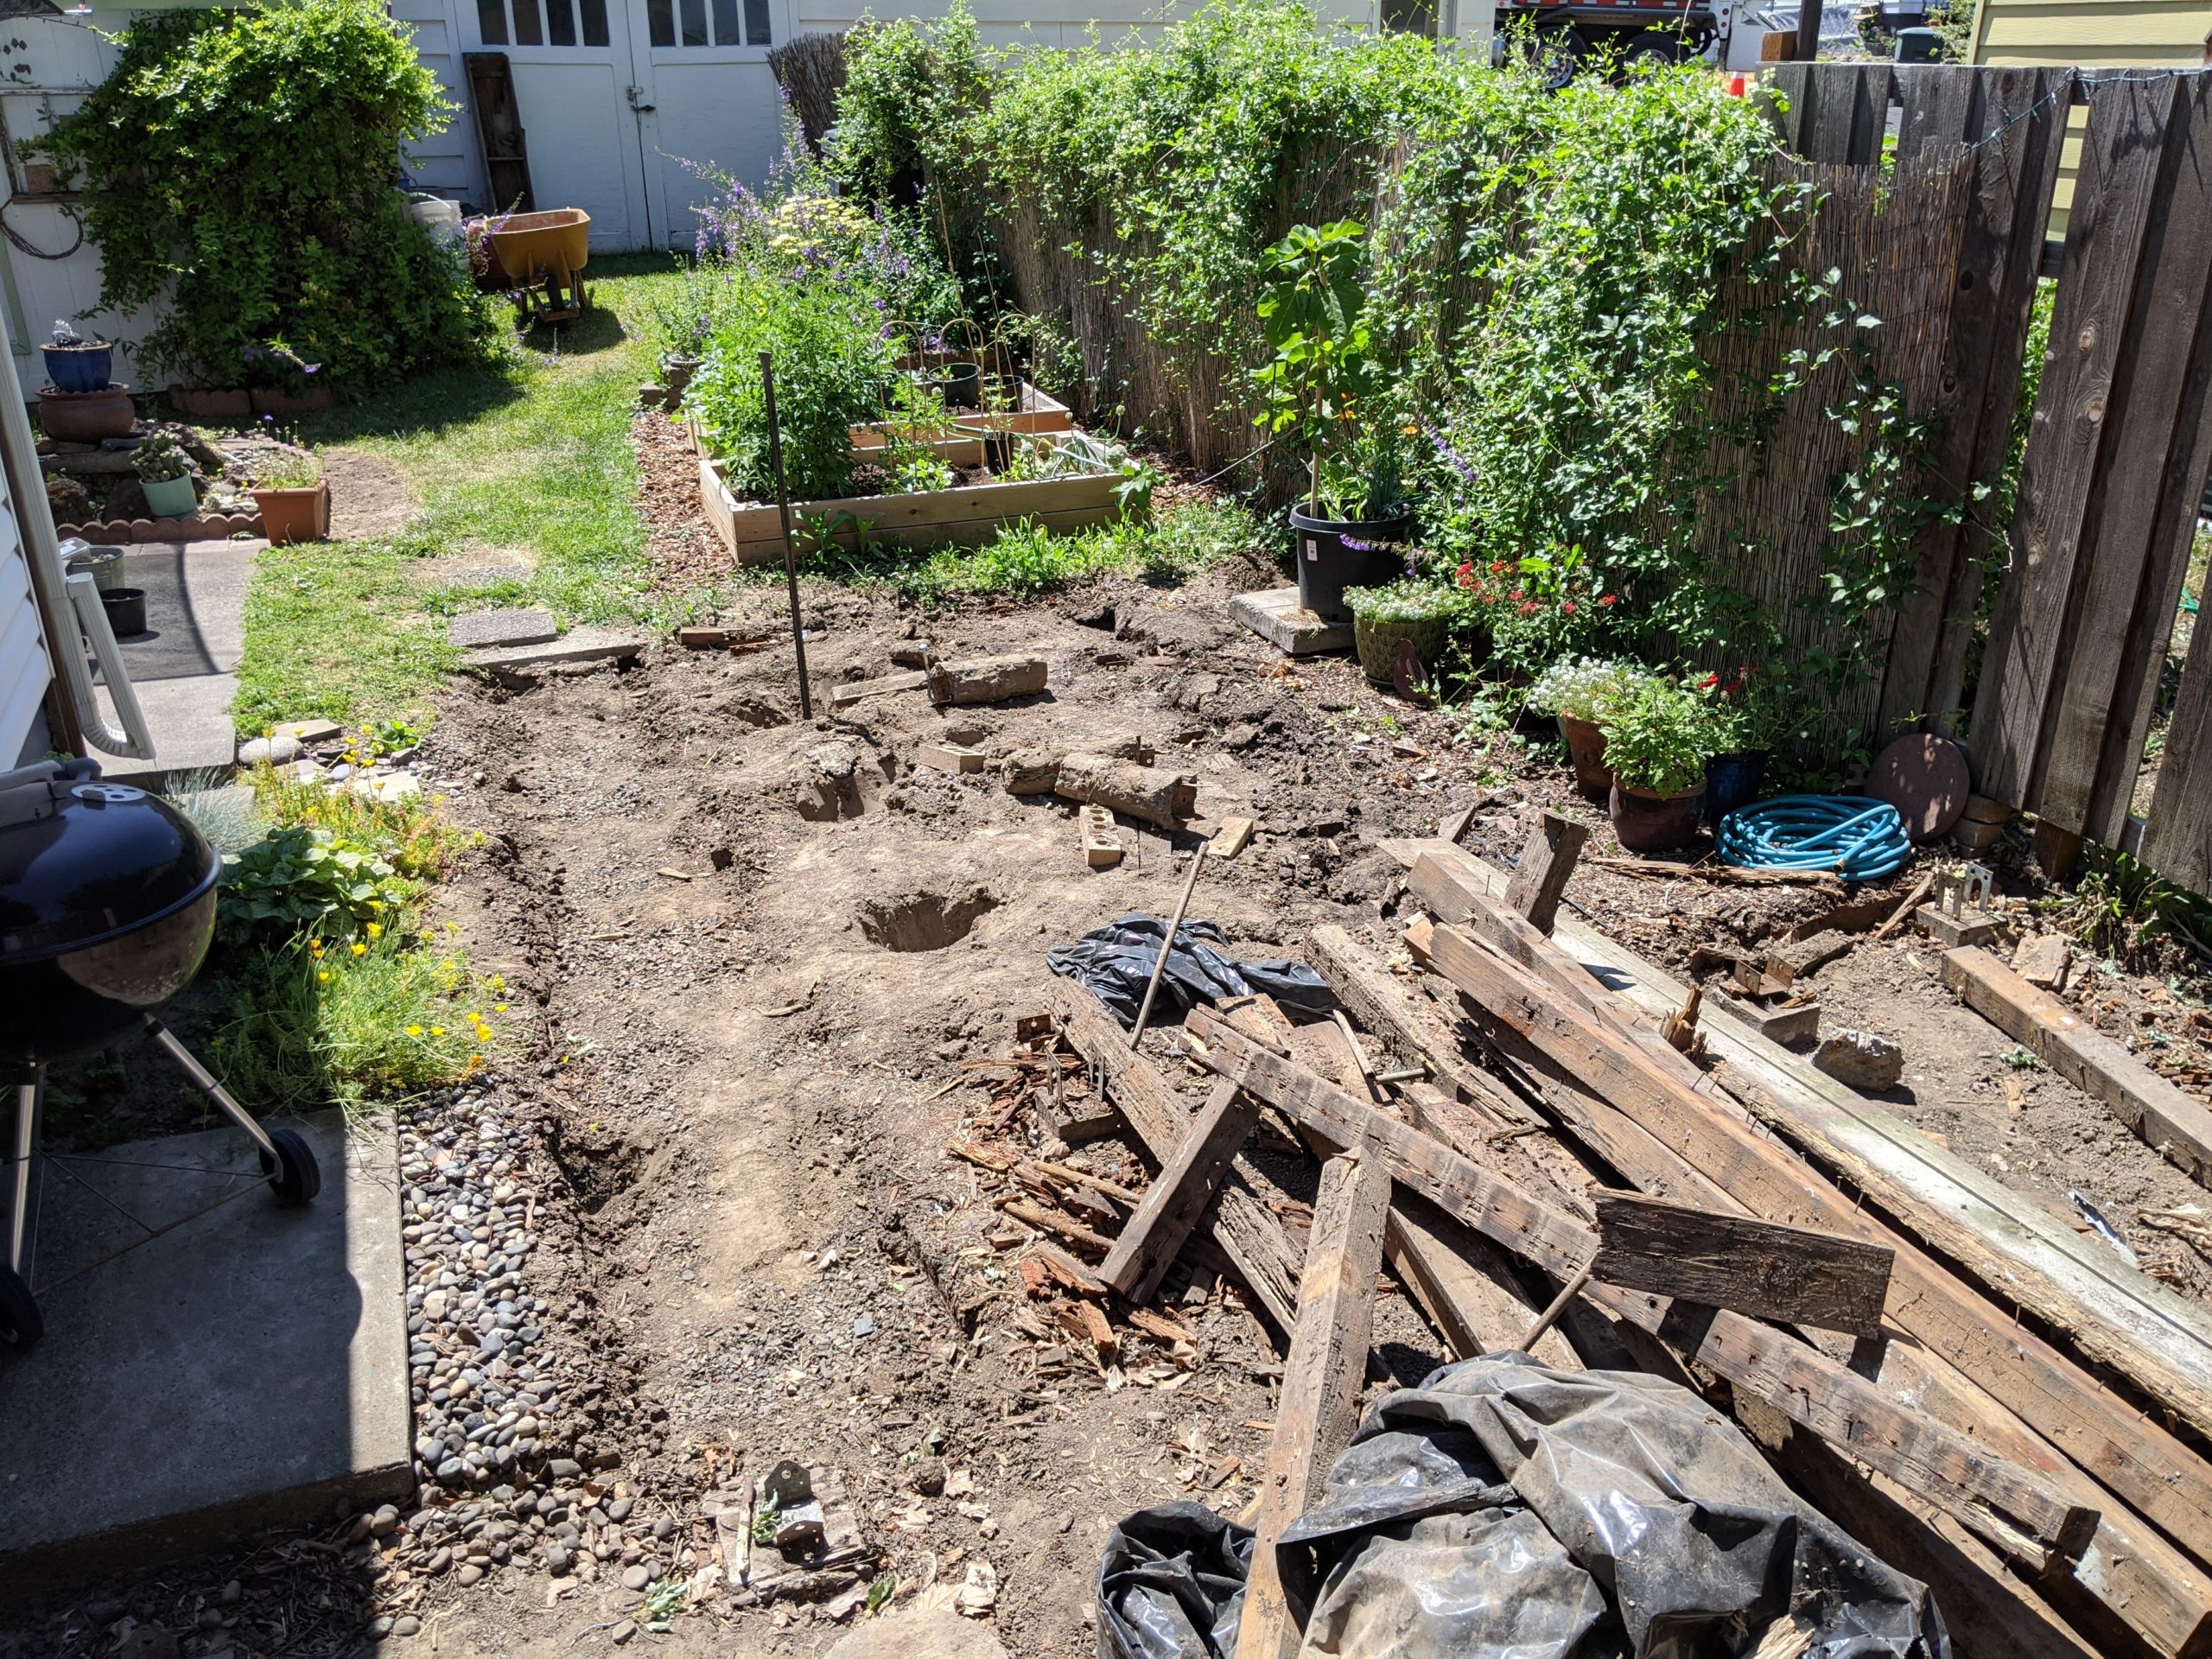
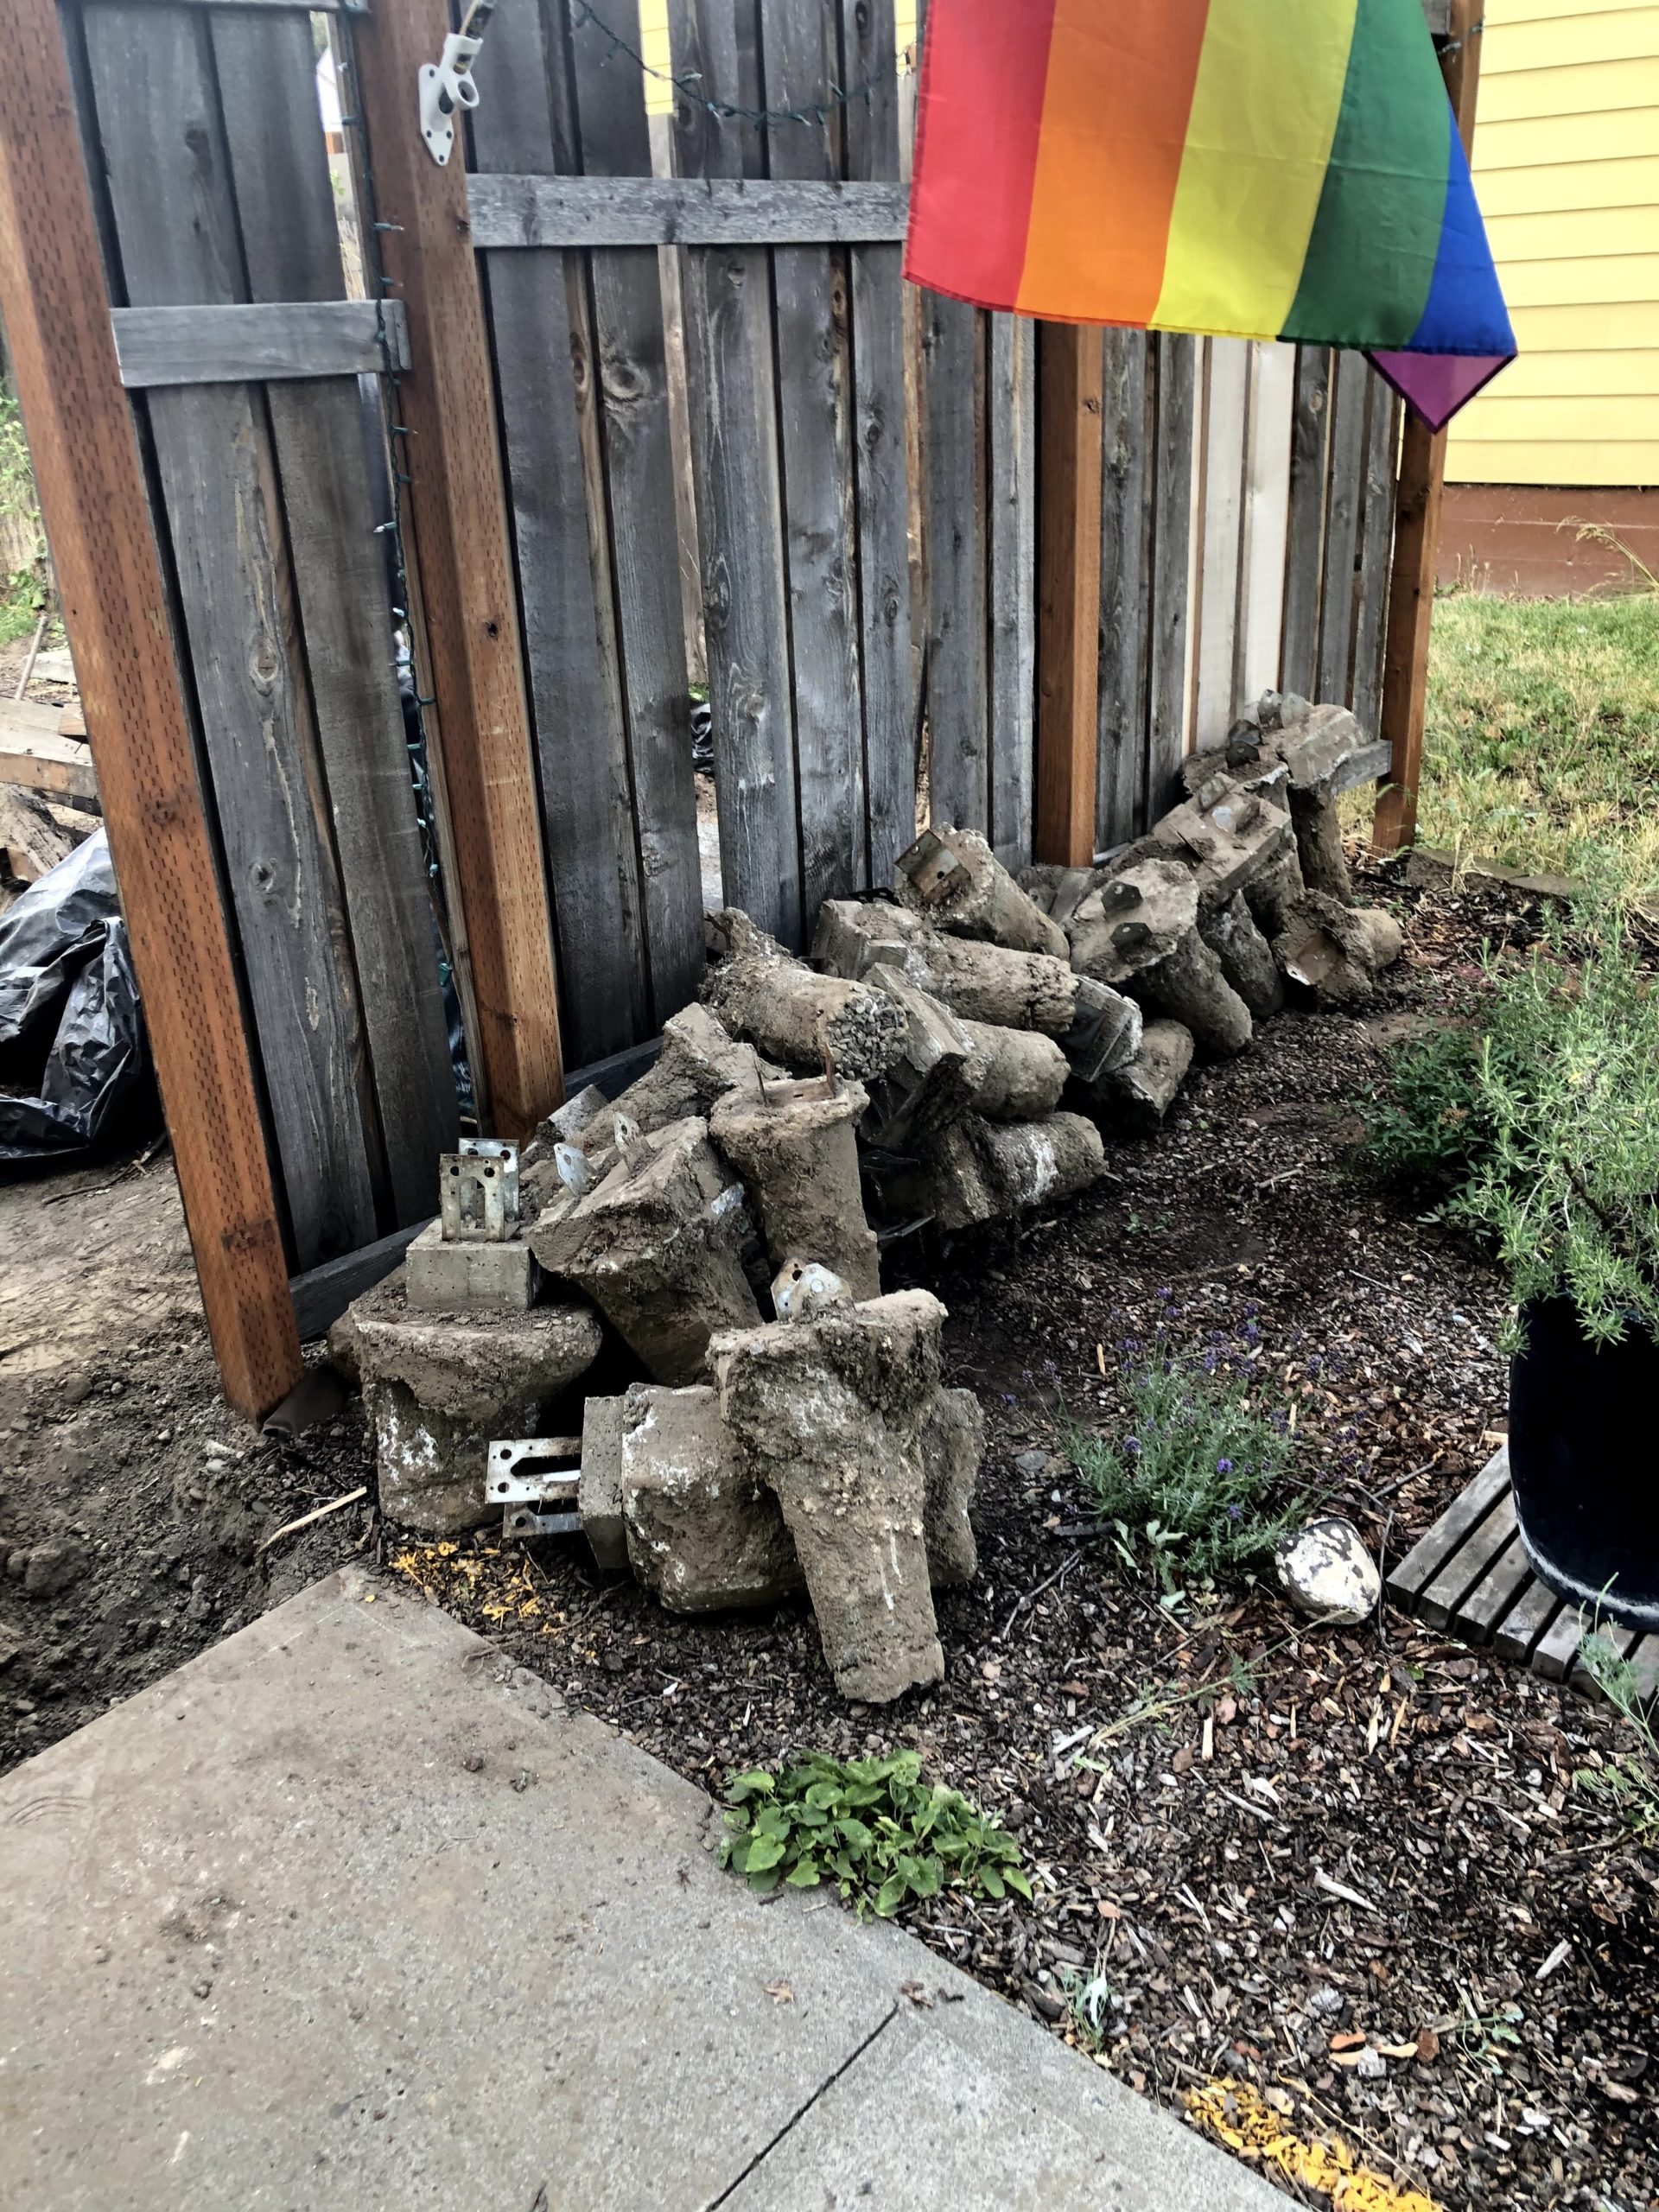
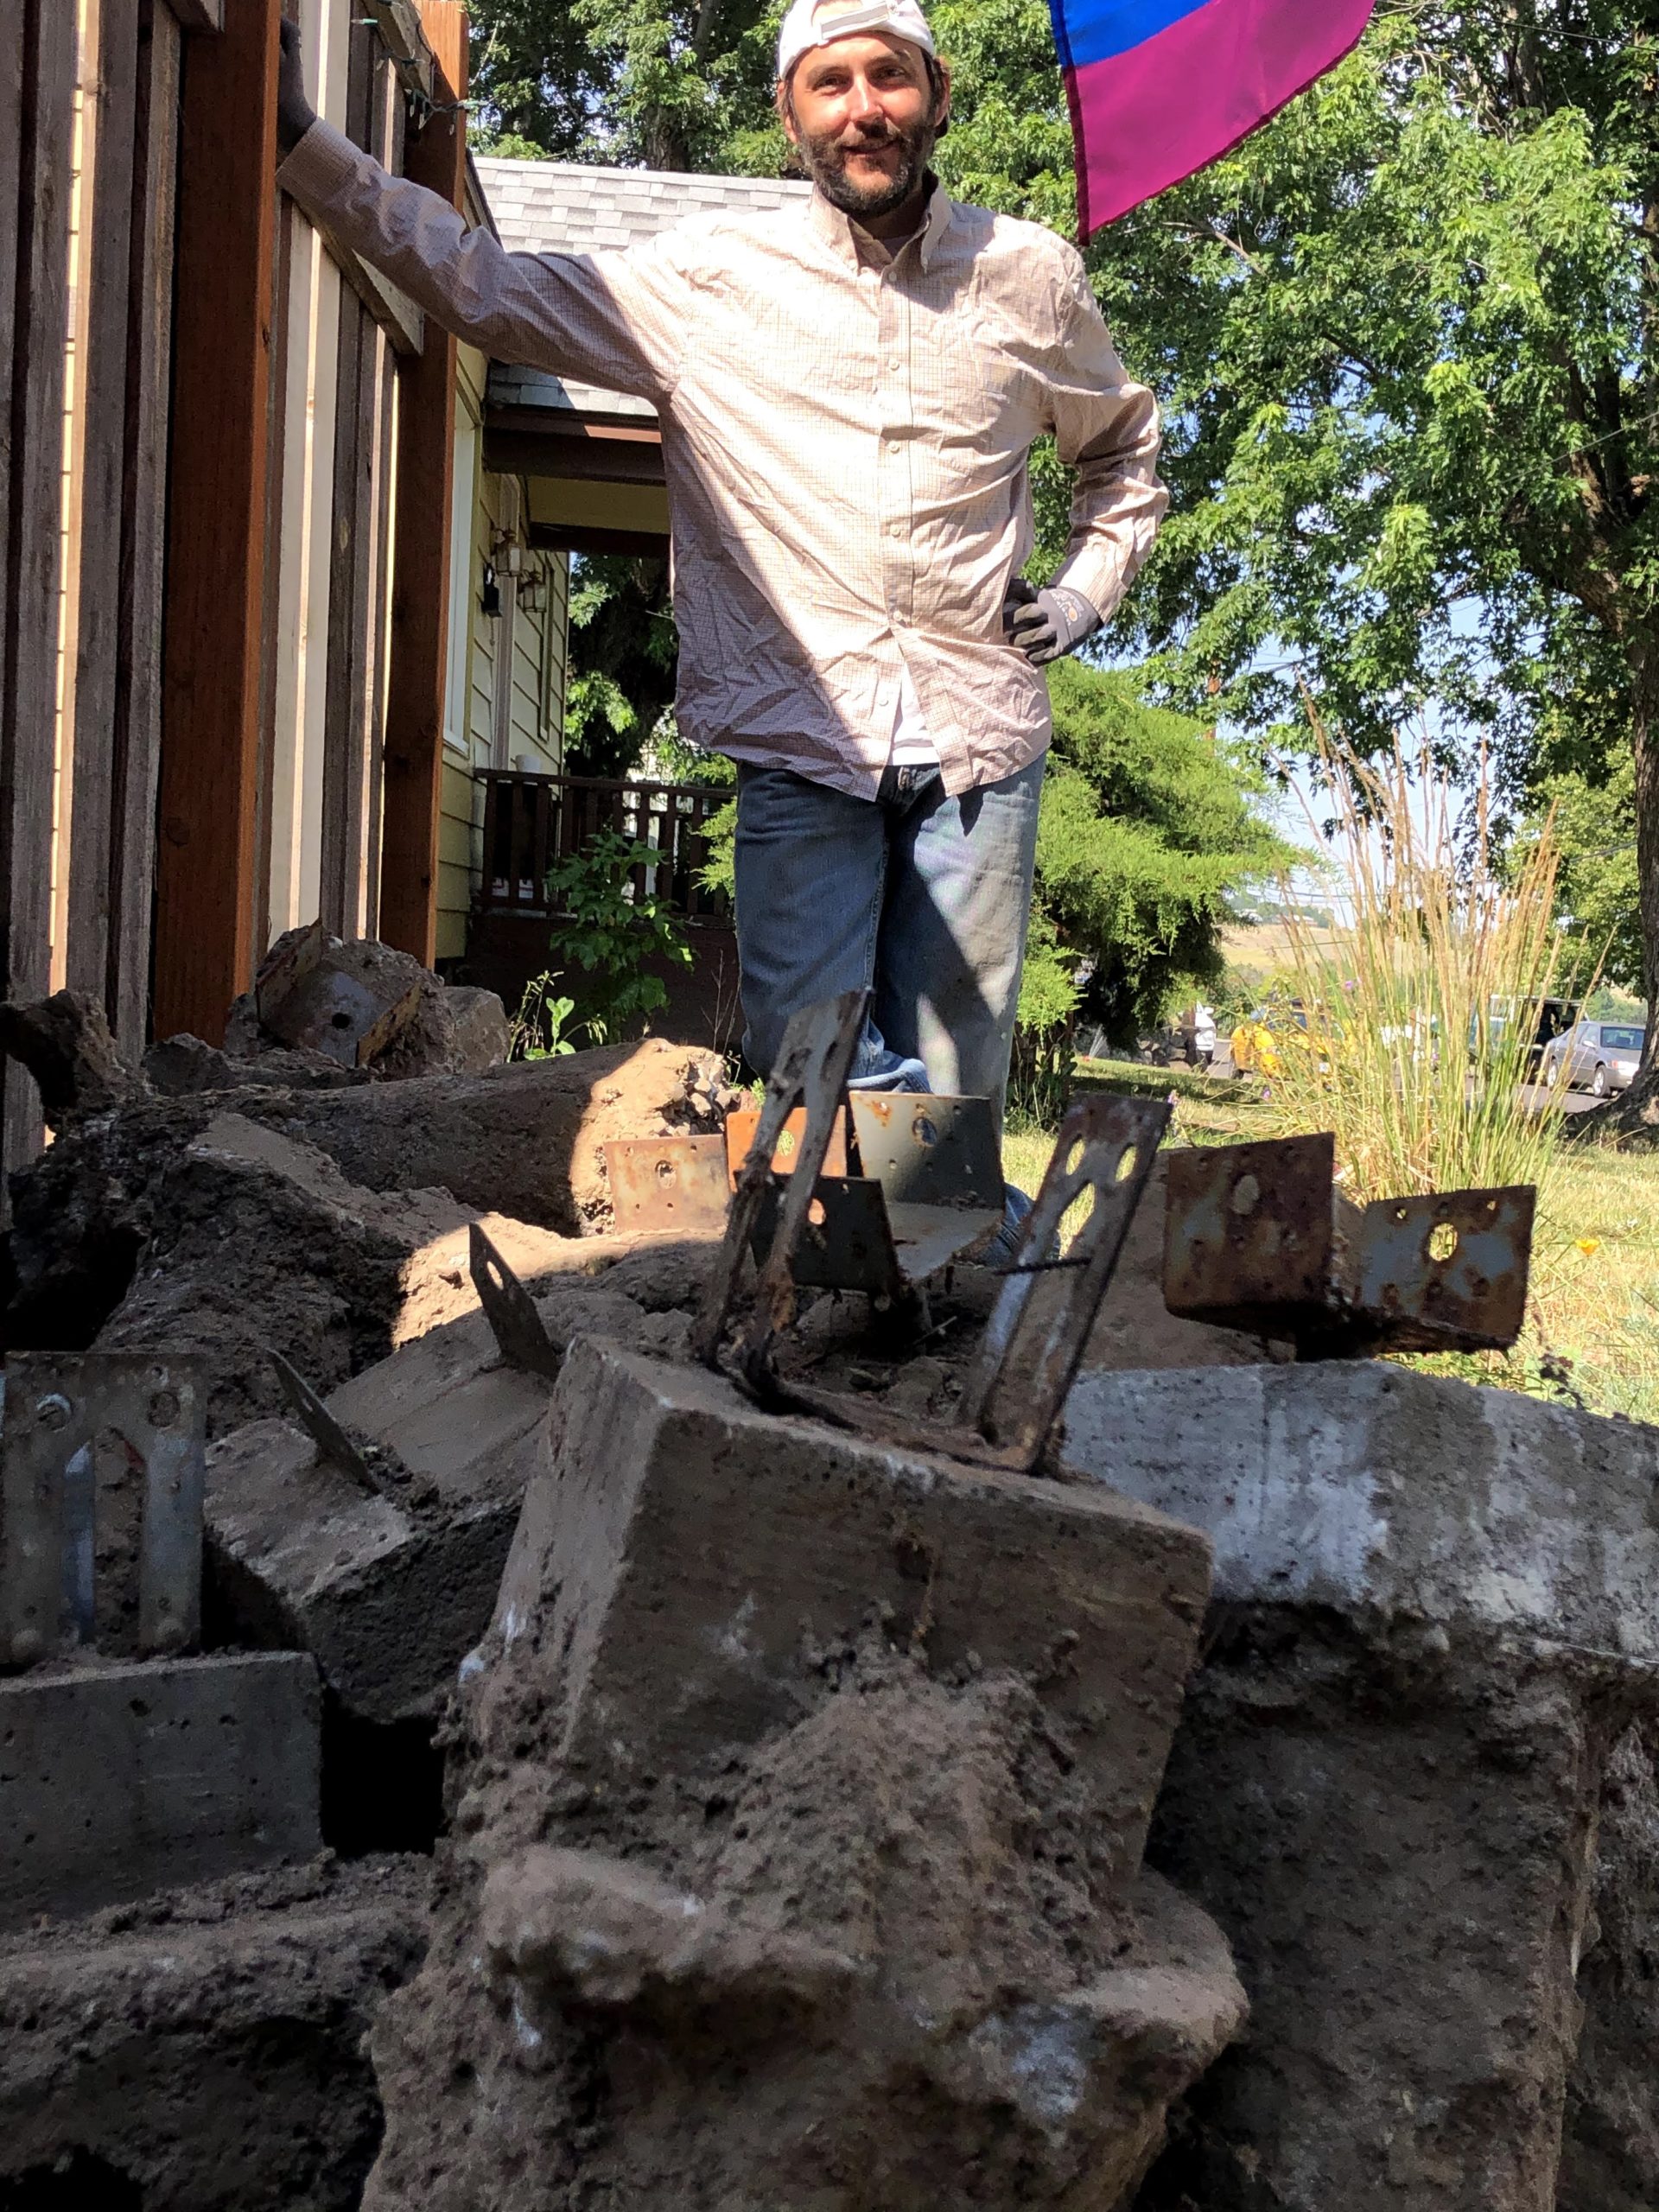
It turns out the original deck constructors did use brackets in concrete, along with a variety of framing: some pressure-treated, some regular construction lumber and all in different sizes. Each beam and joist was mounted in a slightly different way. For the lowest part, the walkway, 4×4 pressure-treated beams were on their side with big spikes nailed through them into the ground. After taking out the first two concrete slugs we realized that there were brackets everywhere and we would have a lot of digging to do.
We borrowed some big pry bars and found a technique that worked pretty well: dig down on one side of the slug, leaving enough space for the slug to tip partly on its side in the hole. Then use the big pry bar on the other side to wedge it into the open space and pull it out of the hole. We got better at it: the last one took only about 5 minutes from start to finish. Every time we were done we kept finding more. The final count: 34.
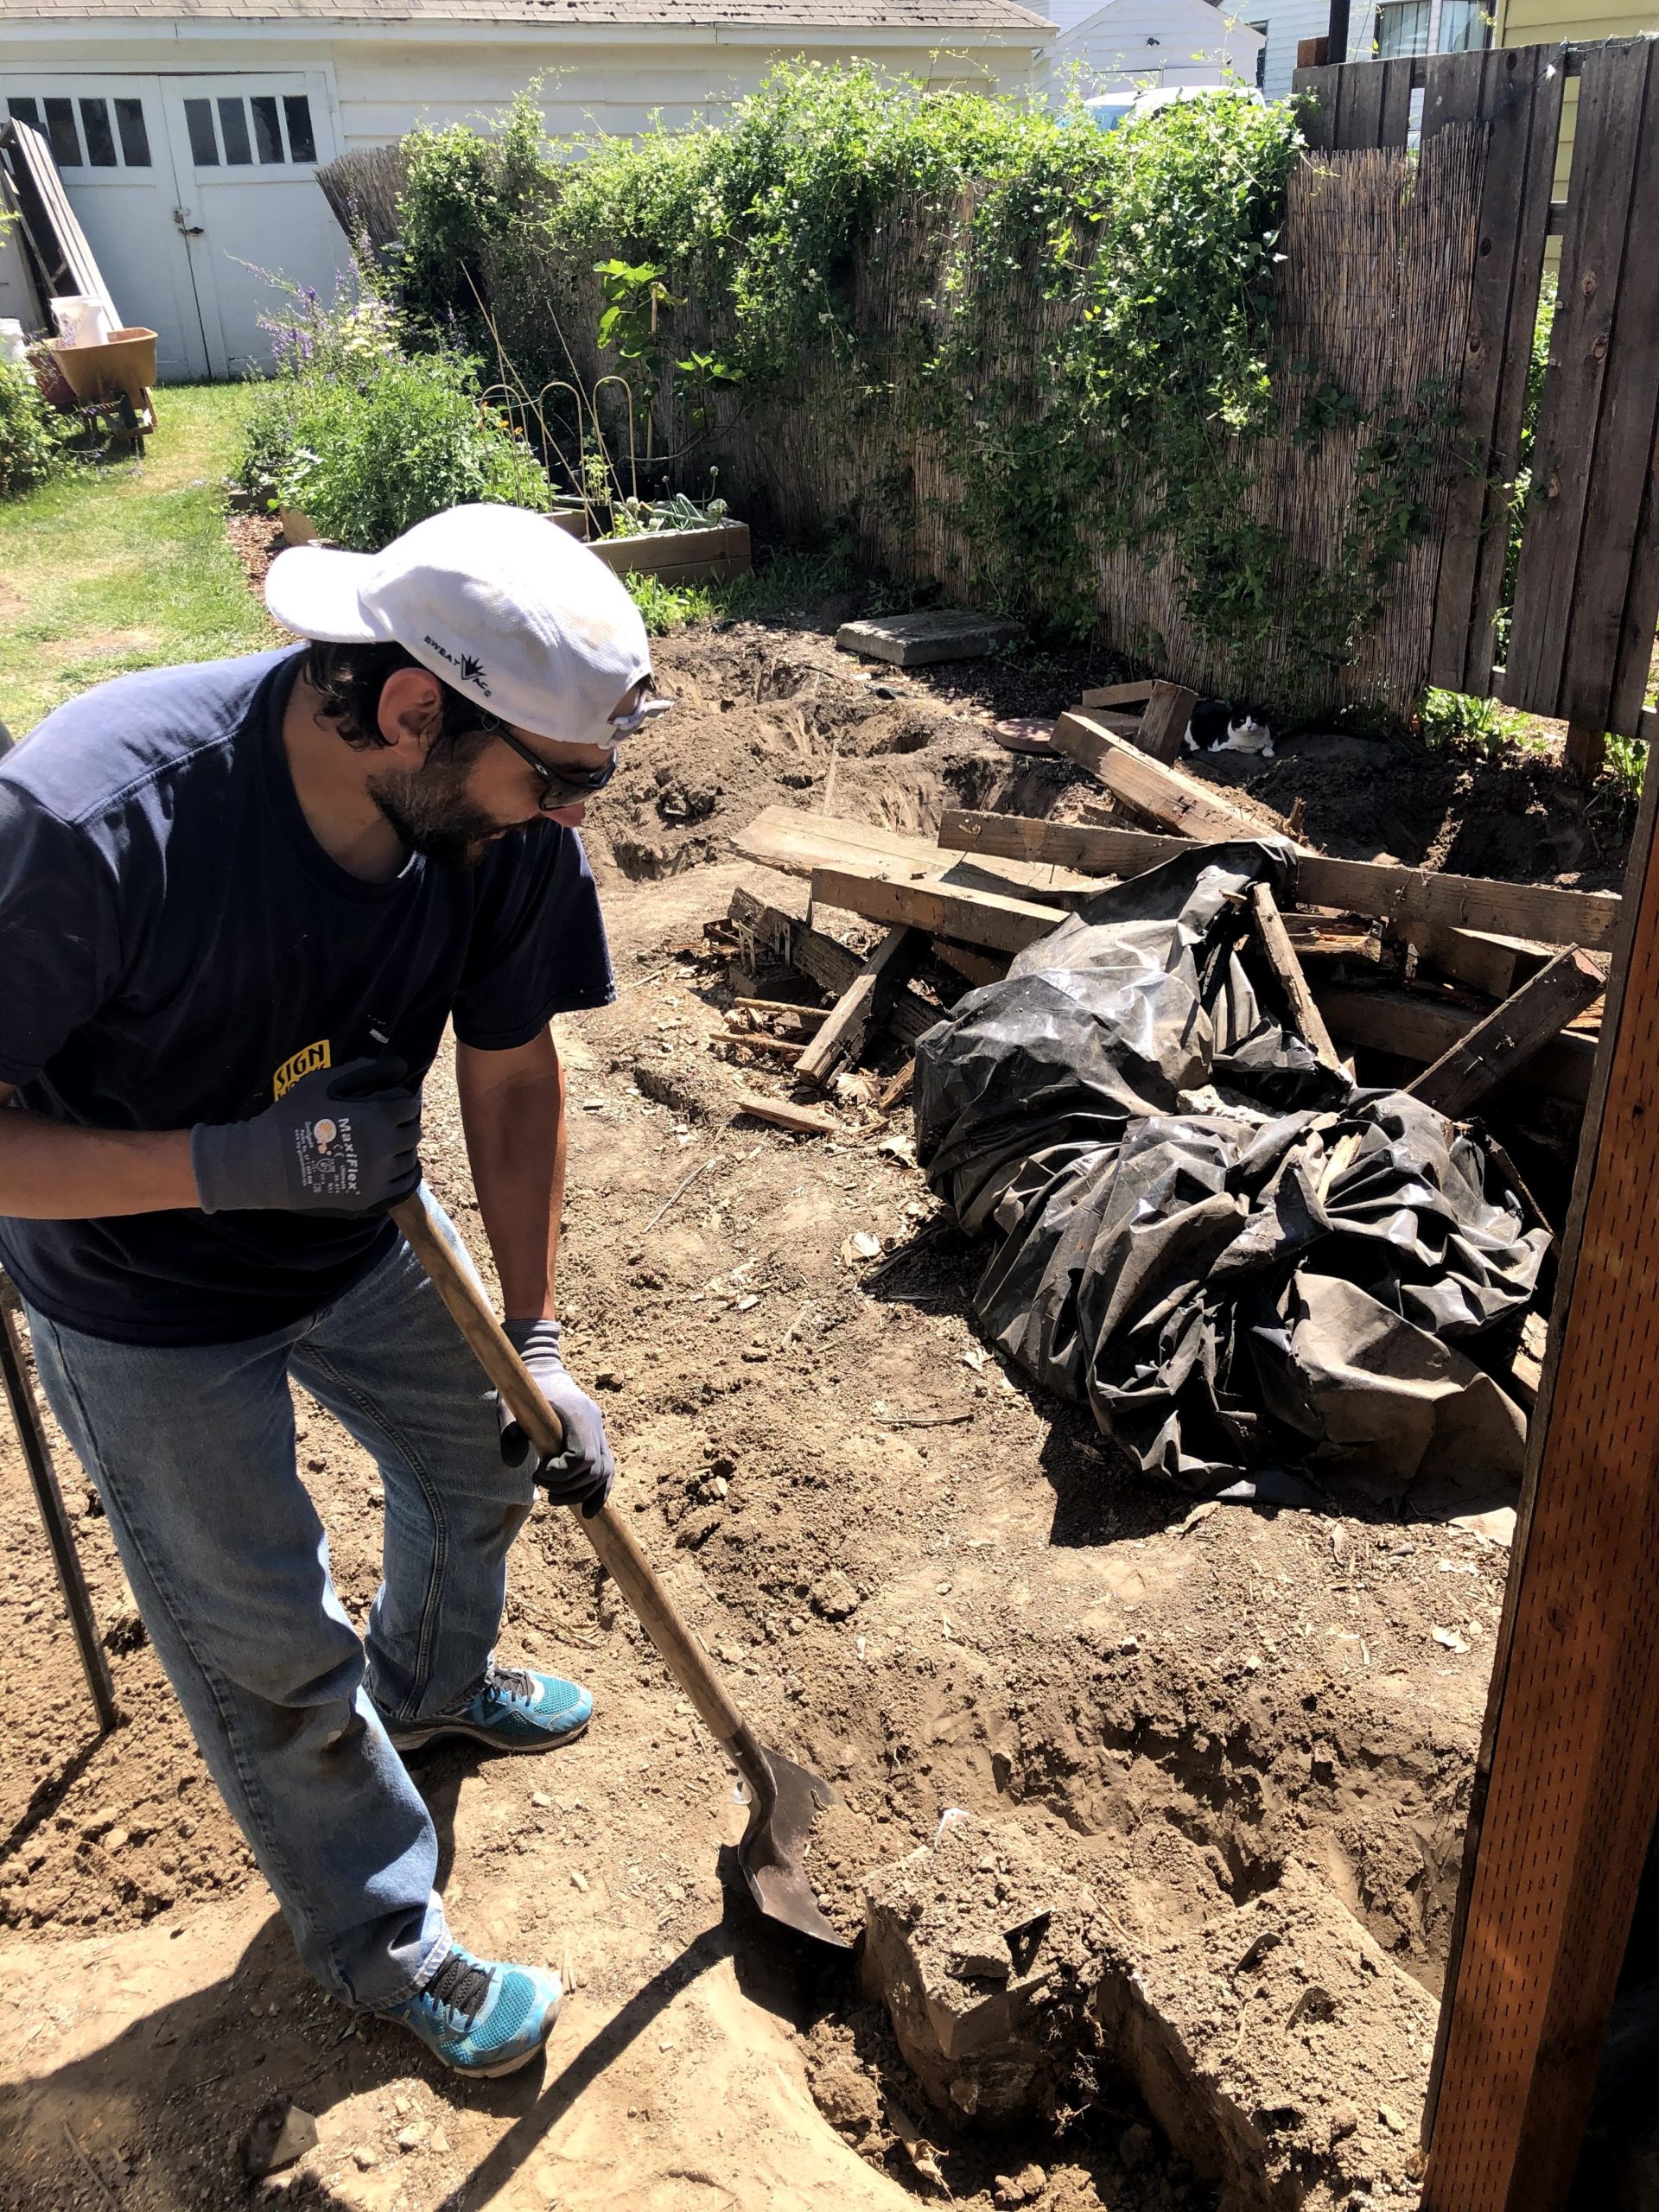
We did ask ourselves a number of times throughout the process whether or not we really needed to take out those brackets, but the answer was always “yes” because of the different levels of the original deck. We couldn’t re-use the ones that were too high, and there were none where it was too low. We decided we would save time later if we just made a clean slate and started with a new foundation and framing system. We had already decided that we would use “deck blocks” instead of pouring new concrete and deck blocks need mostly level ground to start on. More on that later.
We did have a question of what to do with all of the concrete. We couldn’t dump it in one of the free “clean-fill” dumping sites because it had metal embedded in it. Our neighbor suggested breaking it all apart but we decided it would be easier to haul them whole. We just paid to take them to the landfill. It was very satisfying to throw all of them out of the truck. Total weight: around 2800 pounds.
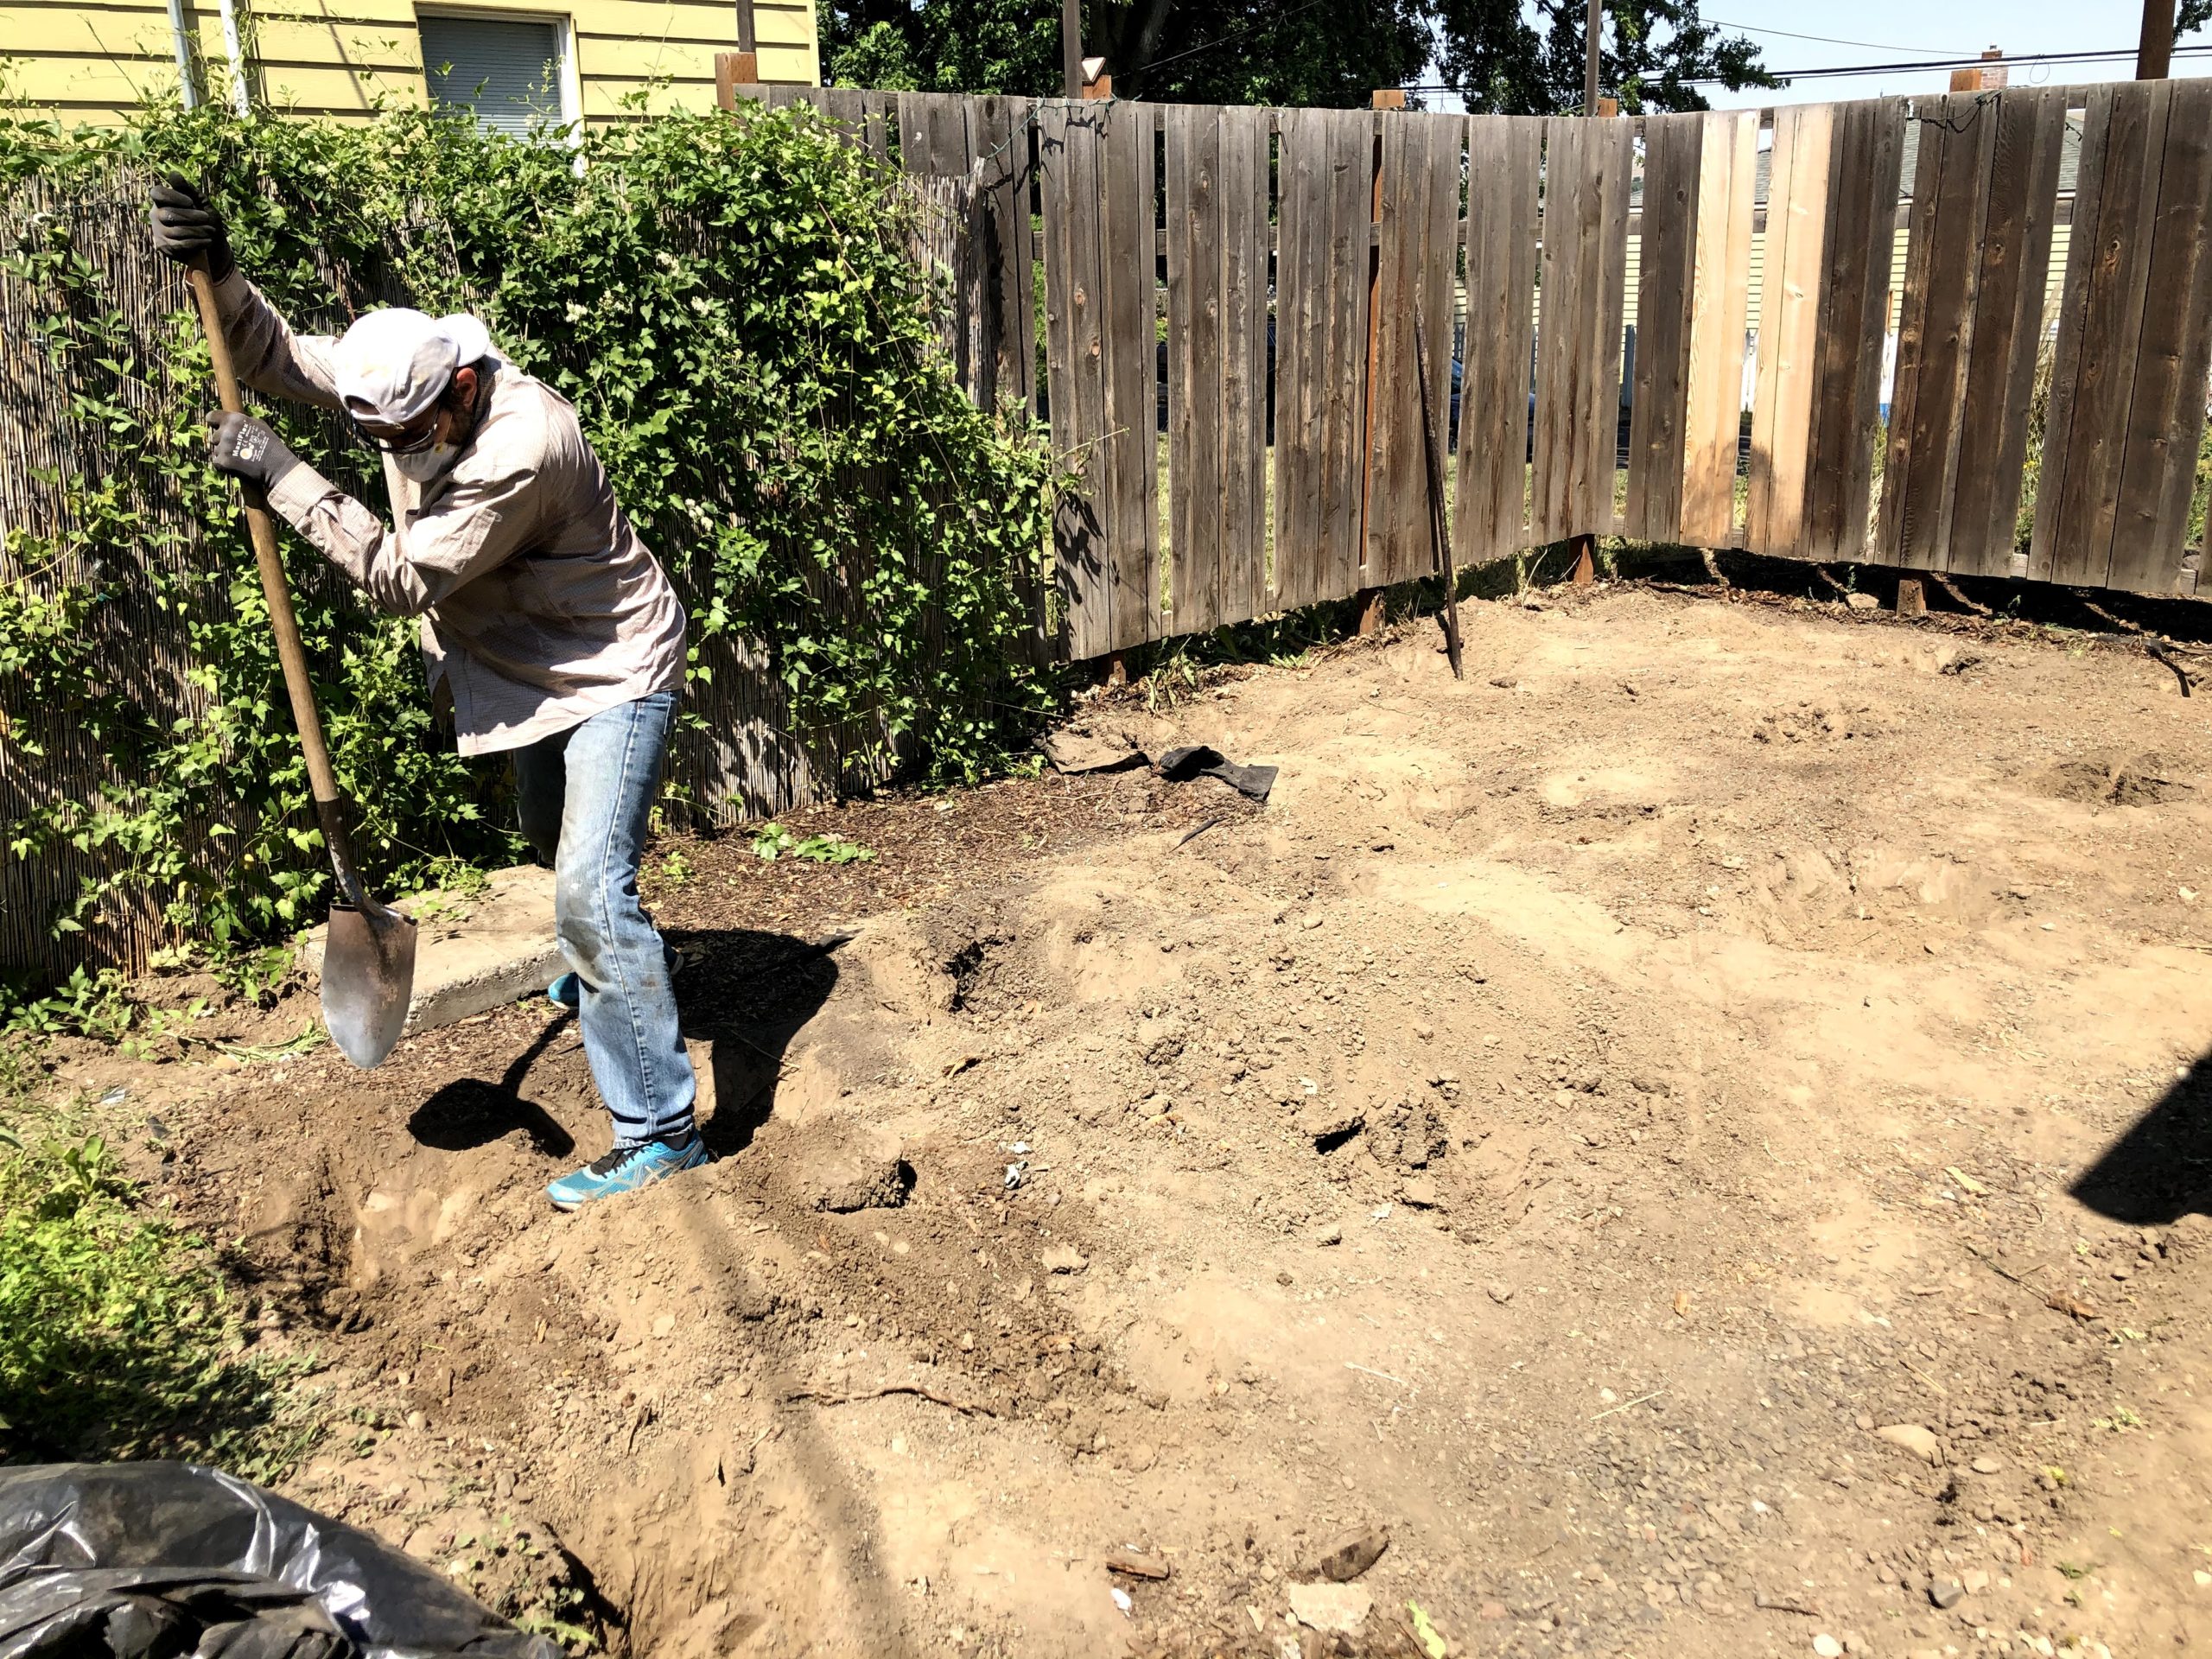
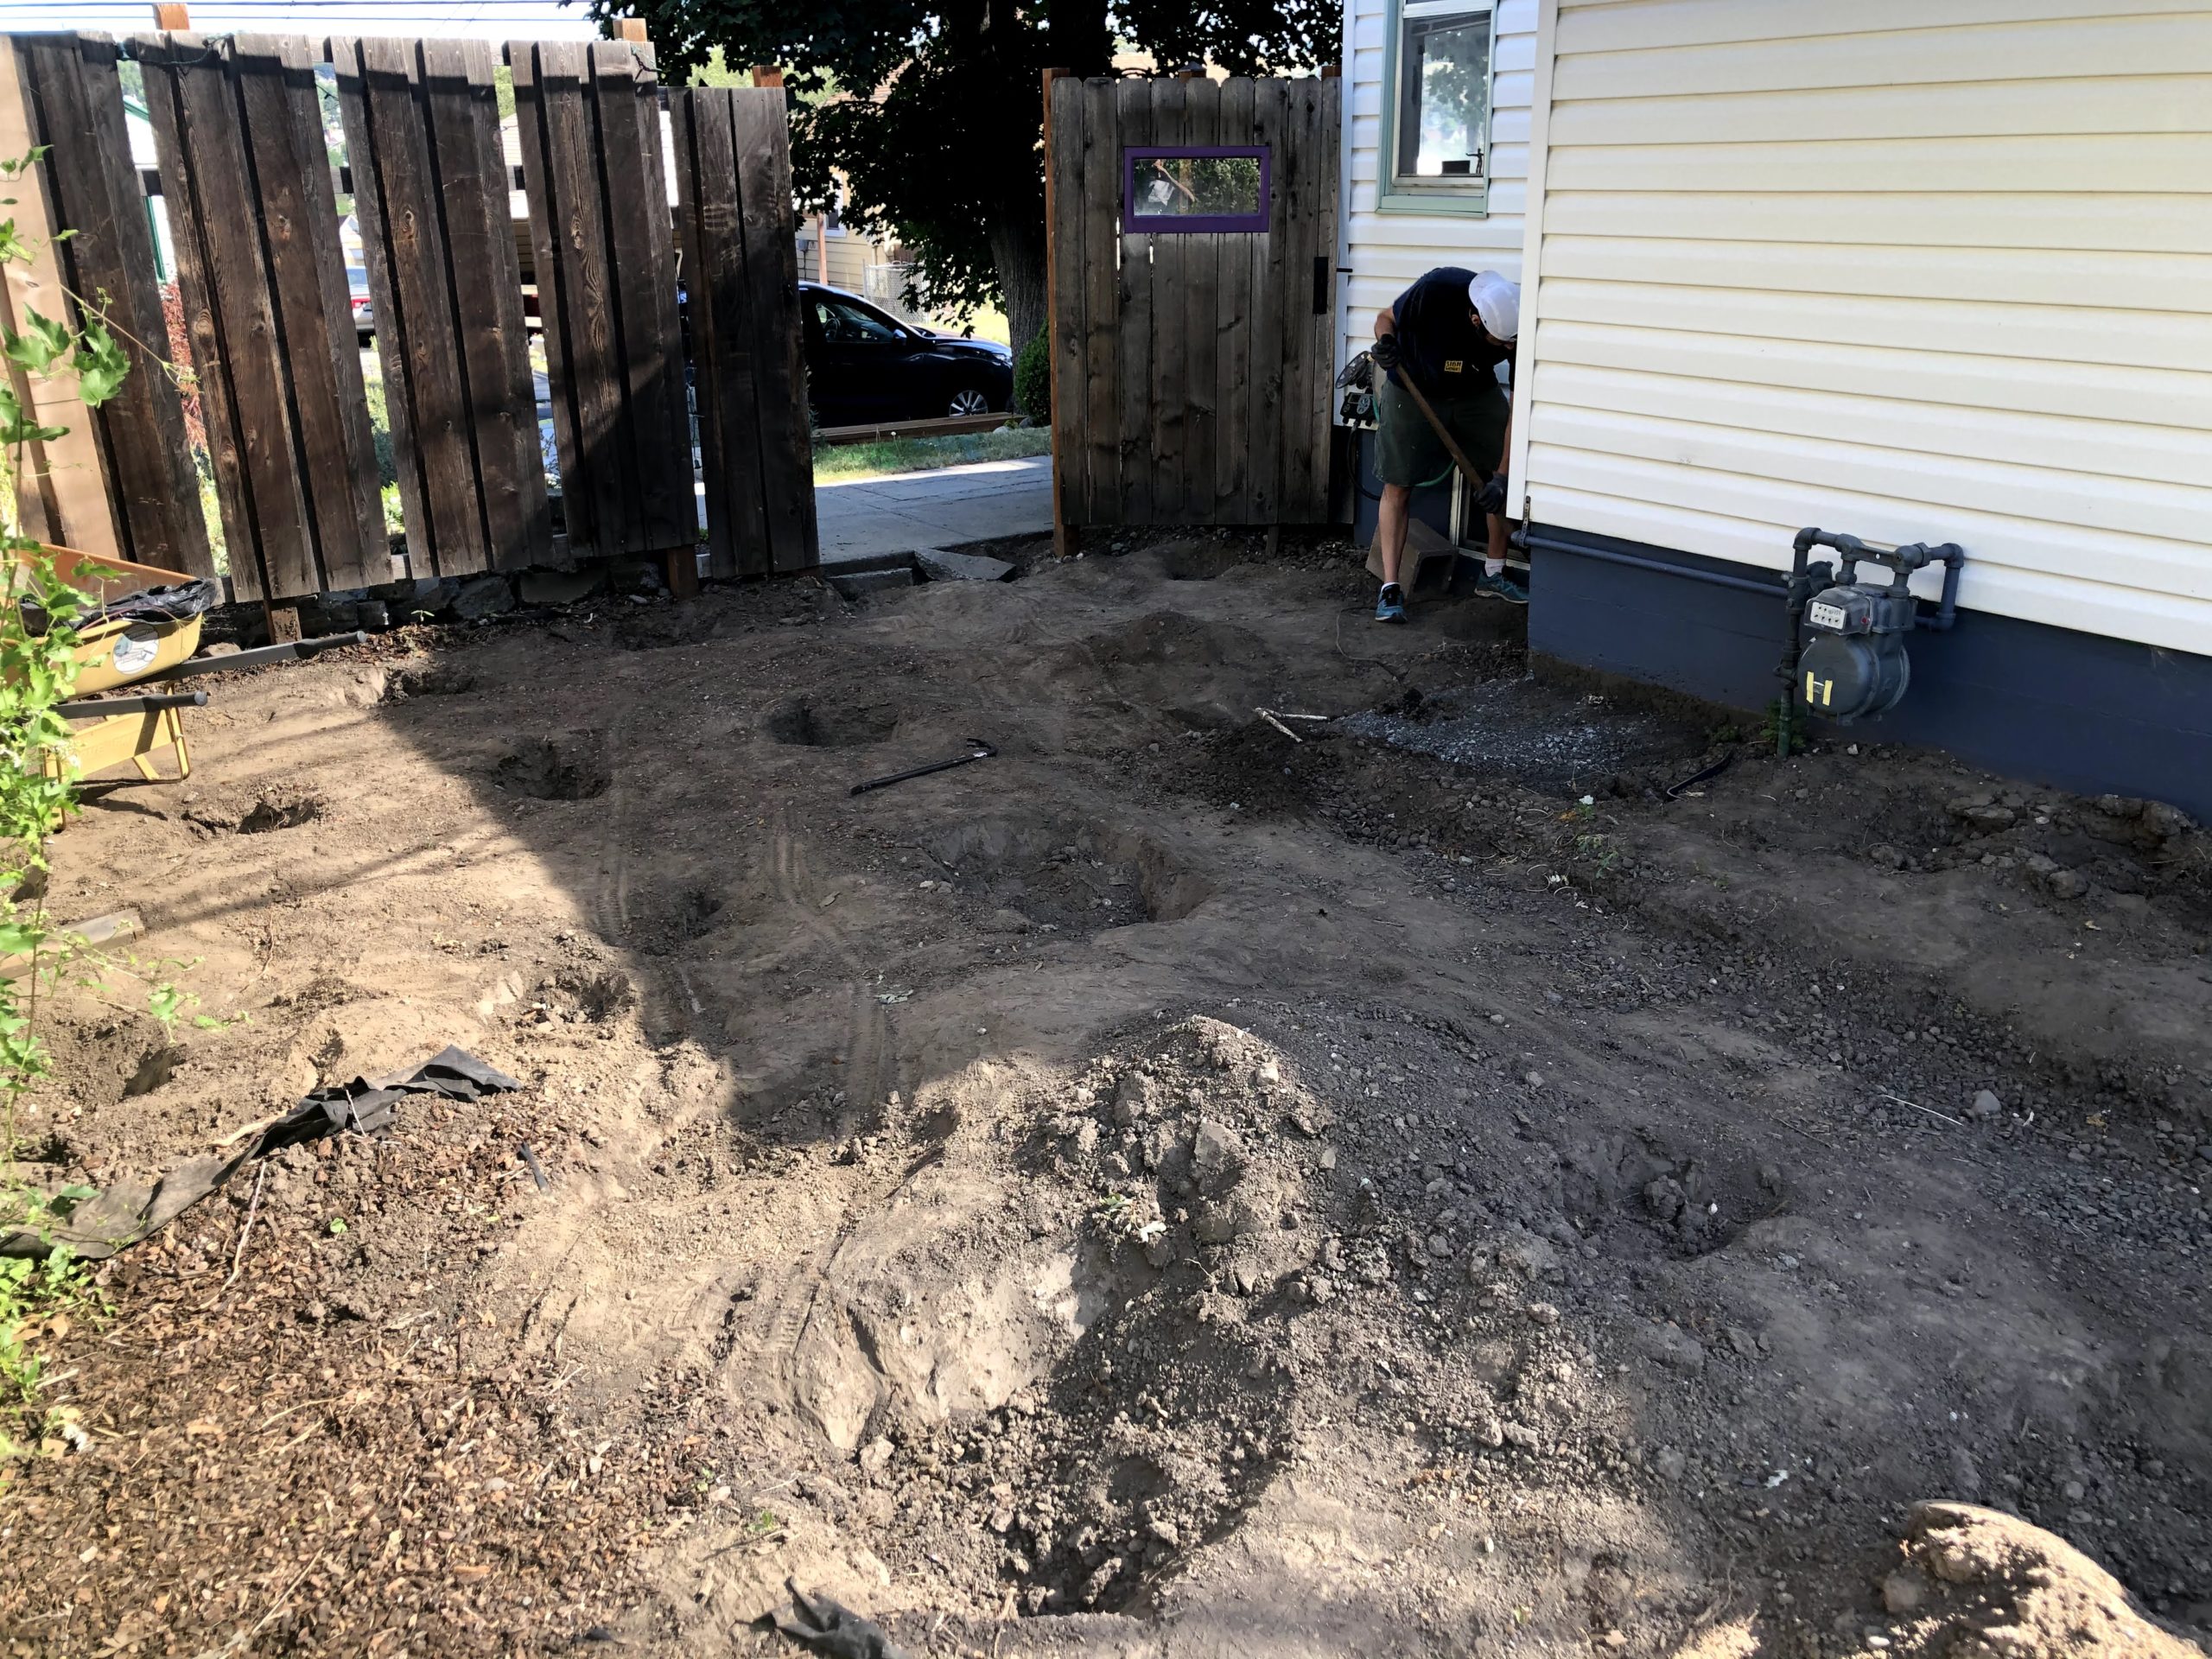
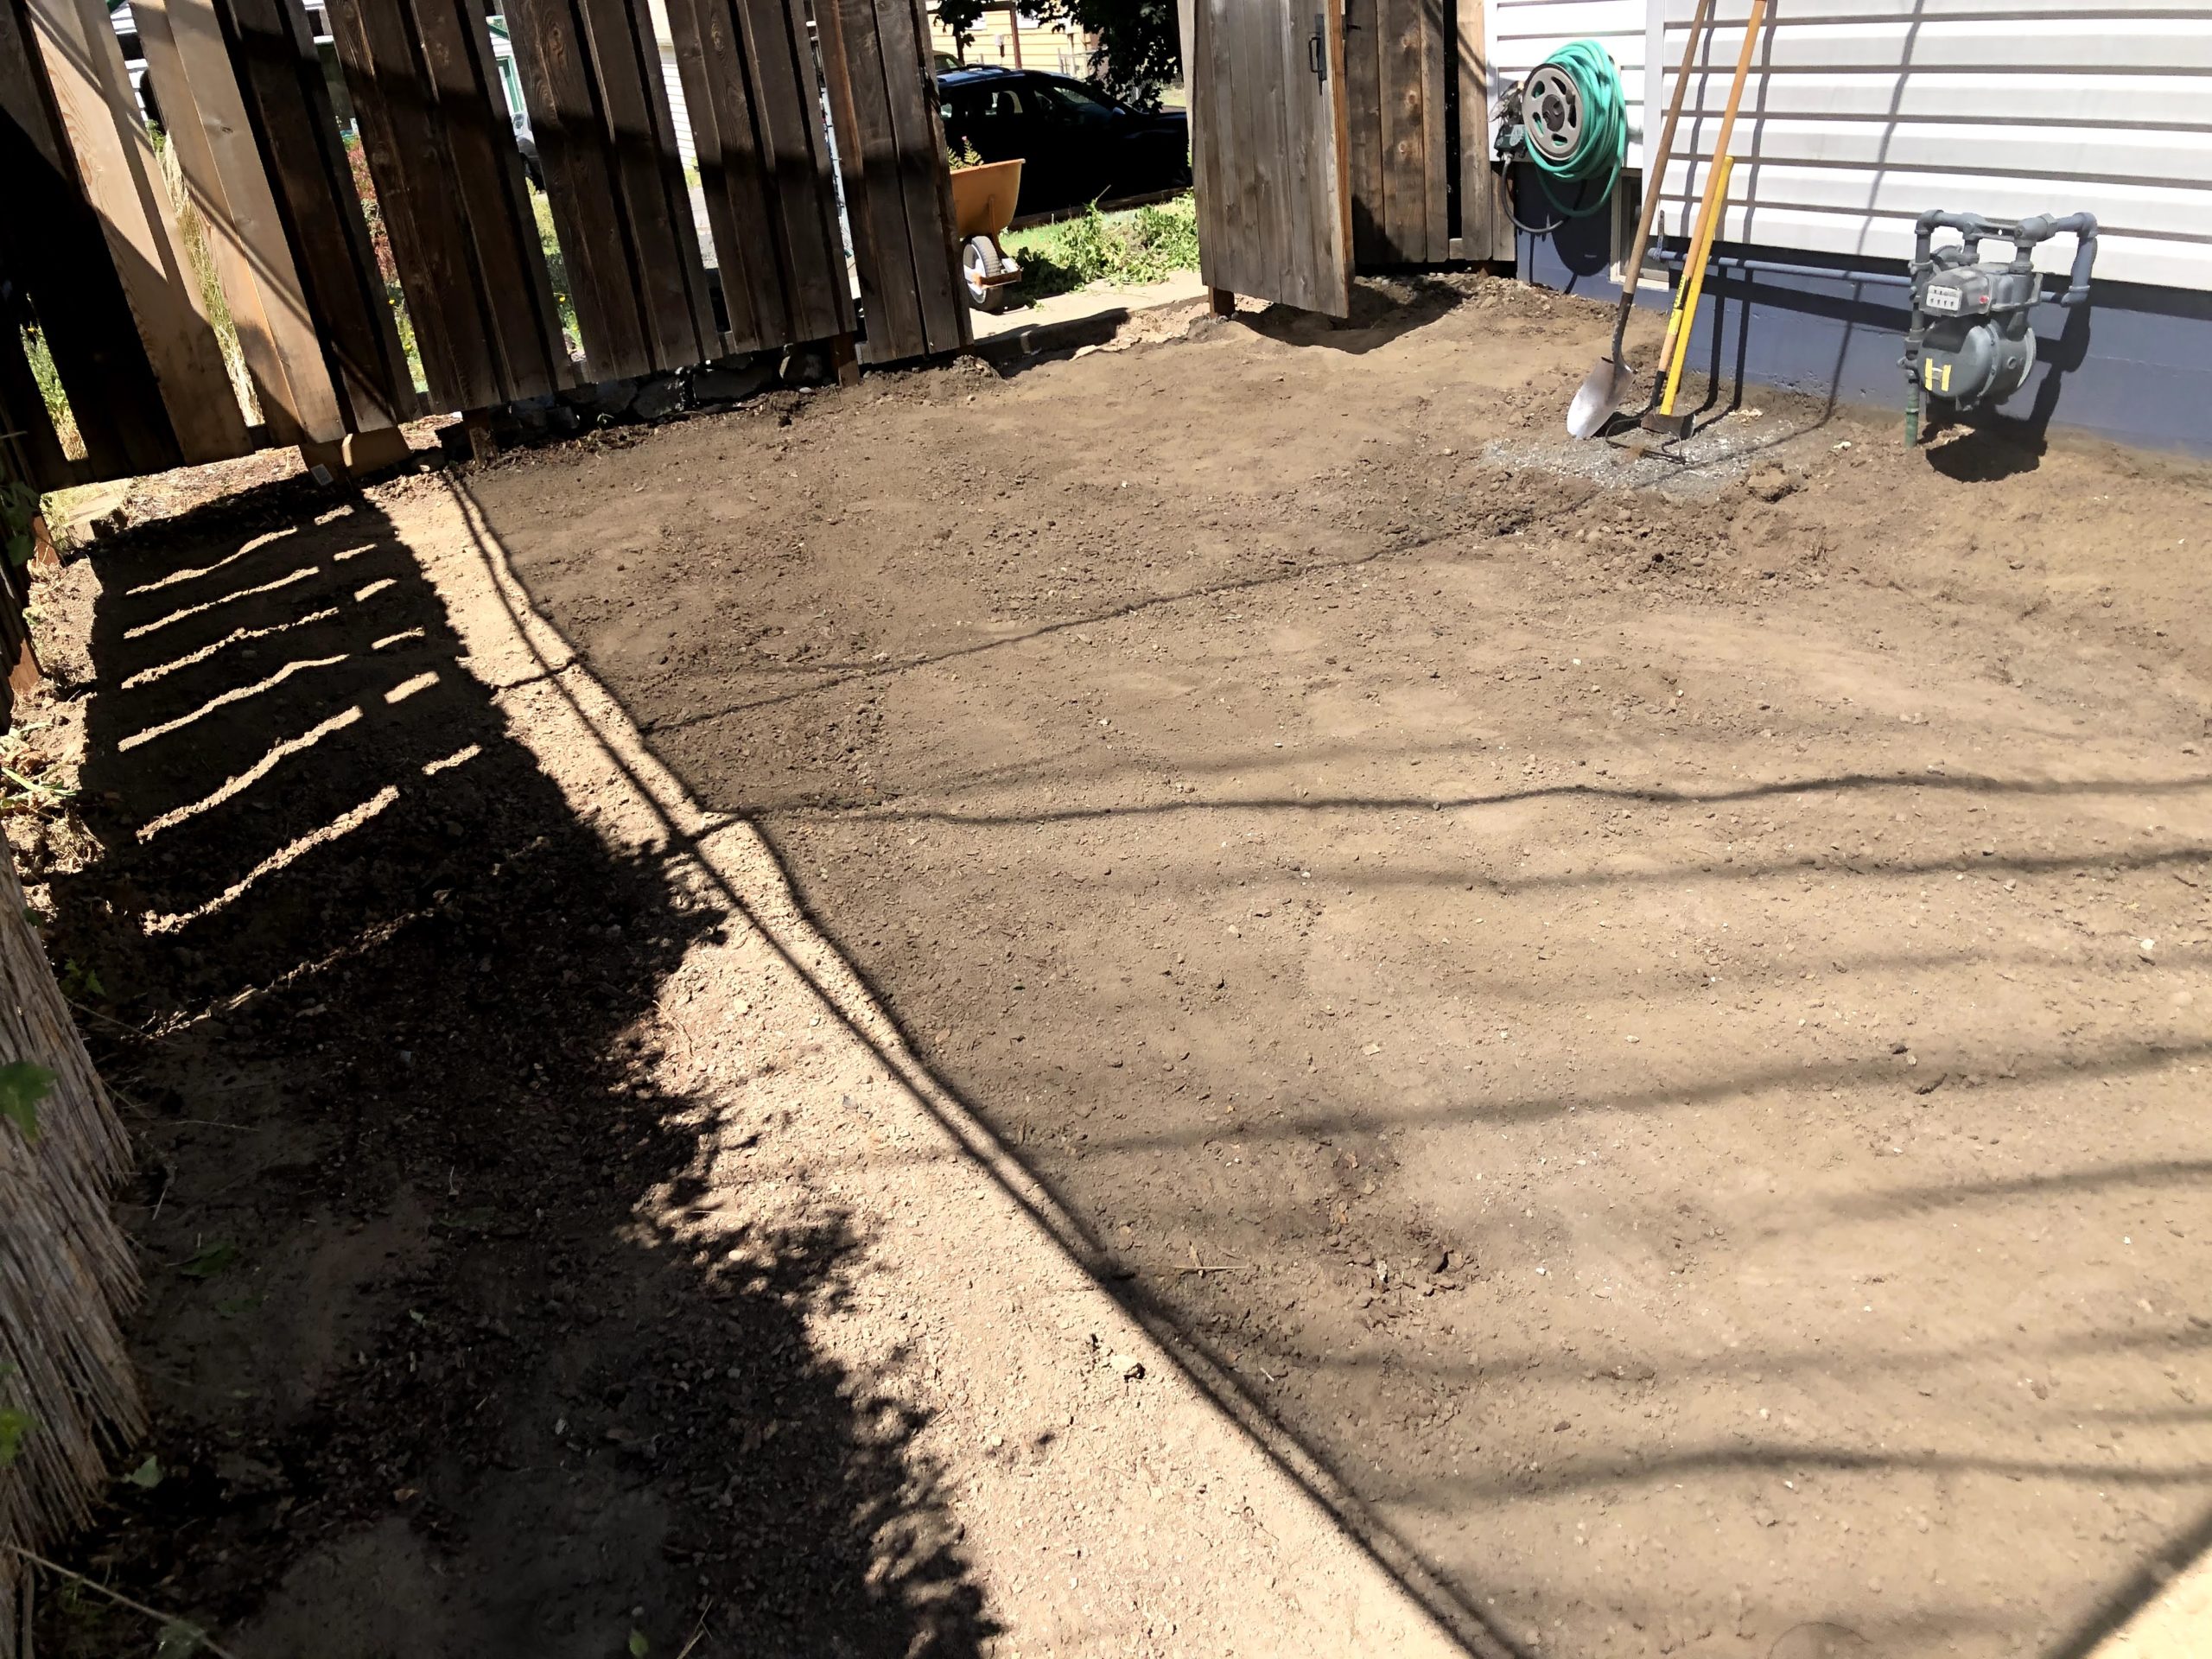
Once we had the concrete out we had to level and rake the dirt and take out the old A/C concrete pad. In the process we found yet another post bracket and concrete slug.

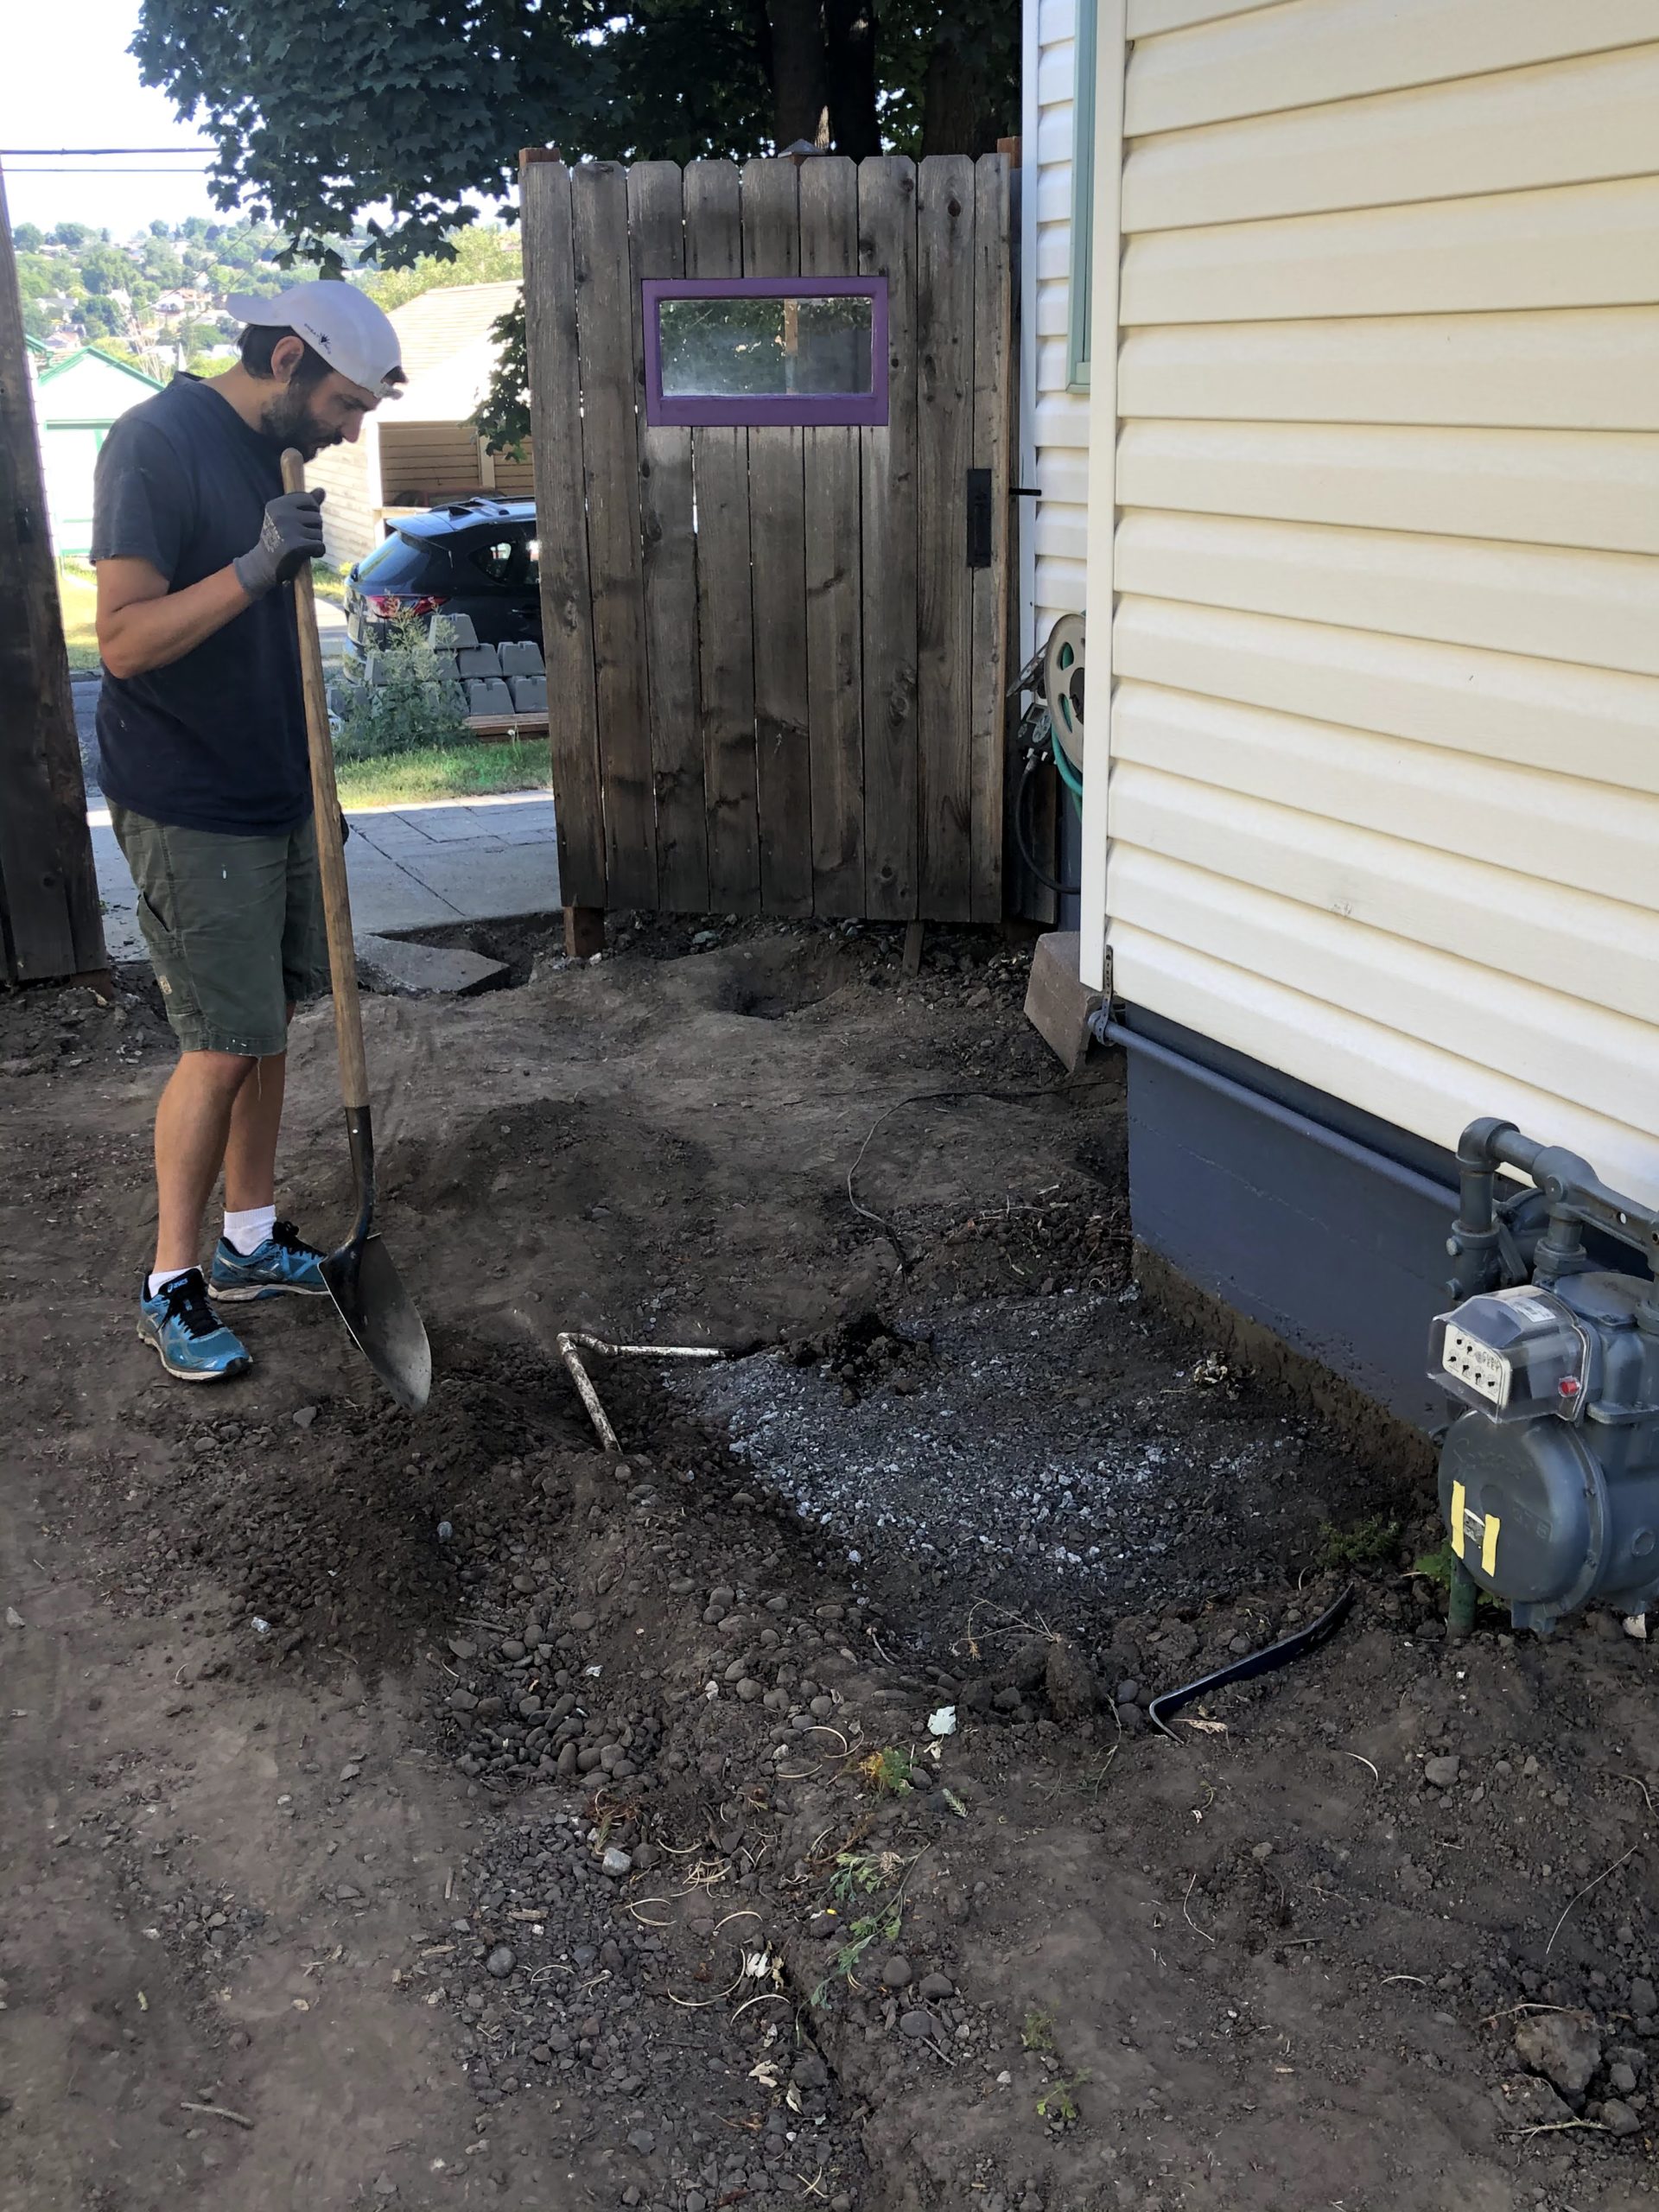
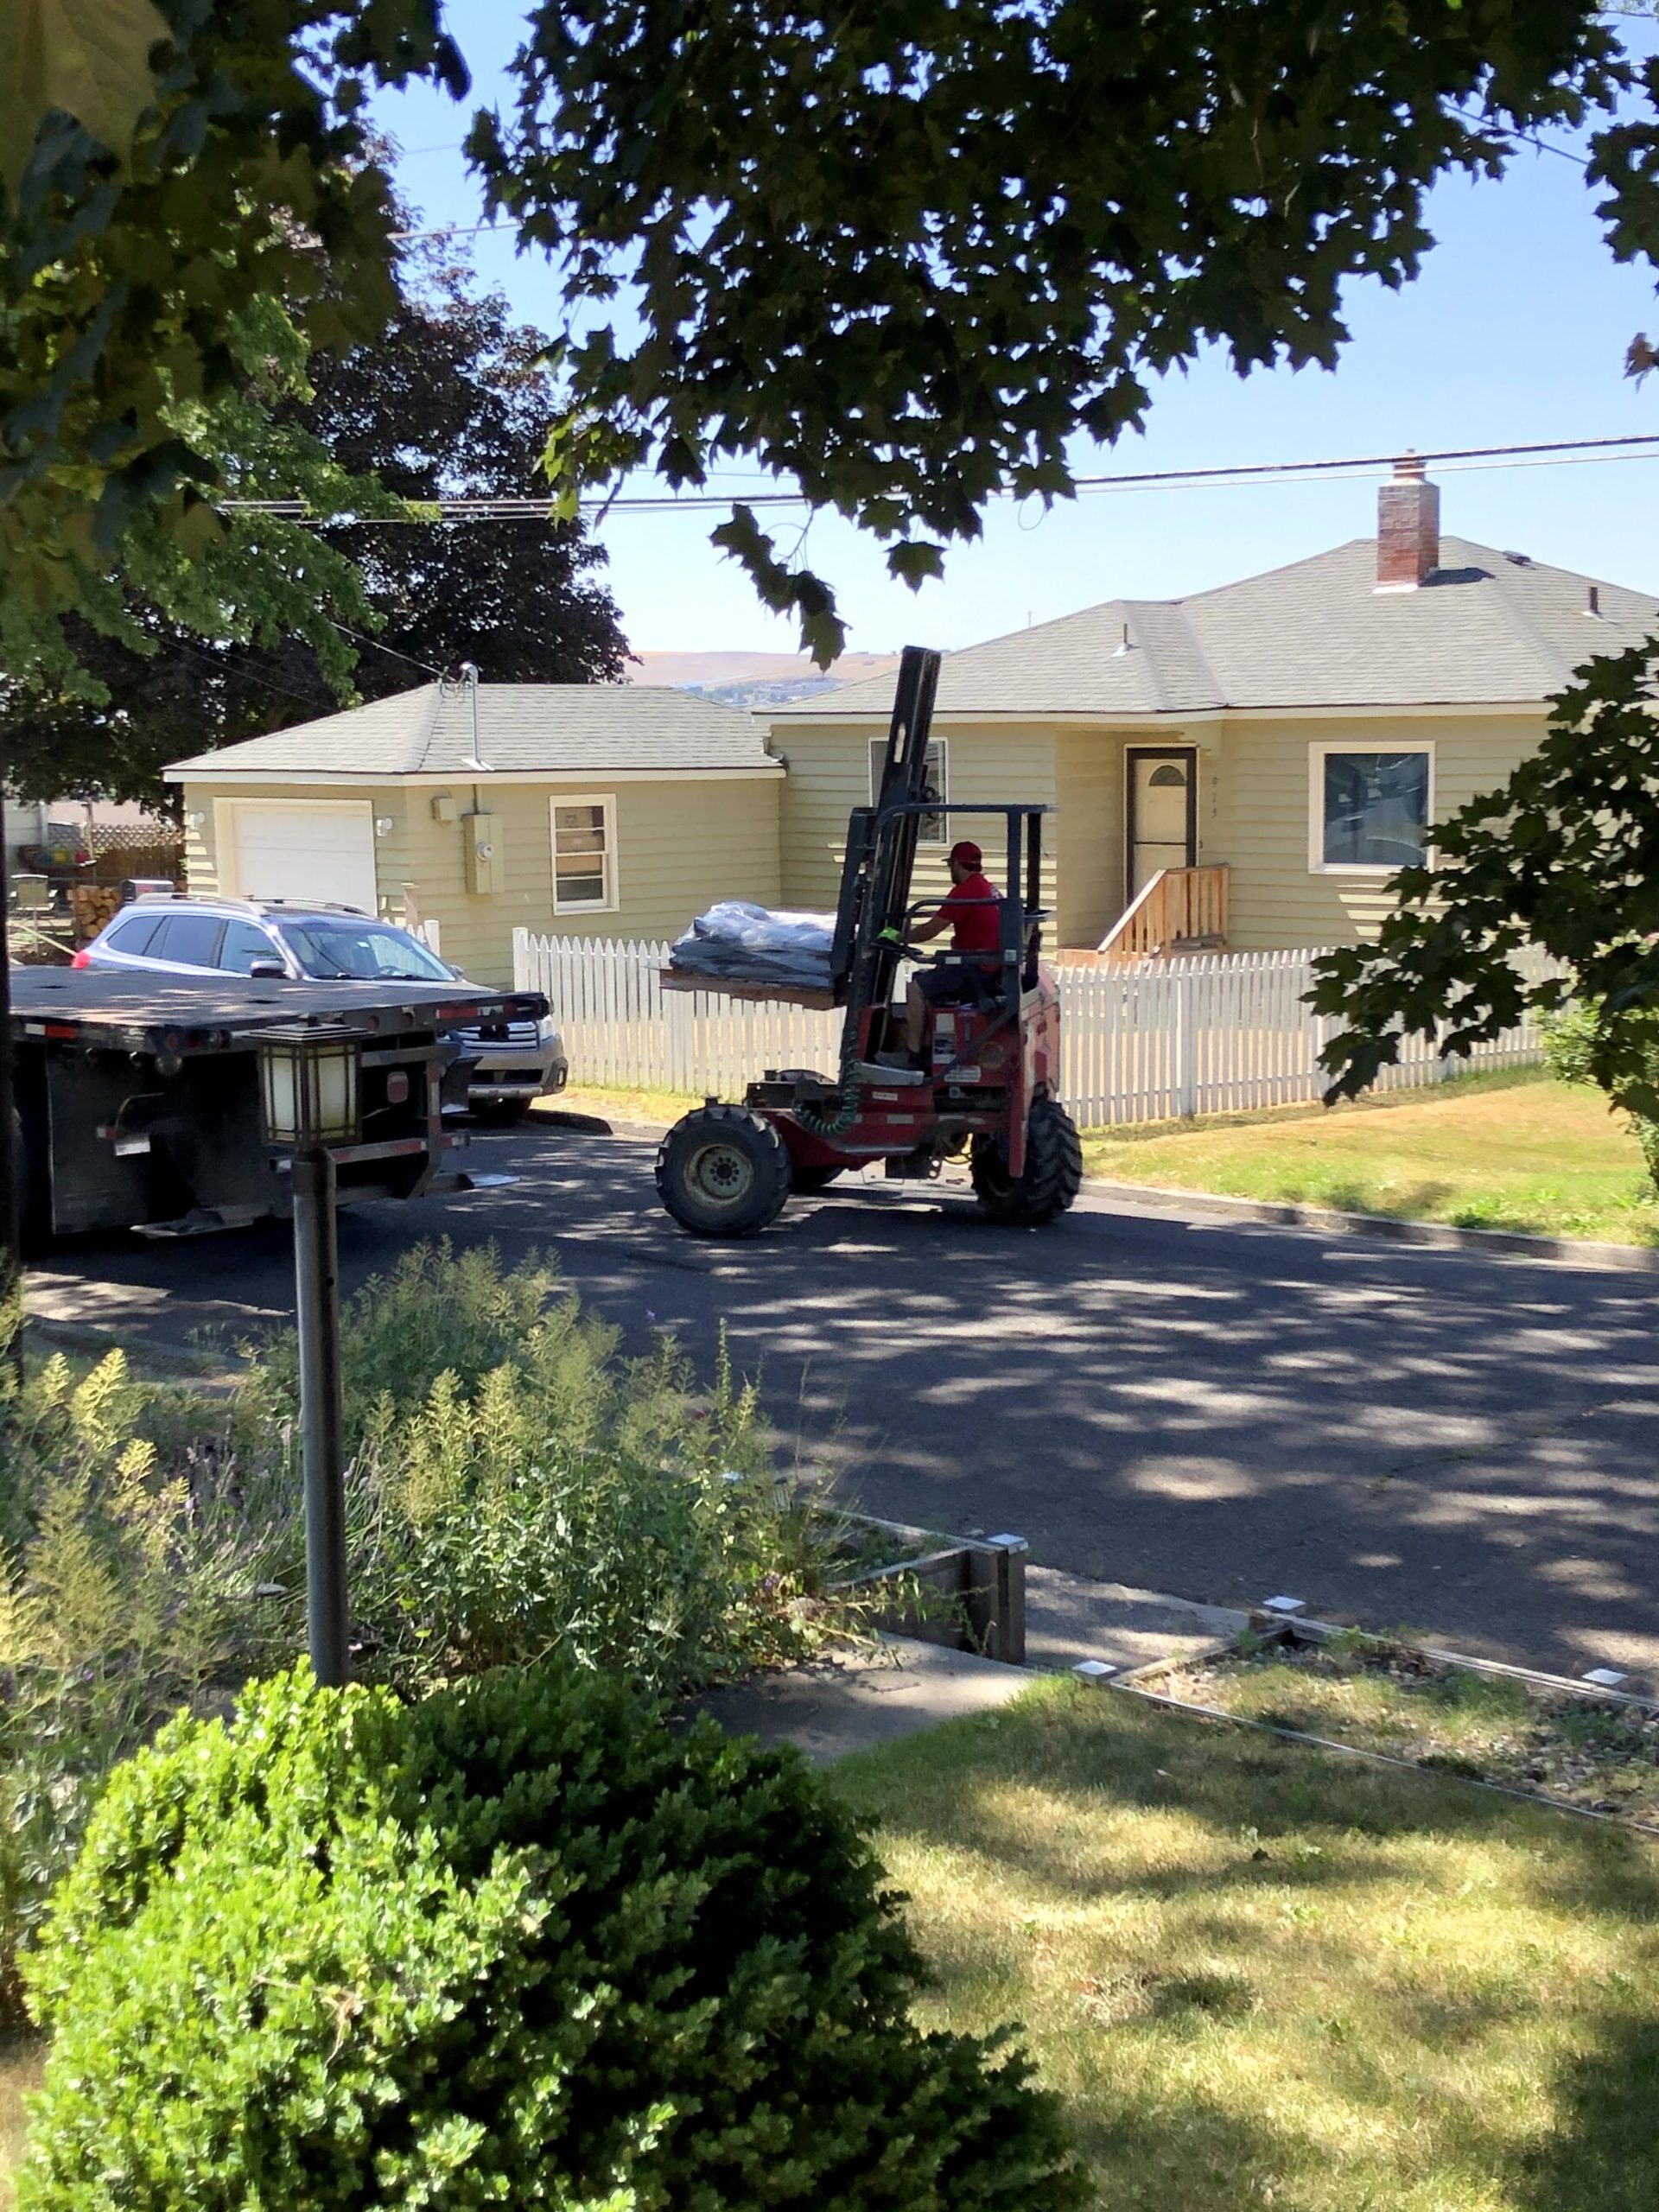
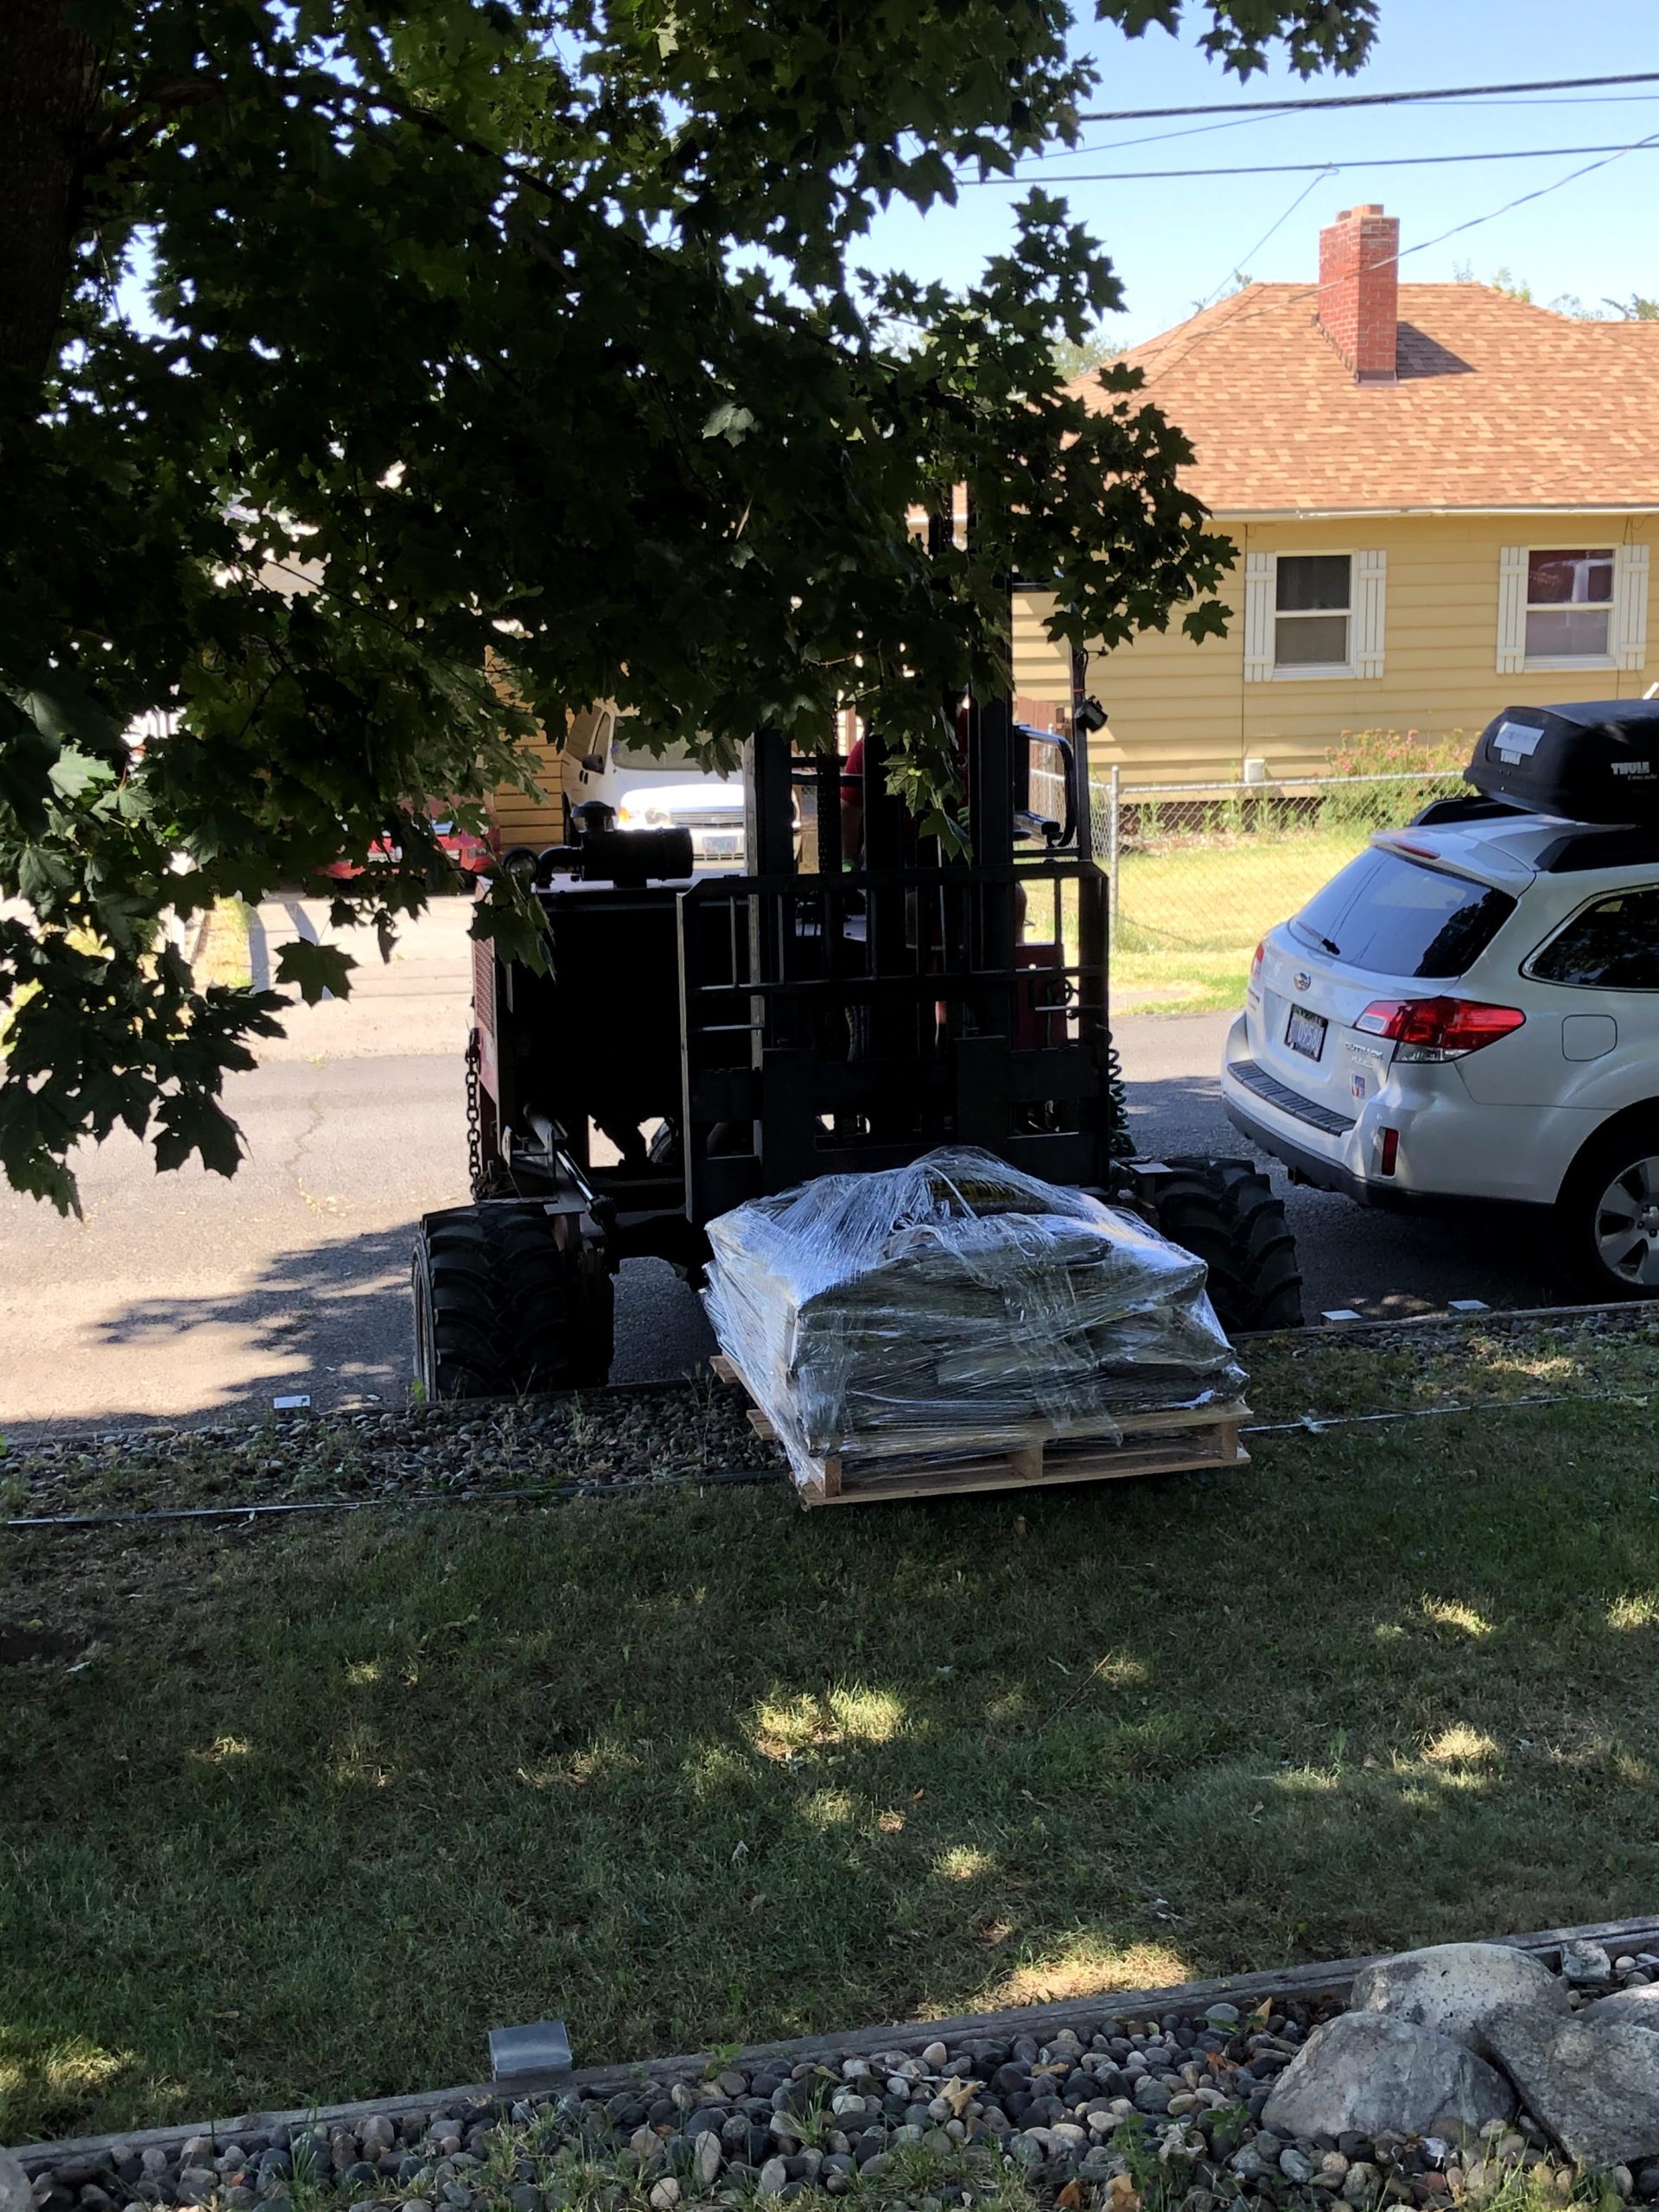
We ordered the framing materials while we were working on this step: deck blocks, pressure-treated 2×6 lumber, bags of concrete (for the pergola posts later) and gravel for leveling deck blocks and holding down the weed barrier.